
|
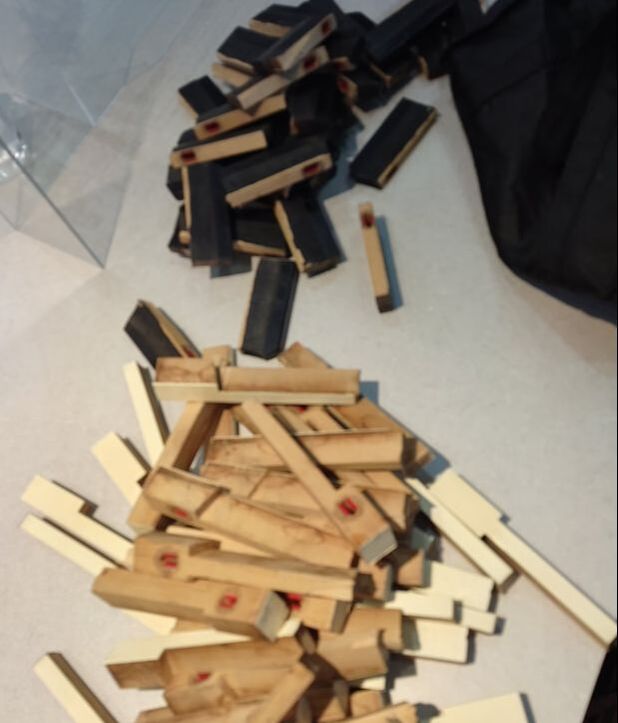
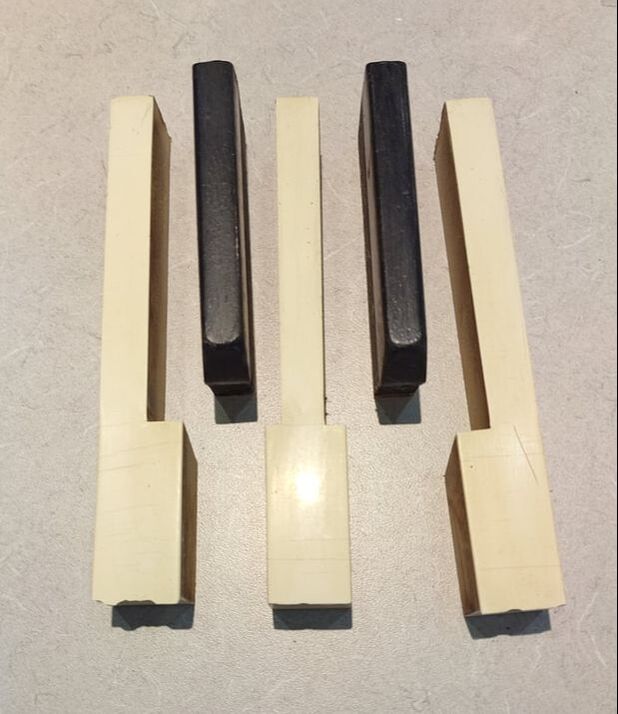
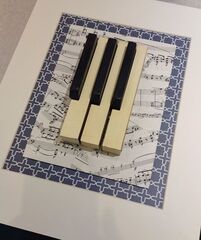
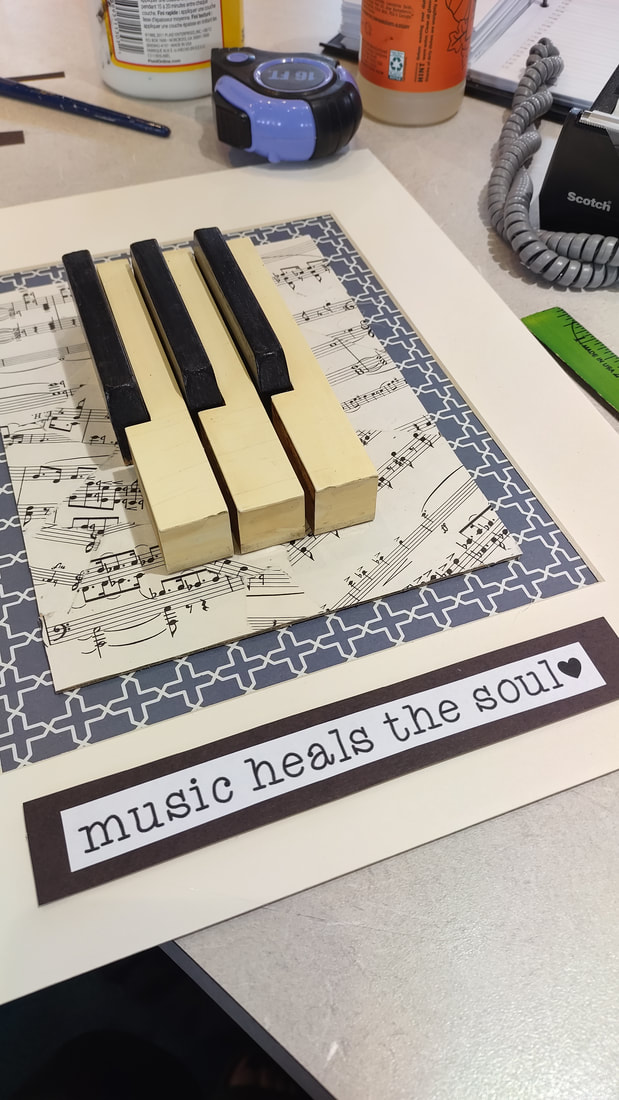
One of my coworkers decided she was going to get rid of her old piano. No one really wanted it and it wasn't in the "best" shape according to music people so she decided she wanted to take it apart! Mostly just for fun but also to see what she could get from the scrapyard for it, because, why not! Knowing that I love to repurpose things, she asked me if I would want the keys and of course I said yes! I turned it into one of classes at the library and it was a hit! Everything I used we already had stashed at work. Random things that had just been sitting around for a while and you know how much I love using that stuff! First off, I don't know if everyone knows this, but a piano key is actually a lottttt longer than you think it is. The "key" part is what we see when we sit down to play but here's a very long wooden piece attached to the back which is what is utilized to hit the hammers to hit your notes! Cool! But... I just wanted the keys... so... que the husband! (Not that I couldn't have done it myself but sometimes it's just nice to have help!) He sawed off all those long pieces for me which was sooooooo super nice of him ;) I sanded these down a bit more because they got a little sharp (ha) on the ends and then I also cleaned them because boy were they dirty! I chose the keys that I wanted to use for mine and lined them up how I thought they should go.
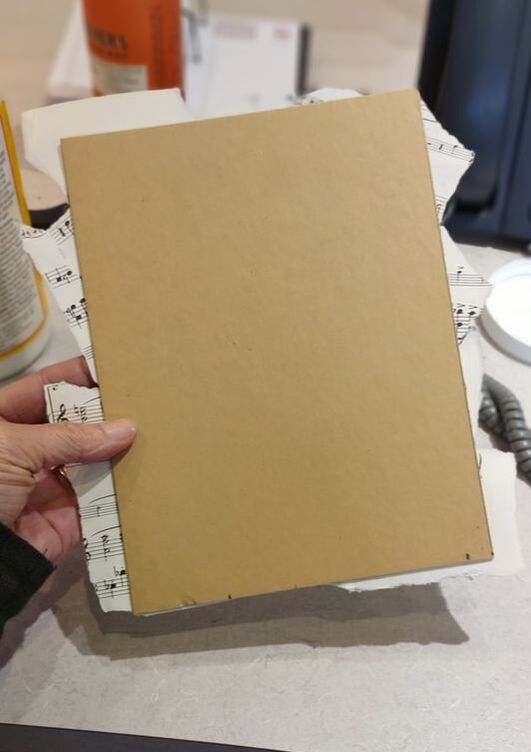
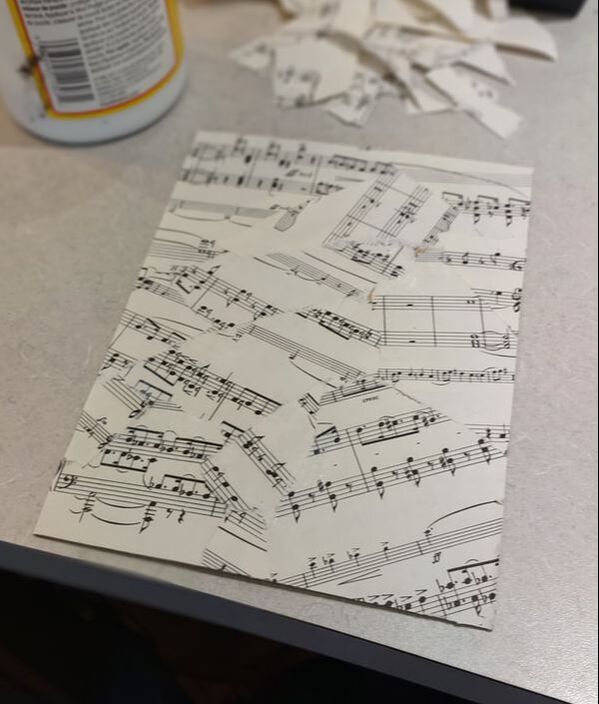
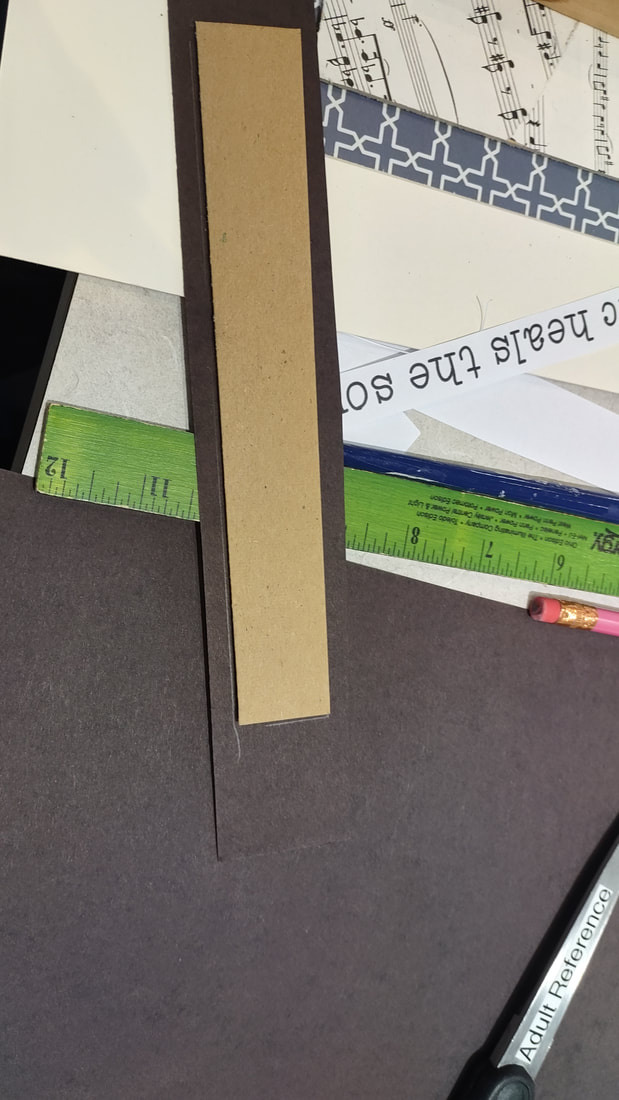
I used a smaller, about a 6x8, piece of cardboard for the focal point of the craft. I used sheet music to cover this piece of cardboard for something eye-catching. I chose to rip it up into pieces and glue it down, but when I did this a second time, I chose to glue down the sheet music as it is normally. Then, I glued down my keys with hot glue, making sure they would lay nice and even (I had to rip them off at some point because it was crooked, what a mess!).
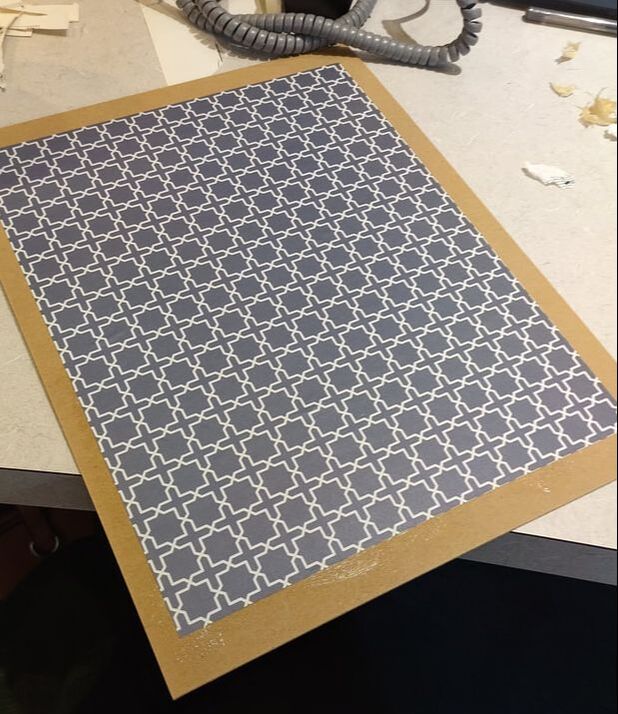
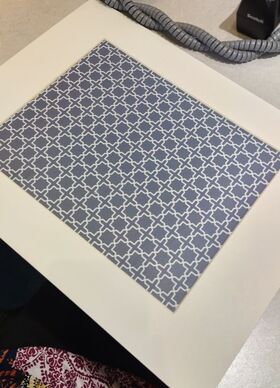
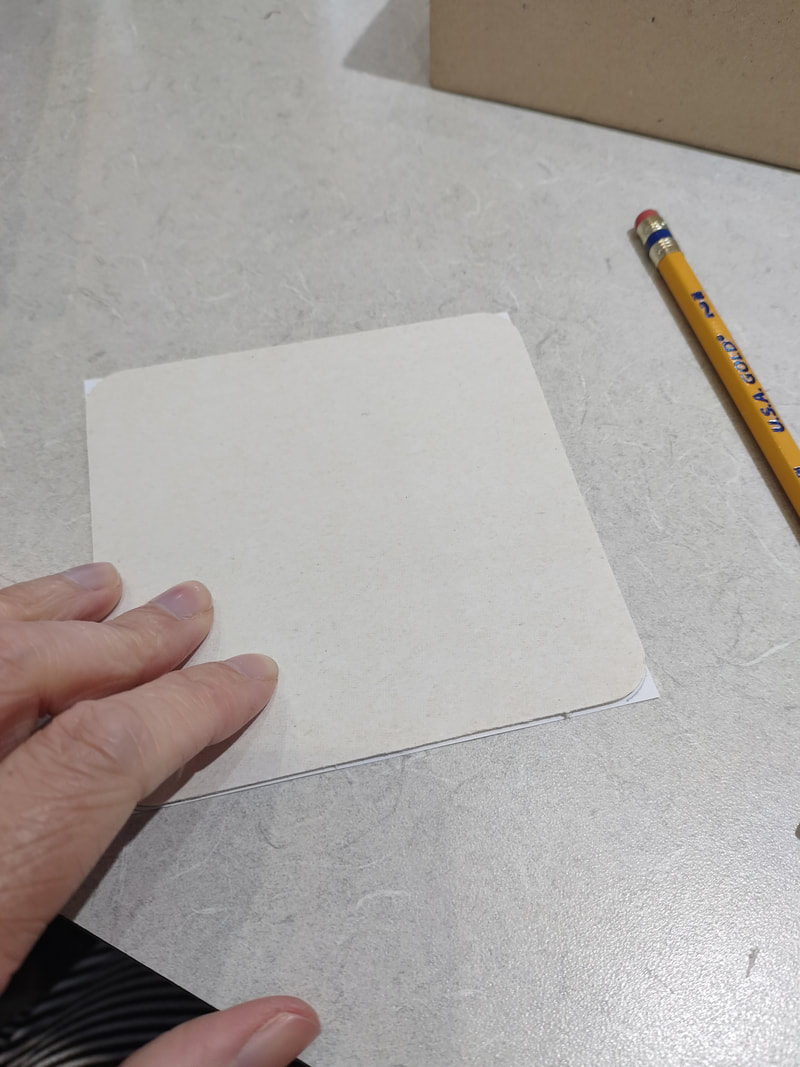
I was using a matt frame with a cardboard backing to create the frame part of the project. I glued down a piece of scrapbook paper that I liked to go with the whole thing then I mapped out where the backing would need to be glued so that the paper would look straight in the background.
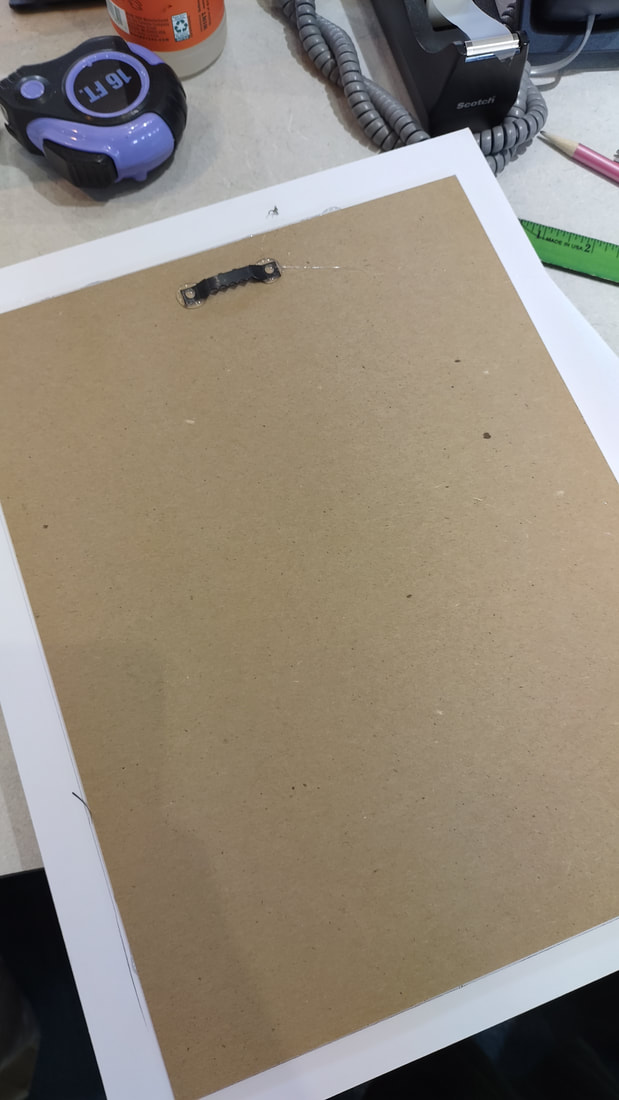
I thought the matt frame looked a bit boring and decided to add a little quote that I found online. I added a piece of cardboard to the back of this to give it some height and then some black paper to form a border around the words. Lastly, I finished it up by adding a sawtooth hanger to the back and it was perfect!
0 Comments
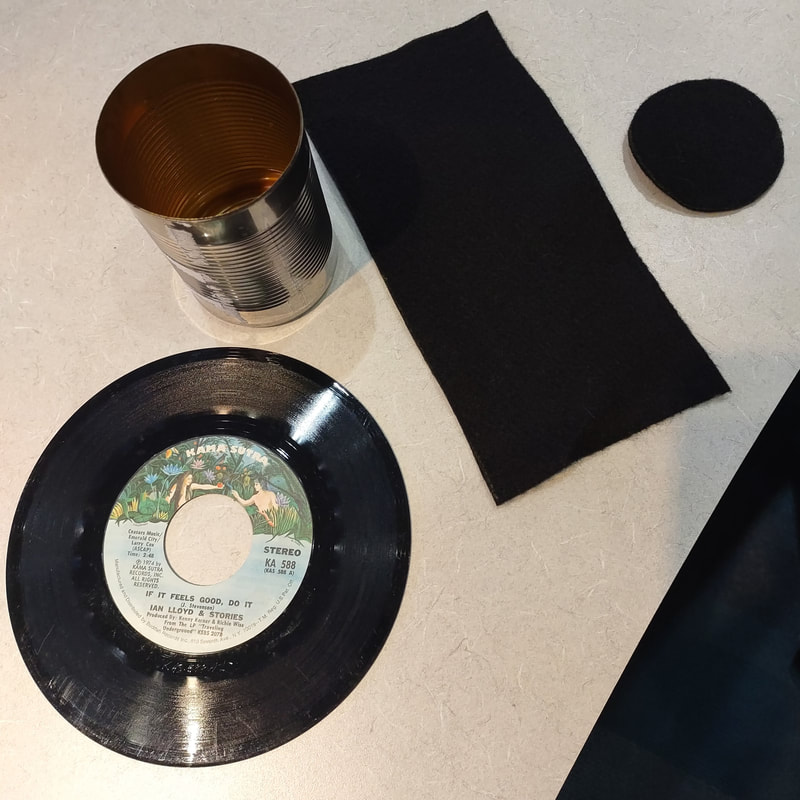
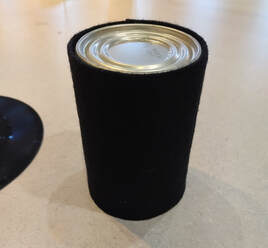
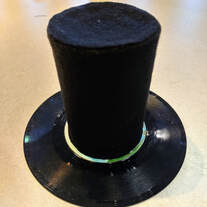
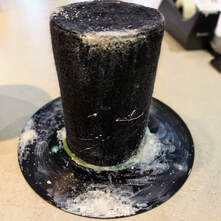
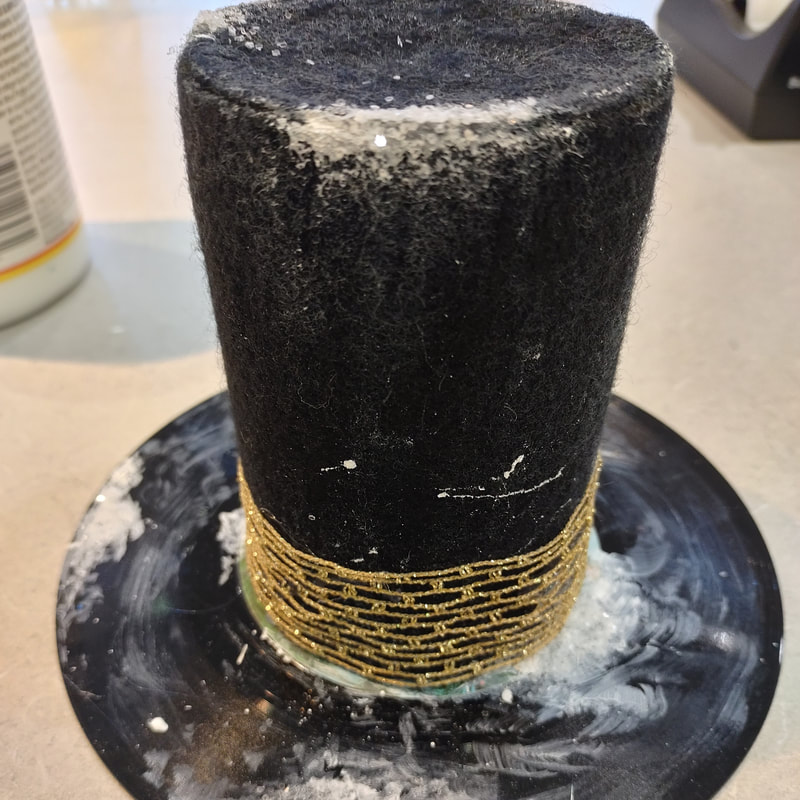
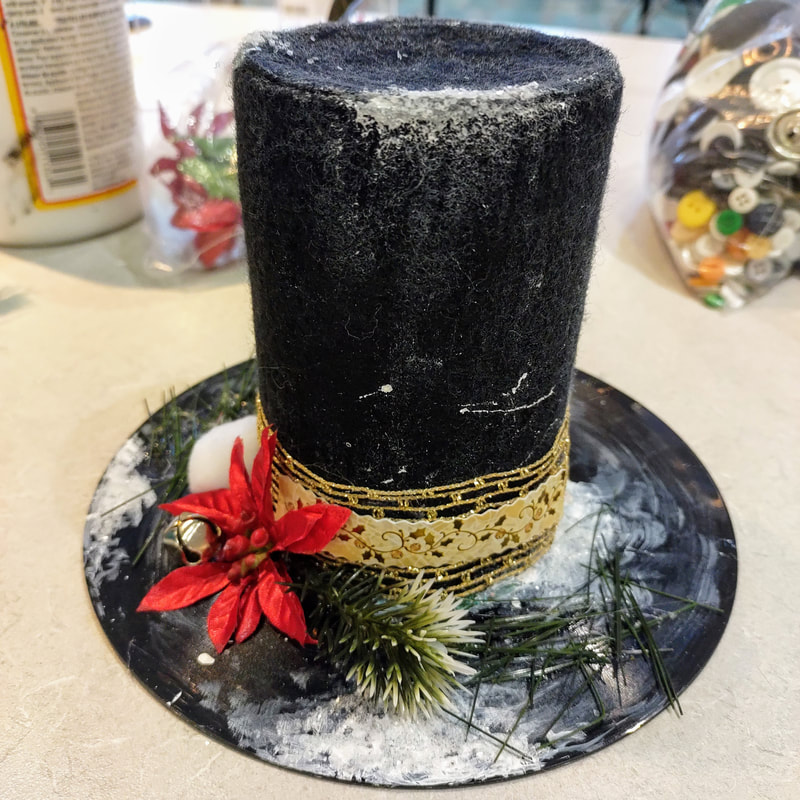
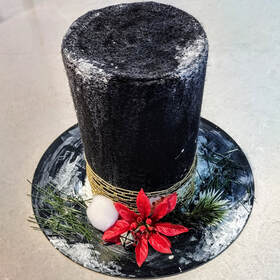 Helloooo winter craft! This is perfect for this time of year if I may say so myself! I actually did this same craft a few years ago using coffee cans and larger records so it was more life-size and it turned out awesome! When someone donated some 45s I couldn't wait to make a mini one with soup cans instead! Supplies:
To start with, I cut out felt/fabric to fit the coffee can around the sides as well as the top. I trimmed it down so there wouldn't be any overhang and hotglued it all to stay put nice and securely.
Next, I added a chunky piece of ribbon around the base of the soup can and lastly, finished up the whole thing by adding some extra pieces I had lying around such as: pom poms, holly leaves, poinsettias, Christmas buttons, beads, artificial pine pieces, etc.
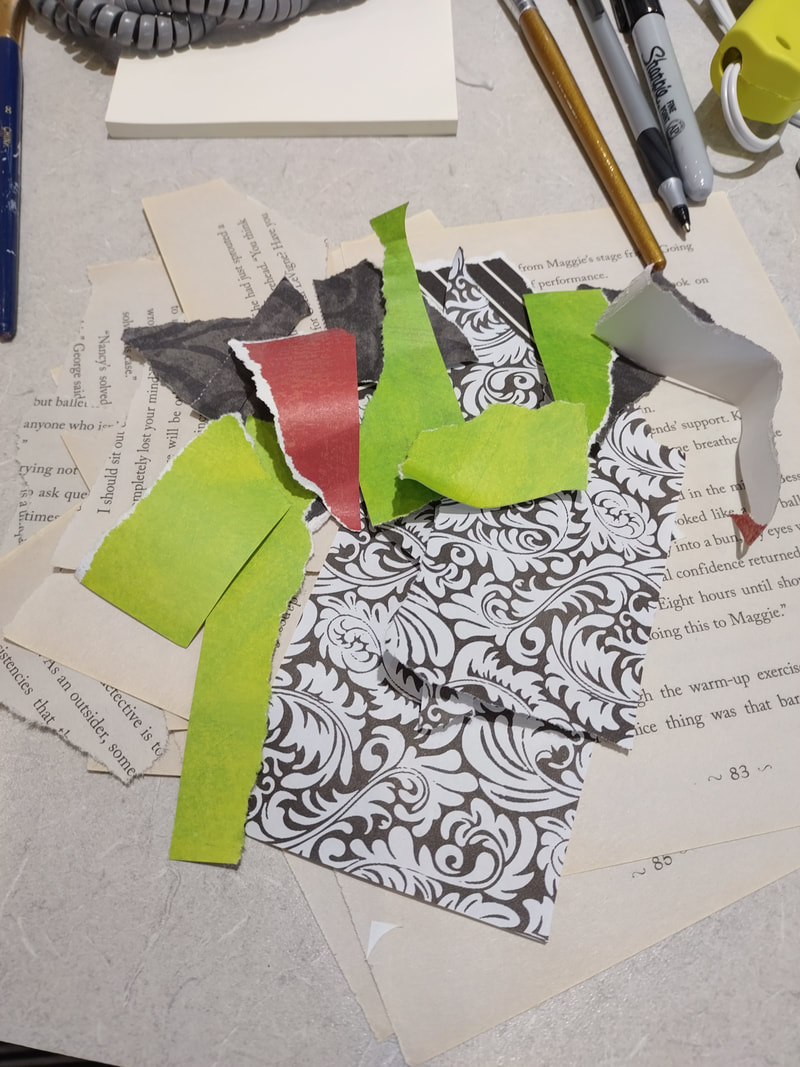
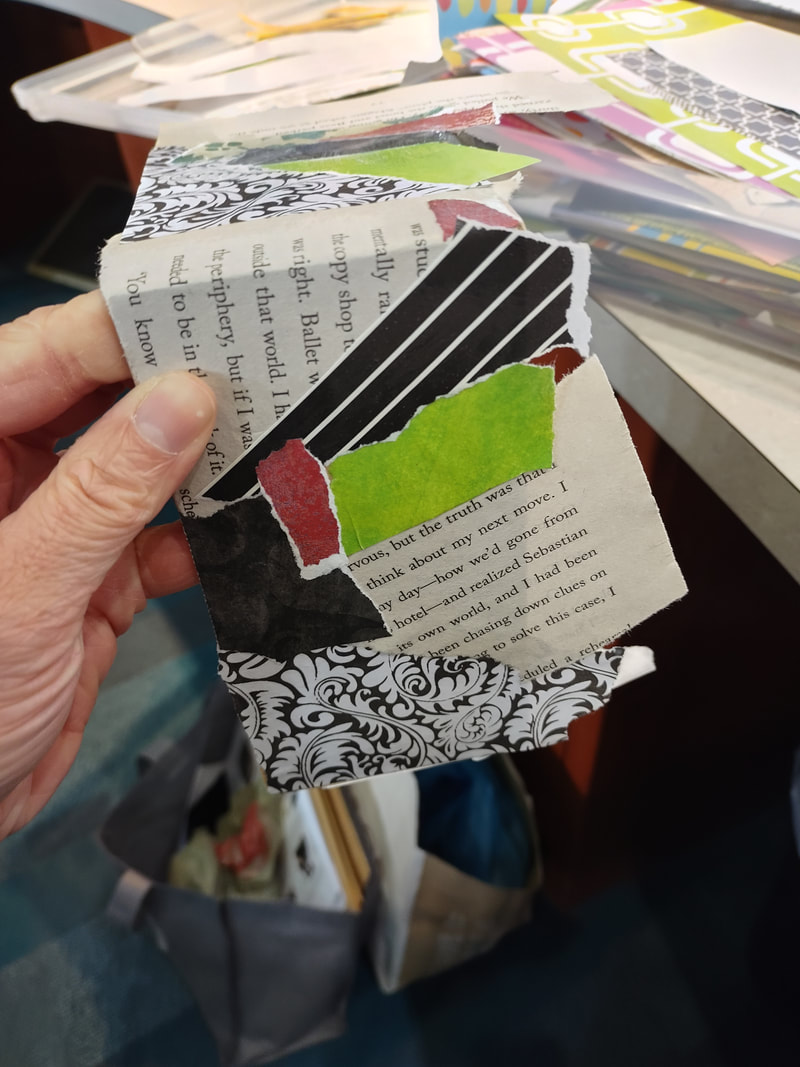
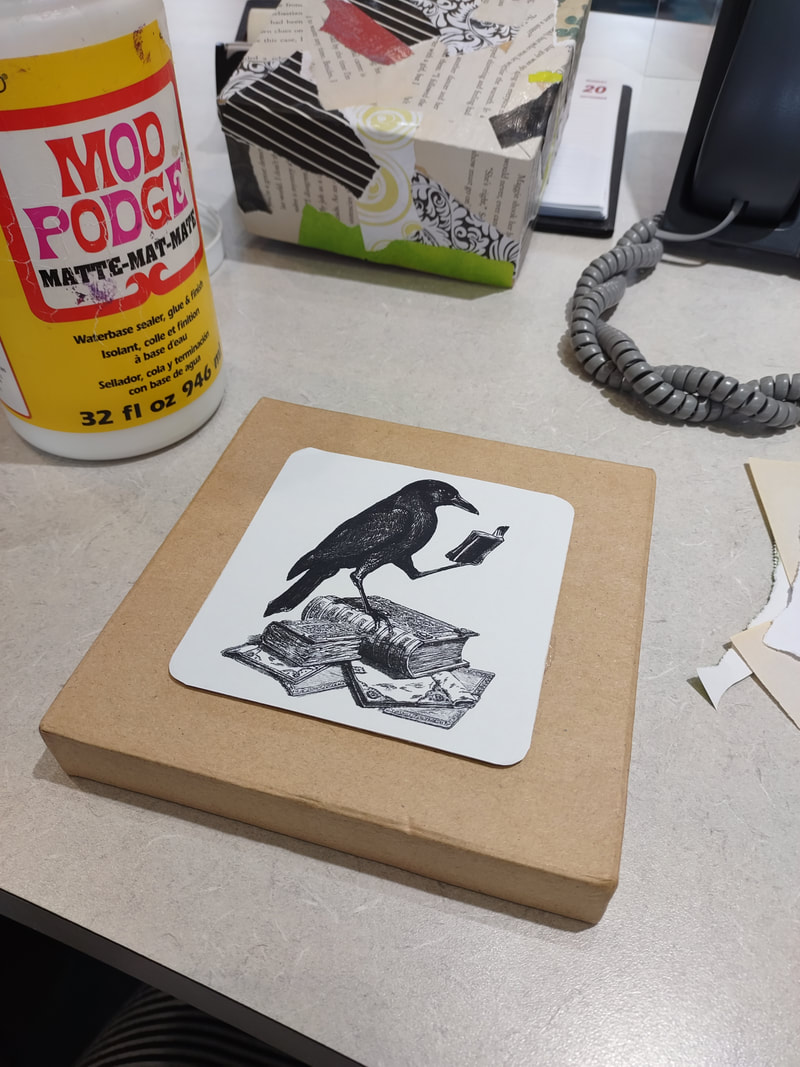
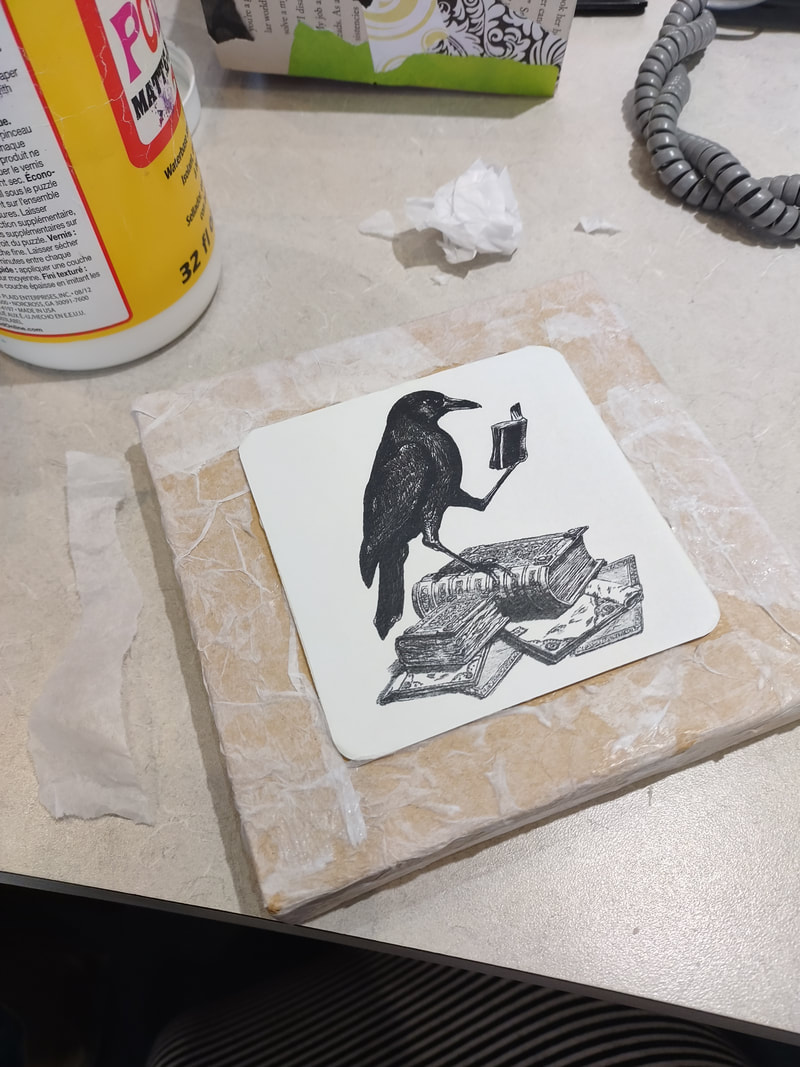
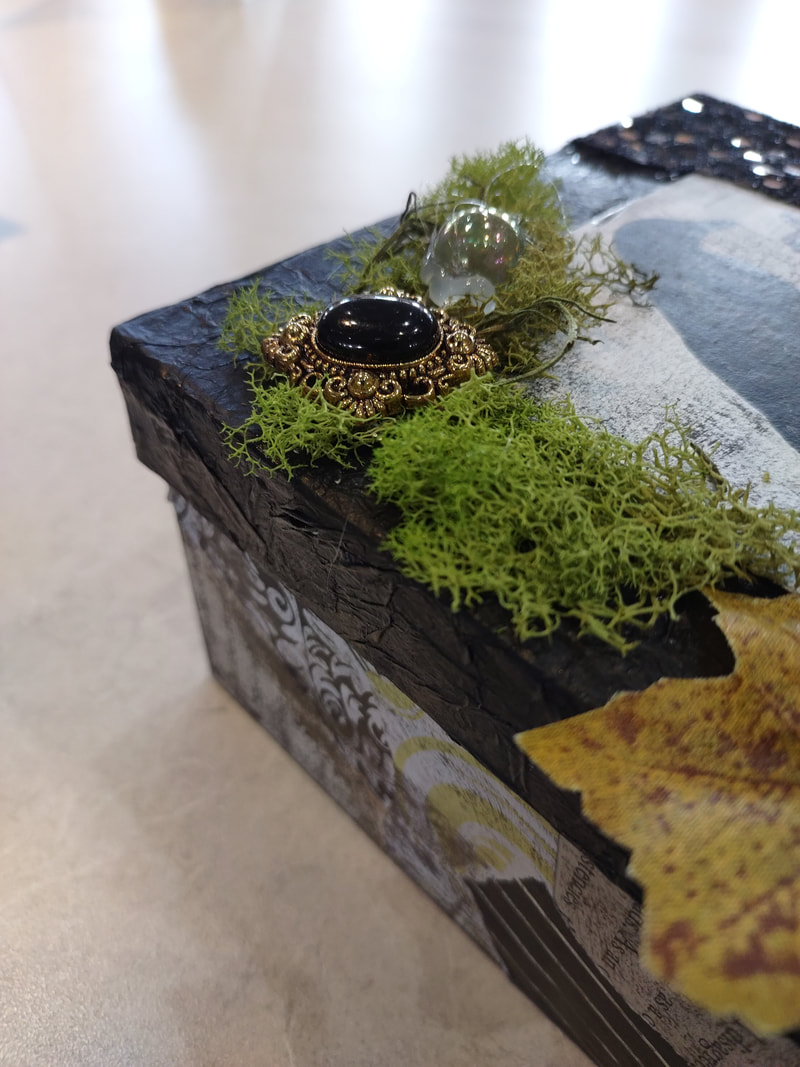
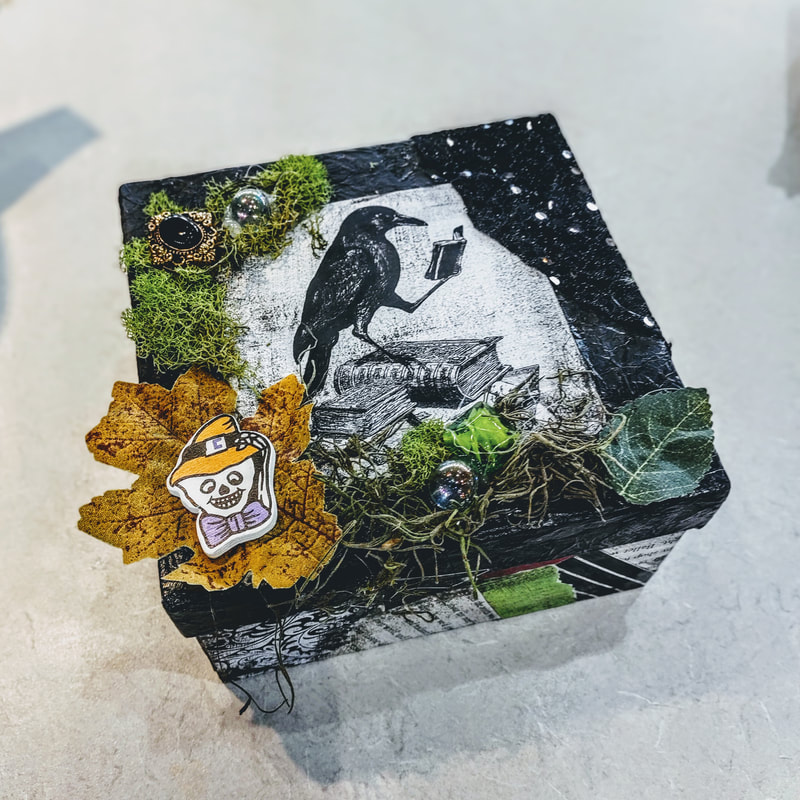
This craft was very similar to my spooky Halloween post from September but I still thought I'd share because, why not! This craft was to go along with the book "The Witch of Blackbird Pond" for our millennial book discussion where we do a craft to match the book! We had a stash of these cardboard craft boxes and, as usual, I wanted to do something that didn't cost us anything and this is what I came up with! I started by grabbing random scrapbook paper scraps (yes, I keep those!) and began piecing them together with mod podge to create this cool, almost Sally-looking pattern on the bottom half of the box. I kept going until the whole thing was covered, including the bottom. Around the top edge you may have to trim some pieces away so the box can still shut or us a piece of sand paper to smooth out the edges.
Next, I printed out a black and white vintage clipart image of a blackbird and mod podged that to a white chipboard coaster I had from a previous craft. Then I hot-glued this to the center of the lid.
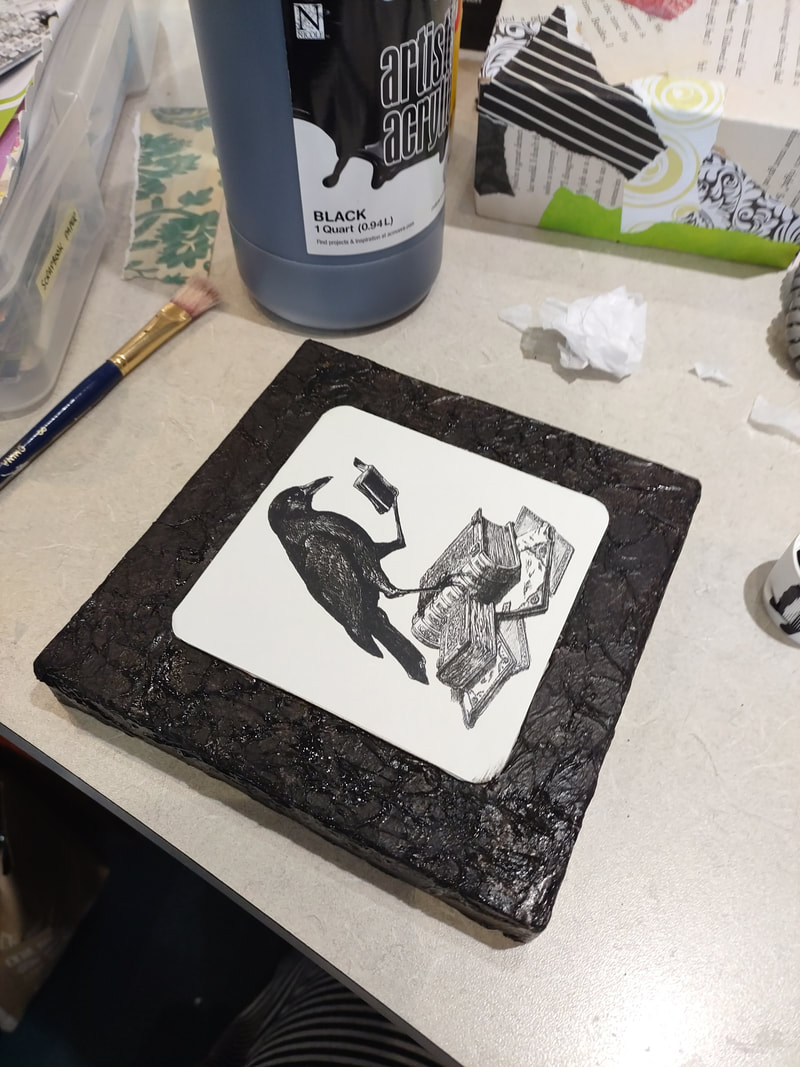
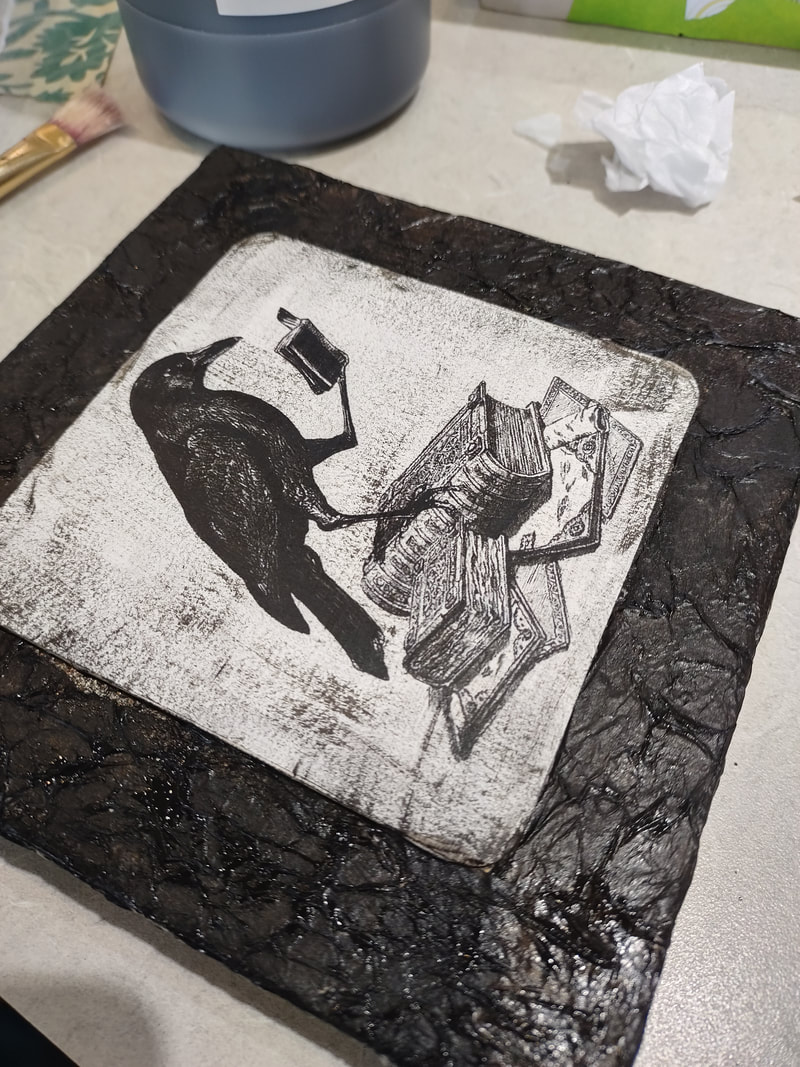
I crumbled up pieces of tissue paper and glued that around the center image. Once dry, I then painted all of the tissue paper black and distressed the white blackbird image by lightly brushing my paintbrush across the coaster (putting a little more pressure around the sides. I ended up doing the same to the scrapbook paper on the bottom of the box, not pictured).
Lastly, I finished up the box by adding fun "things" to the top! I used moss (leftover from our wedding!), old jewelry, buttons, beads, marbles, Halloween pieces, etc. to make a really interesting top! For this program we left the inside of the box blank but you could really do a lot to it!
 Hey there, it's been a while... again... sorry. It's been months since I have posted and, like usual, I seriously don't know how that happened. Social media is hard. Keeping up on writing, photographing, and scheduling posts is a lot of work and working full time while trying to do what I love was not sustainable. So a little life update for you...
I applied, interviewed, and got hired in a brand new position in the library system that I work for. This job is one that will give me so much more time to work on my own art full time and work a job part time but still having the flexibility of picking up extra shifts as a librarian when I want. I'm very thankful to have been given this opportunity and to have a husband who supports my passions and encourages me to strive for them. I'm very excited about what this means for our life, it's going to be such an exciting change and I'm so ready for it! However, I will sadly not get to do art programs anymore for the library. At least not as of yet. I'm not sure if I will continue trying to do innovative craft projects for the blog on my own, as almost all of the crafts I posted were associated with my job but maybe that will change with some time. I would like to do some but I have to have the supplies and time first. For the time being, I will share my last remaining crafts I did within the last few months and maybe I'll be coming back with new fresh projects at some point too! If you have any projects ideas or something you would like to see me try, please let me know! If you haven't noticed already, I particularly love doing projects with recycled/repurposed materials. If anyone is reading this, thank you for reading my randomly posted blogs all this time :) |

Rebecca MyersHey there, I'm Becca, or Rebecca, but not Becky, never Becky, unless you're my family from down south! I'm a simply modern librarian by day and an artist by night. My pursuit is for a simple, happy, healthy, and more fulfilling life! I hope I inspire you to get crafty! Archives
March 2022
Categories
All
|


 RSS Feed