
|
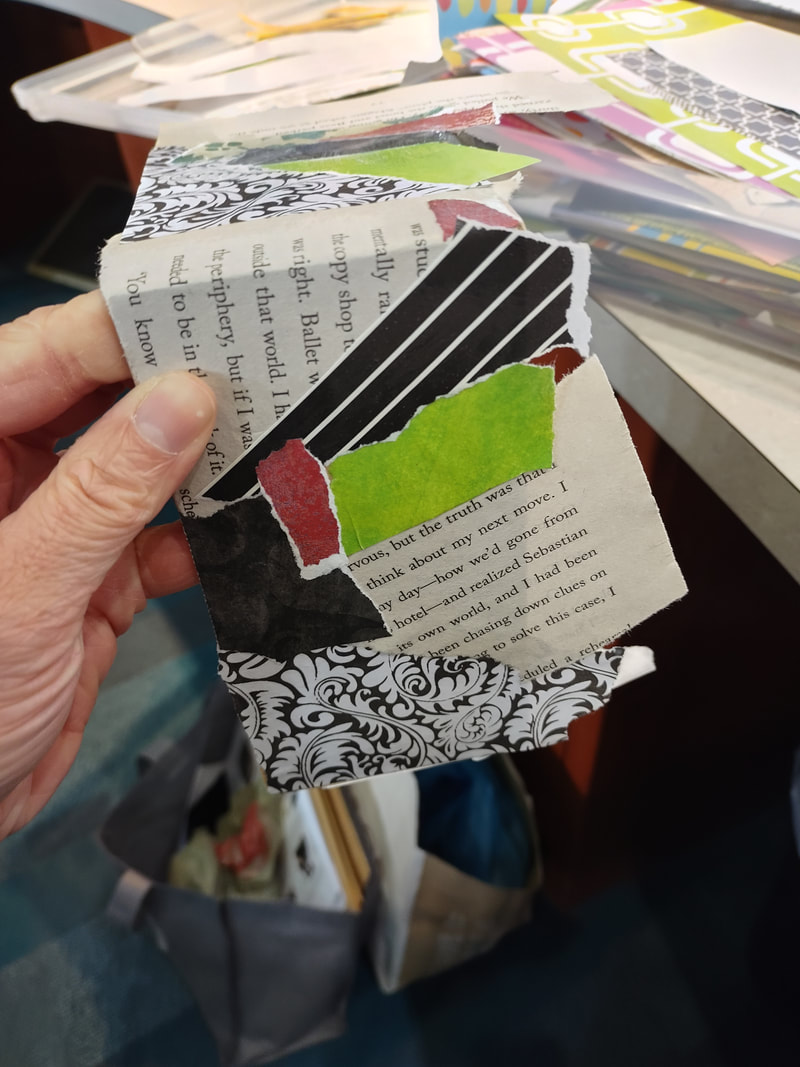
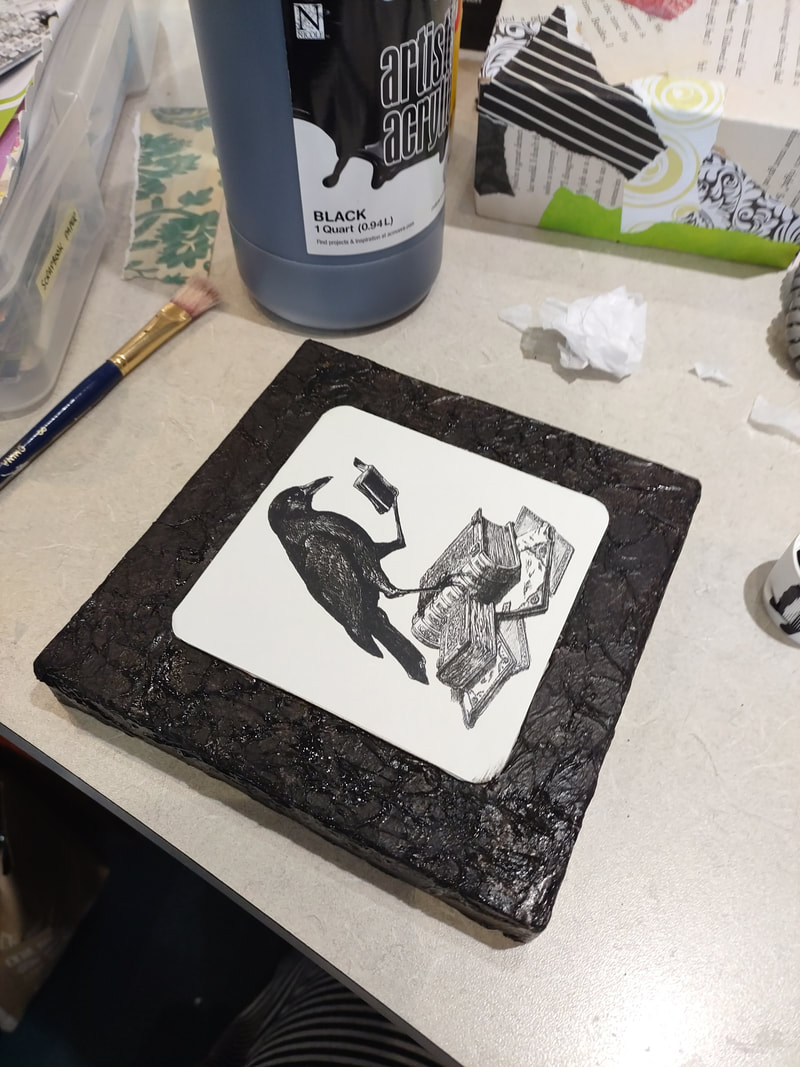
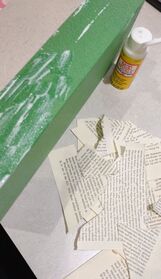
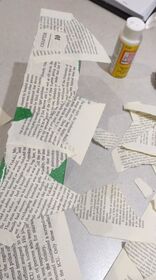
This craft was very similar to my spooky Halloween post from September but I still thought I'd share because, why not! This craft was to go along with the book "The Witch of Blackbird Pond" for our millennial book discussion where we do a craft to match the book! We had a stash of these cardboard craft boxes and, as usual, I wanted to do something that didn't cost us anything and this is what I came up with! I started by grabbing random scrapbook paper scraps (yes, I keep those!) and began piecing them together with mod podge to create this cool, almost Sally-looking pattern on the bottom half of the box. I kept going until the whole thing was covered, including the bottom. Around the top edge you may have to trim some pieces away so the box can still shut or us a piece of sand paper to smooth out the edges.
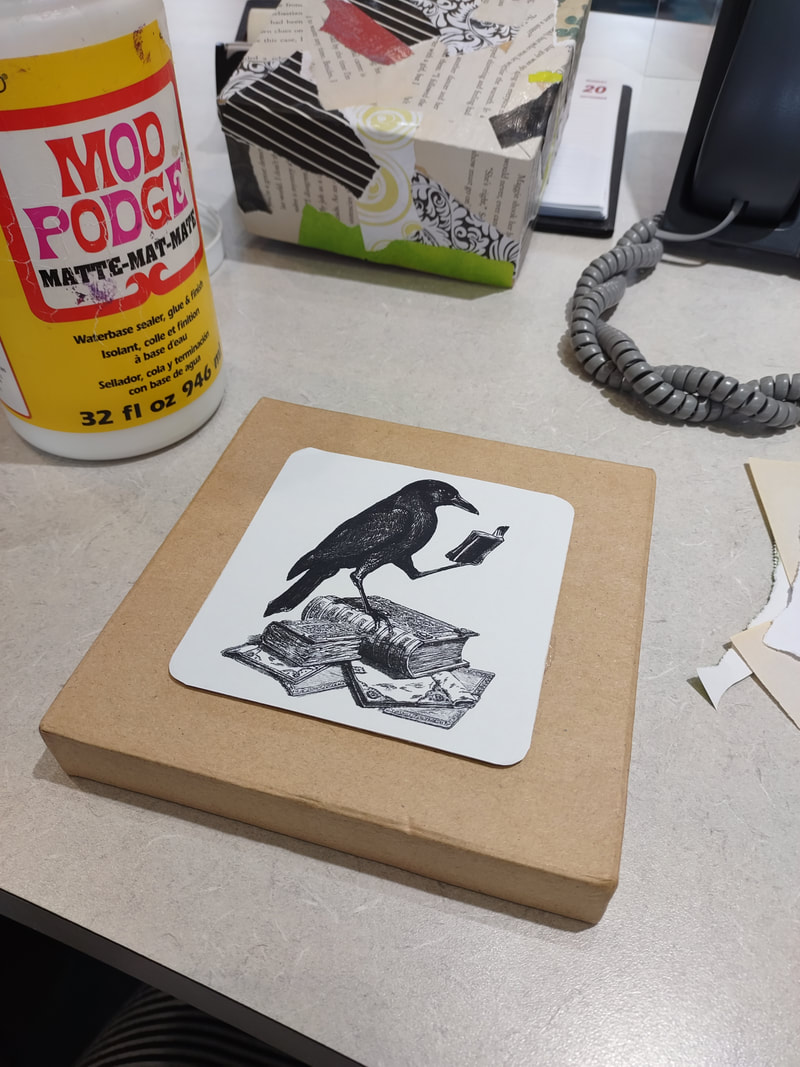
Next, I printed out a black and white vintage clipart image of a blackbird and mod podged that to a white chipboard coaster I had from a previous craft. Then I hot-glued this to the center of the lid.
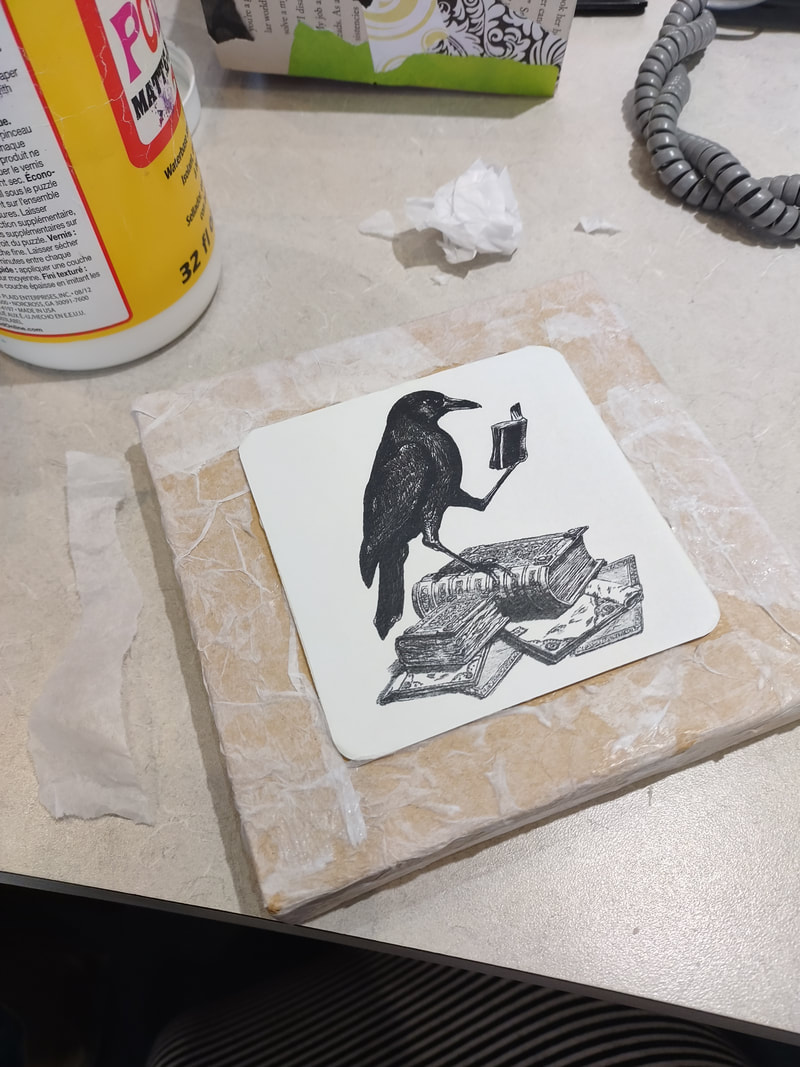
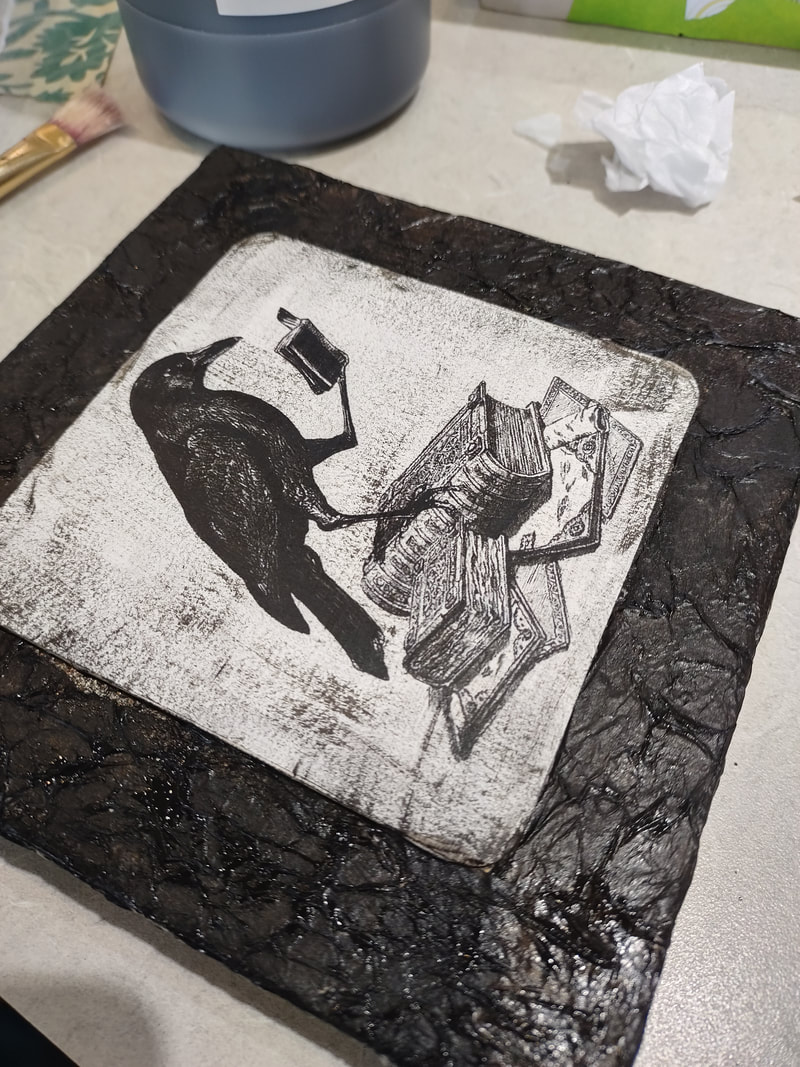
I crumbled up pieces of tissue paper and glued that around the center image. Once dry, I then painted all of the tissue paper black and distressed the white blackbird image by lightly brushing my paintbrush across the coaster (putting a little more pressure around the sides. I ended up doing the same to the scrapbook paper on the bottom of the box, not pictured).
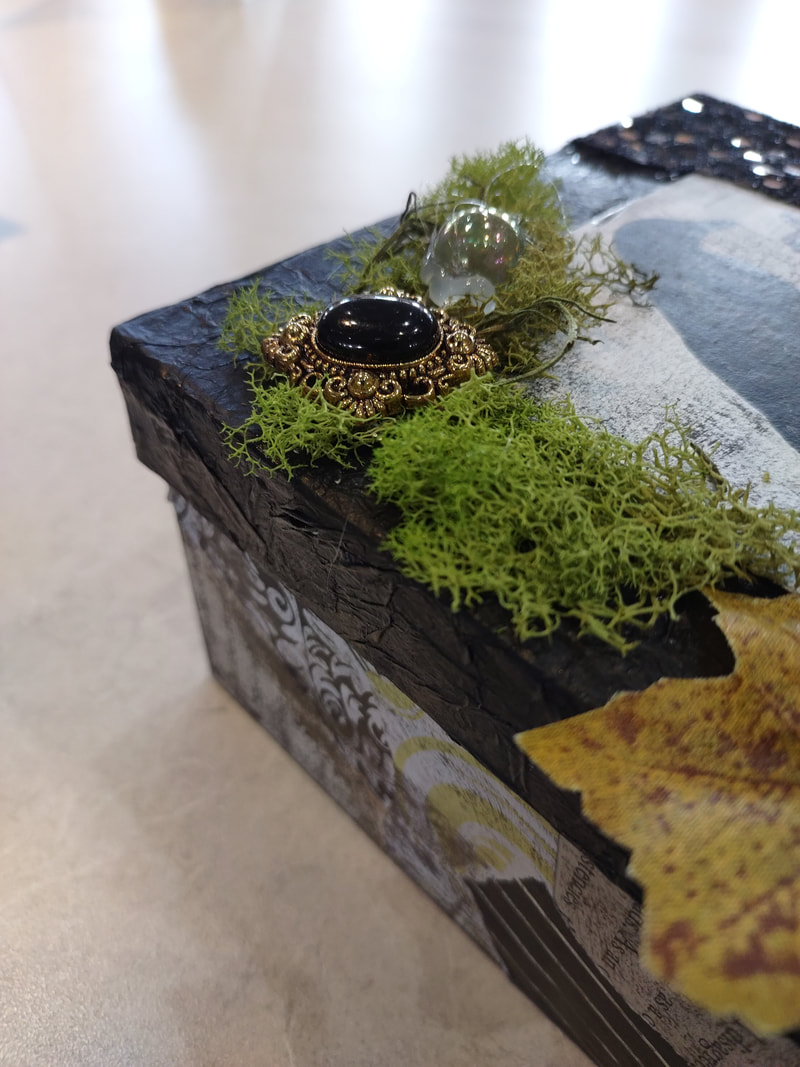
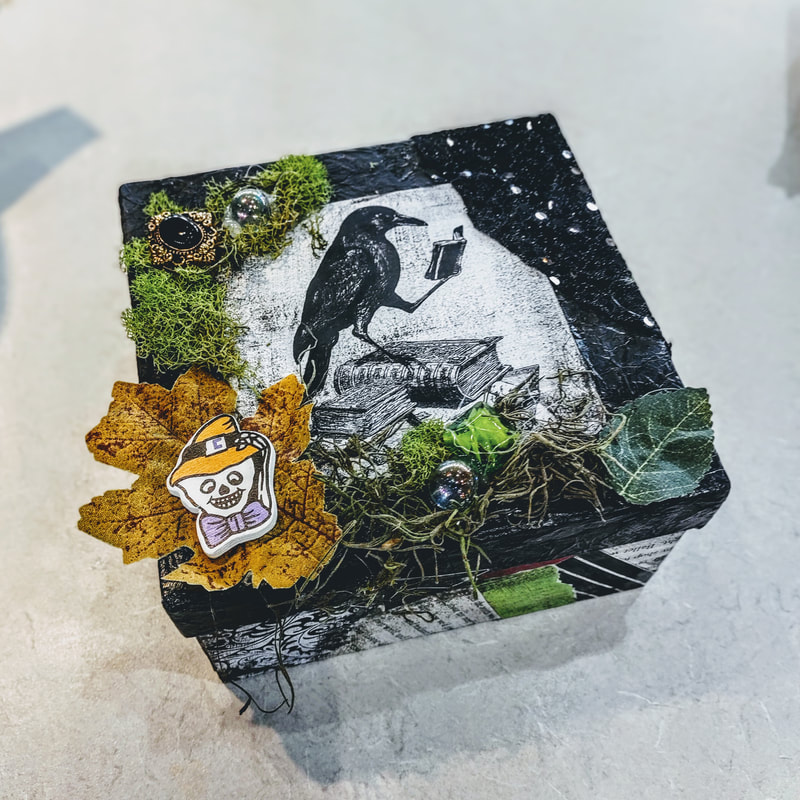
Lastly, I finished up the box by adding fun "things" to the top! I used moss (leftover from our wedding!), old jewelry, buttons, beads, marbles, Halloween pieces, etc. to make a really interesting top! For this program we left the inside of the box blank but you could really do a lot to it!
0 Comments
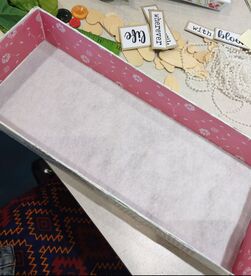
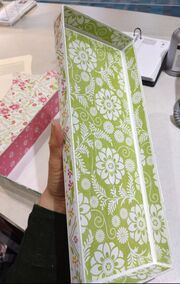
 I don't know if you saw my post on making Harry Potter wands but they were pretty awesome sauce if I do say so myself! The box I used for them came from a gentleman at work who likes to give me random things to use for my crafts. Well, he gave me some of the same style of box but they were double the width (if that makes sense). So I had to come up with something to do with them! I have a lot, so it will take a few different crafts to use them up, but, to start, I came up with this simply pretty trinket box! Supplies I used:
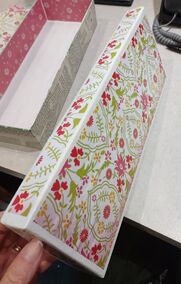
I had some of our staff at work help me with the prep for these. I had them paint the outside and inside of the lid as well as the inside of the box white. I did this because I knew the paper I was going to be using on the top wouldn't completely cover the green and I thought was a little too much to show through and thought white would be a softer choice.
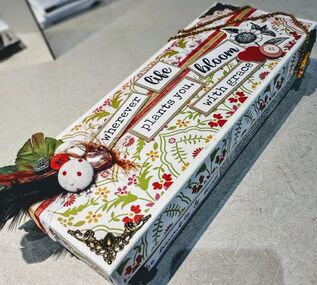
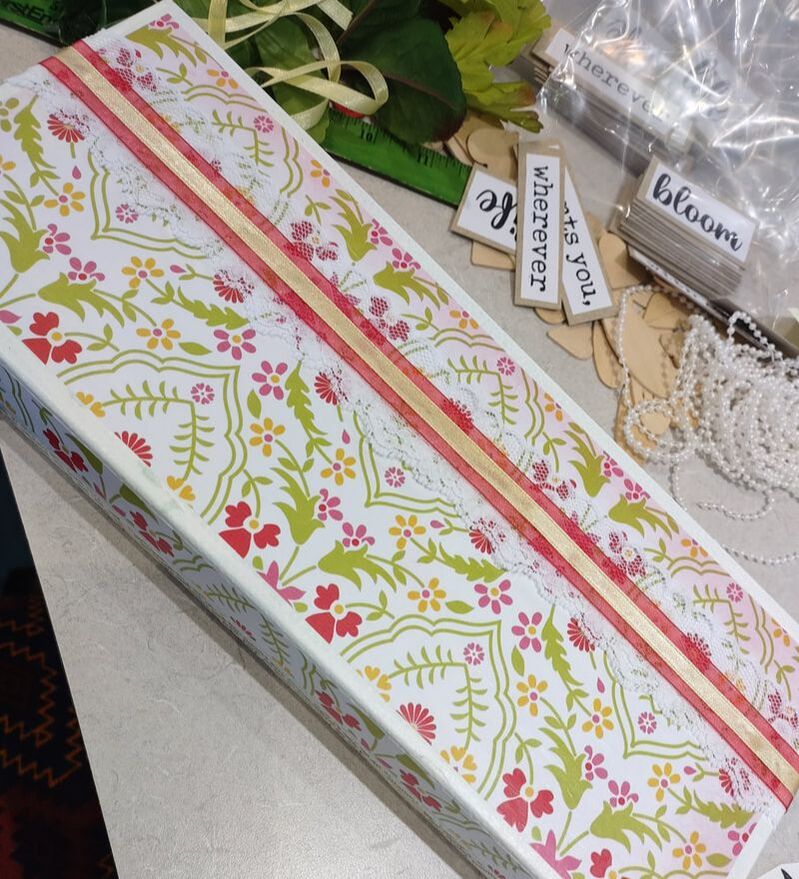
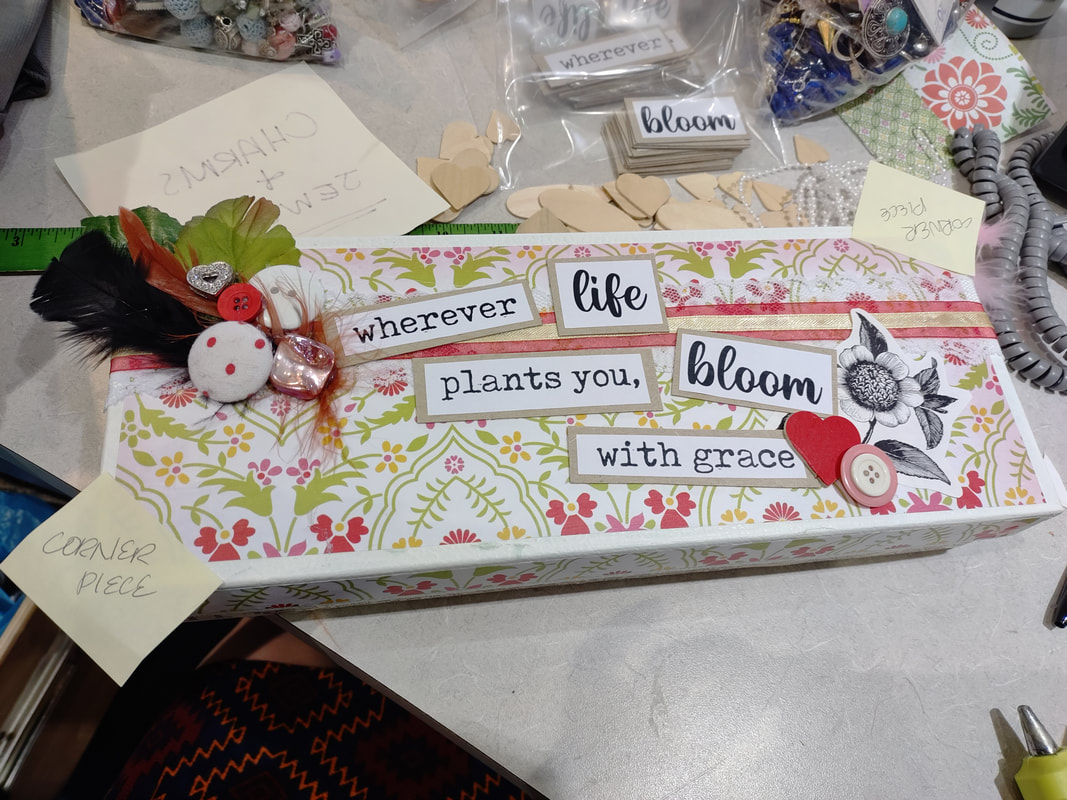
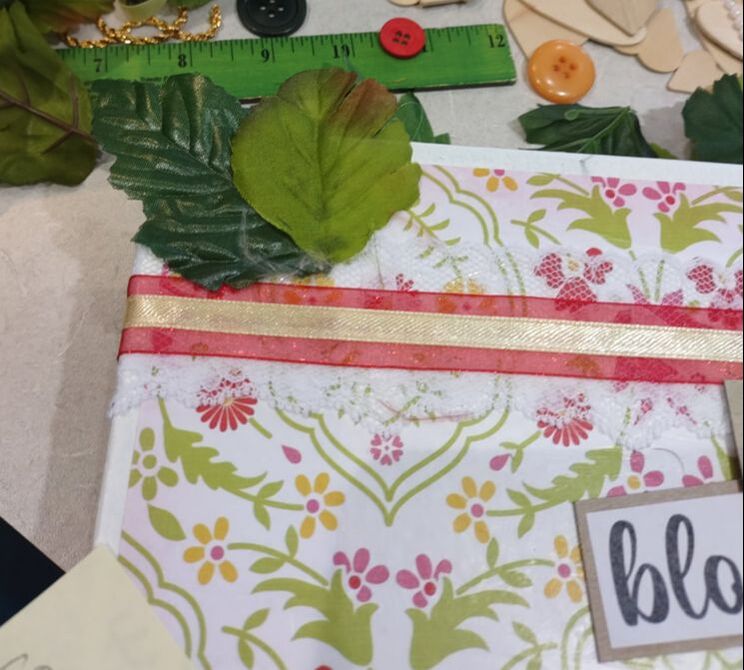
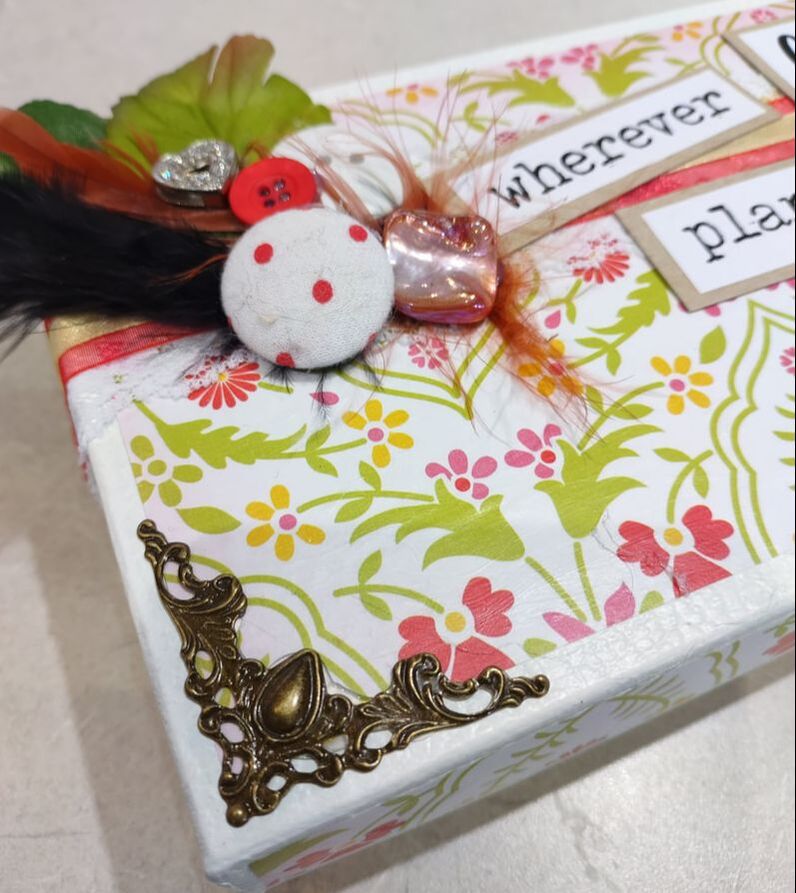
The next part is the really fun part! So, I did this for a virtual work program. This means that I made up prepacked "craft kits" that the participants picked up ahead of time. This included the box, soft vinyl, quote pieces, and embellishments. The quote I made for the box reads, "wherever life plants you, bloom with grace". I ended up adding another quote for the side of the box that read, "be humble and kind". I wanted these to be a little bit nicer than just gluing copy paper on the box, so I first glued them to a thin matt board and cut them out. Adding changes like this adds depth and texture to projects! The embellishments I included in the boxes ranged from all sorts of mismatched stuff such as: buttons, lace, ribbon, floral leaves, jewels, stickers, clip art, broken jewelry, feathers, etc. People are also always encouraged to add things they may have at home too. I laid out my quote pieces until I had them where I thought I liked them and glued them down with hot glue. I then started playing with my embellishment pieces. I have to say... this was shockingly hard! I could not decide where I wanted things and kept moving items back and forth and back again! Slowly, I started feeling happier with what I picked out for each item and began gluing them down, although apprehensively!
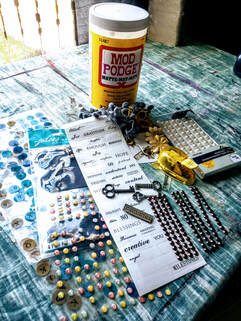
Essentially, to finish the box up, just keep fenagling with it until you feel happy! You can also always add more items later too, especially if you have something that is uniquely special in some way. Thanks for reading & crafting! 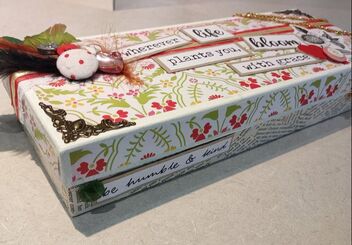 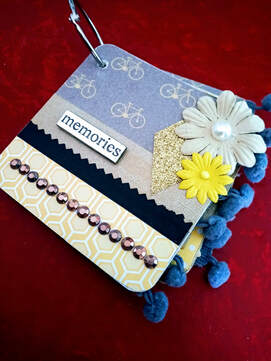 This is a quick project that you can give as a gift with pictures already in it or left empty for the person to fill. They're super cute and itty bitty! Something fun and different to brighten up any day. Supplies:
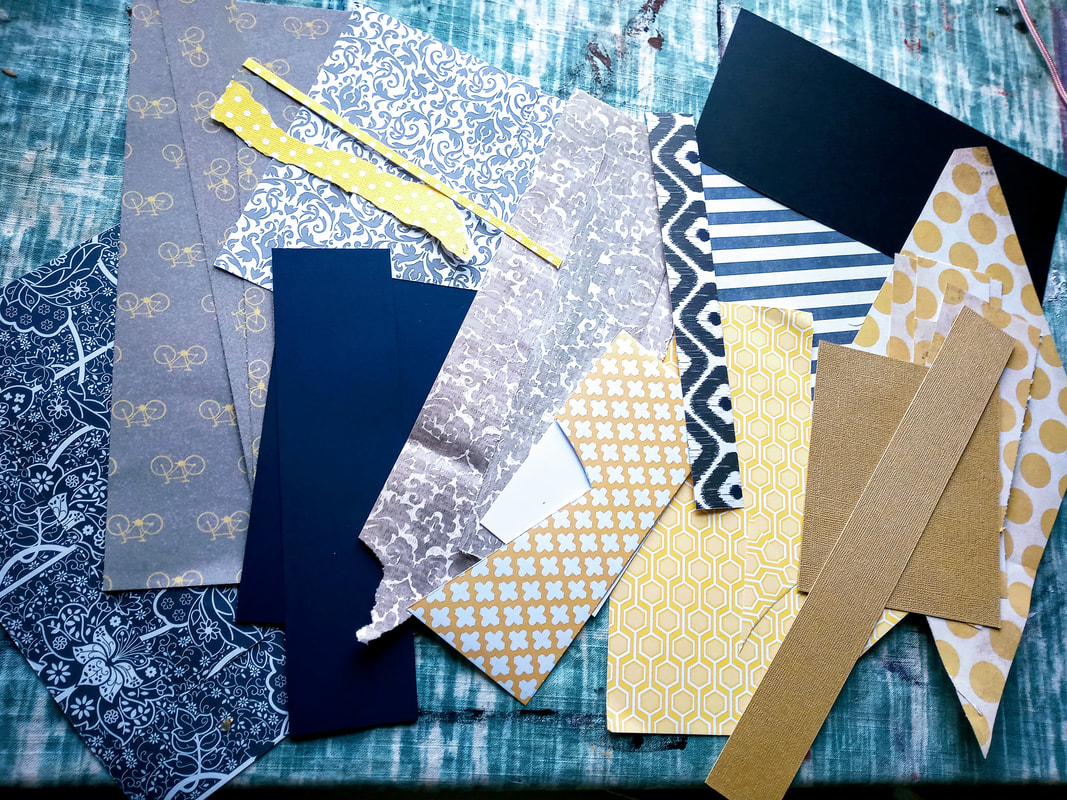
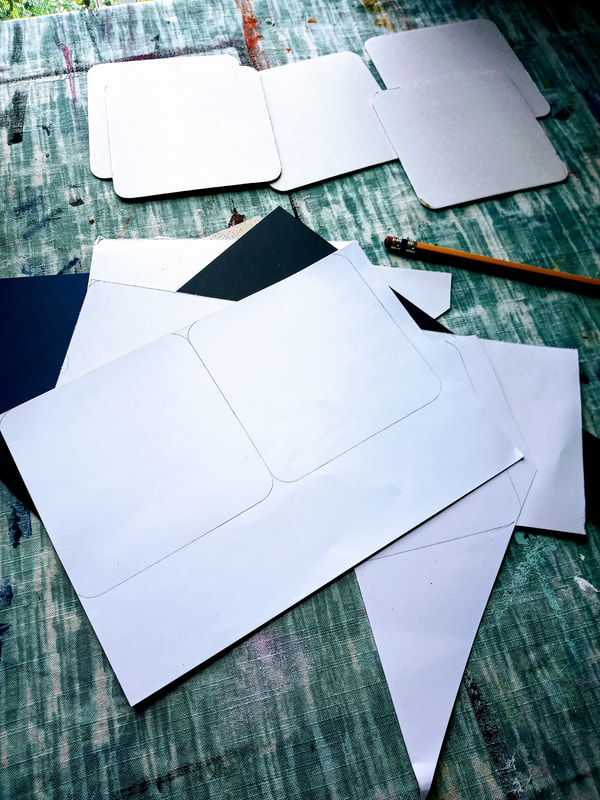
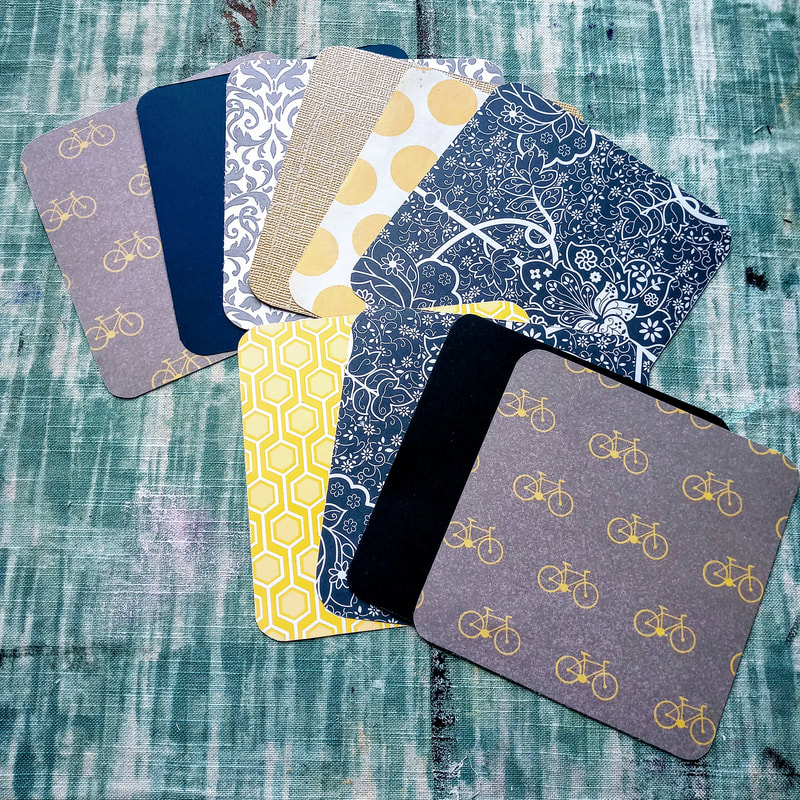
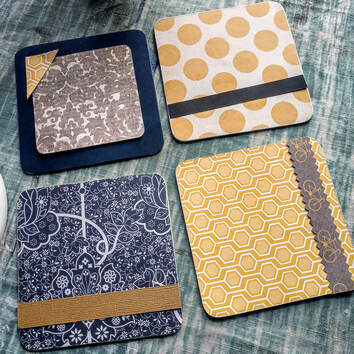
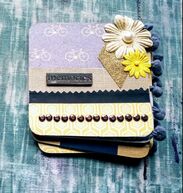
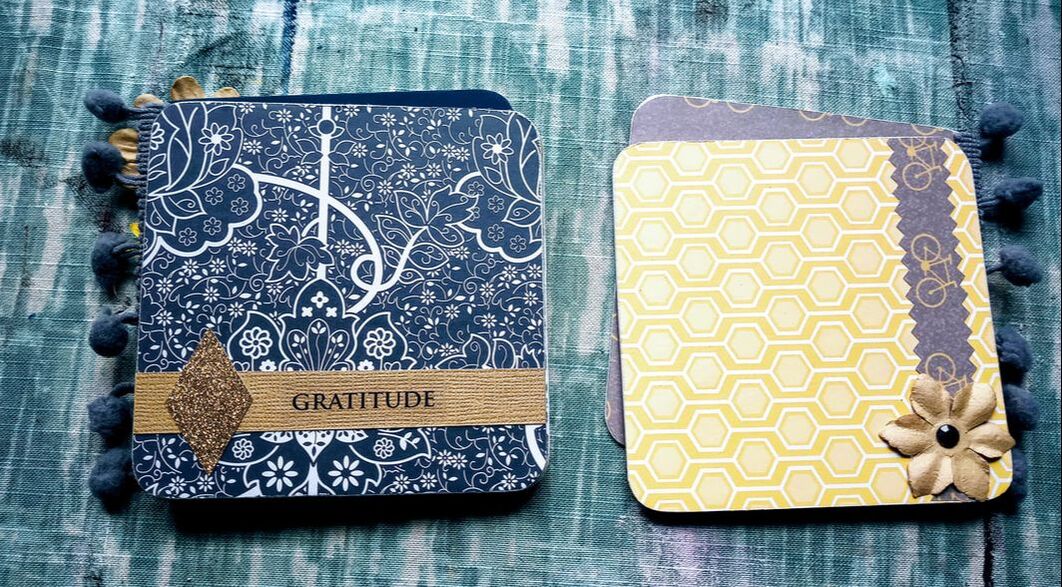
1. The first step for this itty bitty project is gathering all your supplies because there's a lot of potential components. I like to gather everything up that way I have all the supplies necessary near me and ready to go. This is where I picked my color scheme for my scrapbook (I used scraps from my scrap bag) and came up with yellow, grey, and navy. Pretty! I also gathered a pile of random stickers and other embellishments (I had no idea what I would use!).
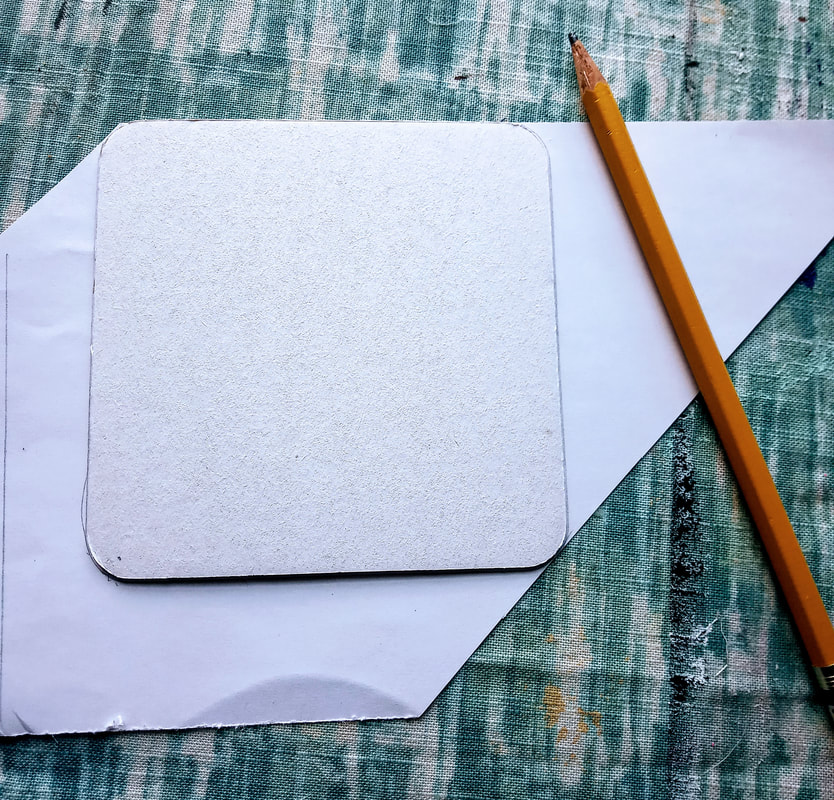
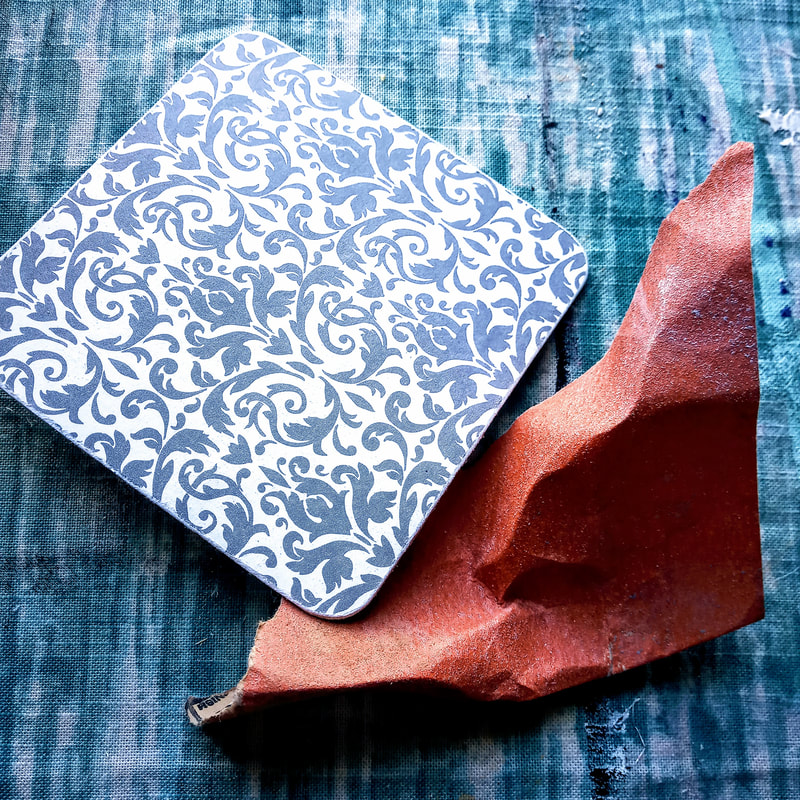
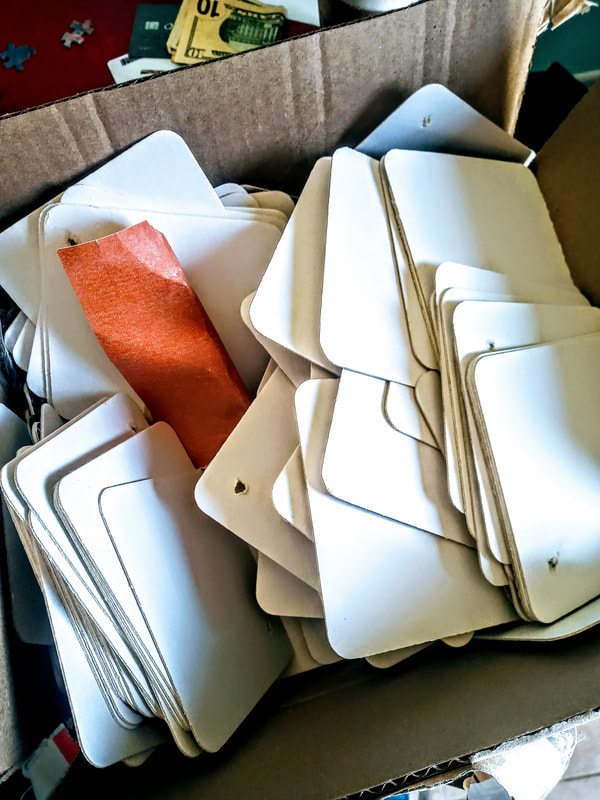
2. I then traced the coasters onto the backs of the scrapbook paper I would use for the main sheets so I could cut them out to size.
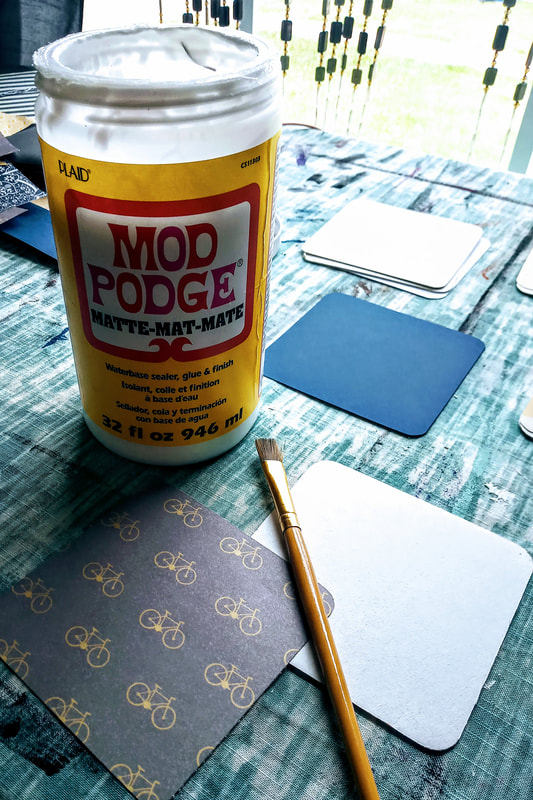
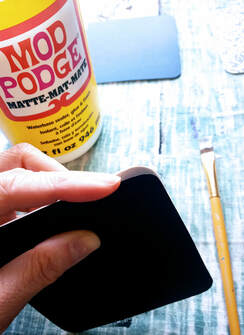
3. I decided the order of the pages that I wanted and laid them out on the coasters. Next, I glued the sheets onto the coasters using the Mod Podge and a paint brush. I did half at a time instead of trying to glue the whole sheet at once, that way I could be more aware of bubbles showing up.
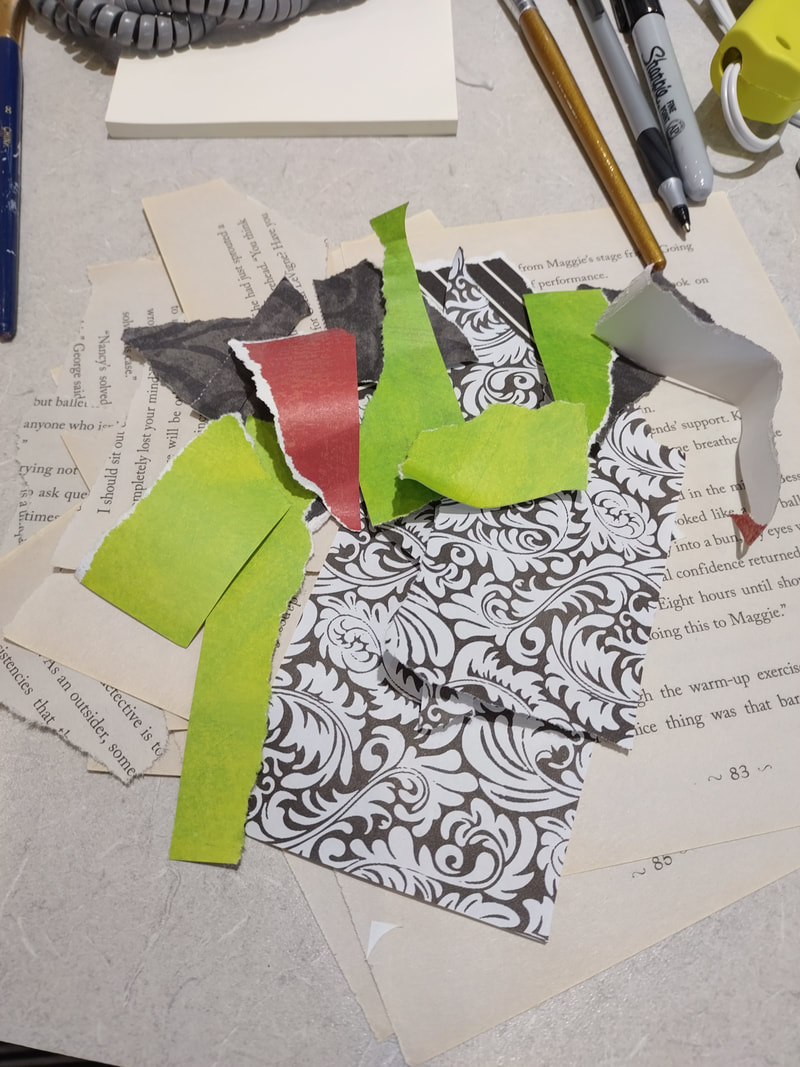
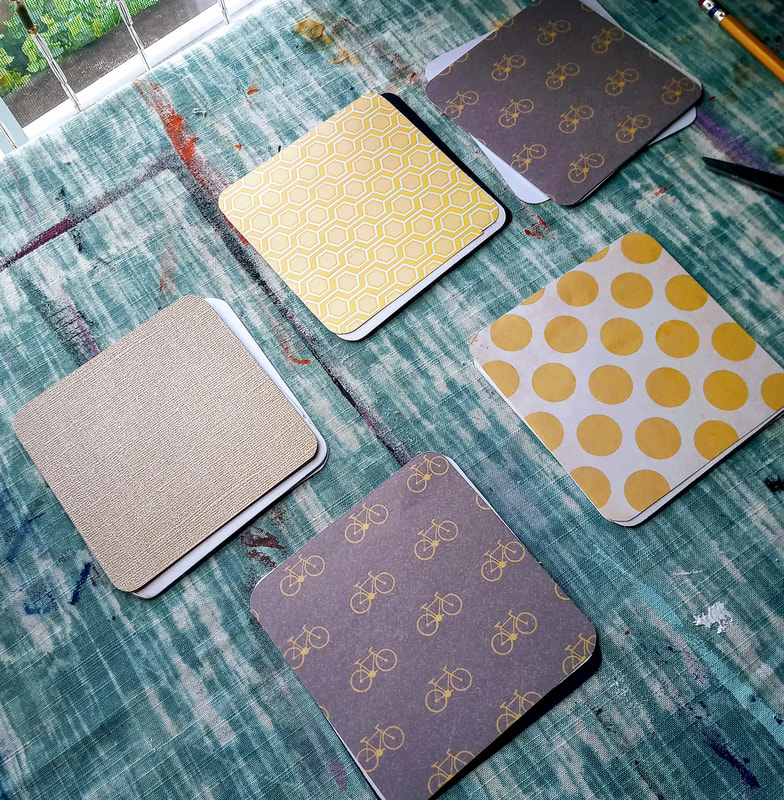
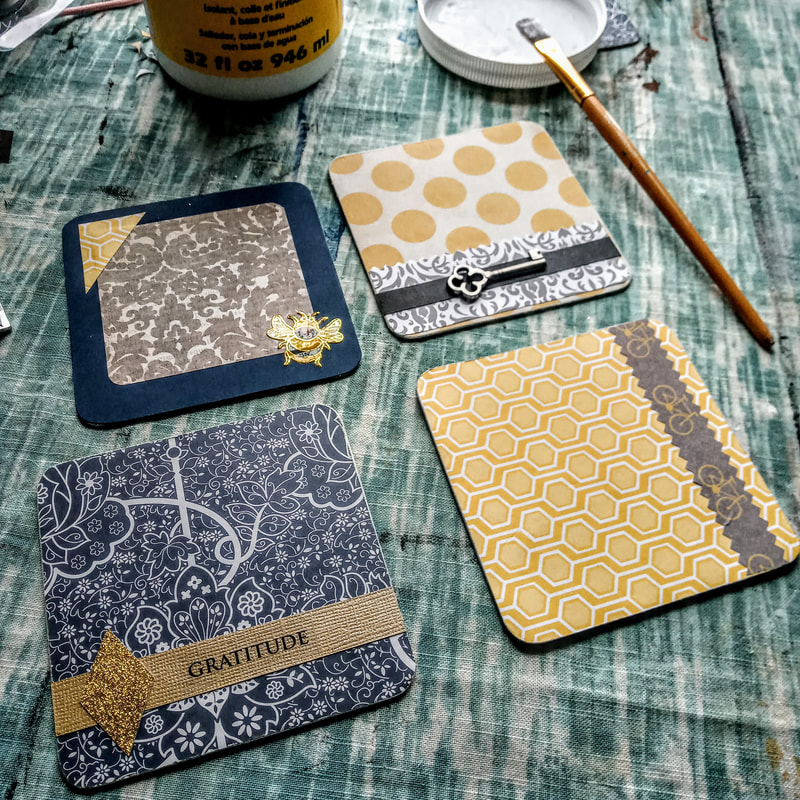
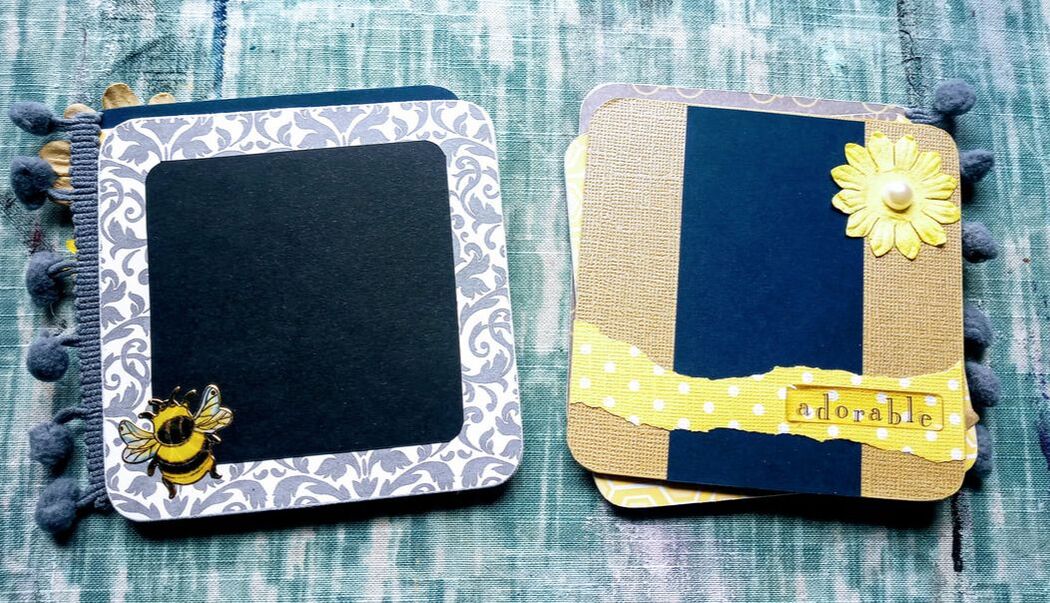
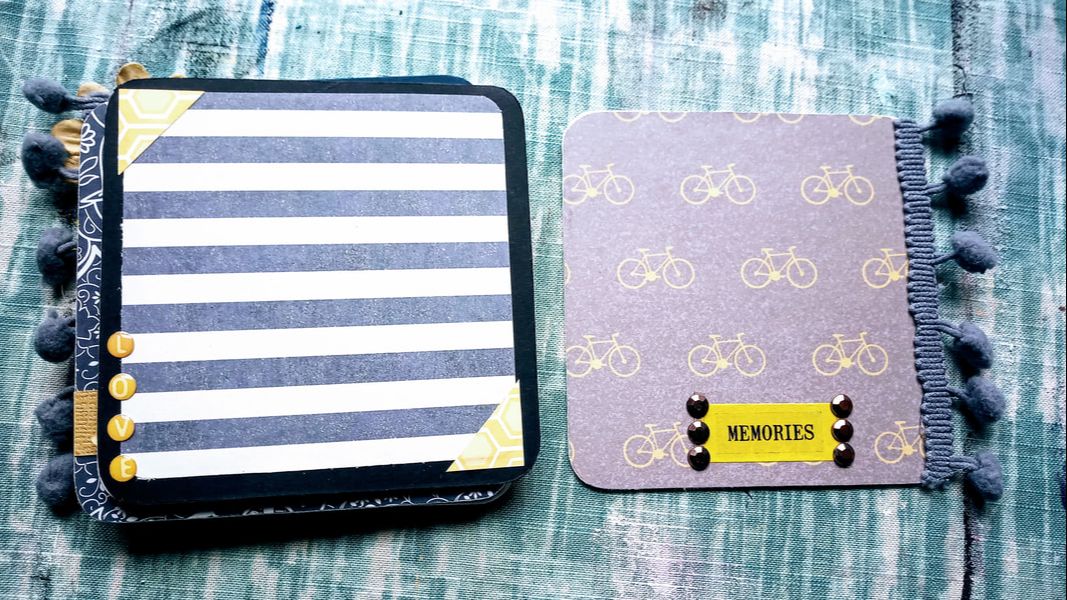
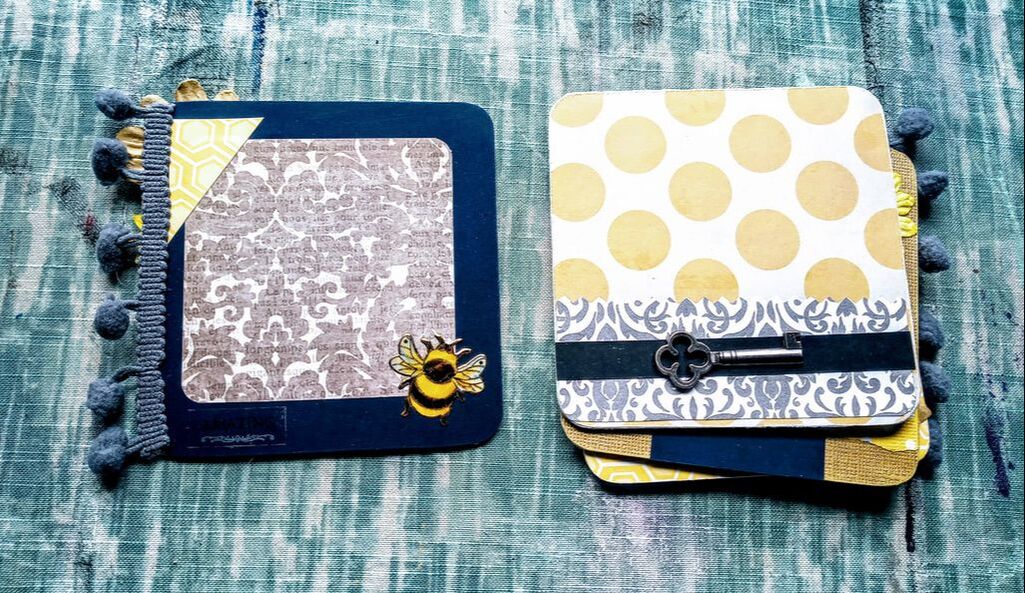
6. Start to plan out your pages by laying out the pieces and parts that you want to include before you officially glue anything down!
7. Mod Podge dries pretty quick so this part of the project will go fast. You can use a hot glue gun for heavier/awkward objects to secure them to the boards.
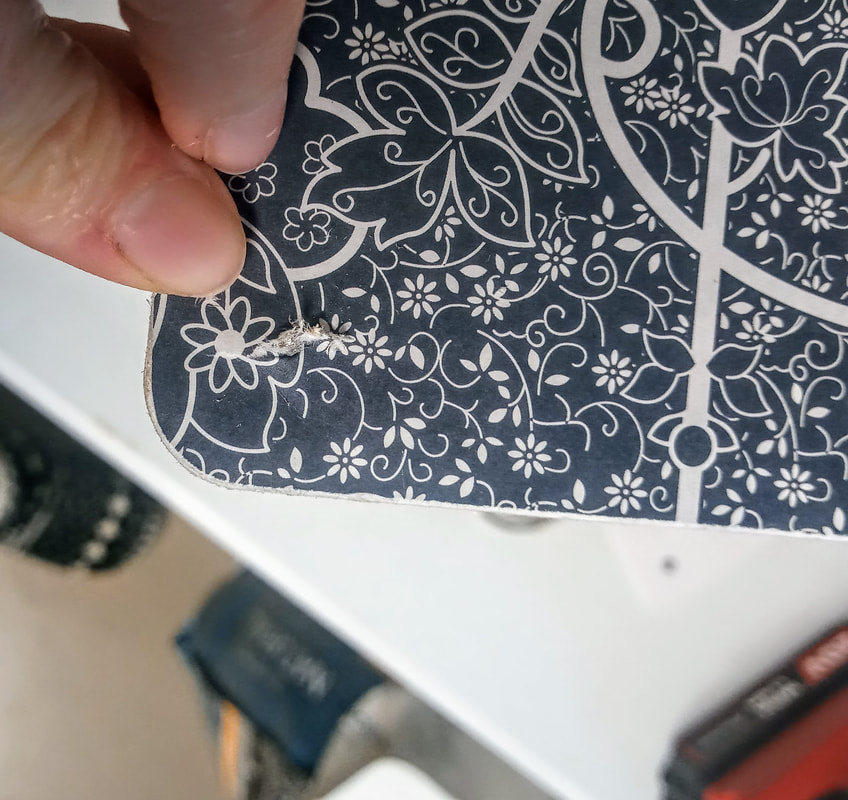
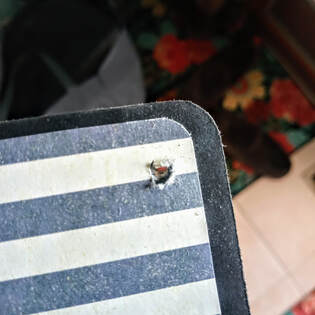
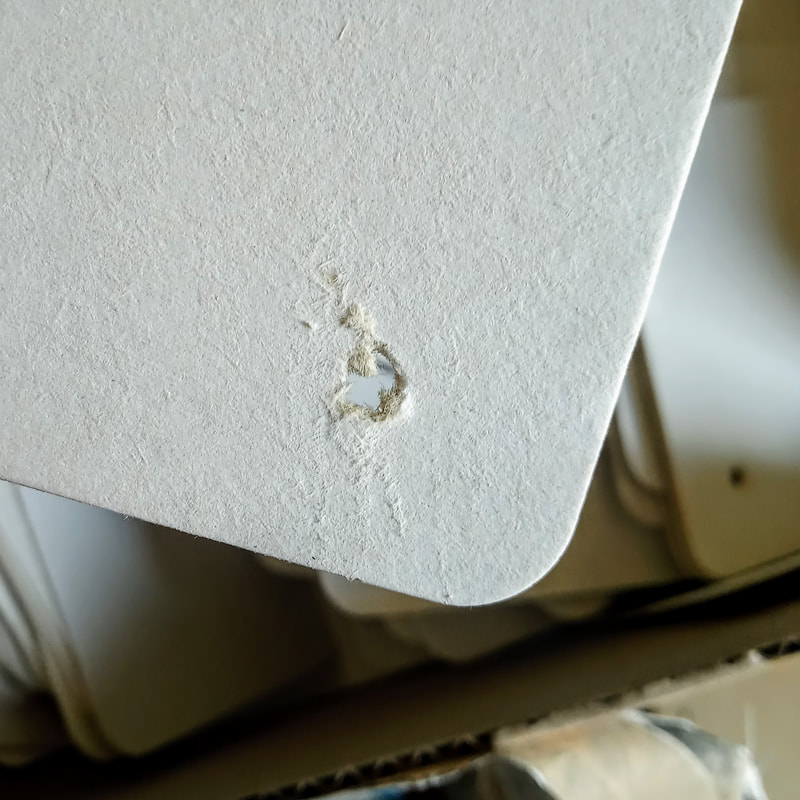
8. Looks super cute, right?! Well, this is where I realized... oh crap... how do I hold it together?! I looked up some ideas and liked the nonrestrictive binder ring option. But, this meant there needed to be holes for the ring to pass through. I decided to use a drill as this was the only option we had to my knowledge that could accomplish this. I think if I had some sort of press that would have been the way to go! I drilled through and it slightly tore up my paper! Ugg not cool!
I am going to be doing this for an upcoming work program so decided to create holes in all 125 coasters... yay!... that way they are done ahead of time instead of afterwards. Still, I do not think this is the best option... it seems to tear through the chipboard (these are really flimsy chipboard!) and I encourage you to find a better way if possible :) It still turned out cute overall!
|

Rebecca MyersHey there, I'm Becca, or Rebecca, but not Becky, never Becky, unless you're my family from down south! I'm a simply modern librarian by day and an artist by night. My pursuit is for a simple, happy, healthy, and more fulfilling life! I hope I inspire you to get crafty! Archives
March 2022
Categories
All
|

 RSS Feed