|
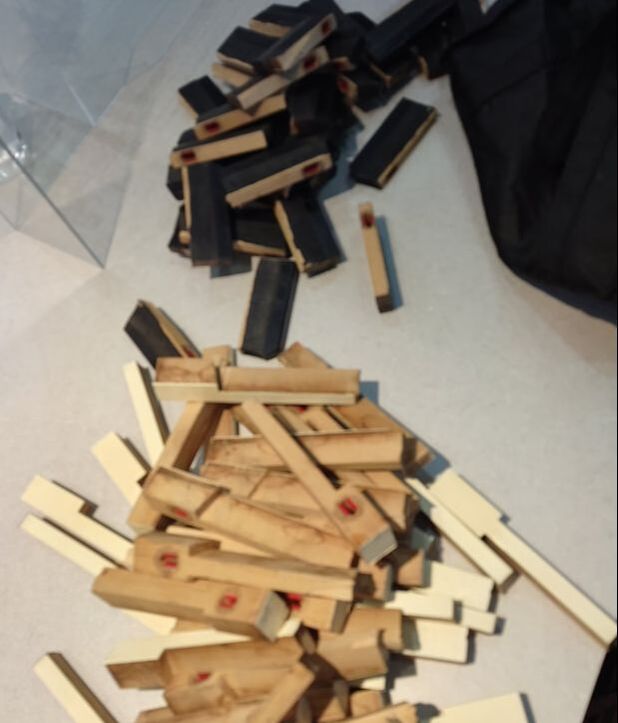
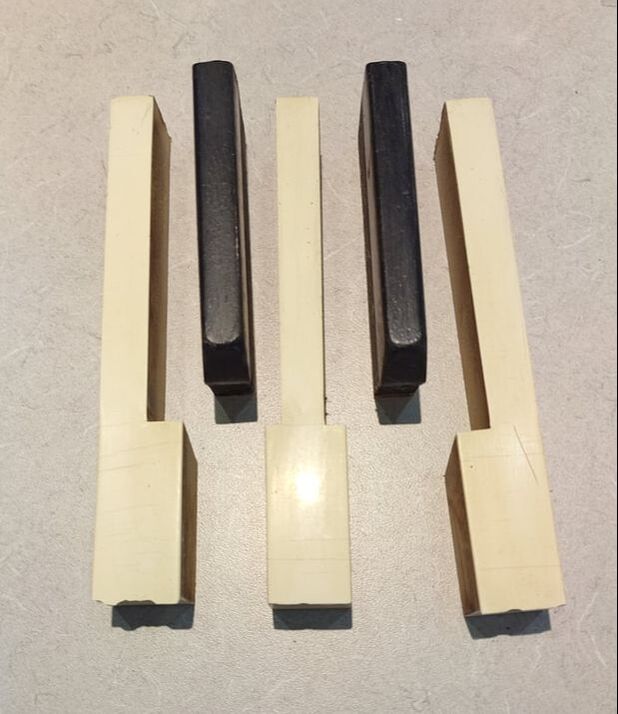
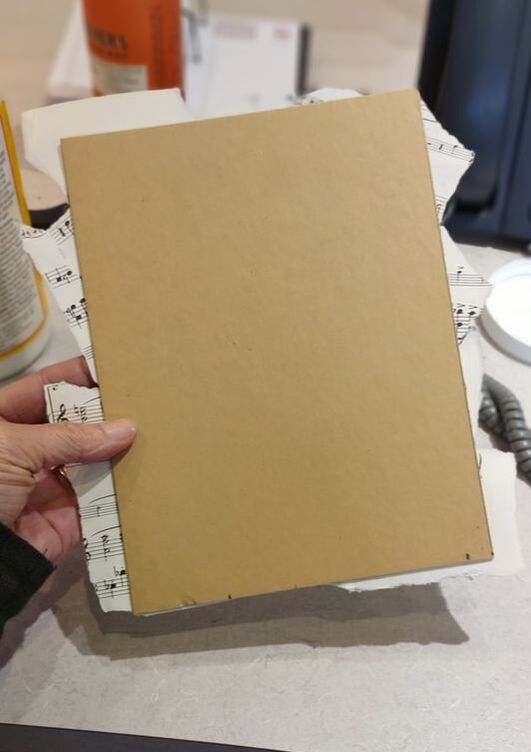
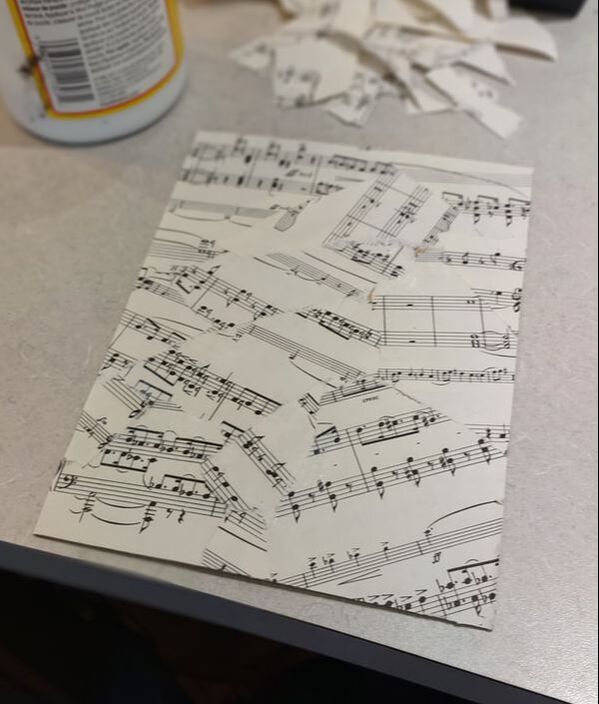
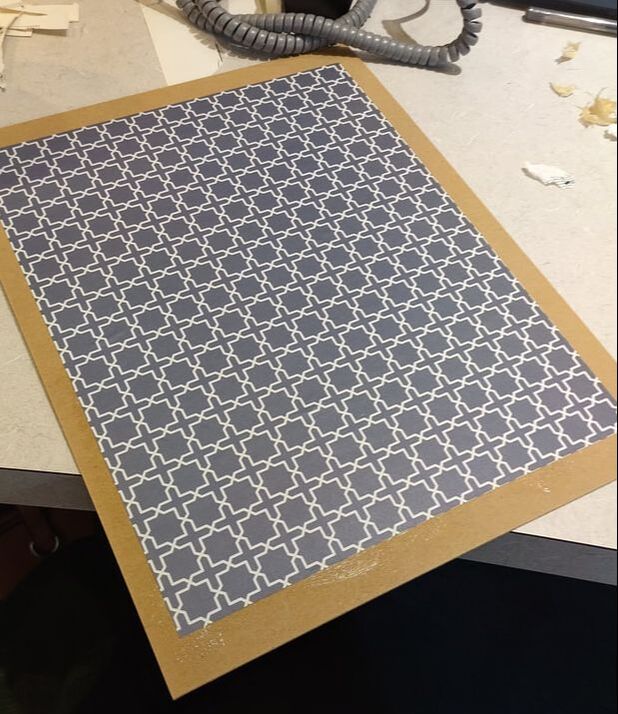
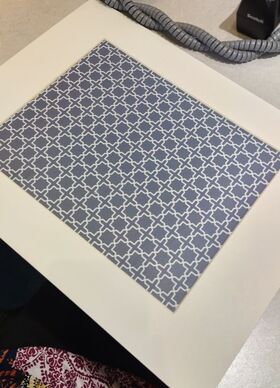
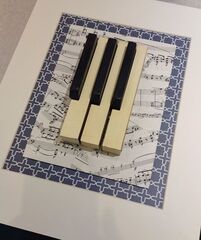
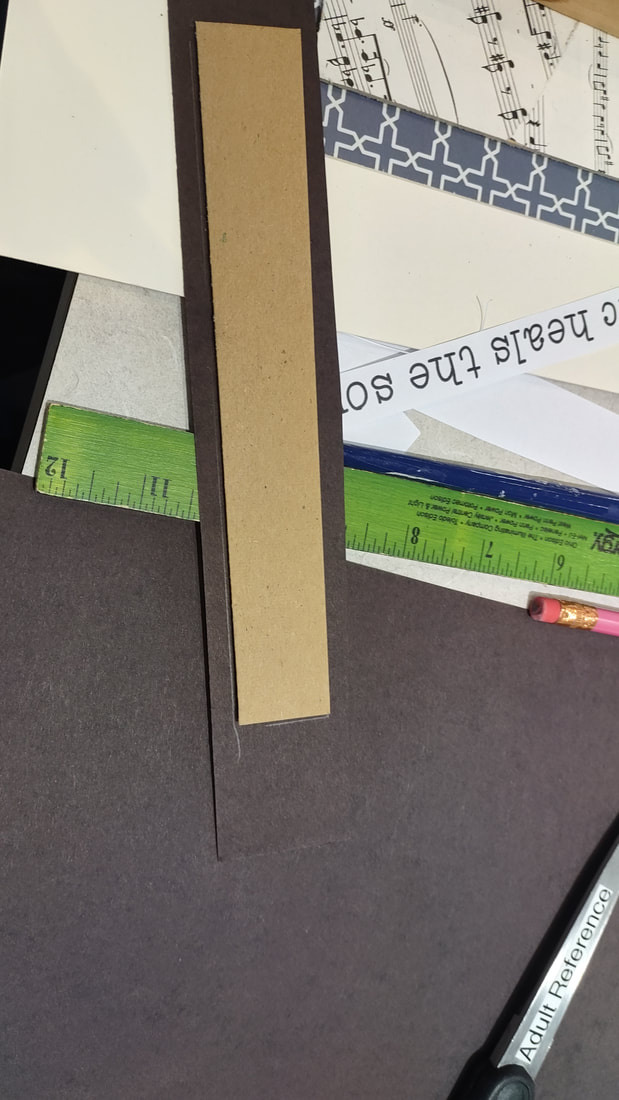
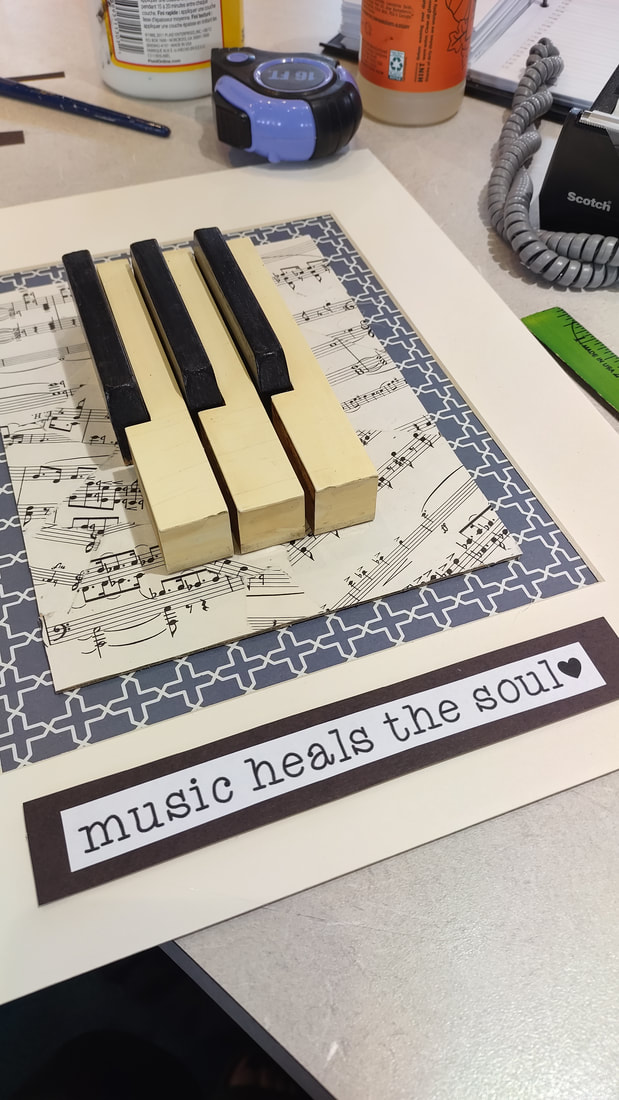
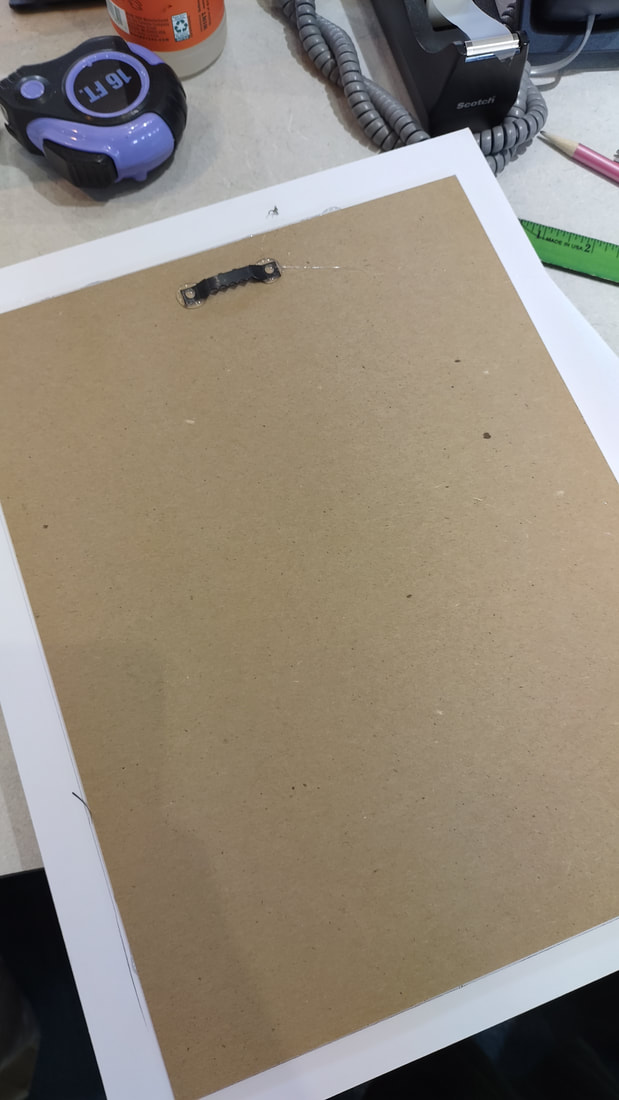
One of my coworkers decided she was going to get rid of her old piano. No one really wanted it and it wasn't in the "best" shape according to music people so she decided she wanted to take it apart! Mostly just for fun but also to see what she could get from the scrapyard for it, because, why not! Knowing that I love to repurpose things, she asked me if I would want the keys and of course I said yes! I turned it into one of classes at the library and it was a hit! Everything I used we already had stashed at work. Random things that had just been sitting around for a while and you know how much I love using that stuff! First off, I don't know if everyone knows this, but a piano key is actually a lottttt longer than you think it is. The "key" part is what we see when we sit down to play but here's a very long wooden piece attached to the back which is what is utilized to hit the hammers to hit your notes! Cool! But... I just wanted the keys... so... que the husband! (Not that I couldn't have done it myself but sometimes it's just nice to have help!) He sawed off all those long pieces for me which was sooooooo super nice of him ;) I sanded these down a bit more because they got a little sharp (ha) on the ends and then I also cleaned them because boy were they dirty! I chose the keys that I wanted to use for mine and lined them up how I thought they should go. I used a smaller, about a 6x8, piece of cardboard for the focal point of the craft. I used sheet music to cover this piece of cardboard for something eye-catching. I chose to rip it up into pieces and glue it down, but when I did this a second time, I chose to glue down the sheet music as it is normally. Then, I glued down my keys with hot glue, making sure they would lay nice and even (I had to rip them off at some point because it was crooked, what a mess!). I was using a matt frame with a cardboard backing to create the frame part of the project. I glued down a piece of scrapbook paper that I liked to go with the whole thing then I mapped out where the backing would need to be glued so that the paper would look straight in the background. I thought the matt frame looked a bit boring and decided to add a little quote that I found online. I added a piece of cardboard to the back of this to give it some height and then some black paper to form a border around the words. Lastly, I finished it up by adding a sawtooth hanger to the back and it was perfect!
0 Comments
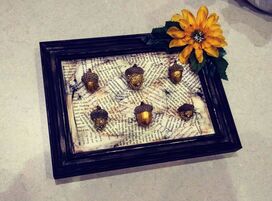
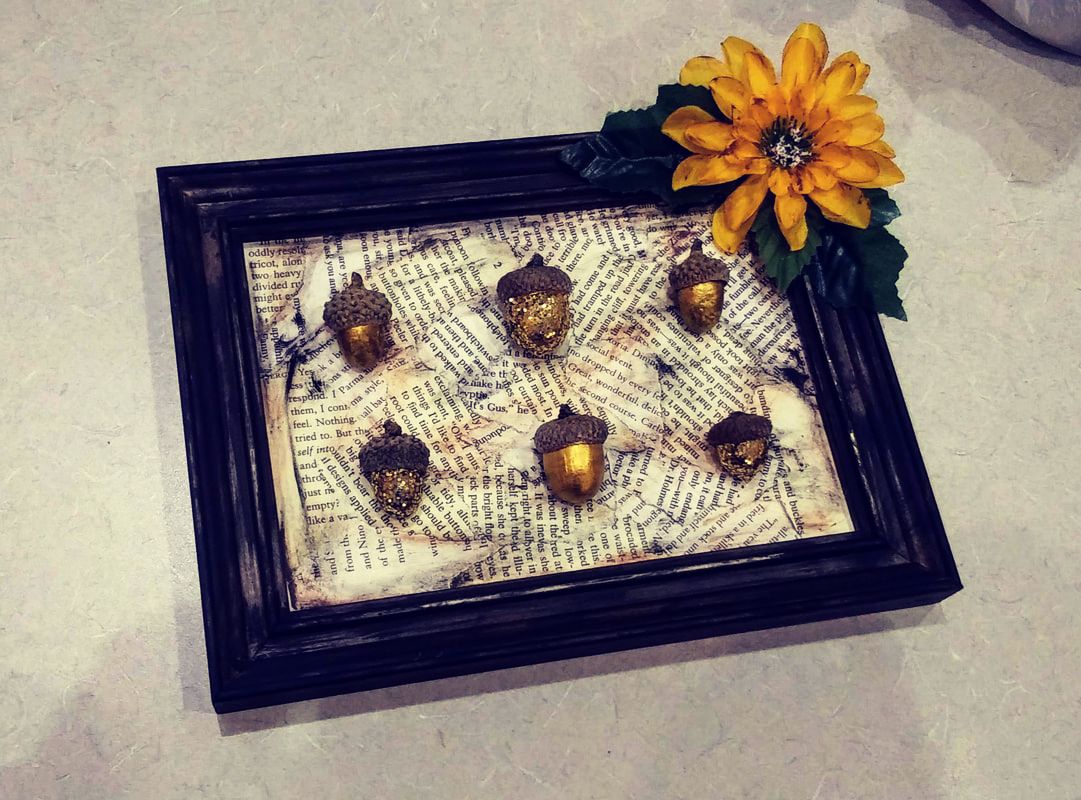
This is a pretty quick fall craft to spruce up your shelf space for the autumn weather or maybe a gift idea! The one I originally saw on Pinterest was very cute with bright fall colors. There are so many options with this type of craft, it's almost overwhelming. I thought about going with a subtle brown, tan, and white color combination at first. I thought it would be very elegant for Thanksgiving but somehow I ended up switching to more of a Halloween based theme with a distressed frame and distressed pages. The possibilities are endless but I hope you find one that you love! Supplies:
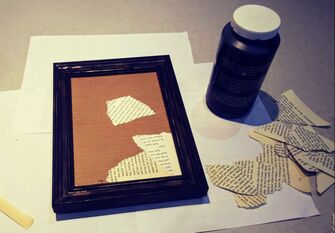
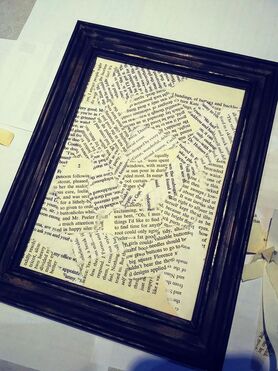
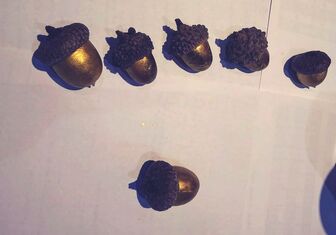
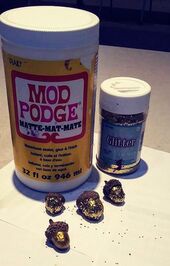
1. Gather up all of your supplies so that you have them near and dear to your project space. 2. If you're like me, I had a few frames to choose from and was very stressed with all the options! Finally, I decided on something medium-sized and relatively simple in structure. I forgot to take a picture ahead of time, but I "distressed" my frame a bit by very lightly adding black in light strokes to make it seem old/give it some more depth to the frame. 3. The original post I saw for this project involved using cute polka dot scrapbook paper as a background. I was going to do this as well, but saw I had some old book pages lying around and thought that would be a much cooler effect! If you're using a piece of scrapbook paper make sure you glue/tape it on carefully, making sure there are no air bubbles forming on your background! For me, I added torn strips of book pages by gluing each piece one by one to the background. Keep adding and adding until your background is full. 4. While your background is setting/drying, this is a good time to decide what you're going to do with your acorns. I decided to paint mine a metallic gold. I used 3 "craft" acorns and 3 real acorns that I found in the woods just to try out the different types to see if there were any differences... there aren't (but if you use real ones make sure you "bake" them to get rid of all the little buggies in there!) You'll want to do a couple of coats. There are many ways to do this. You could leave the acorns in their natural state, paint them, decorate them, wrap them with thread/yarn/twine, oooo!
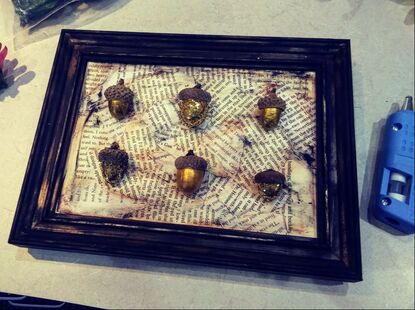
6. While my acorns were drying I also made the glued book pages look more distressed/eerie for a more Halloween look. I lightly brushed very little black and brown paint over the pages giving them that look which you can see in the following photo. 7. Lay out your acorns and see how you like them before you glue them. I used hot glue. Make sure you put enough on there and hold the acorn while it sets. 8. Lastly, I decided to add a little extra somethin' somethin' to the frame and hot glued a flower to the upper corner.
That's it, we're all done! |
Rebecca MyersHey there, I'm Becca, or Rebecca, but not Becky, never Becky, unless you're my family from down south! I'm a simply modern librarian by day and an artist by night. My pursuit is for a simple, happy, healthy, and more fulfilling life! I hope I inspire you to get crafty! Archives
March 2022
Categories
All
|



 RSS Feed