|
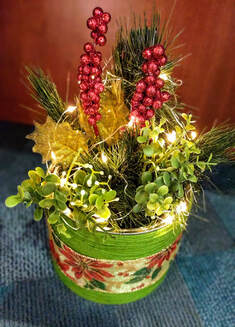
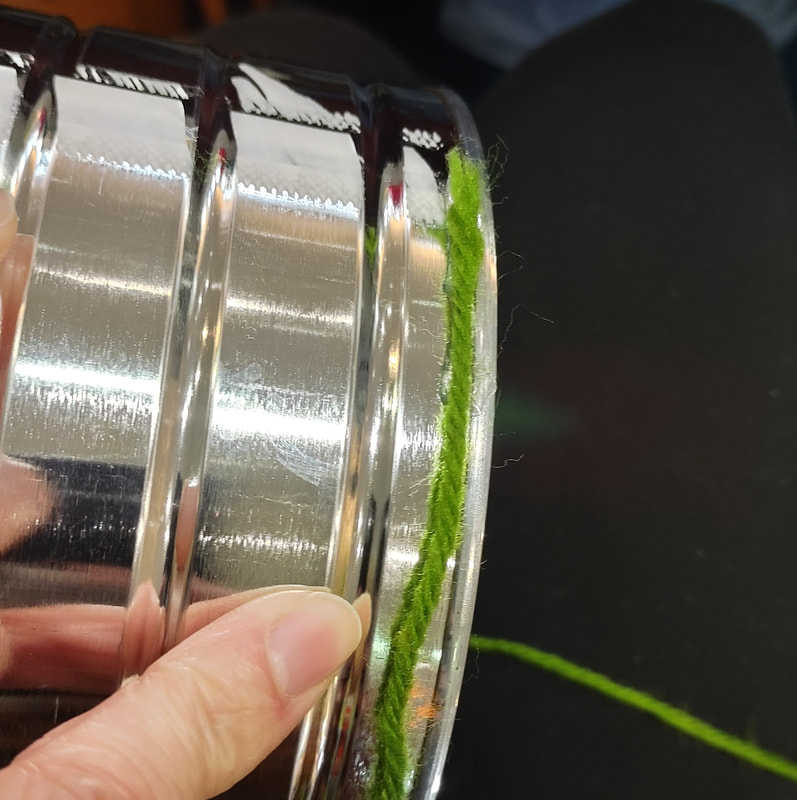
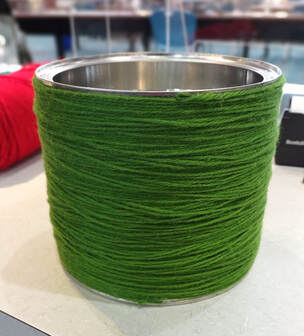
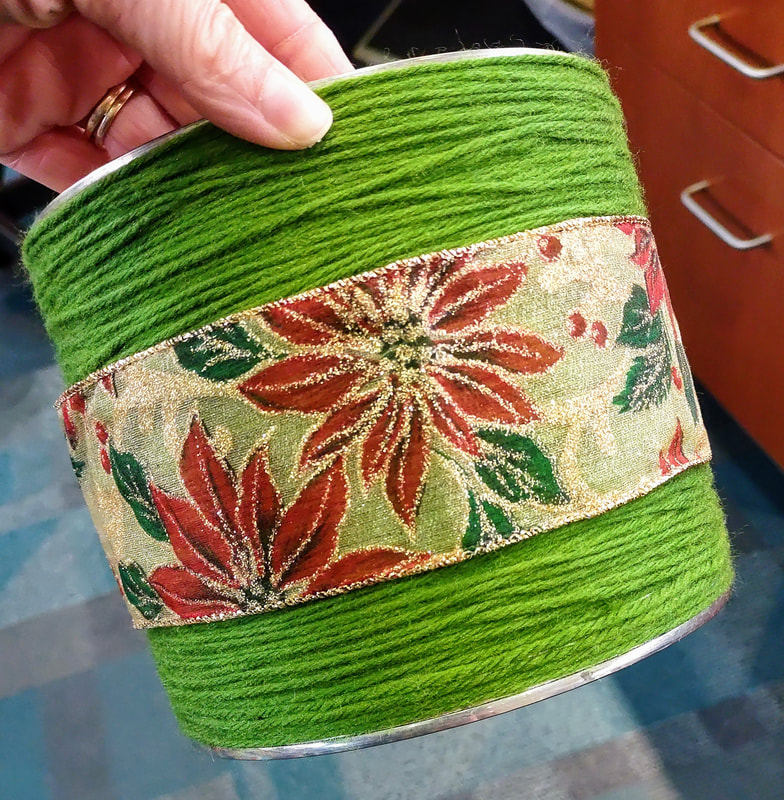
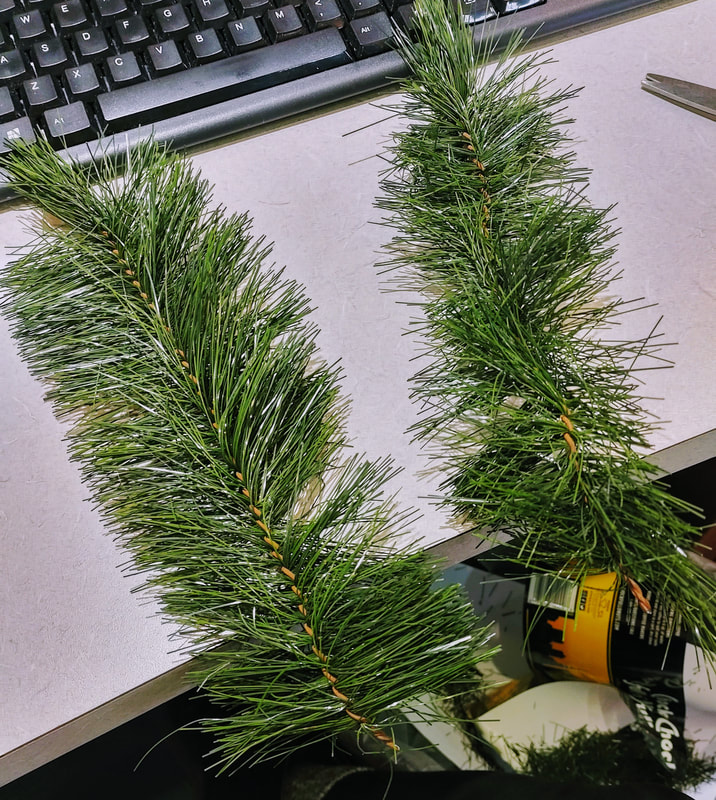
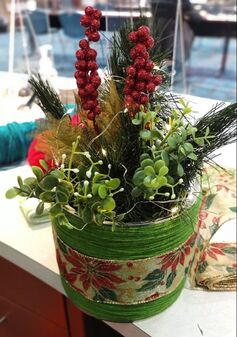
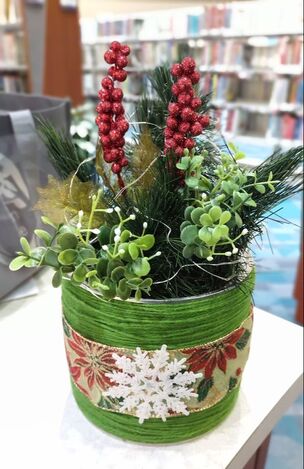
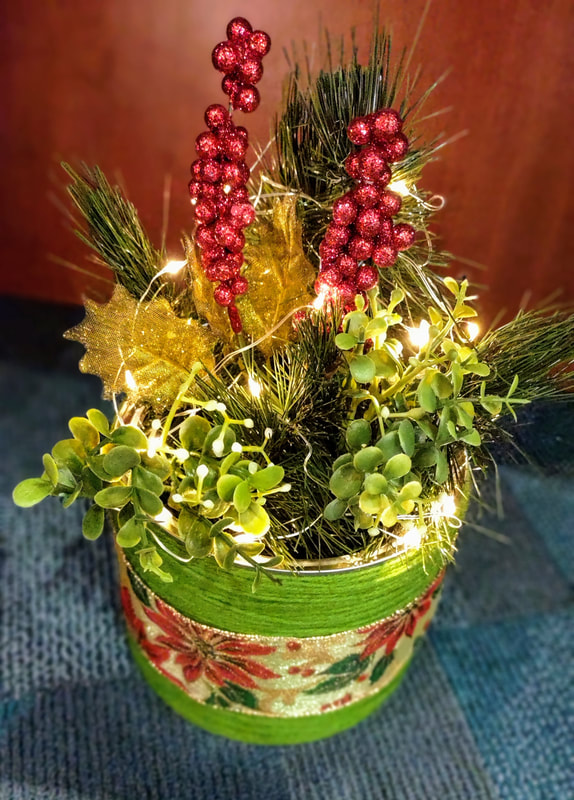
One of the last projects I did before changing jobs at the library, was this floral coffee can! I had been saving coffee cans like crazy for not specific purpose other than the fact that I knew I could use them somehow! I had also received a donation of artificial pine branches from an old Christmas tree and had a tonnnnnn to use! It was my goal to use some of these up before I left and I think I barely made a dent even though I had 20 people and each person got 5 branches! Wow! I also used up some random Christmas/winter floral decorations that I found in a box for this because, why not! It really jazzed up the cans! 1. Wrap the can with whatever you would like. I chose yarn because we had a bunch! And it would give it a nice soft look! I added some hot glue at the beginning to make it stick and began wrapping around and around and added glue every so often to make sure it would all stay secure! 5. Lastly, I added a small strand of battery operated fairy lights and a white sparkly snowflake to the front to finish it off!
0 Comments
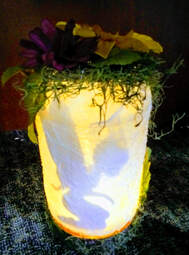
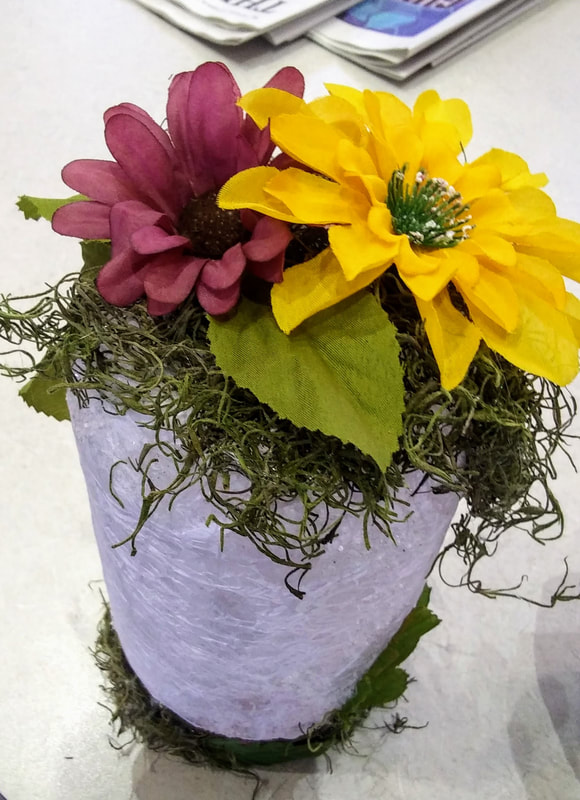
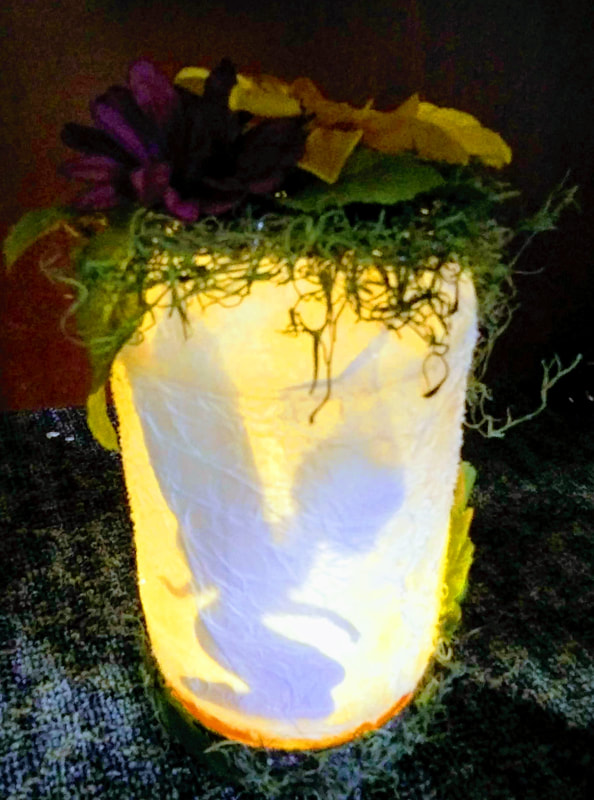
I've done this fairy lantern craft before with glass jars and people loved it! They couldn't wait to take it home, show it off, and replicate it with kids/grandkids/friends. I left that night feeling really great about the program and that I helped people create something they fell in love with. Time for some self-shaming. David, my boyfriend, and I eat a tonnnnn of peanut butter. Like, a tonnnnn, probably way more than we should to be honest. We've actually recently cut down on it but, boy oh boy, do we love us some PB. On that note, I was getting anxiety over using up so many plastic containers. There had to be something I could use them for! With no plan in mind, I started soaking them, washing them, and de-labeling them meticulously one at a time with no purpose at the end of the tunnel. Then, the fairy lanterns came into mind. I had done it before with glass and thought, well, why not give it a try... I have plenty more to use if it doesn't work! I gotta say it turned out pretty darn cute. I think it's decently disguised but if I were doing it for myself, or for a gift, I think I would choose to add a lot more moss and other items to disguise it even more. Anywho, the instructions are as follows, happy crafting! Supplies:
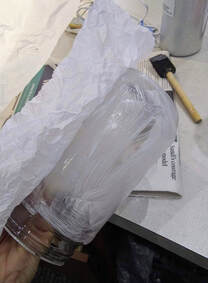
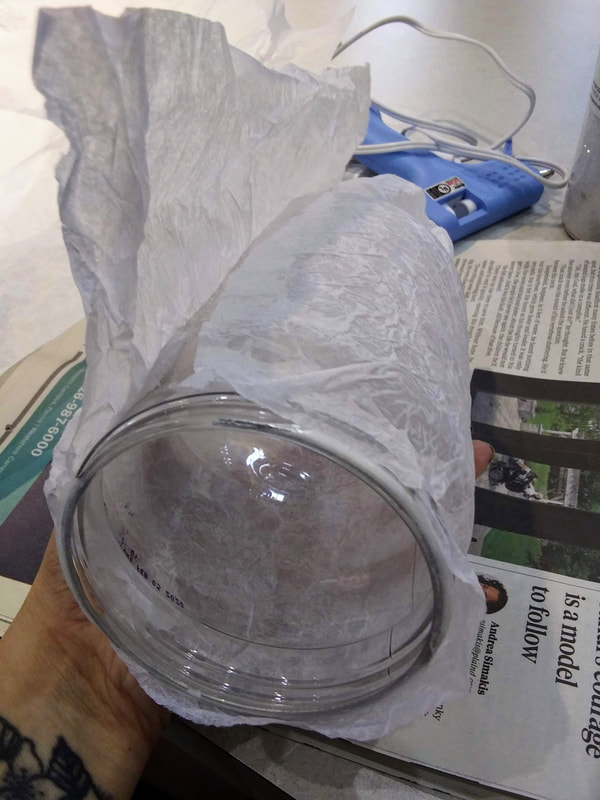
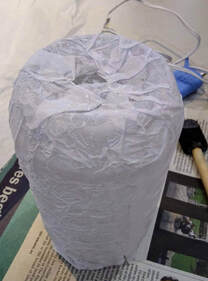
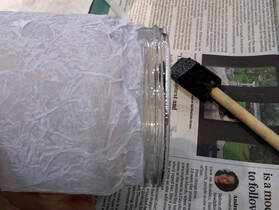
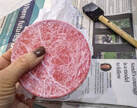
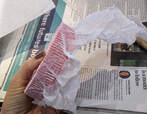
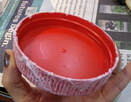
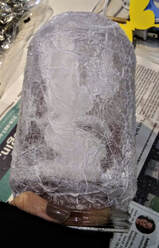
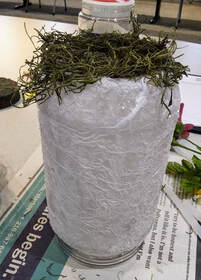
Note: I did not cover the entire lip of the jar so that it can still be twisted shut if desired. 4. Next, I did the same thing with the lid of the jar. I knew I wanted to paint it and glue items to it so I thought covering it with tissue paper would create a nice textured layer for this purpose. Note: I did not cover the inside of the lid and afterwards, I wish I had. I can, of course, do this at any time but I wanted to point this out. I feel if you do not cover the inside, you can see the red of the lid on the outside. It isn't super noticeable, but I notice it.
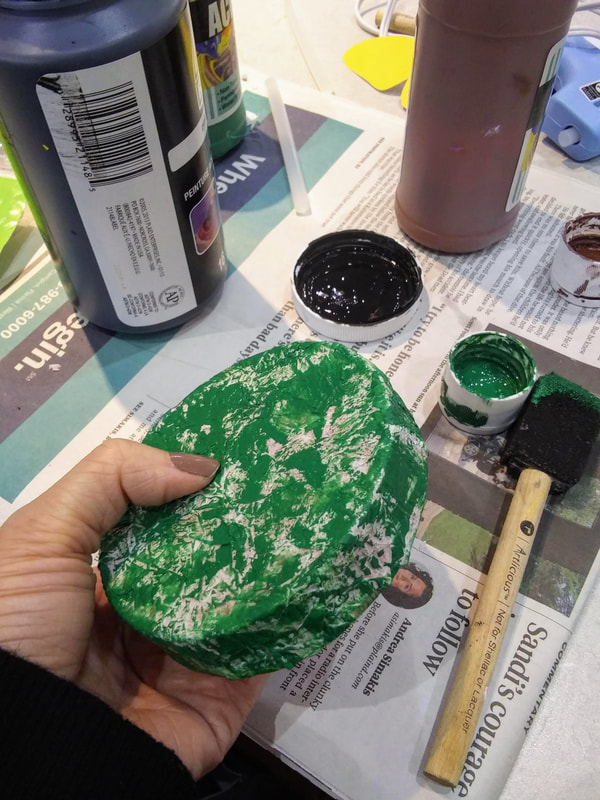
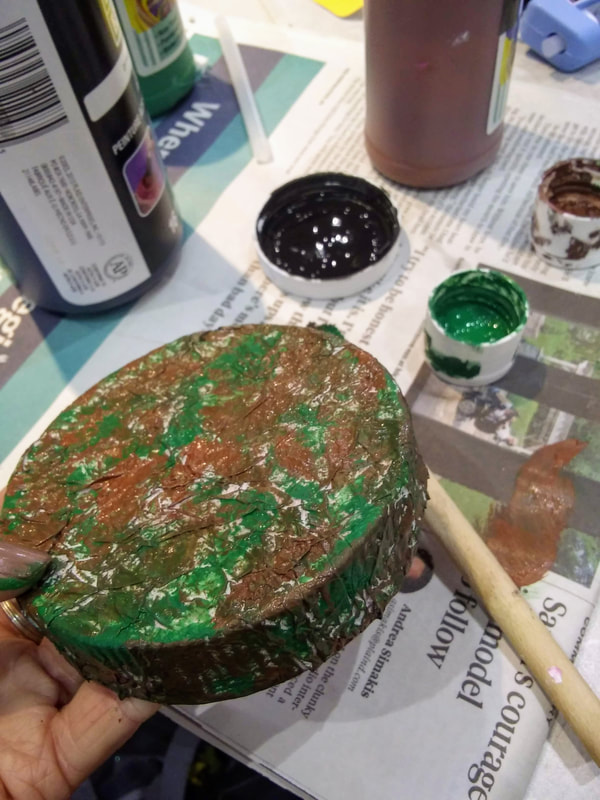
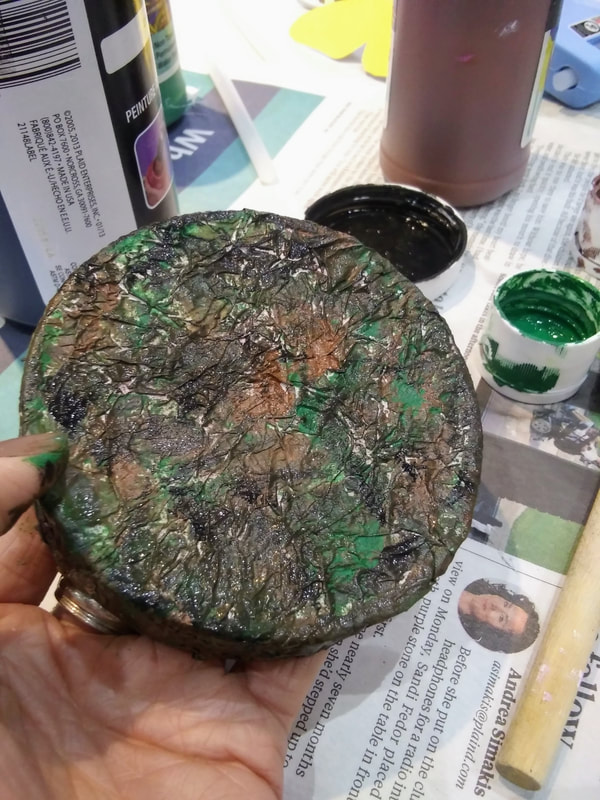
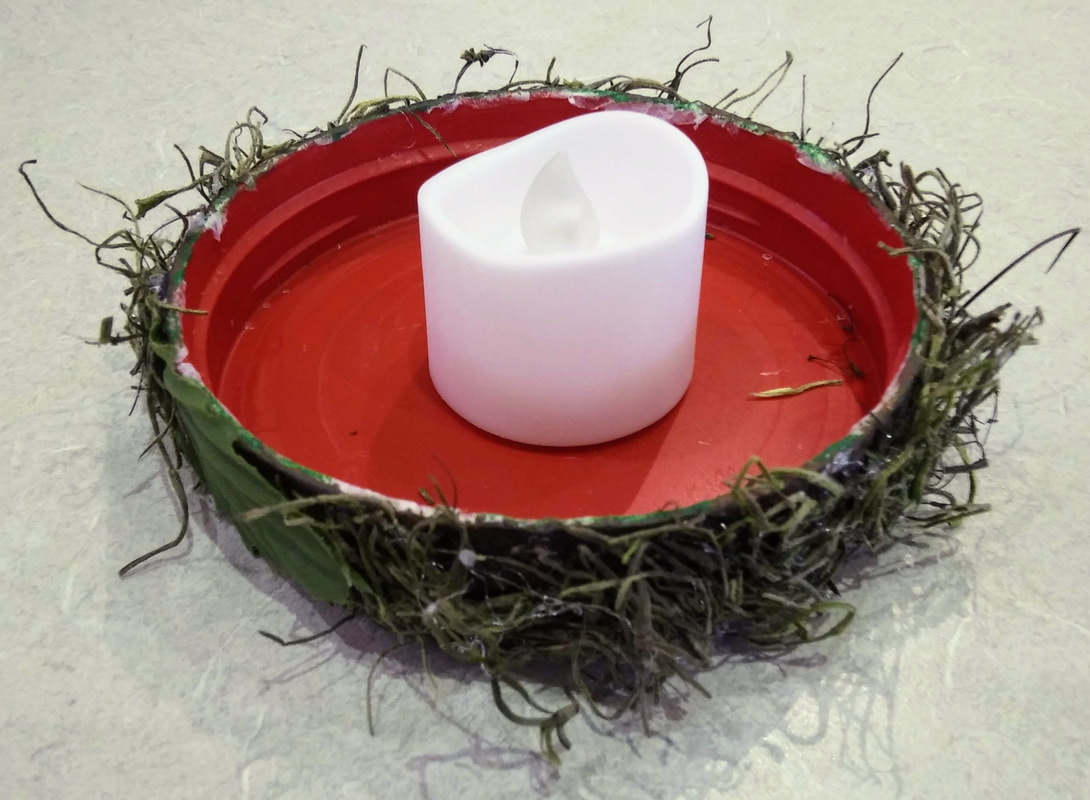
7. Here is where I painted my lid to camouflage it. I knew I would be adding moss later, but I didn't want any of the white tissue paper coming through! I sponged on a layer of green, then brown, then black with the foam brush, just enough to cover most of the white.
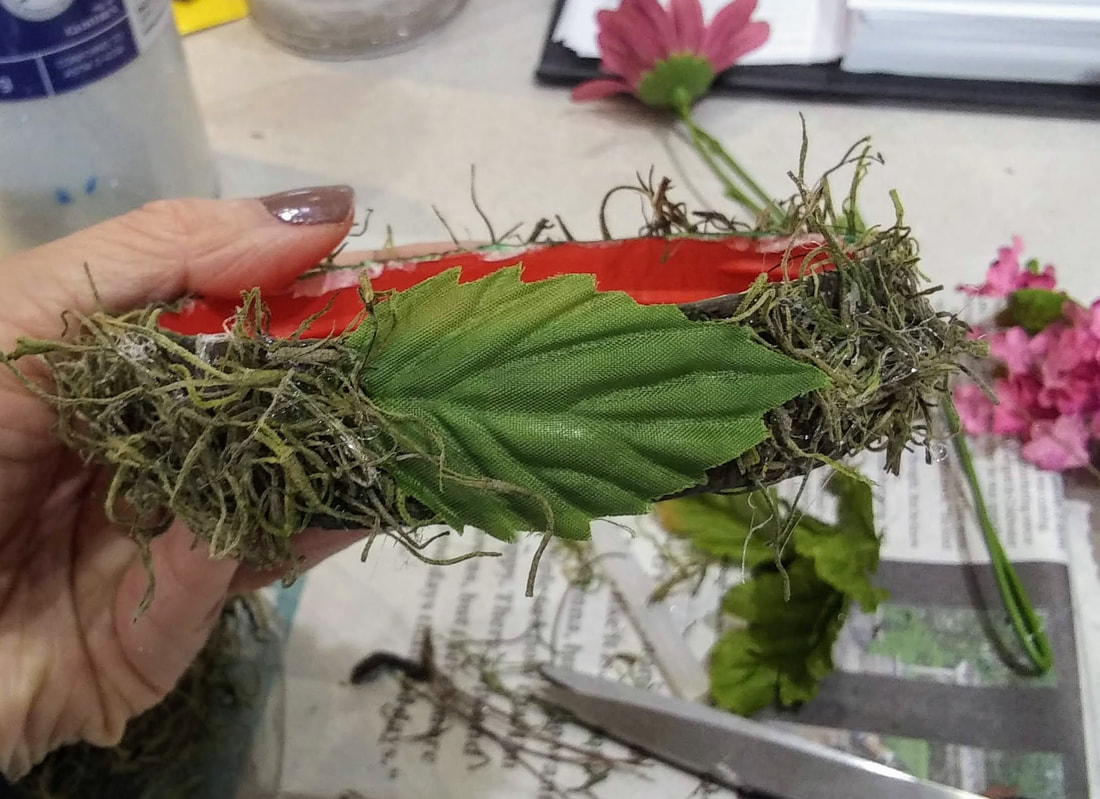
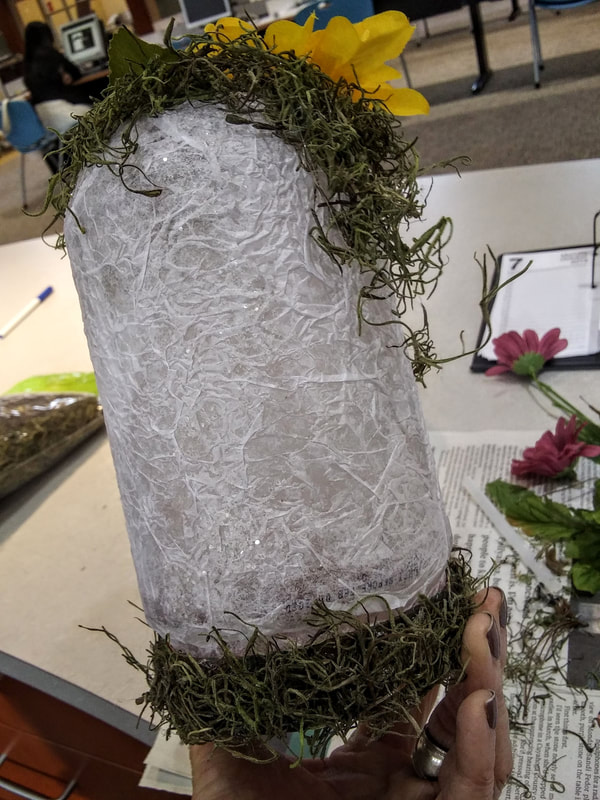
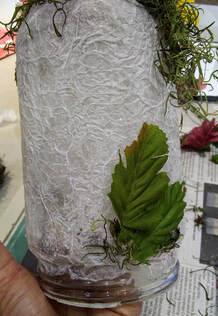
Note: I wanted to point out that I noticed the expiration date and other numbers was printed on the plastic and was totally showing through the tissue paper! Eww! I covered this up with yet another leaf and some more moss.
Turn that beauty on and look at her glow! Were using the PB Jar method at work for a mother-daughter craft program. This makes it even better that we are using plastic jars instead of glass in case we have any little ones attend! We are also including in the description that these are actually Peanut Butter jars and that if you have a peanut allergy we do not recommend attending just in case any residue is leftover.
Let me know if you have any questions! |
Rebecca MyersHey there, I'm Becca, or Rebecca, but not Becky, never Becky, unless you're my family from down south! I'm a simply modern librarian by day and an artist by night. My pursuit is for a simple, happy, healthy, and more fulfilling life! I hope I inspire you to get crafty! Archives
March 2022
Categories
All
|


 RSS Feed