|
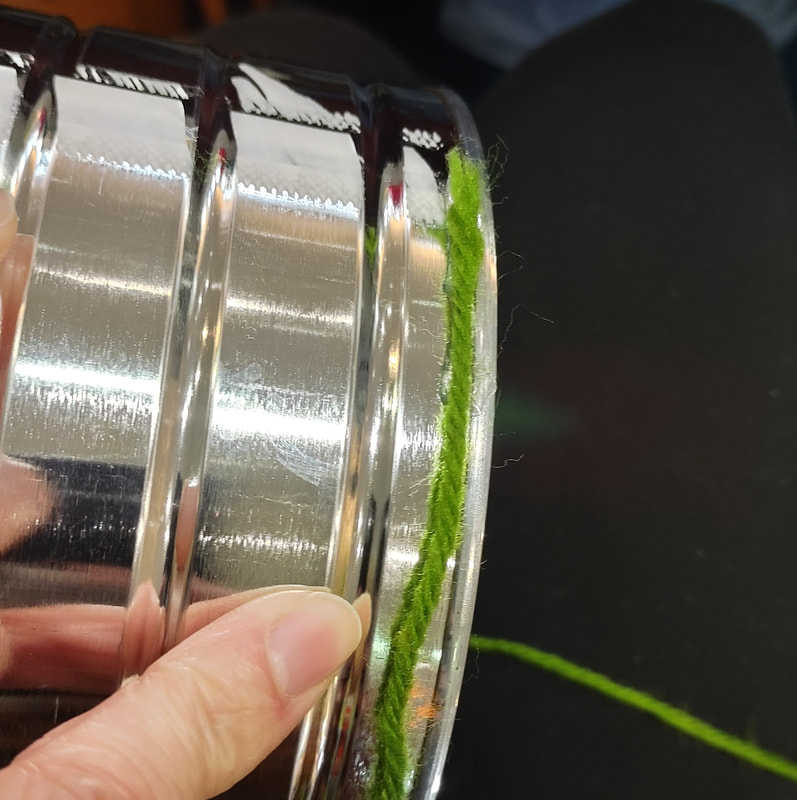
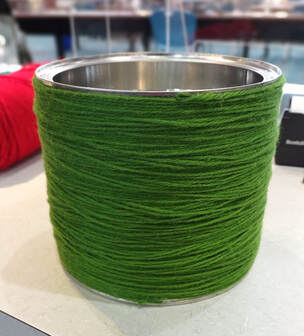
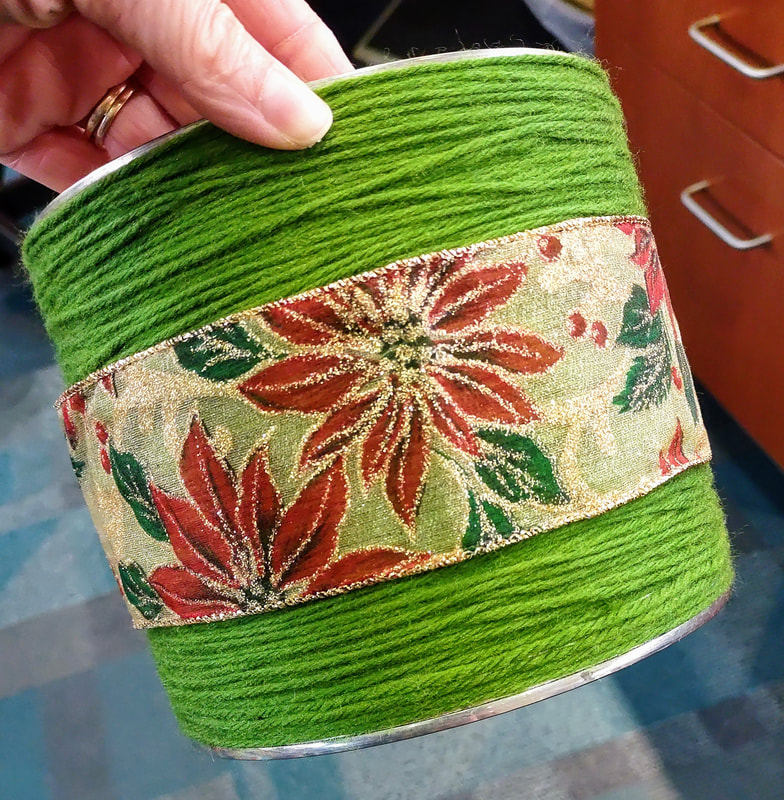
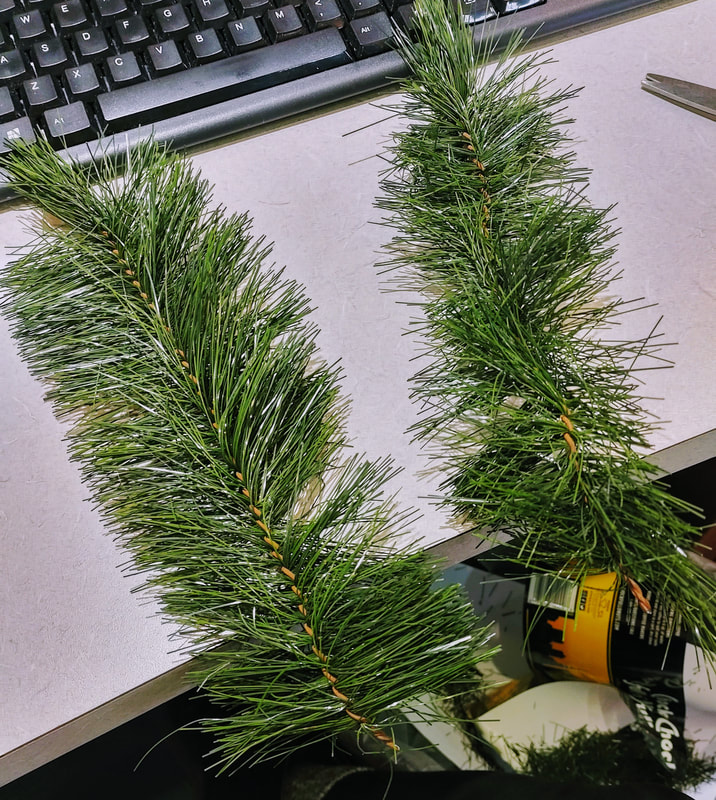
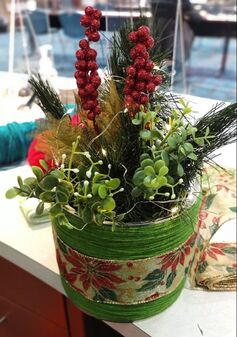
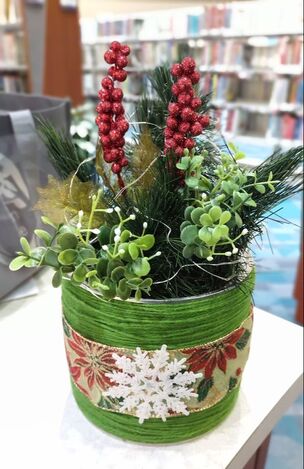
One of the last projects I did before changing jobs at the library, was this floral coffee can! I had been saving coffee cans like crazy for not specific purpose other than the fact that I knew I could use them somehow! I had also received a donation of artificial pine branches from an old Christmas tree and had a tonnnnnn to use! It was my goal to use some of these up before I left and I think I barely made a dent even though I had 20 people and each person got 5 branches! Wow! I also used up some random Christmas/winter floral decorations that I found in a box for this because, why not! It really jazzed up the cans! 1. Wrap the can with whatever you would like. I chose yarn because we had a bunch! And it would give it a nice soft look! I added some hot glue at the beginning to make it stick and began wrapping around and around and added glue every so often to make sure it would all stay secure! 5. Lastly, I added a small strand of battery operated fairy lights and a white sparkly snowflake to the front to finish it off!
0 Comments
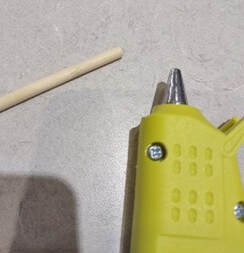
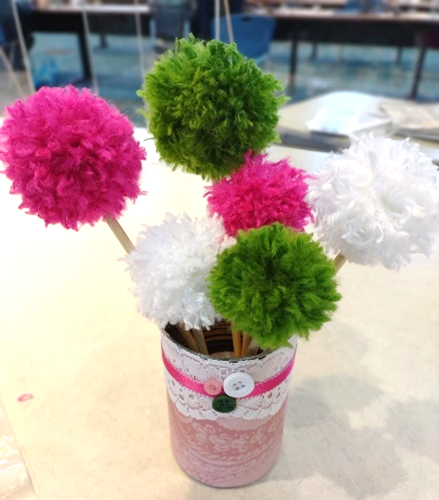
Are you looking for something cute and fun for these summer days ahead? Really this craft can be done for any season or holiday, let's be honest, but I think they are particularly cute for summer! It is a very simple and relatively quick craft that just about anyone can do. If you have littles wanting to help, just make sure you supervise cutting and that you handle the hot glue of course! Supplies for flowers:
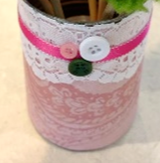
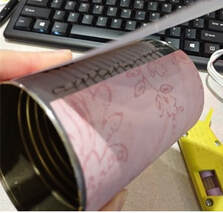
Supplies for upcycled vase:
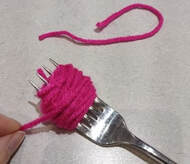
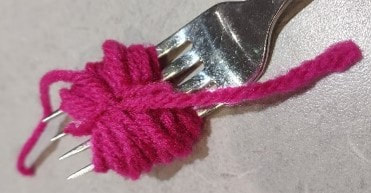
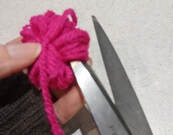
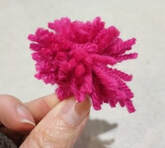
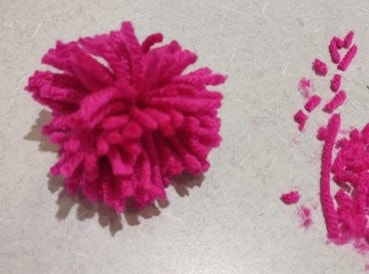
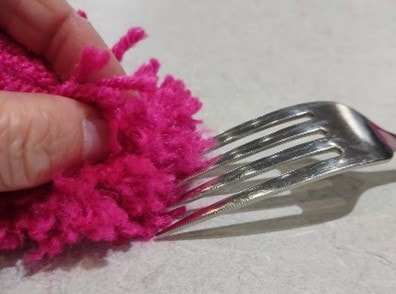
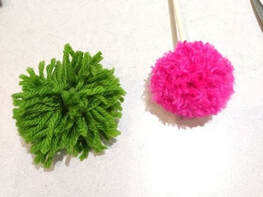
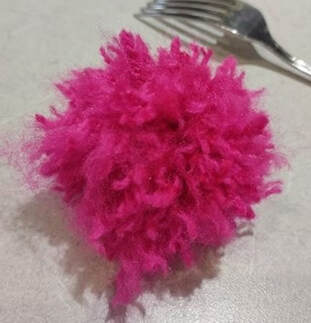
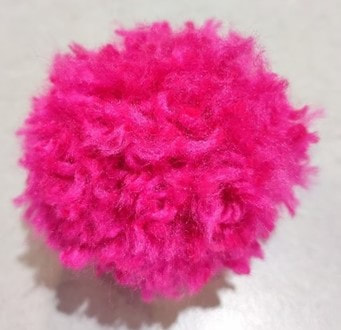
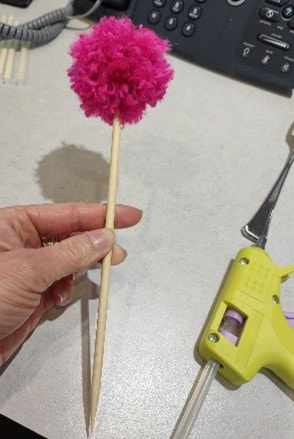
6. It will look pretty uneven, so just trim around the yarn all over again 😊 Do this step with each of your pom pom flowers. 7. Next, using hot glue, glue each of your “flowers” on top of the wooden sticks. I had 6 sticks but cut 3 of them down to smaller sizes so that they would be at different heights! You're all done with your pom pom flowers at this point!
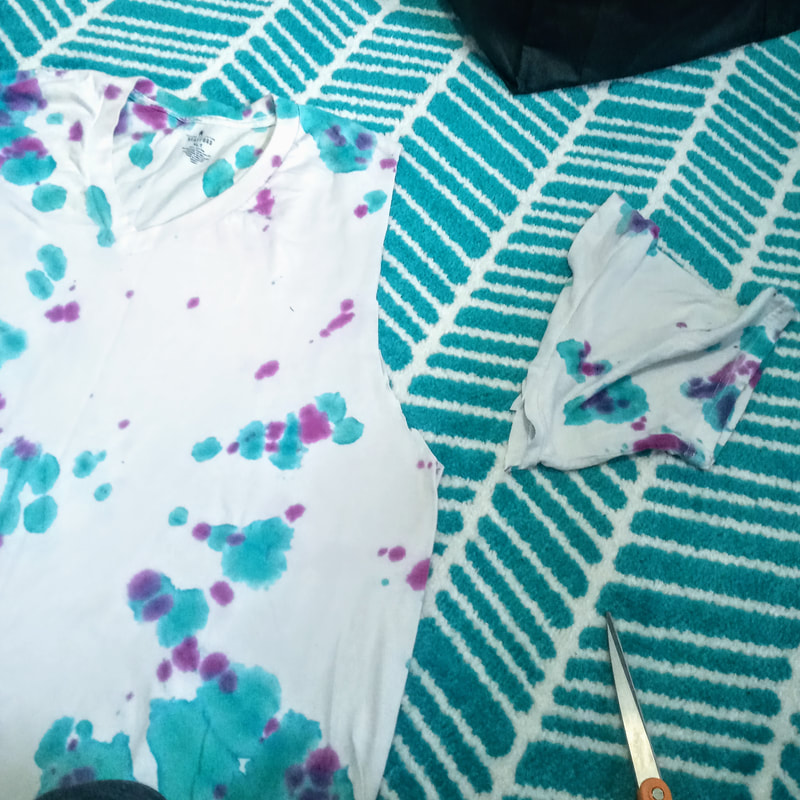
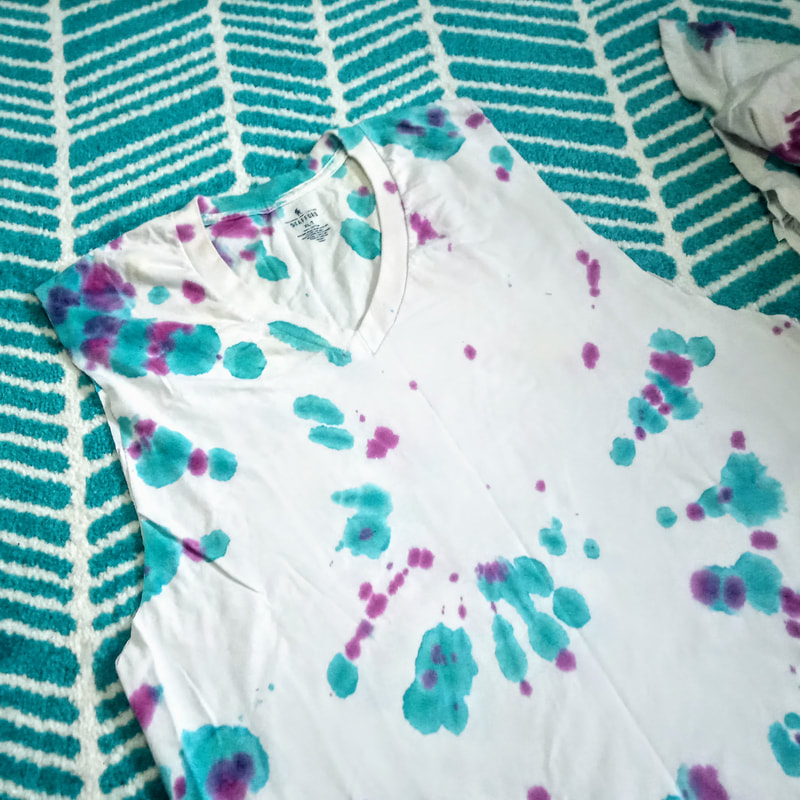
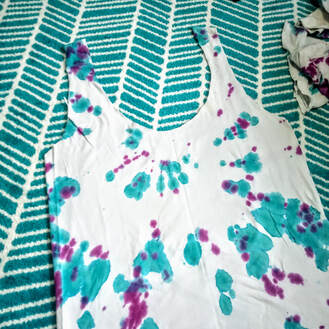
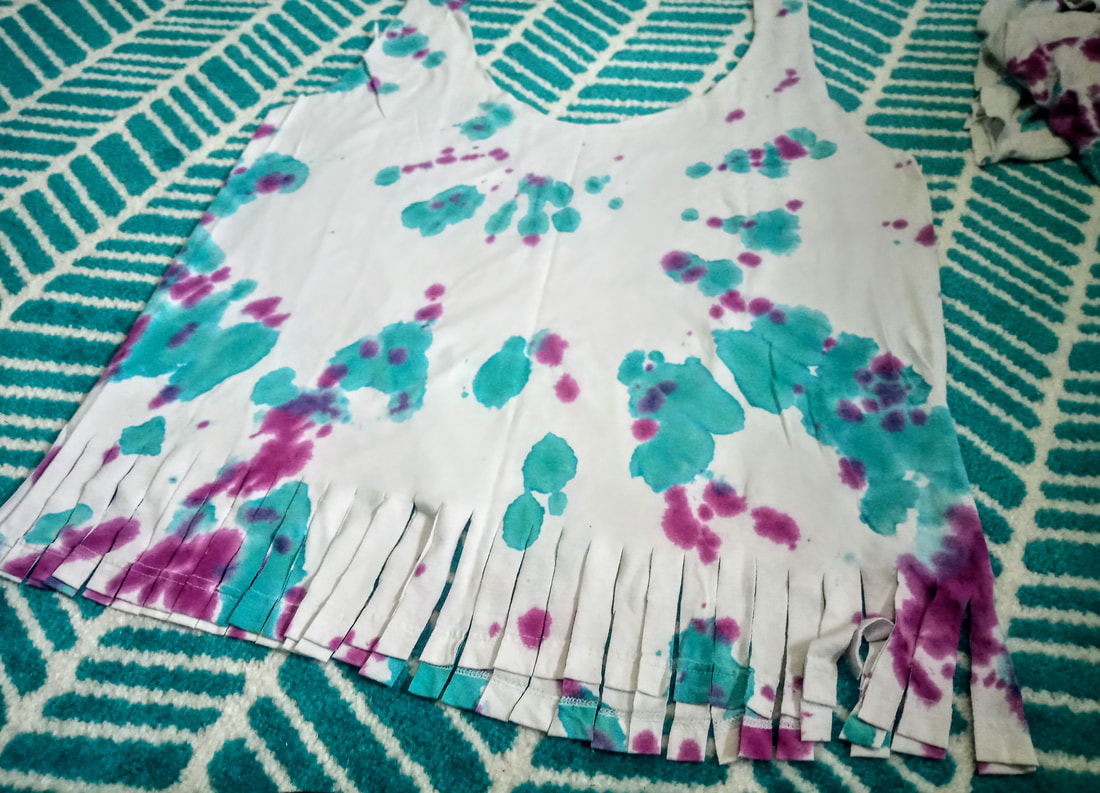
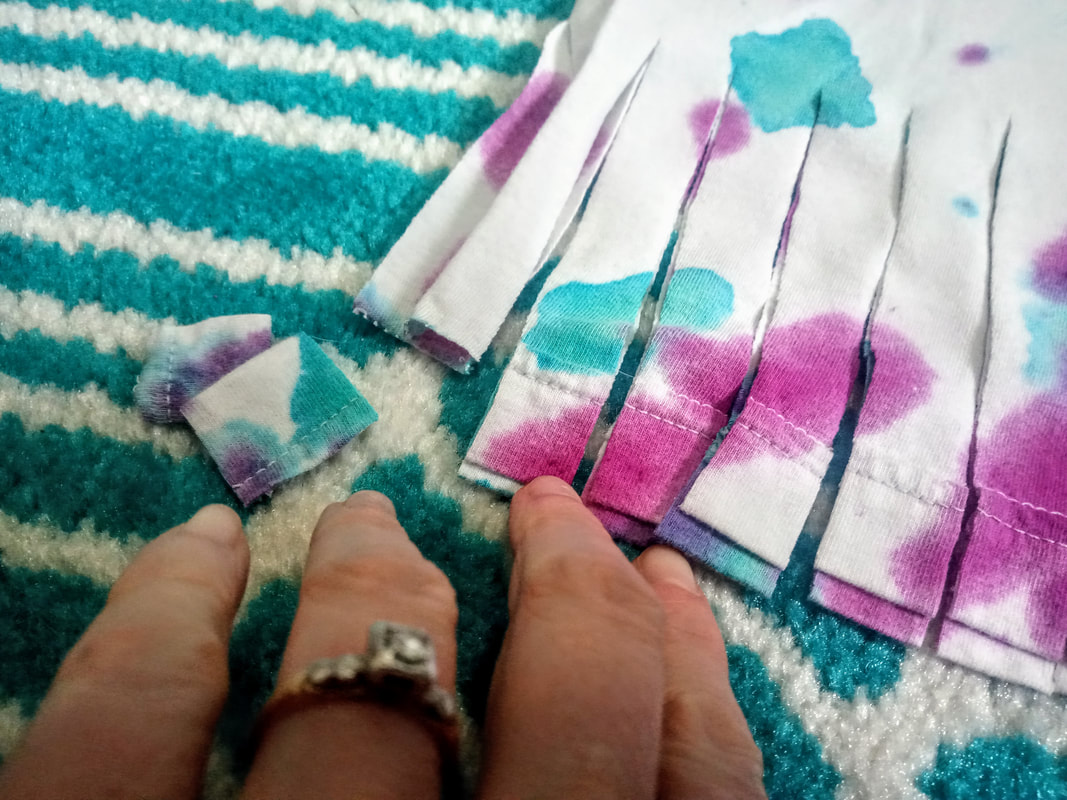
Supplies: -Old t-shirt (the bigger the better unless you have itty bitties doing this project!) -Good pair of scissors (that's it, crazy!) 1. Lay your t-shirt on the floor or a flat surface (actually make sure it's laid out evenly unlike me!) 2. Cut off the sleeves of your shirt in a half U-shape (you're creating the handles of the bag with this step). You can draw this out if you prefer but I just went ahead and cut away! 3. Next, cut the neckline into a complete U-shape (you are creating the bag opening here). 4. Next, cut "fringe" strips at the bottom of the shirt (exactly like you were making a fleece tie blanket!). You are cutting through both the front and back layers here. Note: I should have cut off the hem strip on the bottom of the shirt because I, personally, do not like that extra chunk of fabric. I ended up having to cut this off each piece afterwards! 5. Tie the front and back fringes together in a knot and continue all the way across the bottom of the shirt. 6. And just like that, you have a new tote bag! ...But let me show you the cool thing about this bag...
If you're into the hippie vibe and dig those fringes, you can totally rock it that way! BUT, if fringe just ain't your thing then go ahead and flip the whole bag inside out! Those fringes will be hidden on the inside and no one will know! Check it... Note: you can even add some embellishments like these cute bows made out of scrap fabric! |
Rebecca MyersHey there, I'm Becca, or Rebecca, but not Becky, never Becky, unless you're my family from down south! I'm a simply modern librarian by day and an artist by night. My pursuit is for a simple, happy, healthy, and more fulfilling life! I hope I inspire you to get crafty! Archives
March 2022
Categories
All
|










 RSS Feed