
 I was asked to work with another library branch at work and create a "Pop Pet" Portrait class where people would bring in pictures of their pets and we would rock the Andy Warhol style of bright colors and large images. I had never done one of those before but said "sure, why not!". I decided to practice a bit ahead of time with my childhood dog Ginger aka Pinge, Ginge Pinge, Pinger, etc. you get the picture. You can see the results in my previous post here. At the end of last year, I was asked to teach a class for The Little Birdie Wine Nest in Parma to help people "realistically" paint their pets. Again, I had never done that before, although I had a little experience with the "pop" style, but "realistic" would be a little bit different. Again, I decided to practice ahead of time! I watched a variety of YouTube videos on what other artists do and adapted to those techniques. Below I will walk you through those steps!
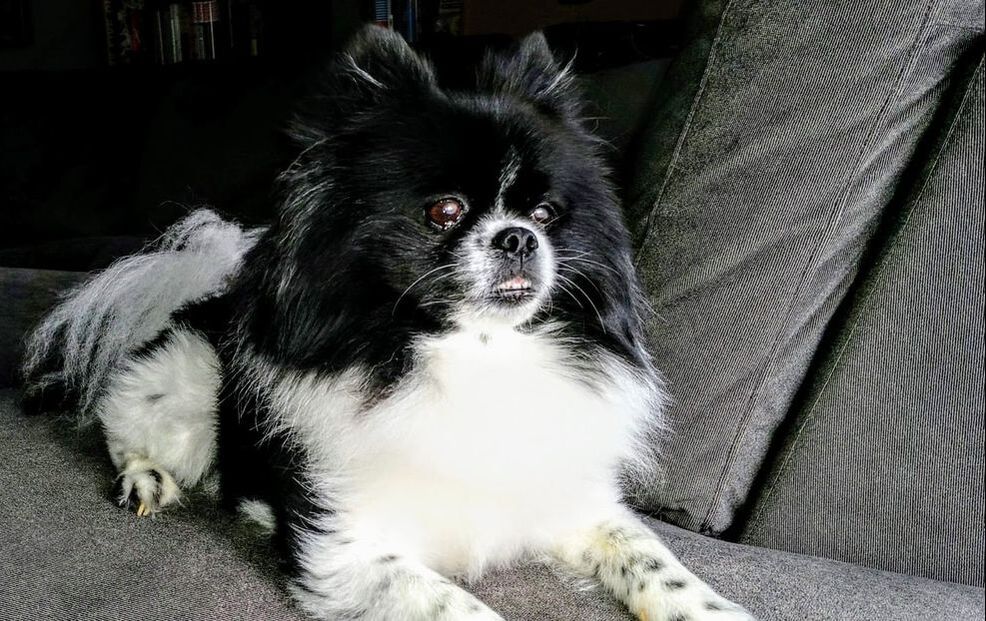
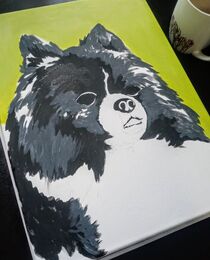
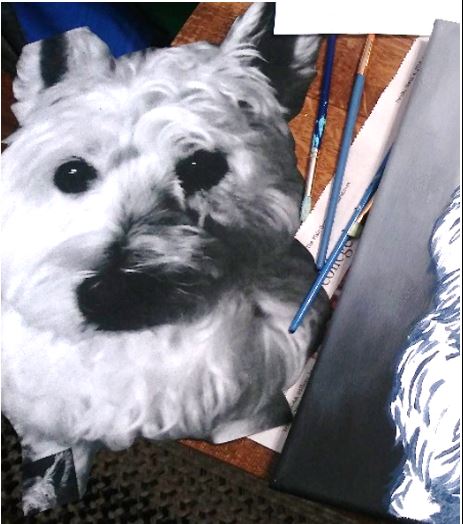
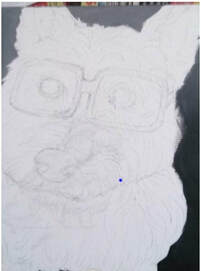
Yes, I can choose to just sketch this out freehand but... I have found the best way to get his basic shape down first and that is with a projector! I save the picture to a flash drive, plug it in to my projector, and project it onto a canvas in order to sketch out the animal. That way, all the features are the right size and shape and located where they're supposed to be! Because.. you know.. that's kind of important. I do want to address here something essential to painting a pet. So when we talk about our animals we might say "I have a black dog... a white cat.." but do you really? If you really study your animal's fur, you will see that your black dog has some copper brown hair in some spots, or your white cat has some grey undertones. Pay attention to these areas because they will come into play while painting your pet! We work from darkest to lightest colors and then go back and forth to create more detail towards the end.
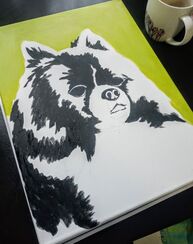
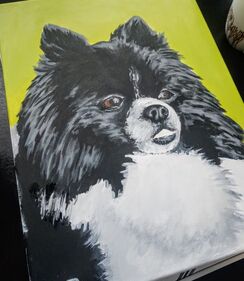
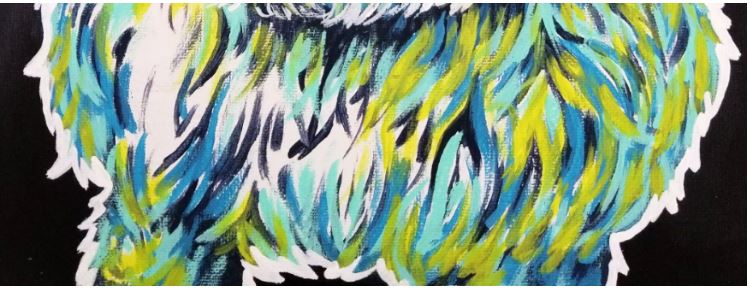
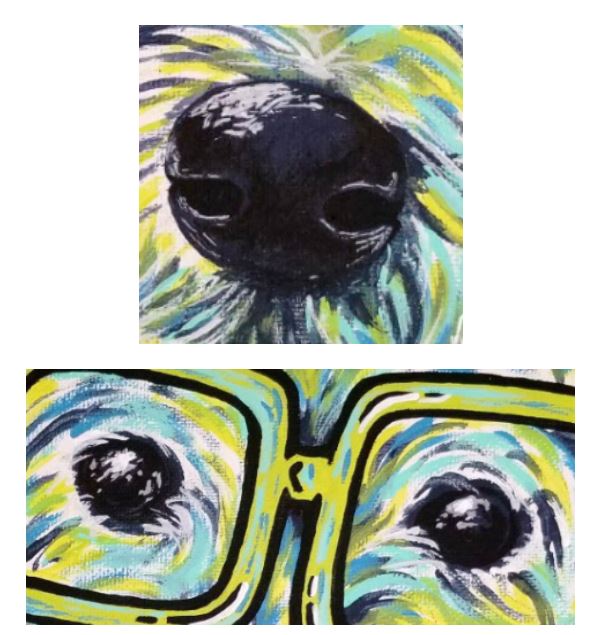
After the basic colors are done, I kind of start hopping all over the place! I worked a bit on Simba's mighty chest which is all white but using a bit of black, then grey, then white. Next, I focused on his snout which is a bit tricky! The key here is just to make sure they don't end up looking like pigs! Which seems to happen a lot :)
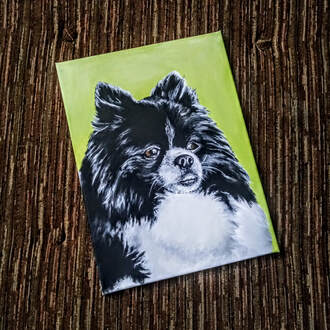
I hope this helps break down the steps of painting your own pet realistically! It takes a little bit of getting used to at first but you will get the hang of it, practice practice practice, right?! If you try this out share it below so I can see what you create!
0 Comments
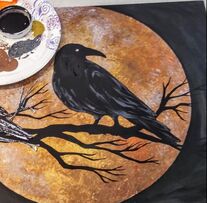
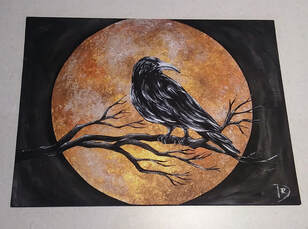 This painting is what I chose to mimic for my October Painted Canvas program at work. I run a "Painted Canvas" program once every quarter along with other monthly craft programs, but the Painted Canvas is, by far, people's favorite. With my other craft programs I usually always have empty seats even if the class had a full registration list but that is definitely not the case with Painted Canvas! The seats are always full! I wanted to do something "spooky" for this quarter's painting program especially since it's October. I had something else in mind originally but ended up picking this one! I followed the tutorial from "Painting with Jane" on Youtube, she's amazing! I didn't go about it exactly as she did. She used a gold metallic canvas (have never seen those before!!) and a paint/gel medium mixture to create translucent paint. I changed mine to just using a sponge on top of gold metallic paint. It's an "ok" effect, and one I think is easier for people in my class but maybe sometime I'll give the gel medium technique a shot!
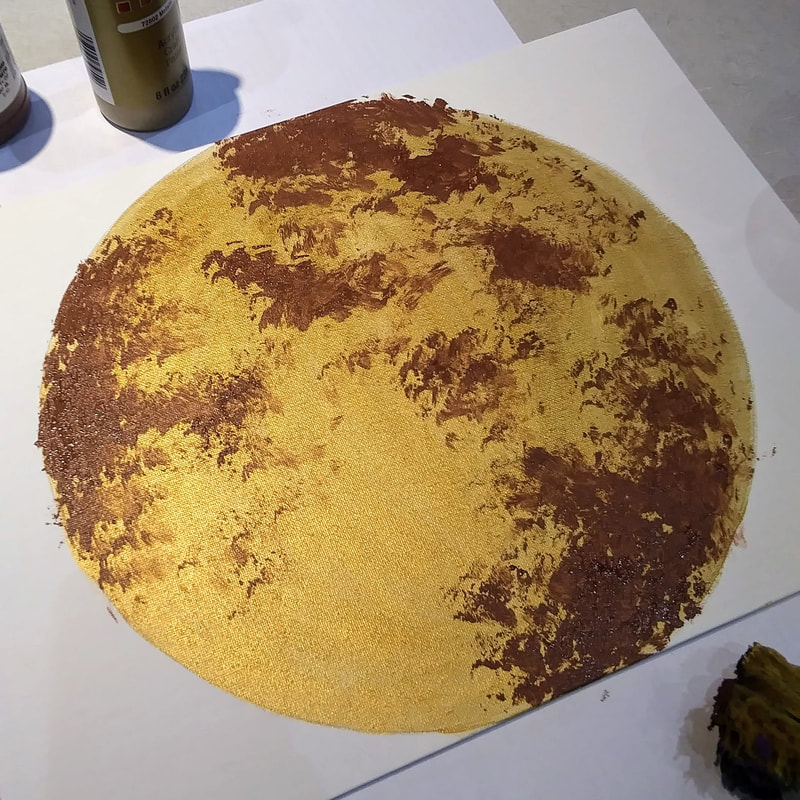
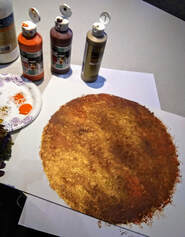
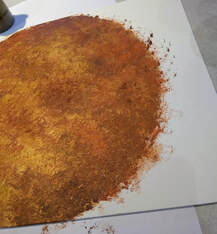
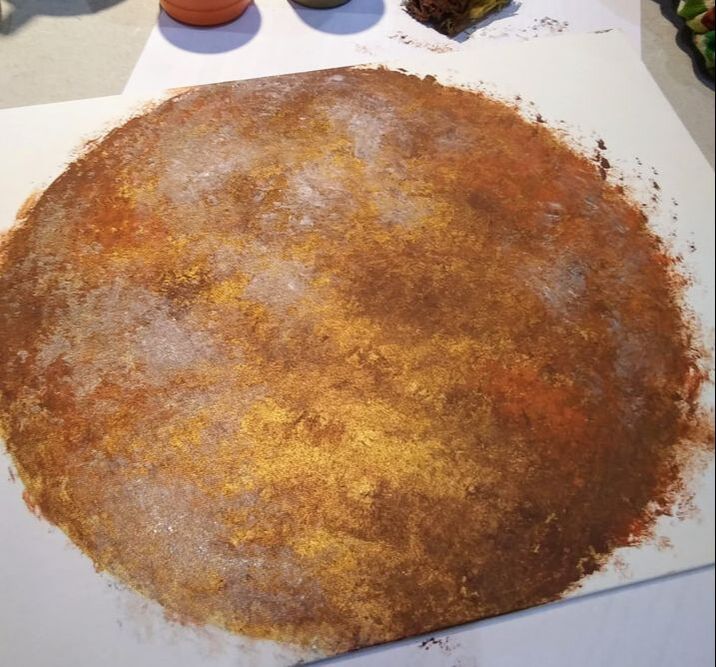
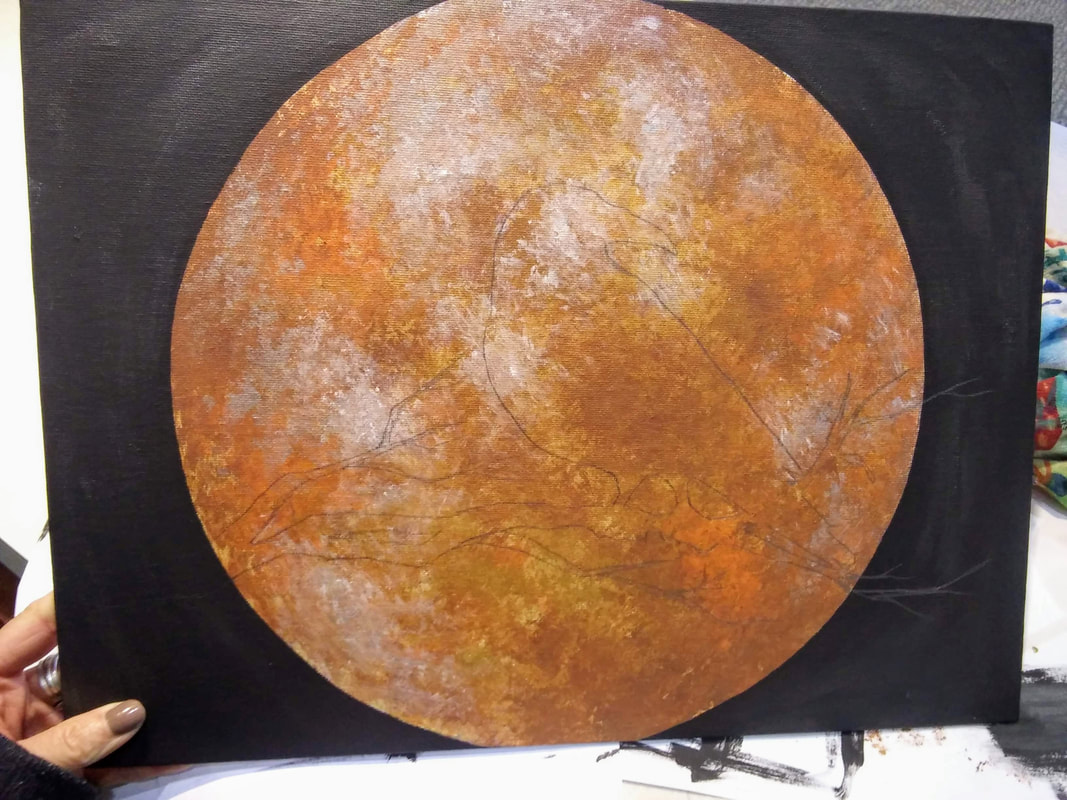
1. The first step is to trace your large circular object for your blood moon (I used a large plastic bowl). You want it to be nice and big to fill up your background. Paint this circle with your gold metallic paint (you should do 2 coats). 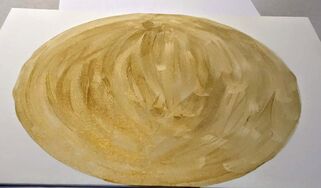 2. "Painting with Jane" recommended using translucent paint so that the colors do not get "muddy". I understood what she meant when I started sponge painting the colors. It did seem to get muddy but I was ok with it overall once it was done. Like I said earlier, I would like to try the original artist's technique in the future. I used a dry sponge and dipped it slightly in the paint, do not saturated your sponge! I started with brown for the dark shadows on the moon, then went into orange, blending slightly, I went back through with more gold to still have the gold represented, it's too pretty not to!
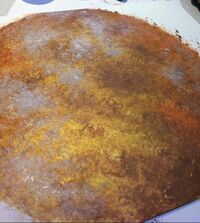
3. Before we are done with the moon, add some silver highlights with your sponge, you can add a dab of white too if you're feeling daring!
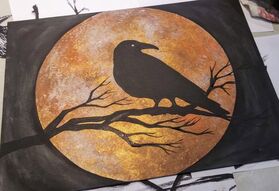
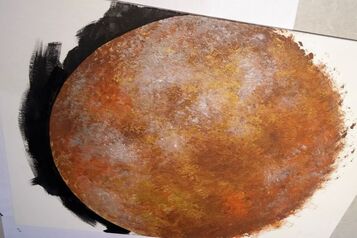
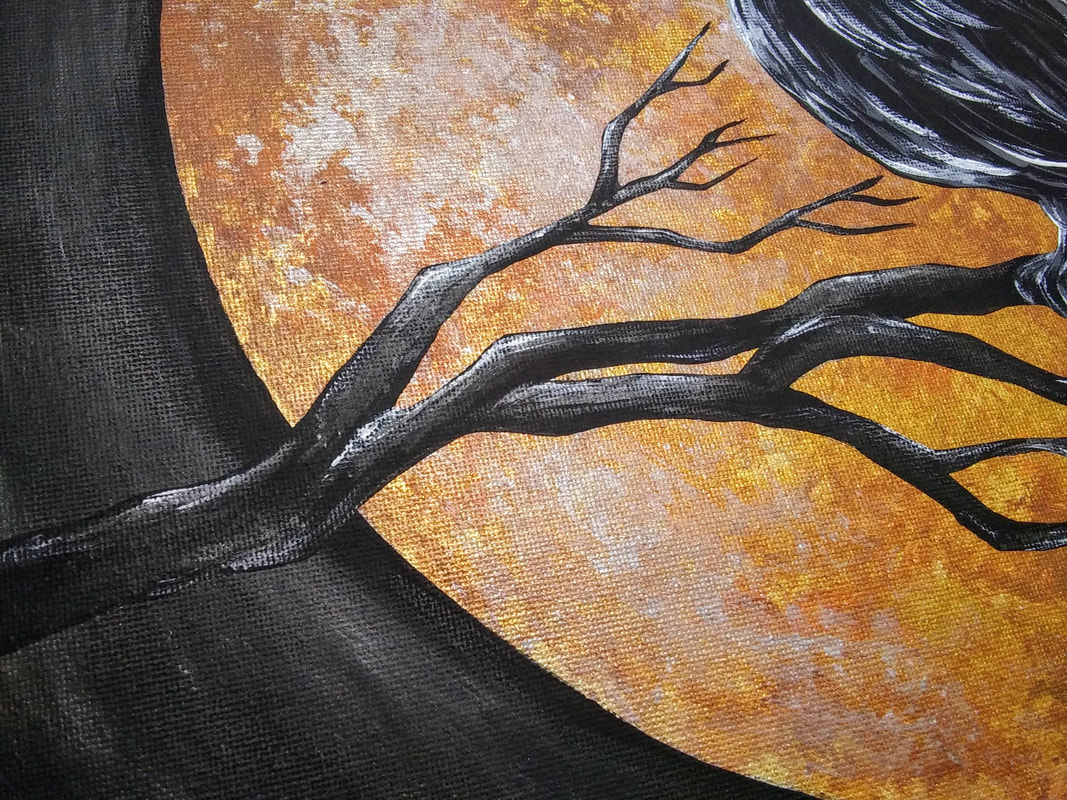
4. Retrace the same object you used to reemphasize your circle. With a flat or angled brush, trace the outline of your moon with black paint. Take your time and be patient on this step. Paint the remaining white space black. I used two coats of black paint. As I put the second coat on, I also mixed in a bit of silver to make the background seem "shimmery". You don't have to do this part, it is a personal preference. You will notice this effect more in later photos.
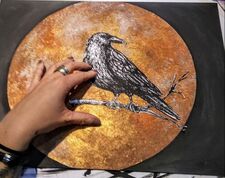
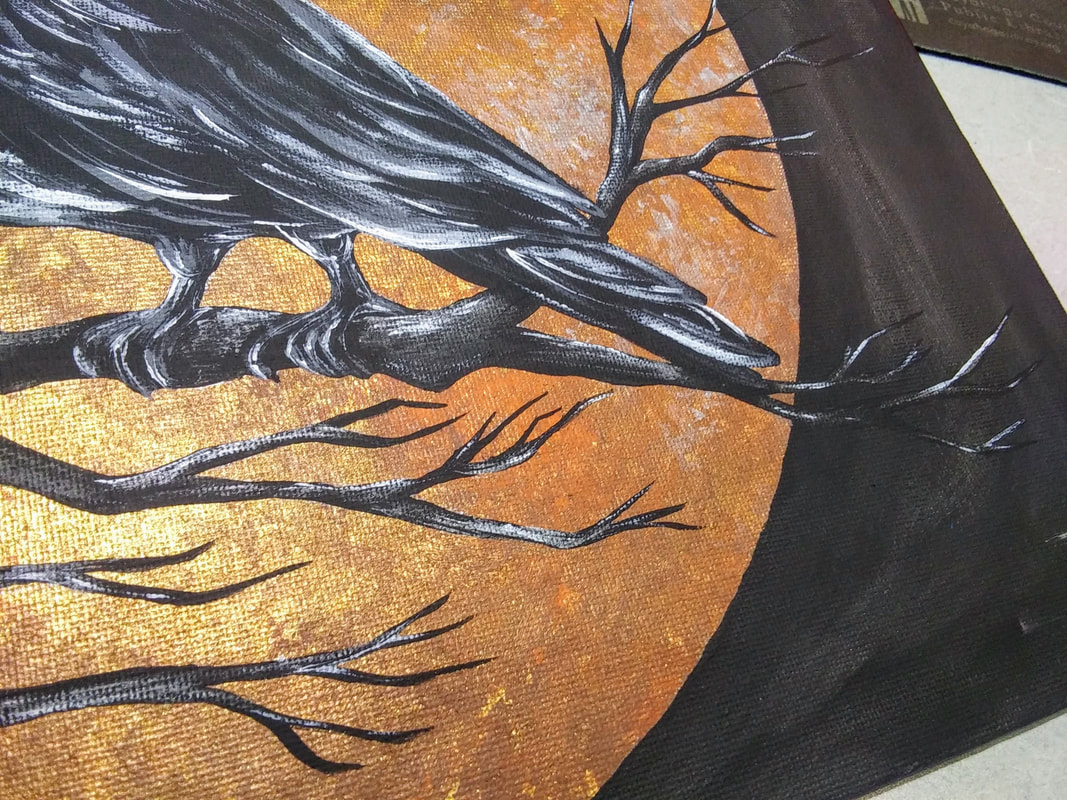
5. Trace your bird/branch template or free draw a bird if you feel comfortable. Paint this entire space black for a good base coat. I left a spot open for the raven's eye so that some of the gold shows through later.
7. In between painting feathers, I went in for the beak and tried to mimic the shape done in the video. 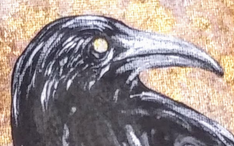 8. I highlighted everything with white. I used my smallest/pointiest brush for this and went over the previous grey with light, quick strokes. 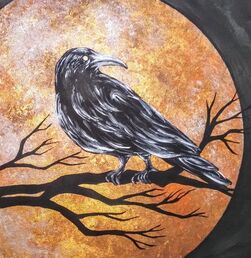 9. The last step is to highlight the gnarly tree branch! To do this, I lightly added some silver in various spots then, again, lightly added some white to those same highlights in smaller strokes.
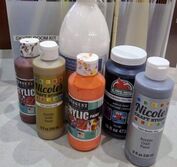
That's really it! Sign your painting with your initials and you are good to go! Talk about an awesome addition to some holiday decor! (And let's all be honest here, this would look pretty good with some glitter too)   I don't know about you, but this winter weather has got me down in the dumps and tired as all heck! I need something to brighten up these dark days and this is the perfect painting to help me out. Supplies:
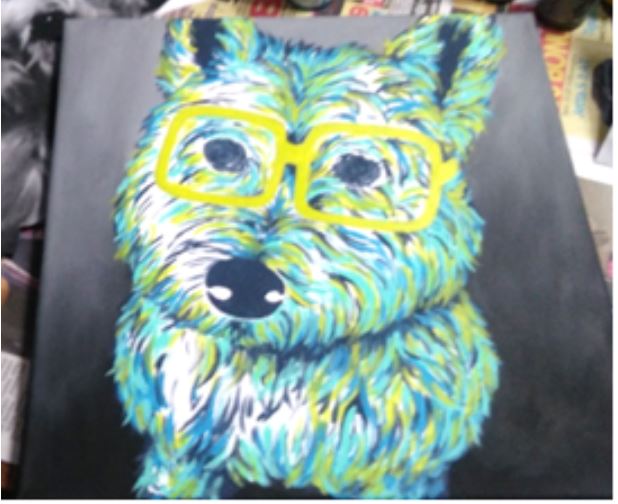
9. Lastly, create a single-color outline around your animal to make it “pop”. This is the prominent emphasis you see in Pop Art and what makes the subject stand out. Usually this is black or white but, feel free to make it whatever color you wish! You have officially created your pop art animal! Enjoy! 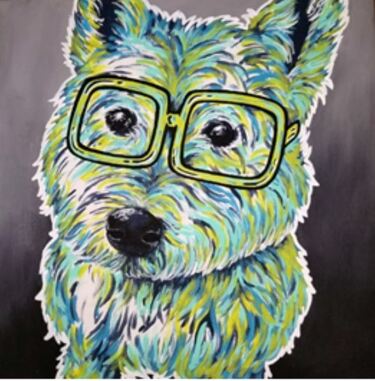 |

Rebecca MyersHey there, I'm Becca, or Rebecca, but not Becky, never Becky, unless you're my family from down south! I'm a simply modern librarian by day and an artist by night. My pursuit is for a simple, happy, healthy, and more fulfilling life! I hope I inspire you to get crafty! Archives
March 2022
Categories
All
|


 RSS Feed