THE ART ESCAPE
  • Home
  • About
  • Artwork
    • Book Page Art
    • Custom Portraits
  • Find Me
  • Order
  • Classes
Picture

Spooky Box

9/20/2021

0 Comments

 
Picture
Picture
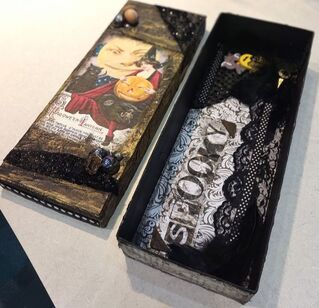
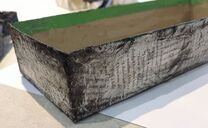
This whole project started with Halloween first of course, then I wanted to use up supplies I already had (also "of course). A library patron who I have mentioned here before donated these boxes for us to use and I thought this would be a great way to use them up! There are many ways to make this type of box! You can do whatever you’d like using so many different supplies and random pieces and parts you have at home. The below steps are how I made the box above but feel free to use it as a general example for your creative ideas. I really don't know if there's a "point" to this box... but... I don't care... it's pretty! So enjoy, and in the perfect amount of just 13 steps :) 
Supplies:
  • BOX
  • PAPER
  • BOOK PAPER
  • EMBELLISHMENTS
  • WITCH PRINT
  • PAINT
  • TISSUE PAPER
  • FABRIC
  • SCISSORS
  • HOT GLUE GUN
  • LIQUID GLUE & BRUSH
  • PAINT BRUSH
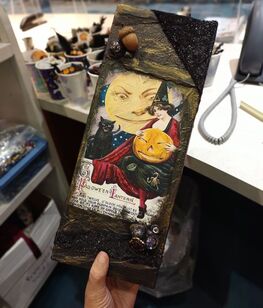
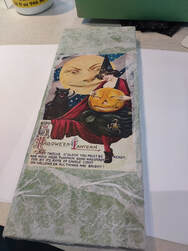
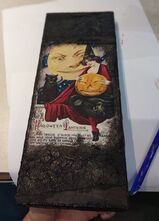
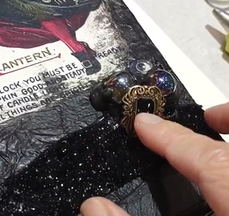
1. To start with, I found a cool old postcard online that of course had a Halloween theme! I printed it off and glued it onto the box with Mod Podge (Just use a thin layer of glue and secure corners).
2. Next, I crumbled up tissue paper, then unraveled it (carefully). Pull off medium size pieces to fit around the postcard and glue them down with the liquid glue (paint some glue on and lightly tap the tissue paper into the glue so that it holds the crinkle look).
Picture
Picture
3. Once you cover the entire green space around the postcard and sides of the lid, paint all of the tissue paper/previous green space with black paint. (I like to lightly overlap onto the postcard so that it looks more realistic/gets rid of any straight lines)
4. Next, I glued on pieces of torn cardboard and added marbles almost for a crystal ball effect! Add a good pile of hot glue to press each marble into. Then add rings of glue around the marble to make sure it is held in place. Be sure to paint the glue with the black paint too to cover it up!
Picture
5. I added pieces of scrap fabric to a couple of places (I used sparkly velvet!). And added some ribbon in a few places along the sides. 
Picture
Picture
6. I added a piece of jewelry here.  
Picture
7. Now for the bottom, I ripped up book pages and crumpled them up. Then I unraveled them so they would still have the crinkly look and glued them to the outside of the bottom half of the box, even the bottom. 
8. While the book pages are drying, paint the inside walls of the box black.
Picture
Picture
Picture
9. Go back to your book pages and “distress” them with paint by very very lightly brushing the corners and raised areas with paint. 
10. Glue down your interior paper on the bottom and add ribbon and other embellishments.  
Picture
Picture
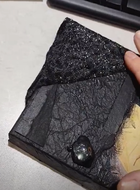
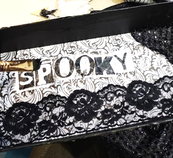
11. Now for the lid! Paint the walls of the inside of the lid black and glue your other scrapbook paper down on the inside as well. I distressed it a little by adding a little paint! 
Picture
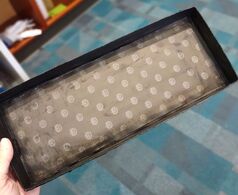
12. Add other embellishments to wherever you would like!  
13. Lastly, add your gold paint for the perfect finishing touch by again very very lightly brushing over raised areas! Finish up by adding whatever else you’d like!
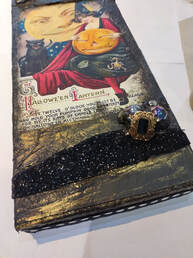
Picture
0 Comments

Mermaid Lantern

8/9/2021

0 Comments

 
Picture
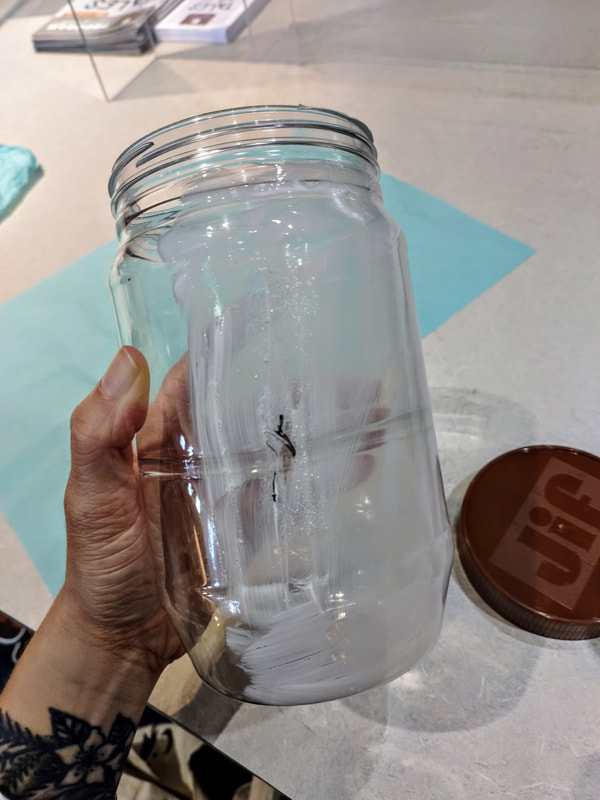
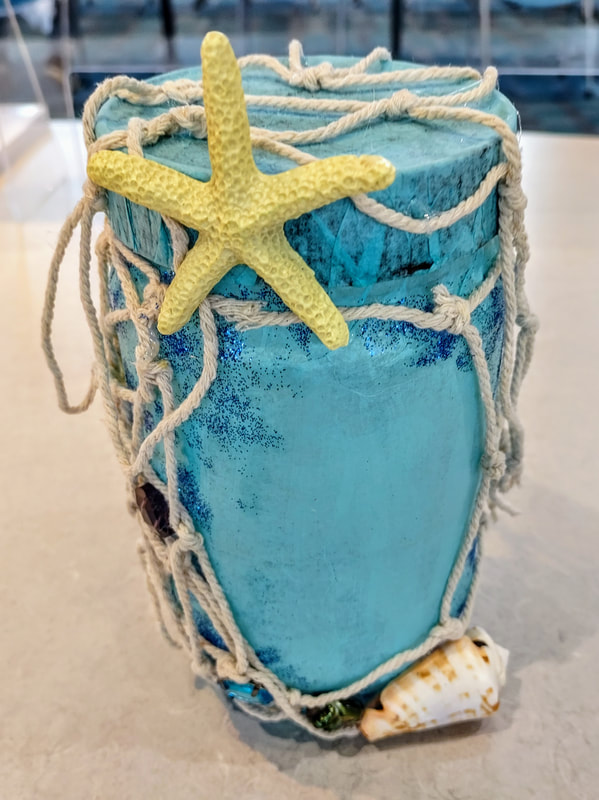
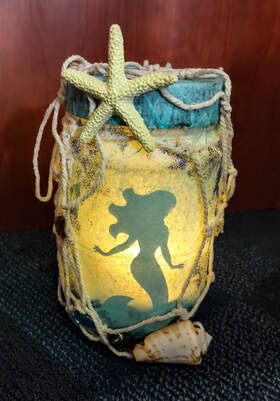
I've never been a beach girl. Well, I guess I like to sit on beaches but not swim and such... does that make sense? I'm the girl that wants to just sit and read outside in the sun with a drink then go cool off by putting my feet in and then repeat the process! Anywho, regardless of not being a beach girl... I have to say I love how this Mermaid Lantern came out. I have previously done many renditions of a fairy lantern seen here but this change up was really fun especially for summer.

For this particular craft I utilized a readily available peanut butter jar but you could definitely use just about any jar you may have at home! If you want to make this project a little more fun and involved (especially for kiddos) take a trip to the beach to look for shells, sea glass, and interesting beach finds to use instead of buying items at the store! Even broken jewelry or random gems will look perfect on this jar if you think about what is often lost and found at beaches! I did purchase this cool starfish on Amazon as I was doing it for a class and it came in a pack of 24. As well as this pack of fish netting that I cut and hot glued to the outside and lid!  
Supplies:
  • JAR
  • TISSUE PAPER
  • MERMAID CUTOUT (made on the CriCut, but you could print one out and cut out as well)
  • EMBELLISHMENTS
  • NETTING
  • FABRIC
  • BATTERY CANDLE
  • GLITTER
  • SCISSORS
  • HOT GLUE
  • MOD PODGE
  • BRUSH FOR GLUE
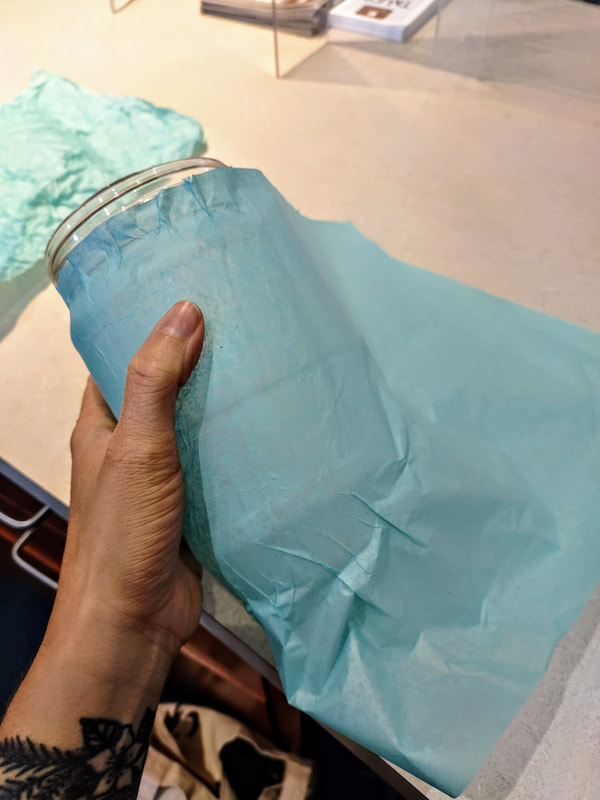
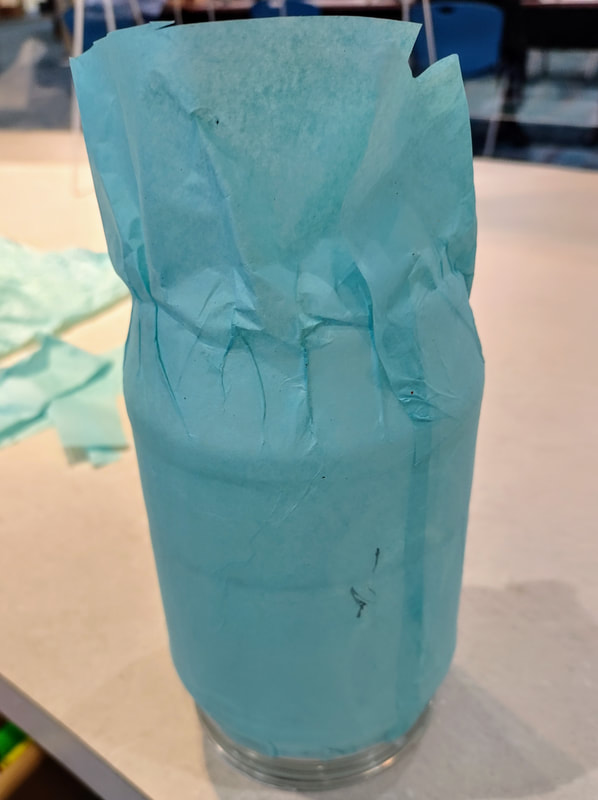
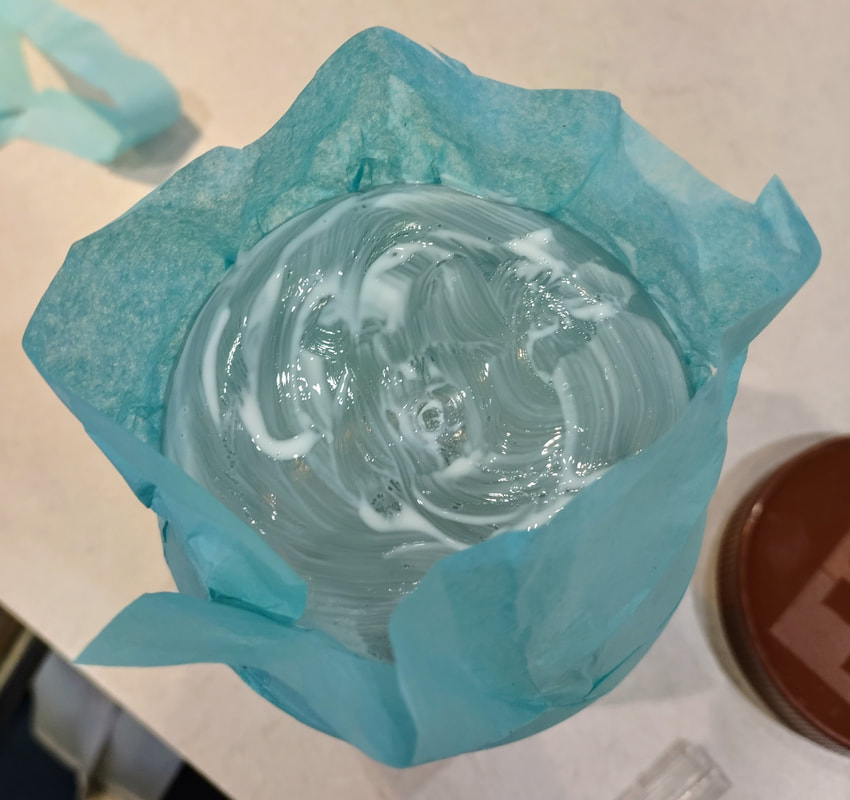
1. So let's begin! For this project I utilized light blue tissue paper (you could use any color though!). You can cut it down beforehand to better fit your jar so you don't have a bunch of extra in your way! I chose to leave this flat and not crinkle it at up like I had done with my fairy lanterns. Start by brushing your liquid glue onto your jar in about a quarter of a section at a time. Then lightly lay your tissue paper (right under the top of the jar so you can still put the lid on!) into the glue and smooth it out gently. Repeat the process until the jar is covered. 
Picture
Picture
2. Flip the jar upside down so that you can cover the bottom. Trim away some if there is too much, paint on some glue and fold over the paper into the glue to cover it completely. 
Picture
Picture
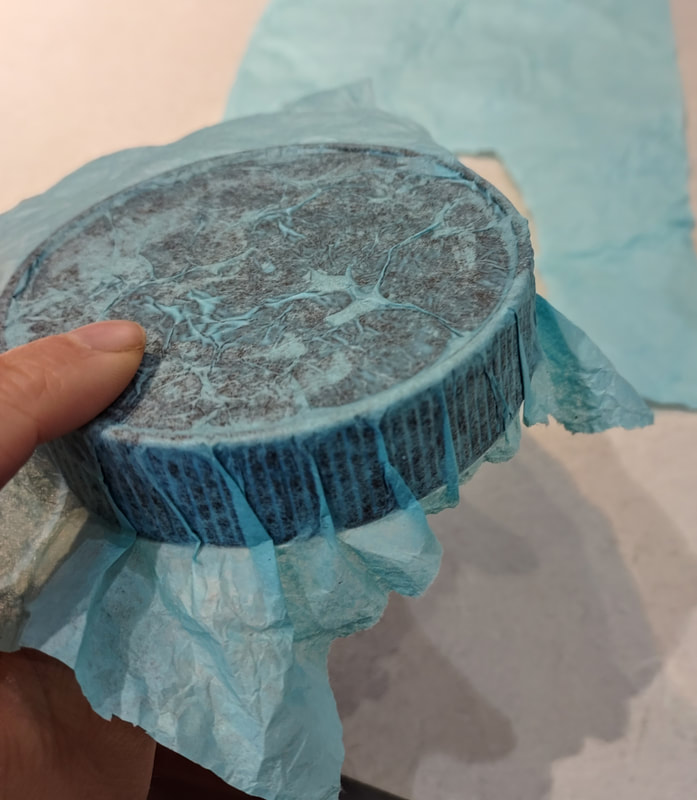
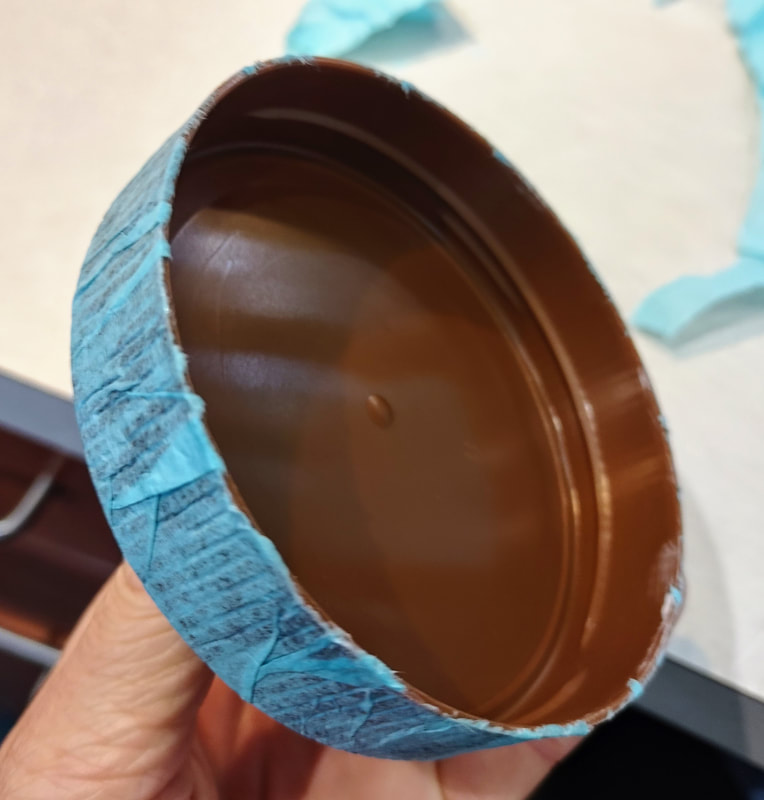
3. Work on covering your lid by doing the same thing. Paint on your glue and cover it the lid with the paper. I put one layer on and did another to make it a bit darker! Trim away the excess from the lip of the lid. 
Picture
Picture
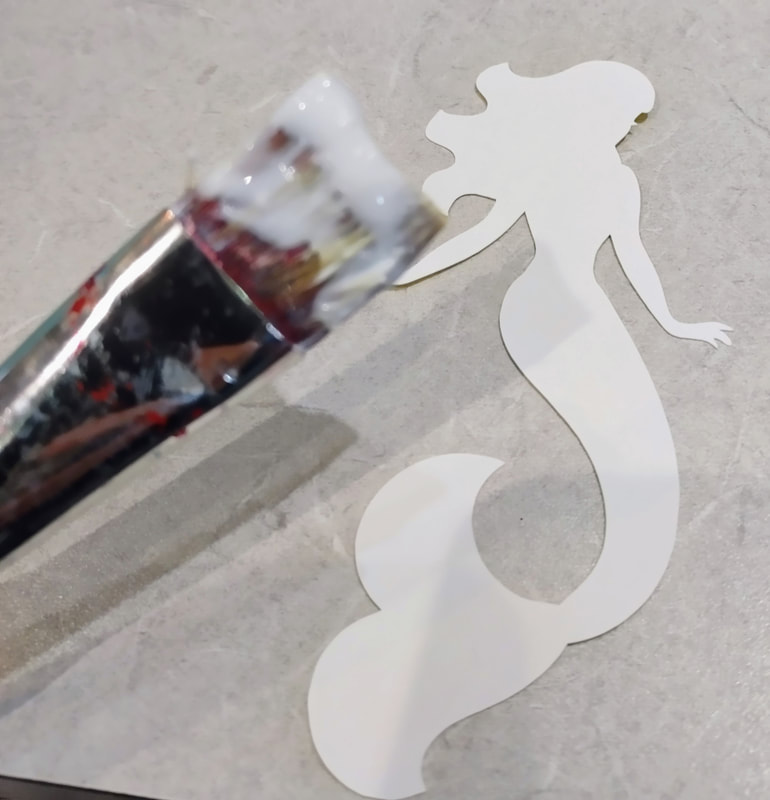
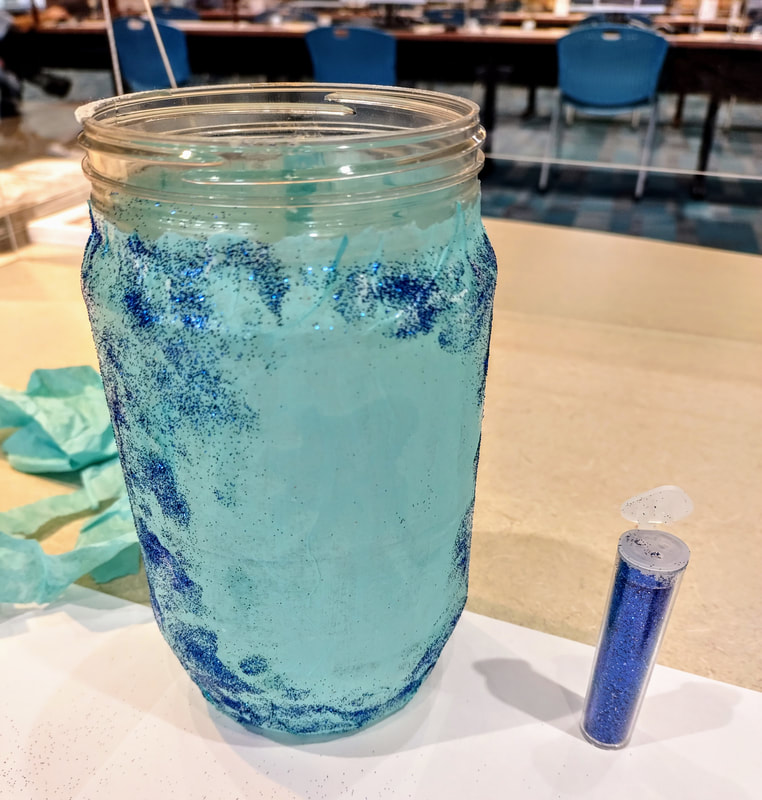
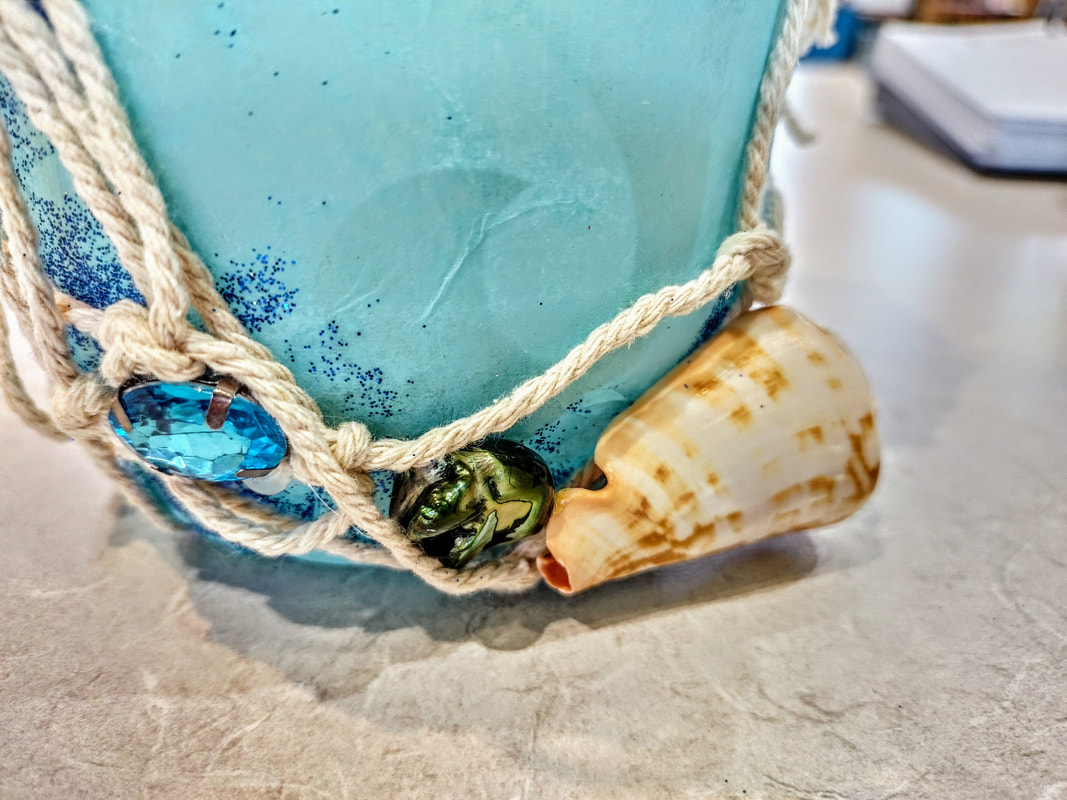
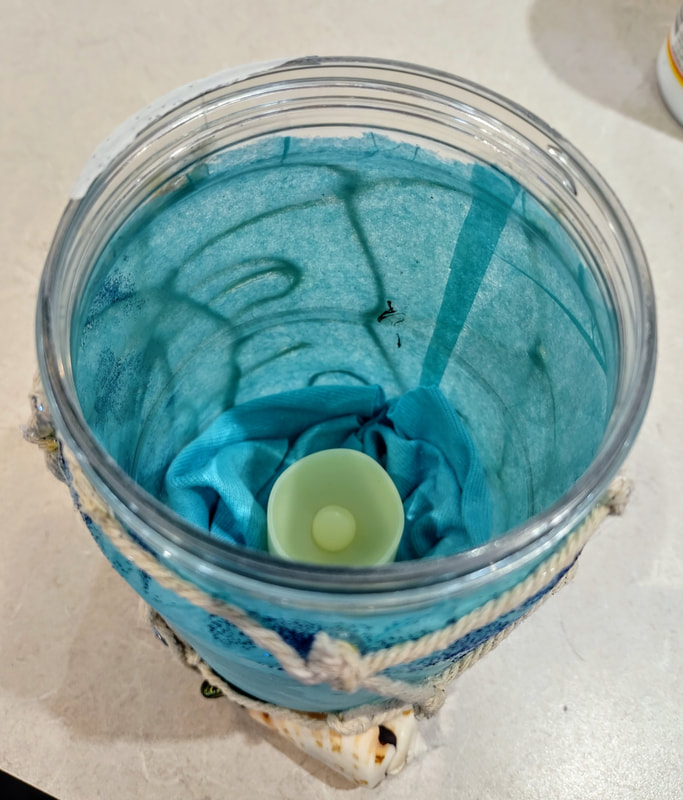
4. Add your mermaid to the inside of the jar by painting the one side with the glue and pressing her on the inside of the jar where you would like (avoid the seam from your tissue paper!). (Optional) Add glitter to the outside of the jar by painting glue on where you would like the glitter to be and sprinkle the glitter into it. I used it to “frame” around where the mermaid is in the jar. Use your finger to tap the glitter into the glue and shake off the excess. 
Picture
Picture
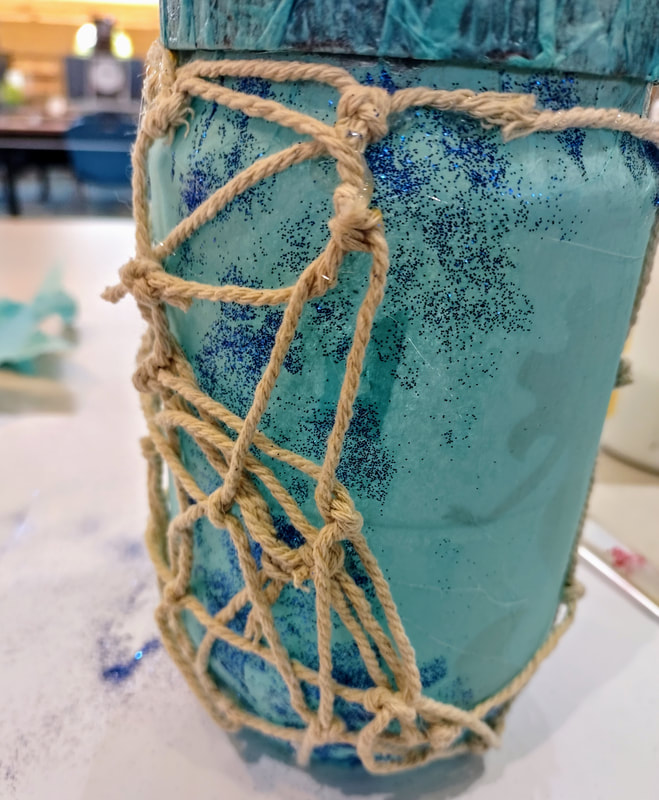
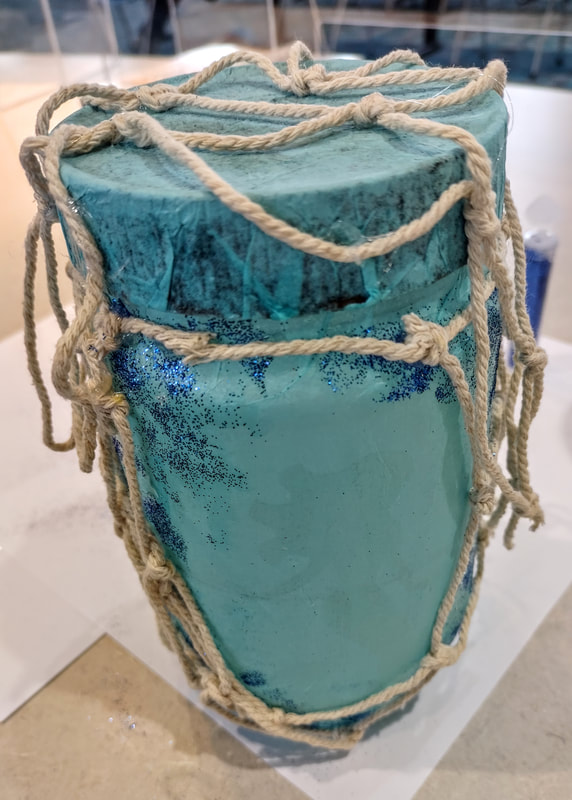
5. Next, add the netting! I found this surprisingly tricky! You can stretch it across your jar, cover the entire jar, or overlap it in a messy way (option I chose!). Secure it in various spots with hot glue, careful with your fingers! I also added some to my lid so that it would hang over the sides!
Picture
Picture
Picture
6. Once you get your netting situated, you can hot glue your embellishments! You could really add however many you want to your jar and all the way around too. We only had a limited number of supplies so I added them mostly around where the mermaid is to frame her silhouette.  
Picture
Picture
7. Last step, add your candle! Again, I got my candles from Amazon, because they came in bulk for the class, but I also liked these ones because they were a bit taller than normal too since the jar was also taller and wider. Mine kept rolling around in the bottom of the jar so I also added a piece of scrap fabric in the bottom first so that the candle would have something to sit into. Turn the candle on, put the lid on, and watch it glow!  Ps. you don't have to actually twist the lid on, just close it enough so the top is covered :) 
Picture
Picture
0 Comments
    Picture

    Rebecca Myers 

    Hey there, I'm Becca, or Rebecca, but not Becky, never Becky, unless you're my family from down south! I'm a simply modern librarian by day and an artist by night. My pursuit is for a simple, happy, healthy, and more fulfilling life! I hope I inspire you to get crafty!

    Archives

    March 2022
    February 2022
    January 2022
    September 2021
    August 2021
    July 2021
    June 2021
    May 2021
    November 2020
    September 2020
    July 2020
    April 2020
    March 2020
    February 2020
    January 2020
    December 2019
    October 2019
    September 2019
    August 2019
    July 2019
    June 2019
    May 2019
    April 2019
    March 2019
    February 2019
    January 2019
    December 2018
    November 2018
    October 2018
    September 2018
    August 2018

    Categories

    All
    45
    Acorn
    Acrylic
    Adults
    Altered
    Altered Book
    Animal
    Anniversary
    Apple
    Art
    Artificial
    Autumn
    Bag
    Banner
    Beach
    Beads
    Bike
    Black
    Blackbird
    Blog
    Bohemian
    Book
    Book Pages
    Bow
    Box
    Butterflies
    Buttons
    Can
    Candle
    Cardboard
    Cards
    Cat
    Change
    Christmas
    Clipboard
    Clothespin
    Clover
    Coasters
    Coffee Can
    Cold
    Cookie Sheet
    Cork
    Corks
    Coronavirus
    Craft
    Crafts
    Creepy
    CriCut
    Crow
    Daisy
    Decal
    Decor
    Decorate
    Decoration
    Decorations
    Decoupage
    Dictionary
    Diy
    Dog
    Dream Catcher
    Dreams
    Embellishment
    Embellishments
    Etching Cream
    Fabric
    Fabric Paint
    Fairy
    Fake Flowers
    Fall
    Feather
    Floral
    Flower
    Flowers
    Fluff
    Frame
    Fringe
    Future
    Galaxy
    Game
    Garland
    Gift
    Glitter
    Glow
    Glue
    Gnome
    Gold
    Grass
    Grow
    Halloween
    Handmade
    Hanging
    Harry Potter
    Hat
    Hippie
    Holiday
    Hot Glue
    Iron
    Jar
    Jean
    Jeans
    Jewelry
    Jewels
    Journal
    Junk
    Keepsake
    Keys
    Kids
    Knob
    Lantern
    Librarian
    Life
    Lights
    Light Up
    Luminary
    Magnets
    Mason Jar
    Matt
    Memo
    Memories
    Mermaid
    Mini
    Mirror
    ModPodge
    Mod Podge
    Moon
    Moss
    Music
    Native American
    Netting
    Nightlight
    Notes
    Ollivander's
    Ornament
    Outdoor
    Paint
    Paper
    Party
    Peanut Butter
    Pet Portrait
    Photo
    Pieces
    Pine
    Pins
    Pointsettia
    Pom Pom
    Pop
    Portrait
    Postcard
    Post It
    Posts
    Pumpkin
    Quick
    Quote
    Raven
    Realistic
    Record
    Recycled
    Repurposed
    Reuse
    Reused
    Ribbon
    Rice
    Runner
    Scrap
    Scrapbook
    Scraps
    Seashells
    Seeds
    Seniors
    Sheet Music
    Sheets
    Shirt
    Sleep
    Slice
    Small
    Smash Book
    Snow
    Snowman
    Sock
    Soul
    Soup
    Space
    Sparkly
    Spell Book
    Spells
    Splatter
    Spooky
    Starfish
    Stars
    Stencil
    Sticker
    Stickers
    Stitch
    Strawberry
    Stuffing
    Summer
    Surprise
    Tea
    Tealight
    Template
    Thread
    Thrift Store
    Tin Can
    Toole
    Tophat
    Tote
    Towel
    Tree
    Trinket
    Tshirt
    Twine
    Upcycled
    Update
    Vase
    Velvet
    Vino
    Vintage
    Vinyl
    Wand
    Wedding
    Wildflowers
    Wine
    Winter
    Wood
    Wreath
    Yarn

    RSS Feed

Proudly powered by Weebly
  • Home
  • About
  • Artwork
    • Book Page Art
    • Custom Portraits
  • Find Me
  • Order
  • Classes