|
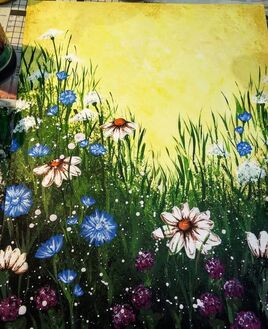
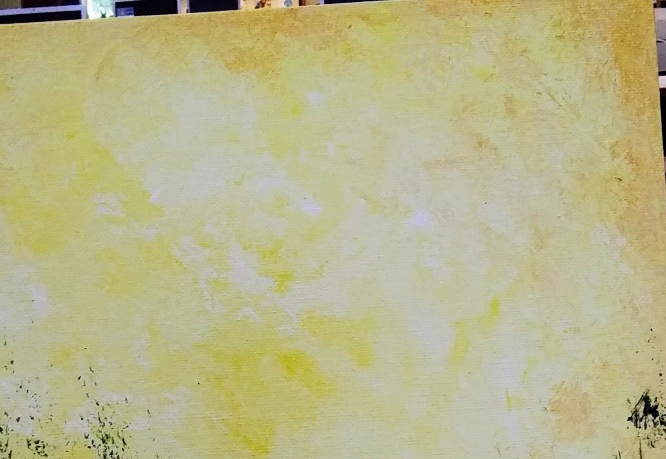
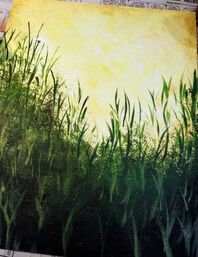
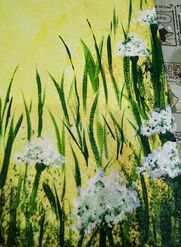
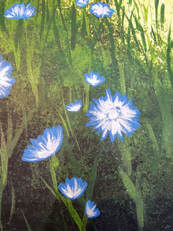
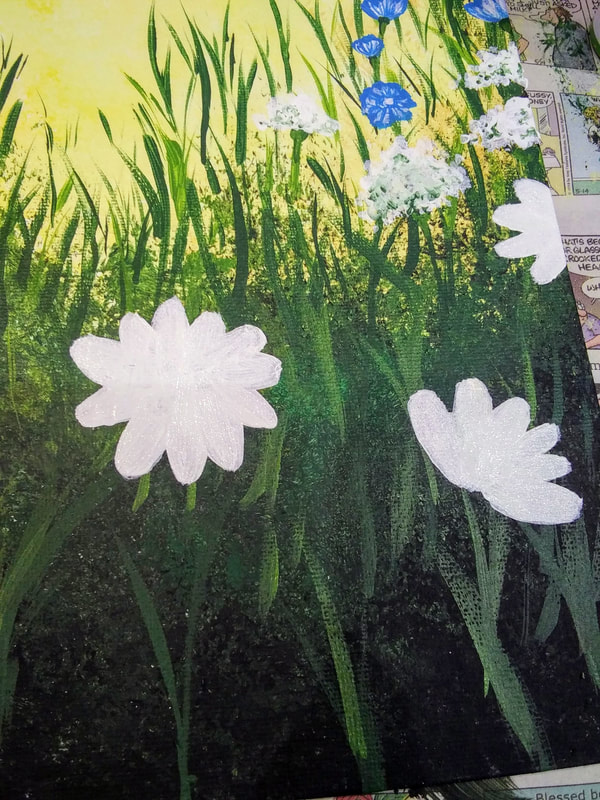
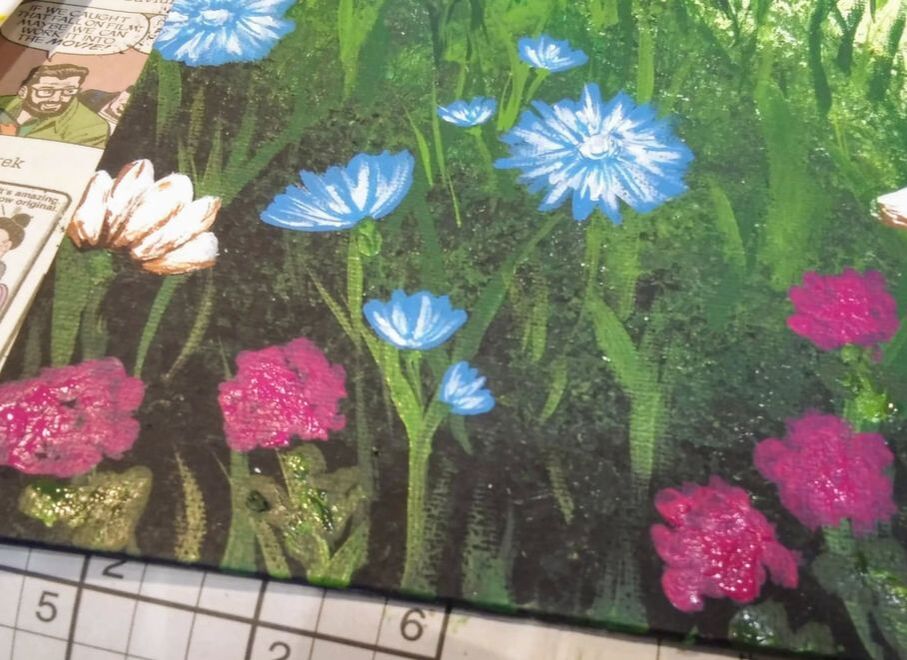
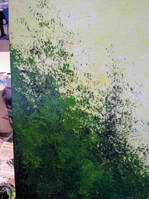
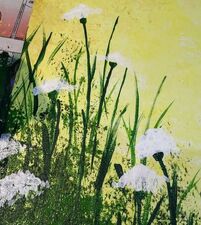
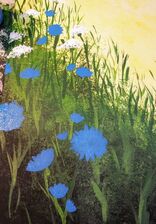
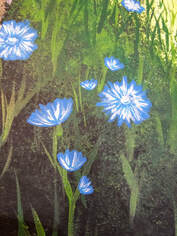
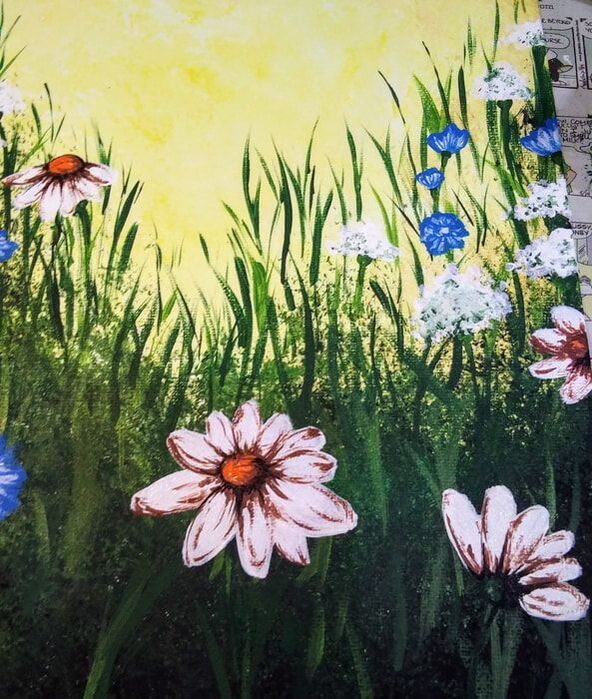
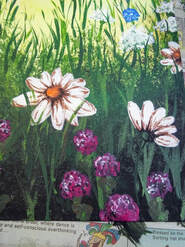
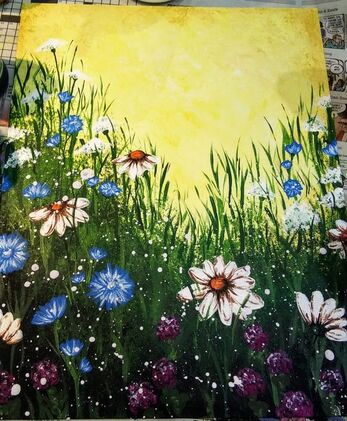
Who doesn't love wildflowers?! This is a fun, whimsical painting to do with friends during the spring or summer months, they'll love it! Supplies:
14. After adding some more grass in, it’s time for the really messy part!
0 Comments
Supplies:
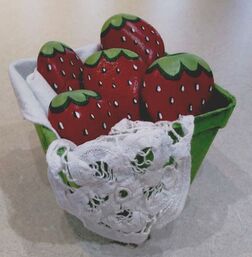
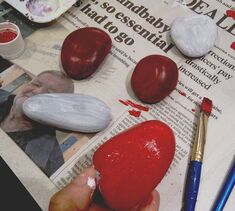
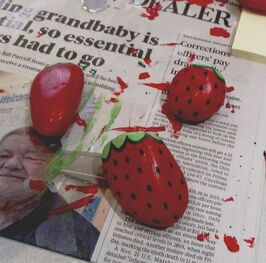
When I saw posts on Pinterest regarding these rocks I thought they were adorable and felt like I had to do them for a program at work, which here I am, prepping to do just that! My goal was to travel around to local parks and search for the perfect "strawberry-shaped" rocks to use, however, doing them for a public program meant that I needed about 110 of these rare diamonds and lets be real... that did not happen. I love using up supplies from previous projects and a coworker of mine had left over "mexican river rocks" from a rock-painting program, so, this is what I ended up using, cool. Taking a quick look at project photos on Pinterest, I saw that some showed that the rocks were painted white first. "Nah, I don't need to do that" I thought to myself peering at the 110 rocks waiting on my cart. So I went ahead and painted the first couple with red... "huh... this doesn't look too good" I quickly realized. "Do I seriously have to paint these white?" I begrudgingly thought to myself. So, I took a shot at the next one with a nice single coat of white acrylic paint. After it dried, I put the first coat of red over it and WOW, what a difference! You can see in the below photo the ones I painted first laying in the background on newspaper vs. the new beautifully vibrant rock in my hand. Thankfully, we have people who work with us who are often looking for "odd" jobs to do in down time.... well.... I think painting 110 rocks white is the perfect job to do for that! Thank you, thank you, thank you! I thought 5 rocks would be a good amount for this project which ended up working well for dry times as you make your way through each rock and each layer of paint. So, paint all rocks white, then paint all rocks red. I put 2 coats of red on top so it's a nice even layer.
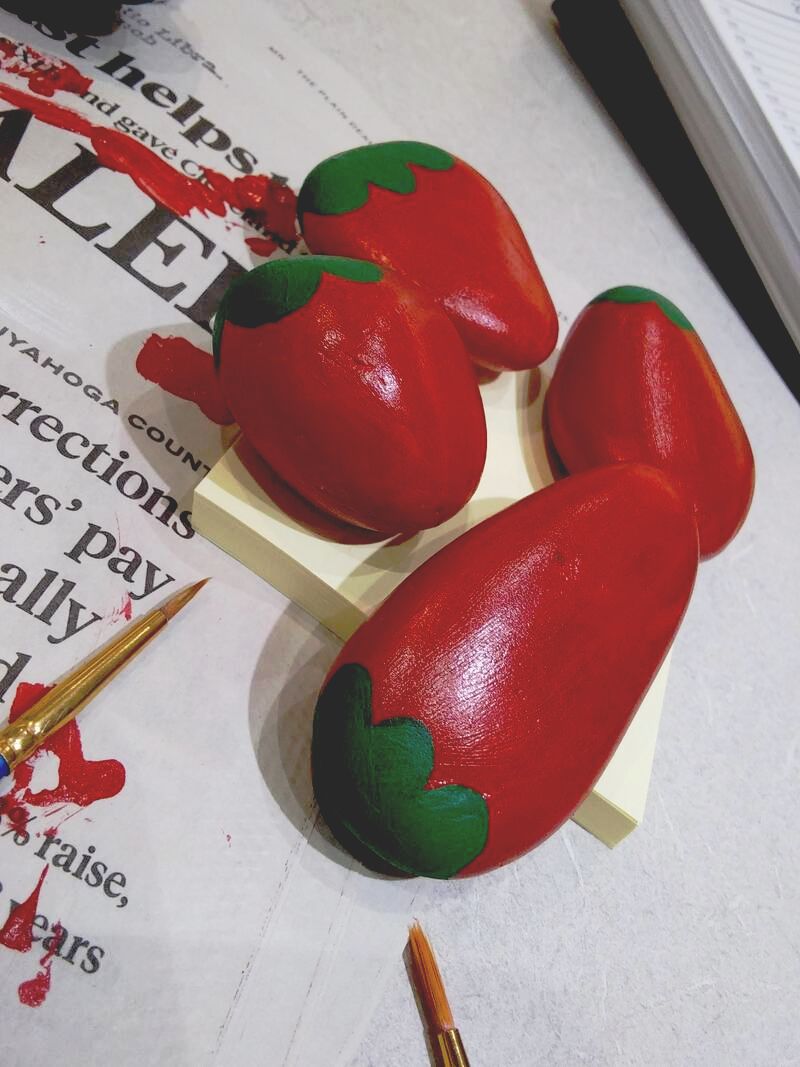
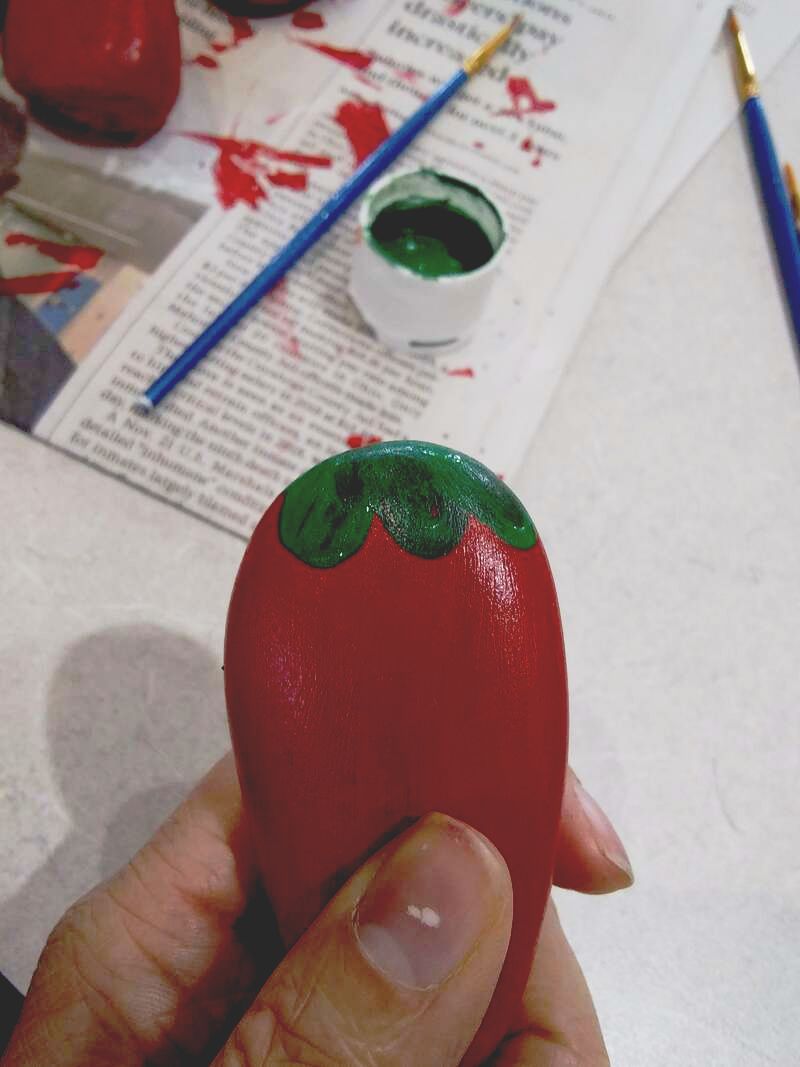
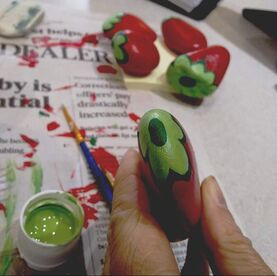
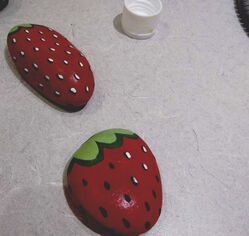
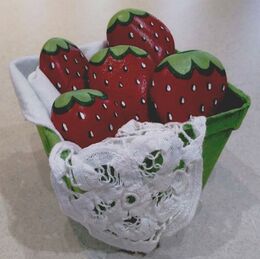
After my dark green dried, I went over it in a smaller reflection with light green. Then, I added a dot of the dark green in the center to represent where the stem would technically be. I'm not gonna lie... I hated this... still hate it. I do not like the way this came out but got even more stressed out the more I tried to "fix" it. I found it best to just leave it as is and move on full steam ahead! Next, will be your act of patience. Using a tiny pointy brush, paint "raindrop" shaped black "dots" all over your rocks to represent the strawberry seeds. And do this with every... single... rock! Now, go over every... single... dot.... on every... single... rock... with a tiny white "raindrop"/"dot". You could also change this up and be more realistic by making the seeds a golden yellow or changing the look of some so they're not all exactly the same. But I didn't have time for that and was shooting for a simple, easy project for my participants! Lastly, put them in a cute bowl, basket, container, whatever! I found farmer market style containers at our local craft store. They came in a pack of six so were super affordable! I also put a piece of fabric in to drape over the sides before I put the rocks in and wa-la, Adorable summer decor!
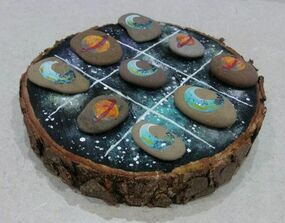
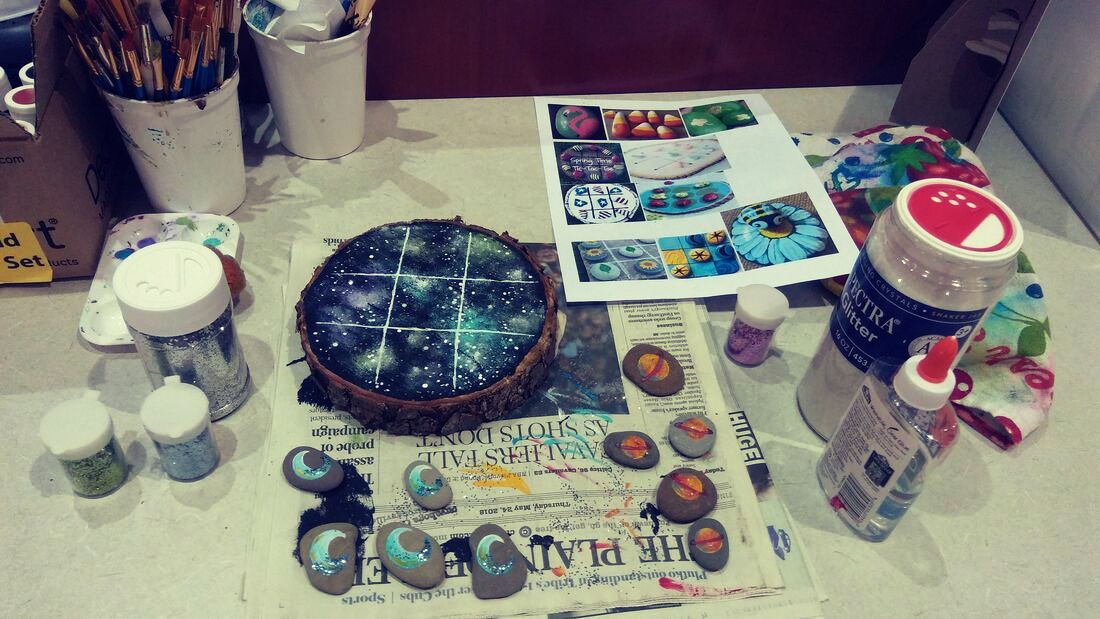
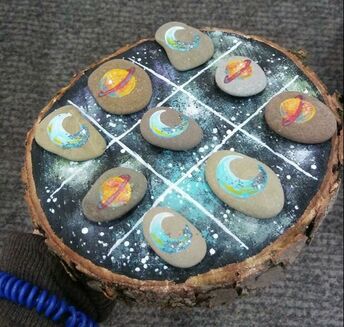
It's been a whole month since I have posted a project. Time is flying by... sometimes it feels too incredibly fast! I have been doing a lot of projects for other people so I don't have much to post, but, my next up-coming project at the library is a DIY Tic-Tac-Toe board. I thought this idea would be perfect since spring is (supposedly) here. I don't have specific steps for this, as you can make it whatever you want! But here is the list of supplies I used and my end product! Supplies:
I got the original idea on Pinterest on the AttaGirlSays blog! I am encouraging my class to paint whatever they would like for their tic-tac-toe board and have a collage of photos to provide them some ideas.
I went with a galaxy/space theme for mine, but, I would love to do like a big daisy for the base/board and then lady bugs and bumblebees for the pieces! Maybe next time! Have fun and happy spring! |
Rebecca MyersHey there, I'm Becca, or Rebecca, but not Becky, never Becky, unless you're my family from down south! I'm a simply modern librarian by day and an artist by night. My pursuit is for a simple, happy, healthy, and more fulfilling life! I hope I inspire you to get crafty! Archives
March 2022
Categories
All
|


 RSS Feed