|
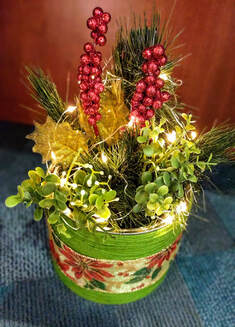
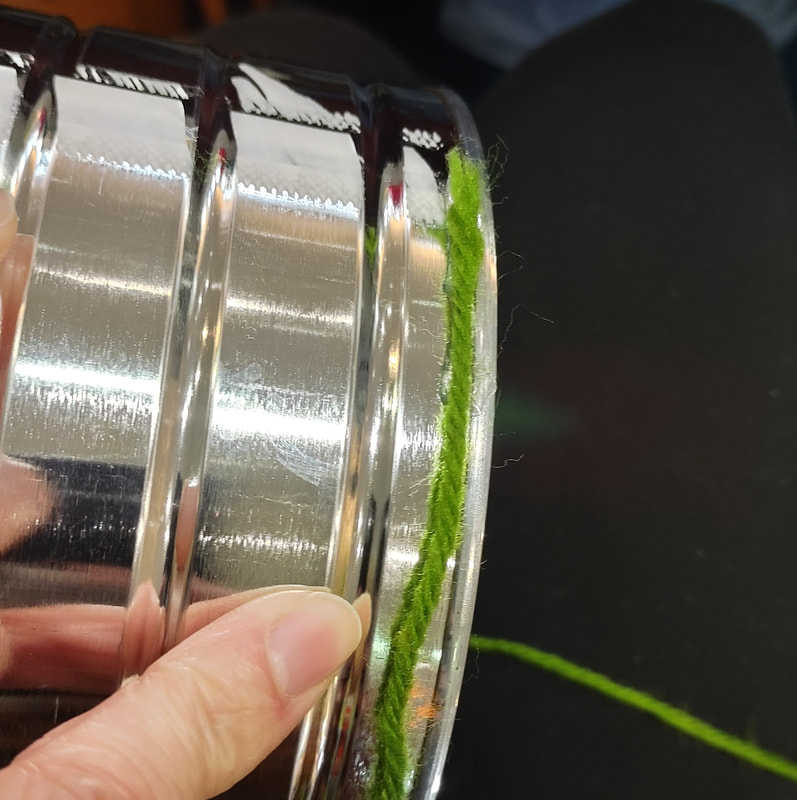
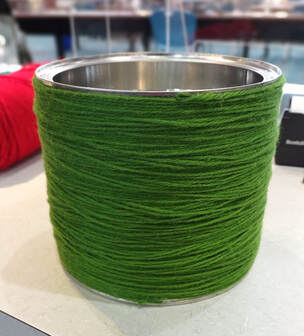
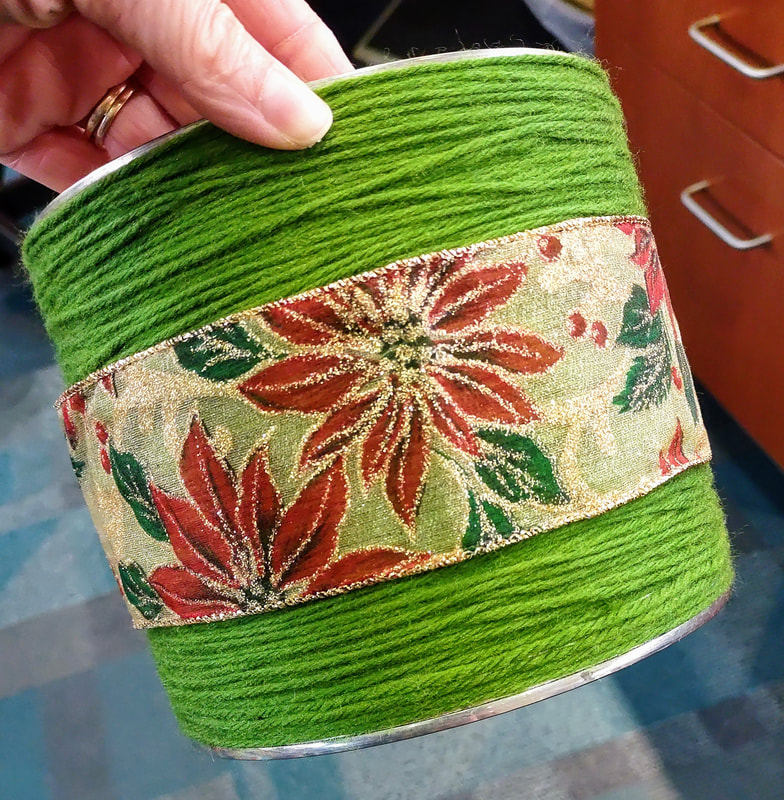
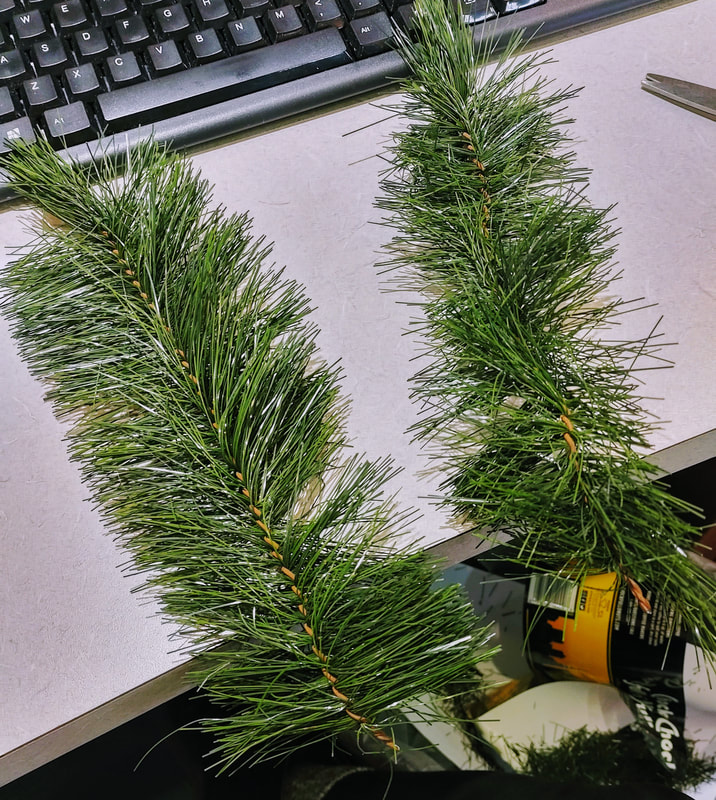
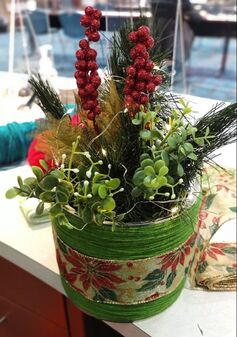
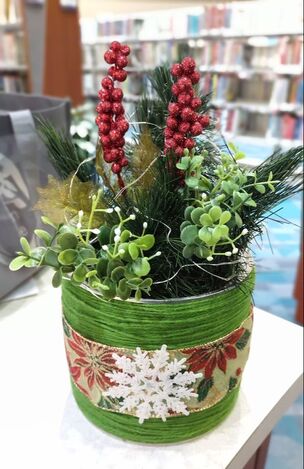
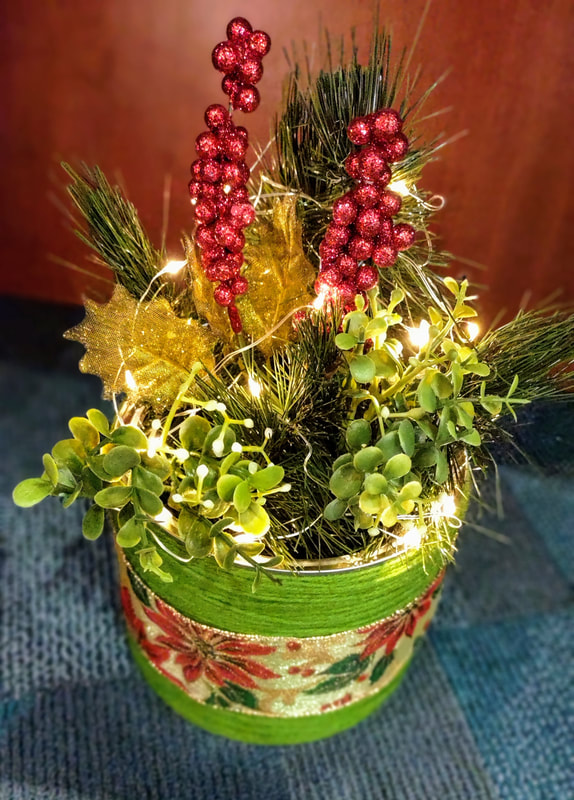
One of the last projects I did before changing jobs at the library, was this floral coffee can! I had been saving coffee cans like crazy for not specific purpose other than the fact that I knew I could use them somehow! I had also received a donation of artificial pine branches from an old Christmas tree and had a tonnnnnn to use! It was my goal to use some of these up before I left and I think I barely made a dent even though I had 20 people and each person got 5 branches! Wow! I also used up some random Christmas/winter floral decorations that I found in a box for this because, why not! It really jazzed up the cans! 1. Wrap the can with whatever you would like. I chose yarn because we had a bunch! And it would give it a nice soft look! I added some hot glue at the beginning to make it stick and began wrapping around and around and added glue every so often to make sure it would all stay secure! 5. Lastly, I added a small strand of battery operated fairy lights and a white sparkly snowflake to the front to finish it off!
0 Comments
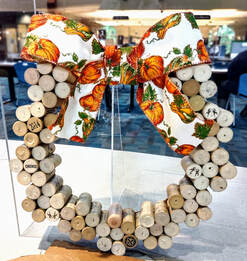
Day late and a penny short, eh? Woops! I like to try to have a new craft post every 2 weeks on Monday but completely forgot about scheduling one! So I thought I'd share this craft while it's still fresh in my mind! The first time I did this craft was as a class at The Little Birdie Wine Nest in Parma. We had a full class and it was kind of tricky with all the hot glue guns that needed to be plugged in! This time, I presented the craft as a free Take & Make at the library where I work and I think people liked it! I used a fall ribbon on my mine because well... I love fall! But, you could add any ribbon you want and it would be super cool if you could make it interchangeable for different holidays and seasons as well! Below are the steps that I took to make mine but I'm sure there are other ways to create this cute wreath! Supplies:
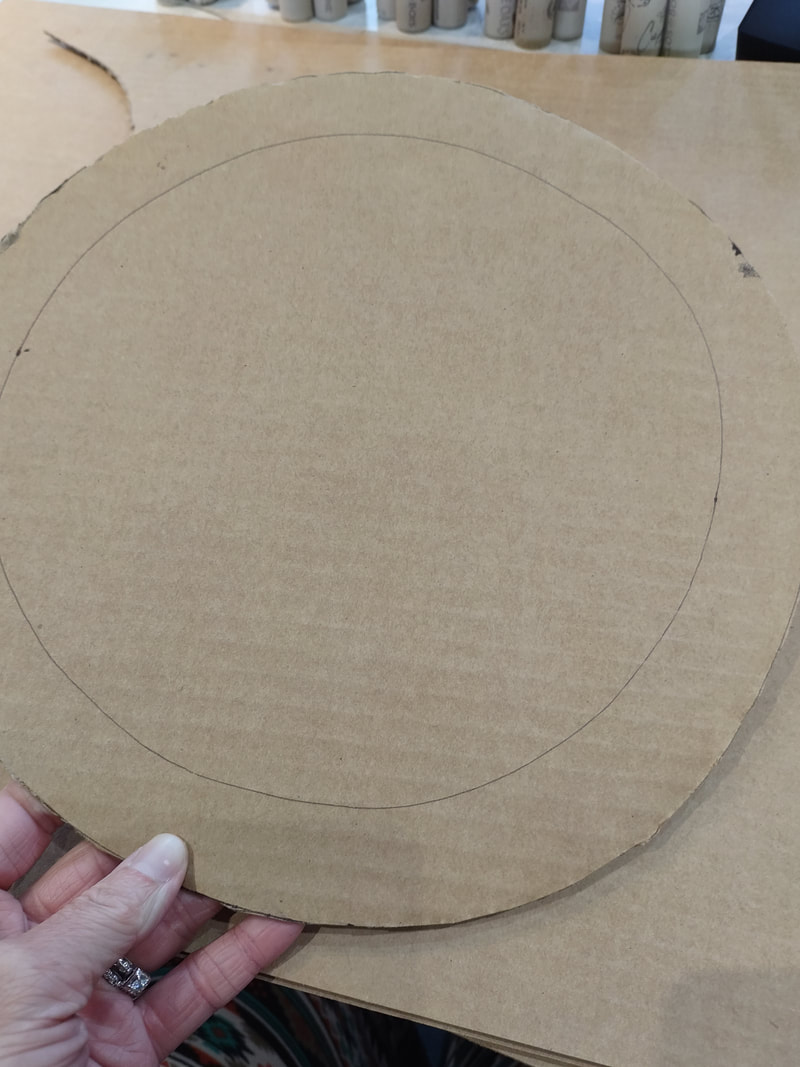
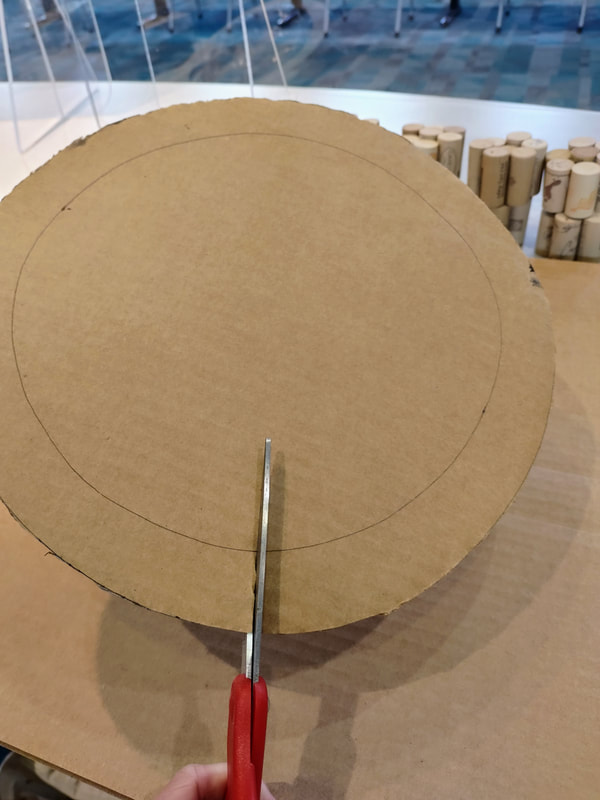
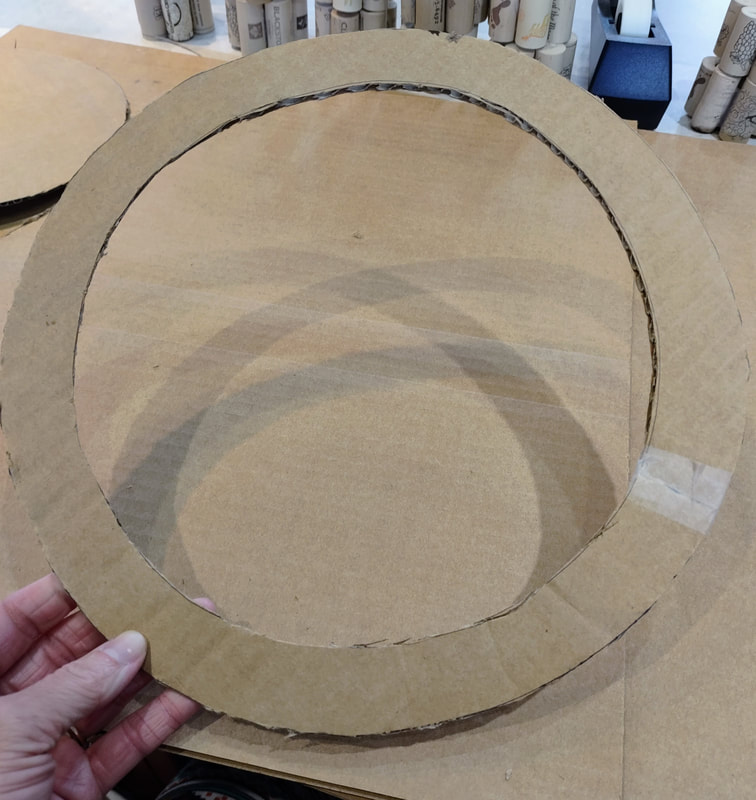
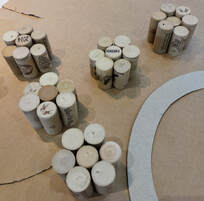
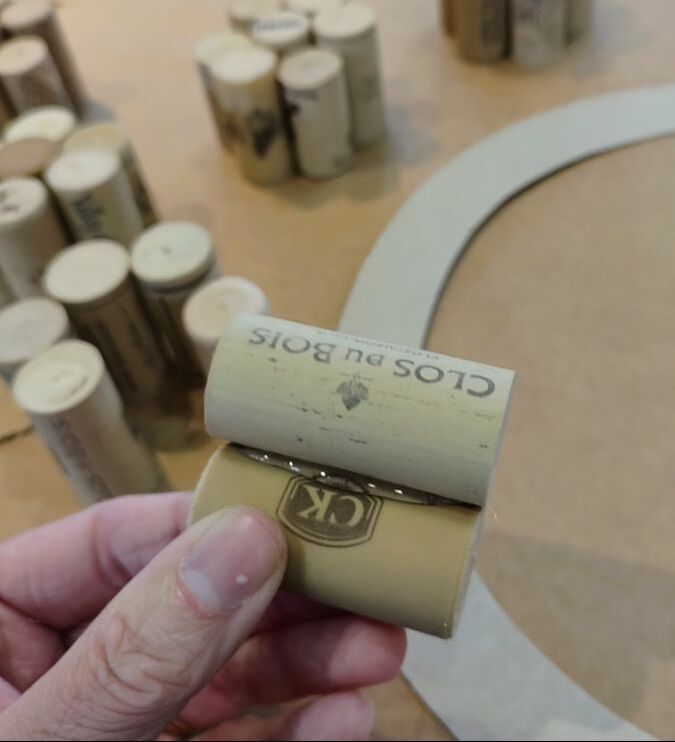
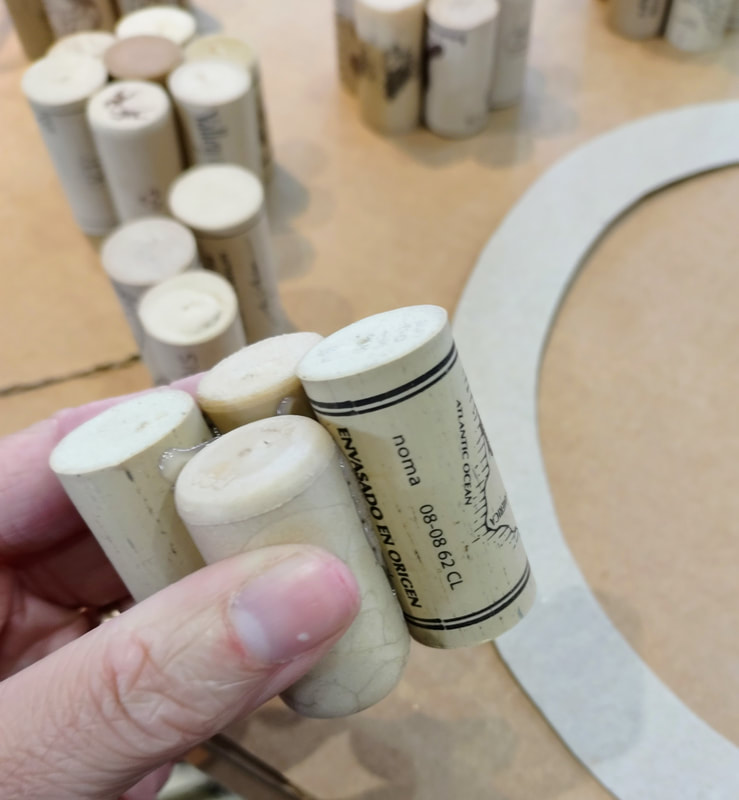
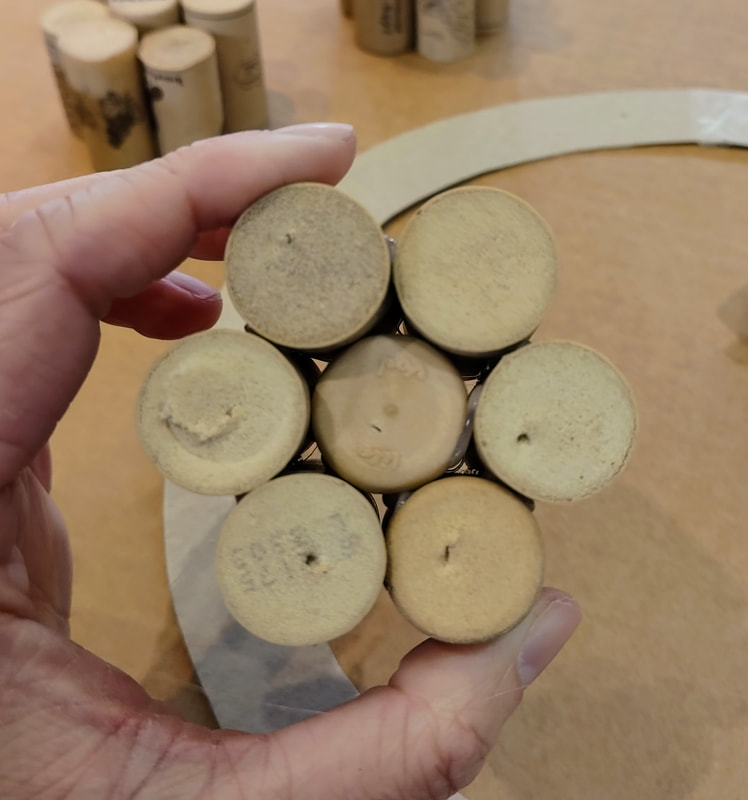
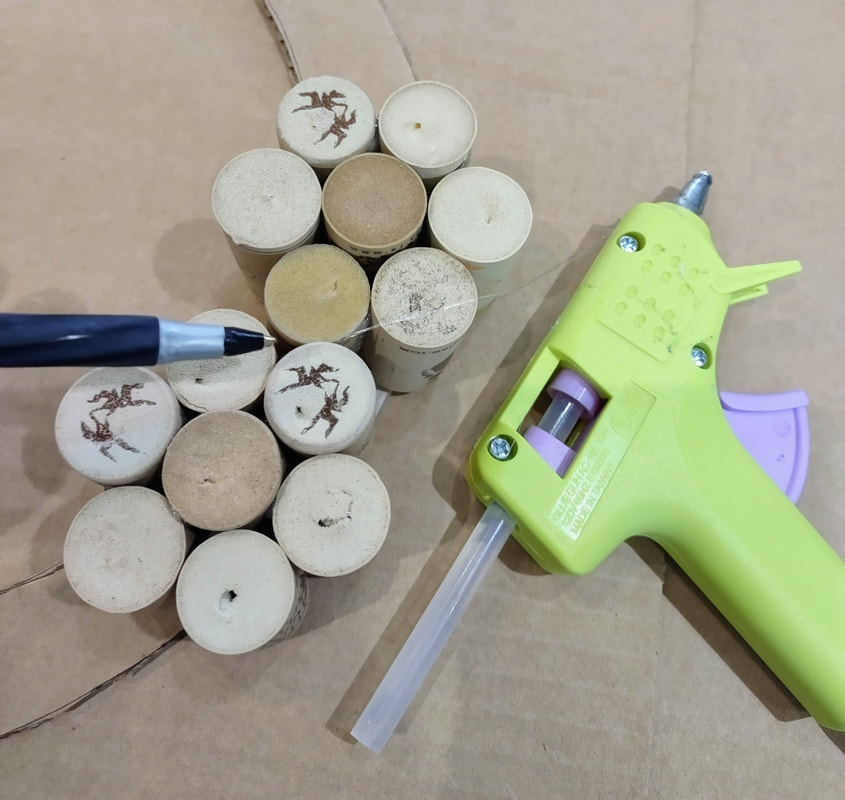
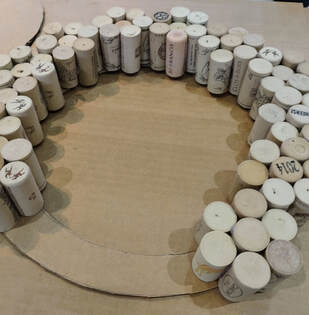
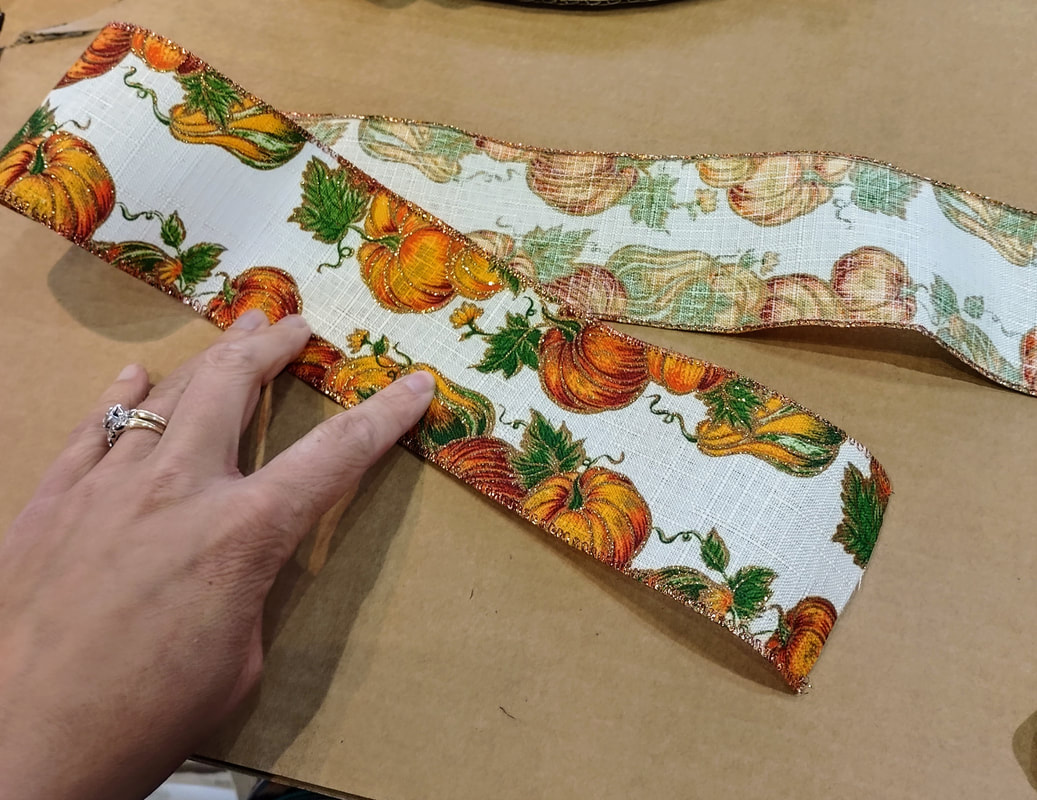
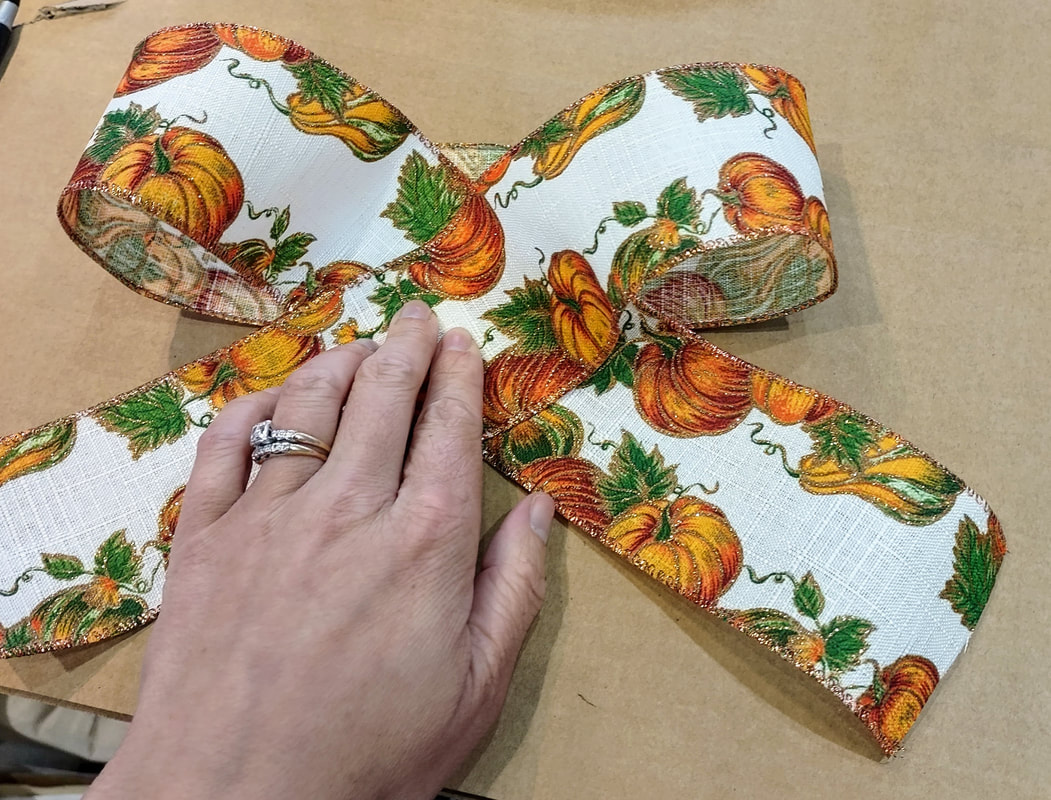
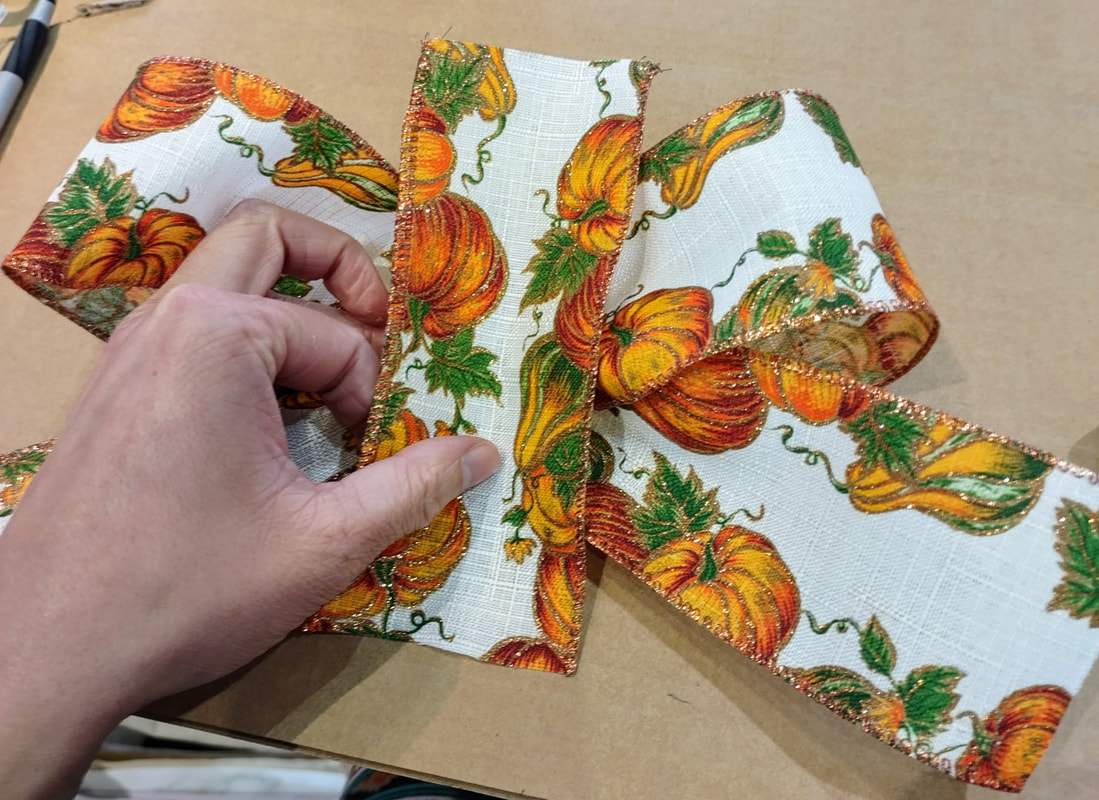
1. So I made my own cardboard base that was about 11 inches in diameter and 1 inch in width but, you could go to the craft store and actually purchase a premade wooden form instead. If you use the cardboard (eh em, free) method, then just be careful as it can get a little tricky to cut out! 3. Start with your first cluster and take the center cork and put a line of hot glue on one side to stick the next cork to. When you start to add more it’ll get tricky! Add a line of glue on both the inside cork and the cork you just glued so the next one has something to stick to! *Note: You may have to add extra glue in certain places to secure the corks better! 4. Glue all your flower clusters together and then glue them to your form. You should put A LOT of glue down for each one and you will need to add some in between each one on the previous cluster so it has something to stick to. Add all your clusters until you have a space left like in the photo (this is for your bow). 5. Make your bow however you like in the photo by crisscrossing the pieces and gluing them together. You pinch all the pieces together and secure them in the center with a 5in piece of your ribbon glued together at the back. That’s it! Thanks for crafting with me!
|
Rebecca MyersHey there, I'm Becca, or Rebecca, but not Becky, never Becky, unless you're my family from down south! I'm a simply modern librarian by day and an artist by night. My pursuit is for a simple, happy, healthy, and more fulfilling life! I hope I inspire you to get crafty! Archives
March 2022
Categories
All
|


 RSS Feed