
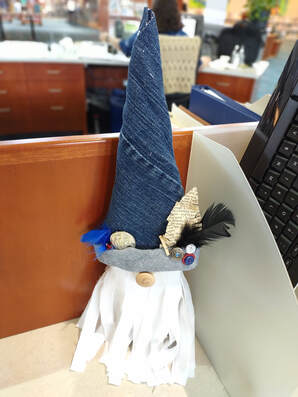
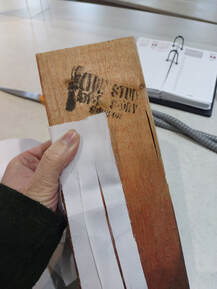
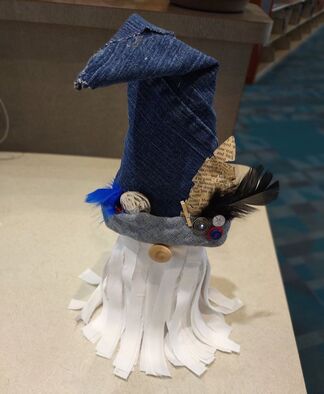
 I loveddddd creating this gnome! I reproduced this from another craft site because I thought it was so cute and creative! The supplies can be altered to fit other items but here is what I used for mine! Supplies:
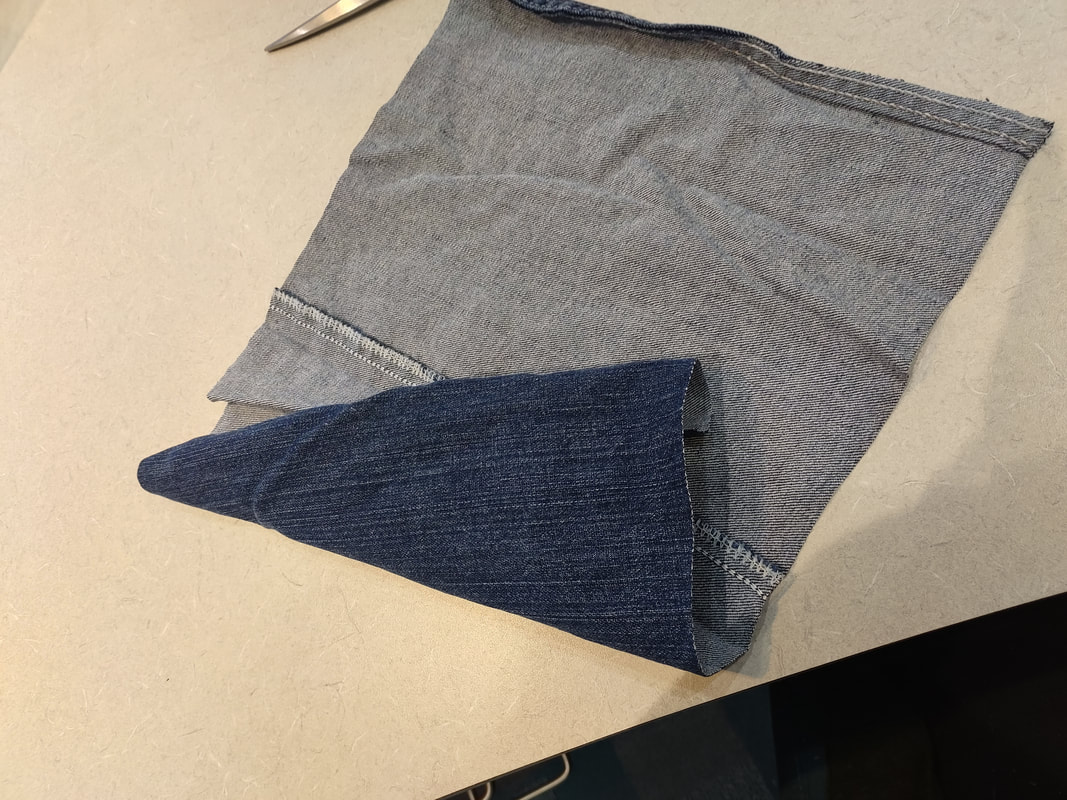
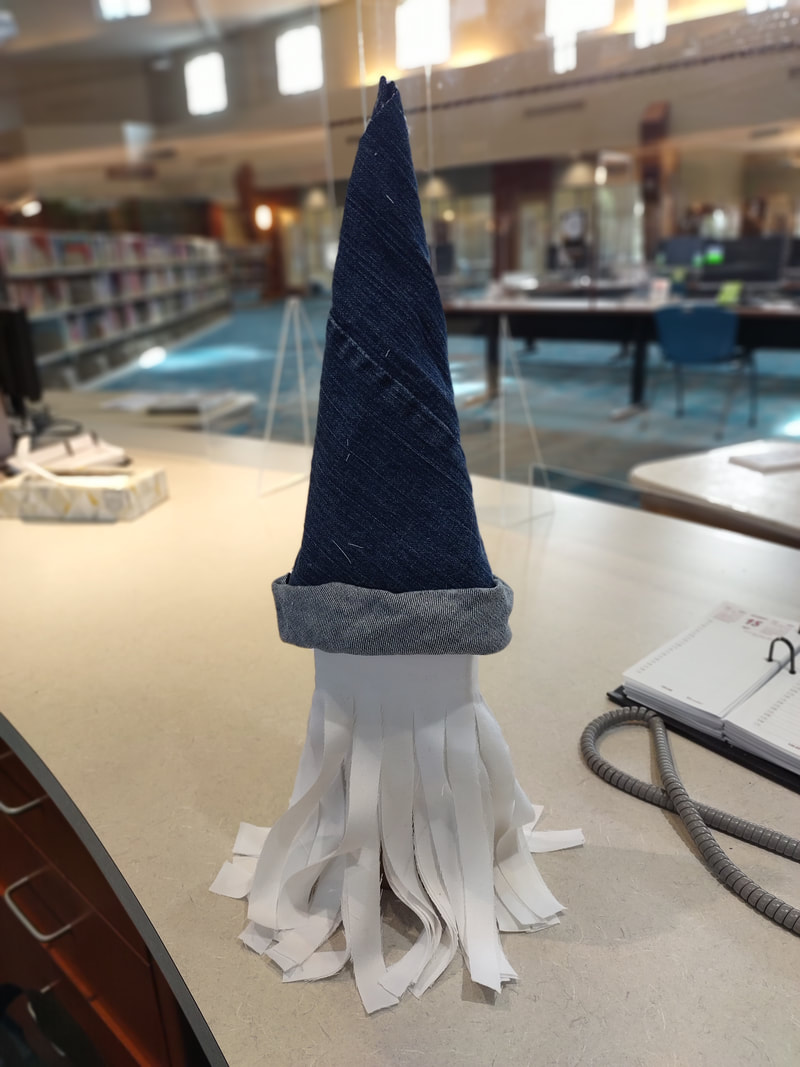
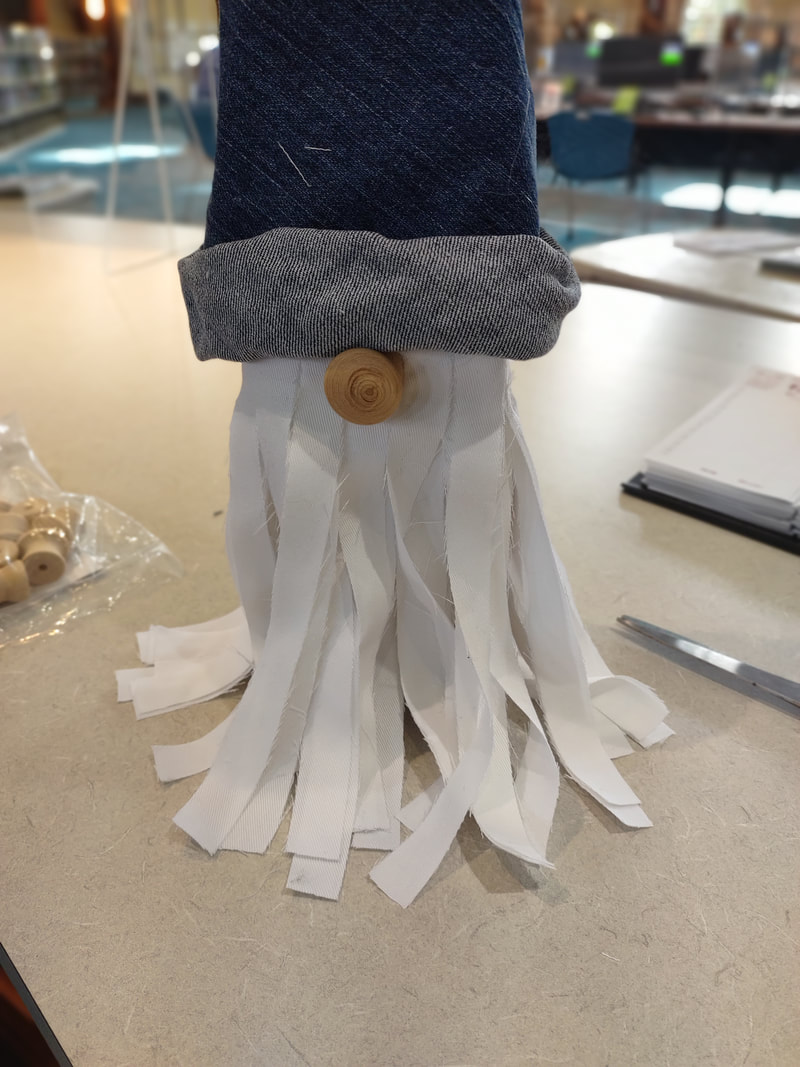
1. Since the block of wood is being pretty much covered up by everything else, you don't need to do anything to it! I started with making the hat. I cut a 10x10 section off the leg of a mans size pair of jeans and then cut it down the center to open it up to be roughly 20x10. I then took multiple tries to form a cone shape by rolling the piece of jean in a diagonal direction, being sure that the bottom opening would fit the width of the wood board.
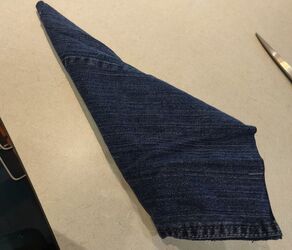
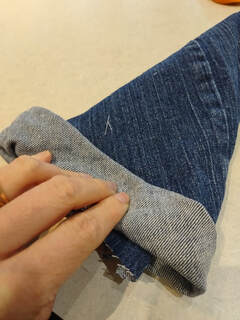
2. You end up with an oblong piece for the hat. You can either just cut off the piece hanging out of the cone shape, or, like me, fold it up and form it into a "cuff" around the bottom of the hat.
3. Be sure to actually secure these pieces with a bit of hot glue. I added some at the point, under the overlap, and under the cuff as well.
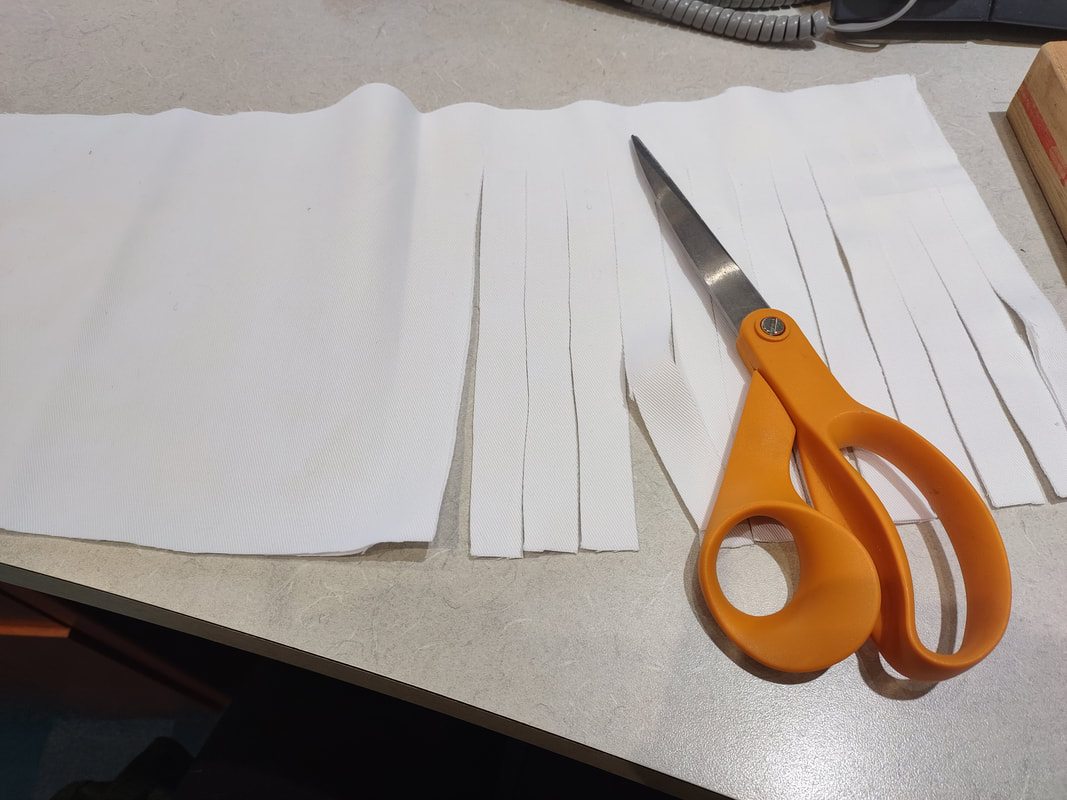
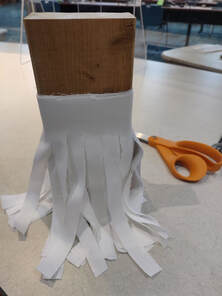
5. Secure one end of the white fabric to the wood board, starting about 4in down from the top. I wrapped it around multiple times so that the beard would look more full and secured it every once in a while with hot glue.
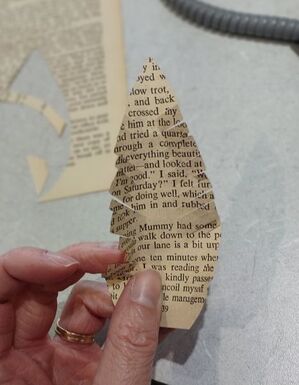
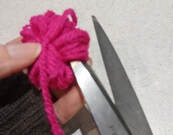
8. The next step is adding all your "junk". I made a feather out of scrap book pages by cutting out a basic shape and "fringing" the sides of it like a feather. I then glued on other do-dads and he was already for a night on the town!
0 Comments
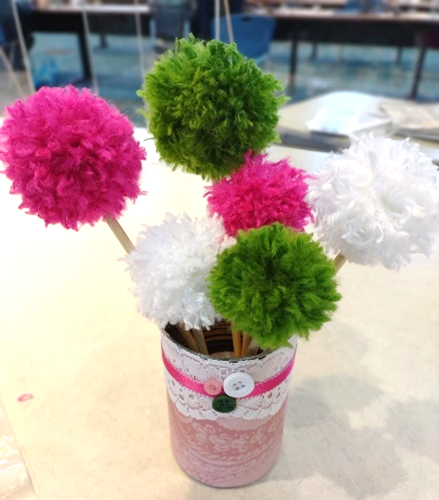
 Are you looking for something cute and fun for these summer days ahead? Really this craft can be done for any season or holiday, let's be honest, but I think they are particularly cute for summer! It is a very simple and relatively quick craft that just about anyone can do. If you have littles wanting to help, just make sure you supervise cutting and that you handle the hot glue of course! Supplies for flowers:
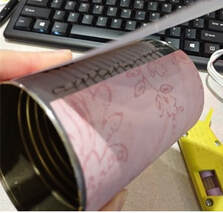
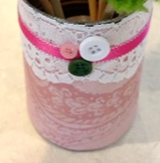
Supplies for upcycled vase:
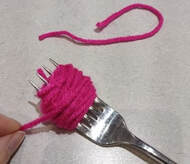
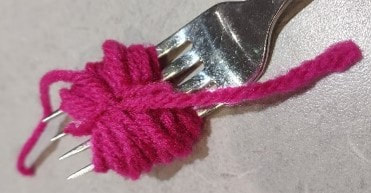
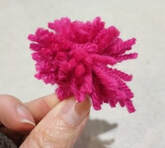
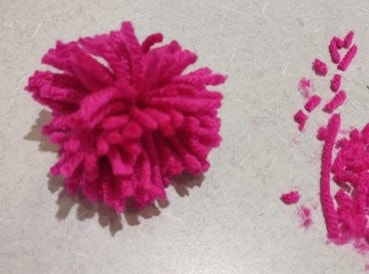
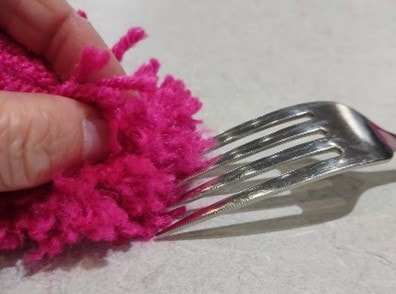
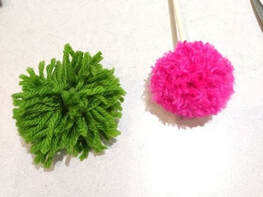
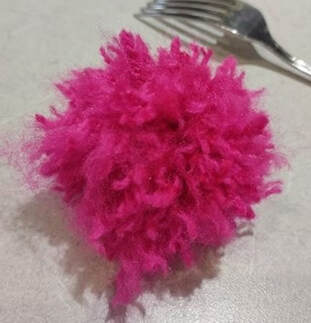
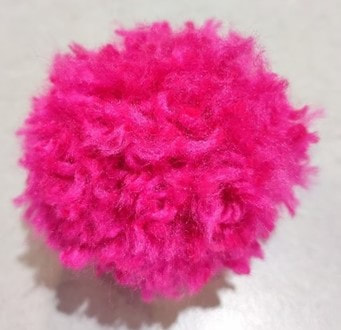
6. It will look pretty uneven, so just trim around the yarn all over again 😊 Do this step with each of your pom pom flowers.
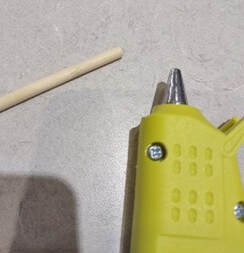
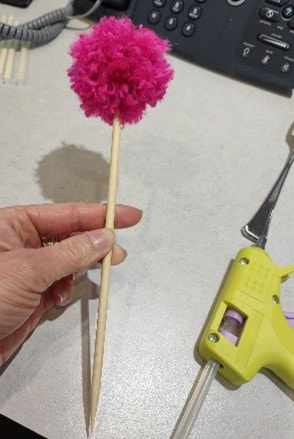
7. Next, using hot glue, glue each of your “flowers” on top of the wooden sticks. I had 6 sticks but cut 3 of them down to smaller sizes so that they would be at different heights! You're all done with your pom pom flowers at this point!
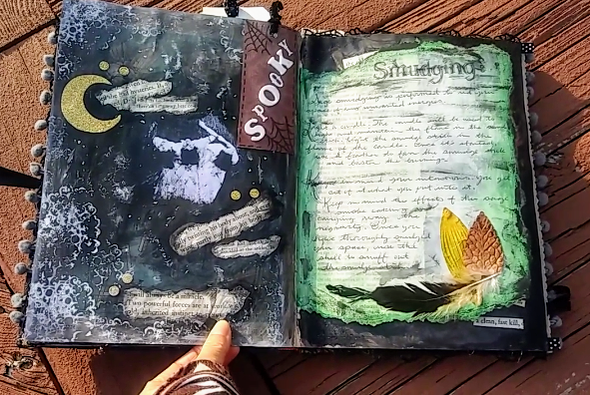
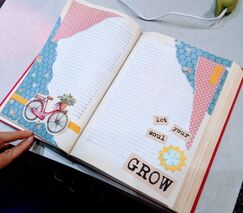 Let me start by saying anything... and I mean anything can be used for an altered book journal! This is what makes this project so much fun and so versatile. Every book is different, every page is different, and every material is different. The purpose of an "altered book" is making an old book into a new piece of art. There are many types of altered books, but for this project, we are beginning an altered book "journal". A journal can be used as a "smash book" for travel or random memories or can be used for a literal journal to write in. There are many possibilities. I did this journal page spread for one of my classes. This was a little tricky as I had to come up with something that we could all do together in our own books but something that could get everyone started and get those creative gears moving! The page above is what I came up with. It is something very simple and uses minimal supplies. We could've gone crazy and used paints, textures, inks, stamps, stickers, etc. but I kept it simple for an easy clean up and to also show that you don't need anything fancy for this type of project! Supplies:
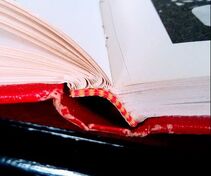
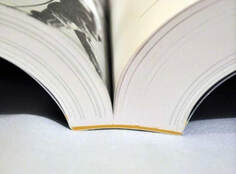
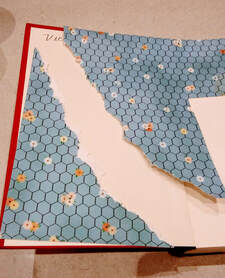
1. First off, let's talk about picking our book. If you can find something with "sewn" pages, that's the way to go! The modern glued pages are terrible for an altered book project! They are too flimsy and as you cut away more pages it loses its stability and could fall apart! These photos show what a sewn spine looks like verses a glued spine.
3. Once you are done cutting out pages throughout the book, you are ready to start gluing. As mentioned above, glue the pages to the left and right of the cut together, hiding that cut line. I use Mod Podge for this, putting it on in an even, thin layer. You can always come back and add more if the corners aren't glued down after it dries. 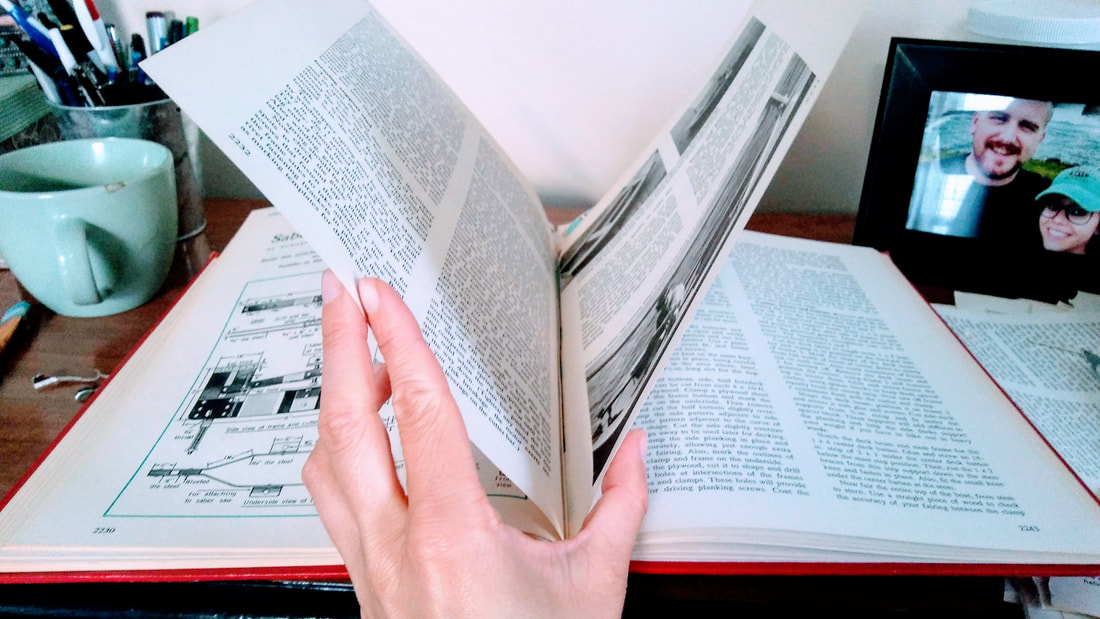
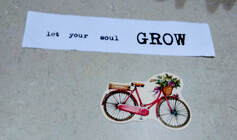
6. All I did to finish this page spread up was glue! First, I arranged everything on the pages to figure out where I wanted it all to go. Once I was good with it all I glued everything down with a thin layer of Elmer's Glue, you could use Mod Podge instead. I also used the hot glue gun to glue the ribbon and the flowers down. But that was it! 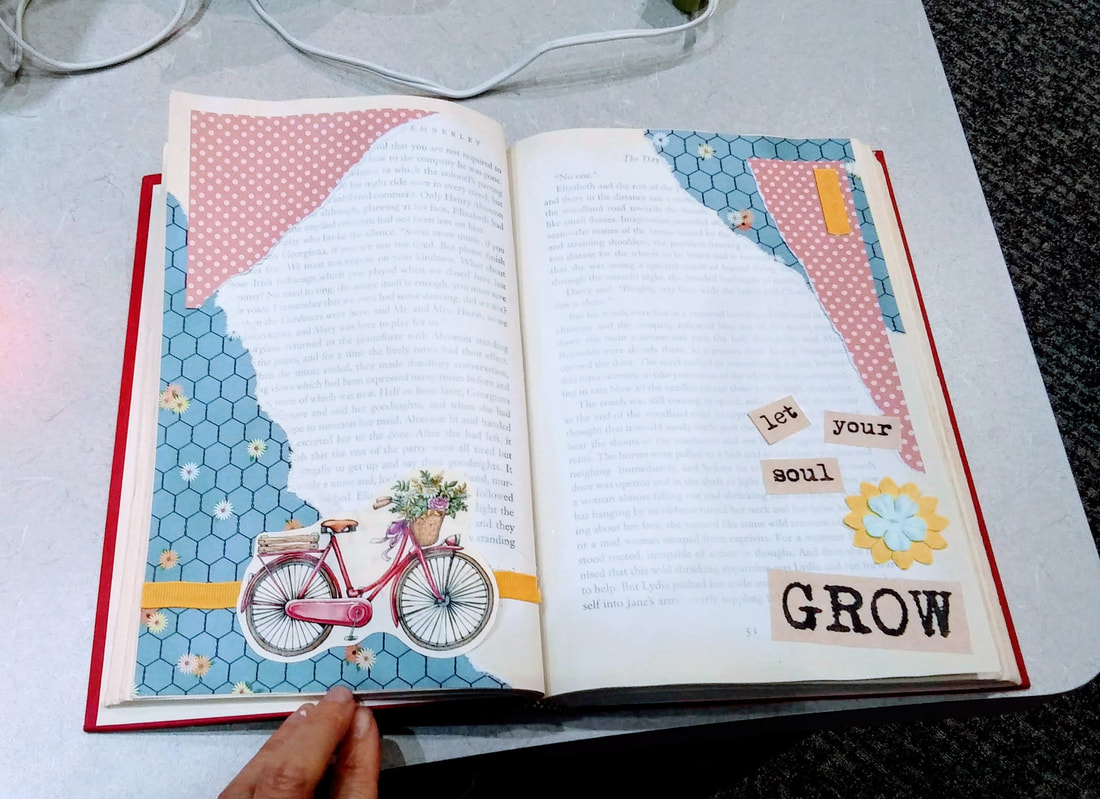 This was a pretty simple page. But you could really get crazy and do pages like the examples below! Happy Journaling!
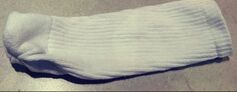
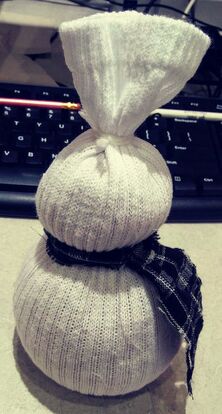
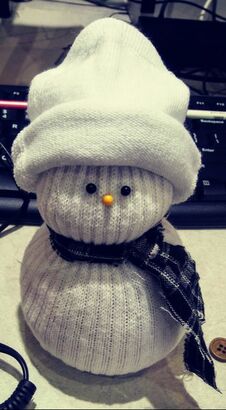
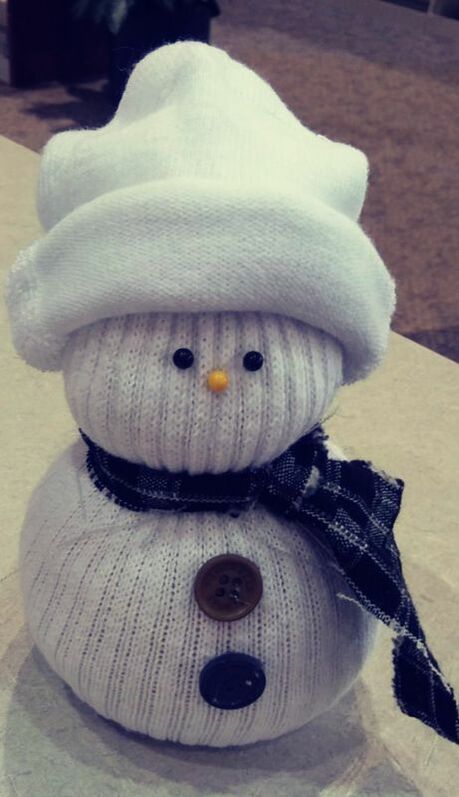
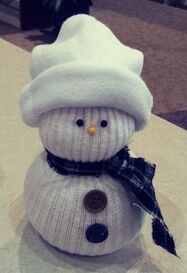 This little guy, or gal, is a super easy craft for young and old alike! Great for a chilly winter day to take up some down time and occupy little ones. Supplies:
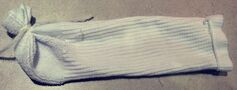
1. Cut your sock in half at the location in the photo 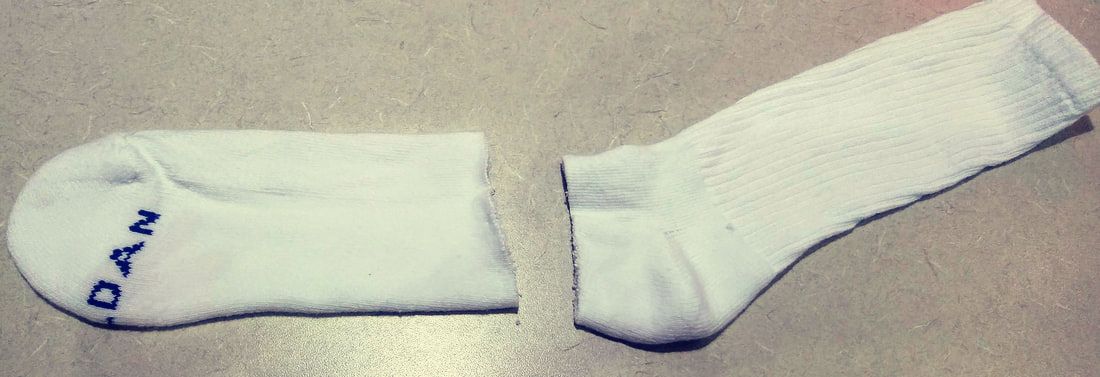 2. Take the top half and turn it inside out 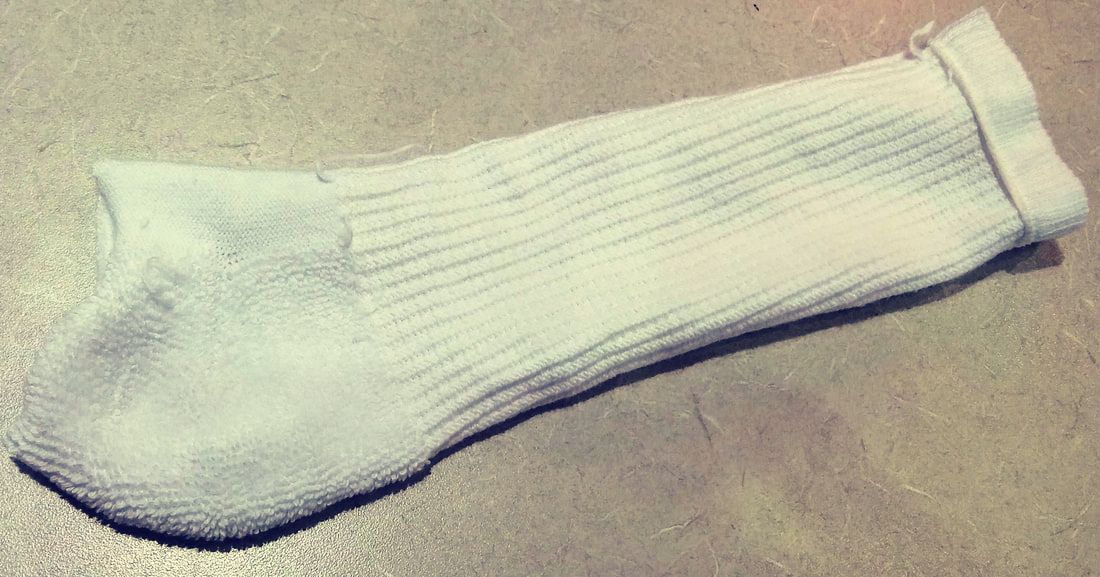 3. Tie off the cut end with string (make sure to tie it tight!) and flip it back right side out
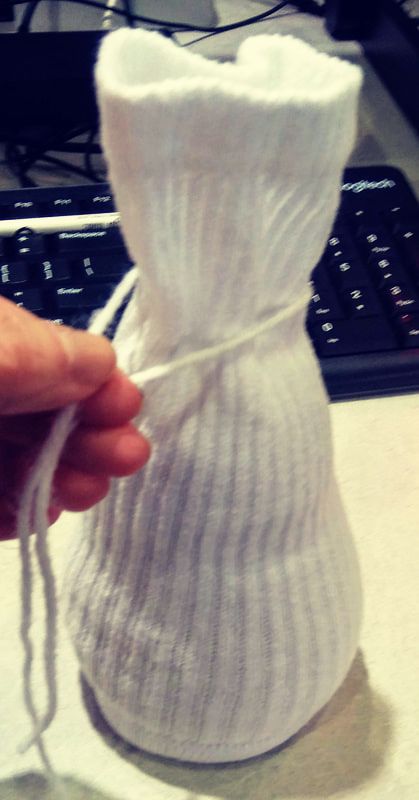
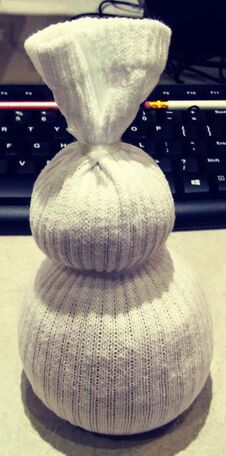
4. Start filling your sock with the rice (a funnel will help make it easier or just take your time with pouring) Fill the sock as much as you’d like – there is no right or wrong way 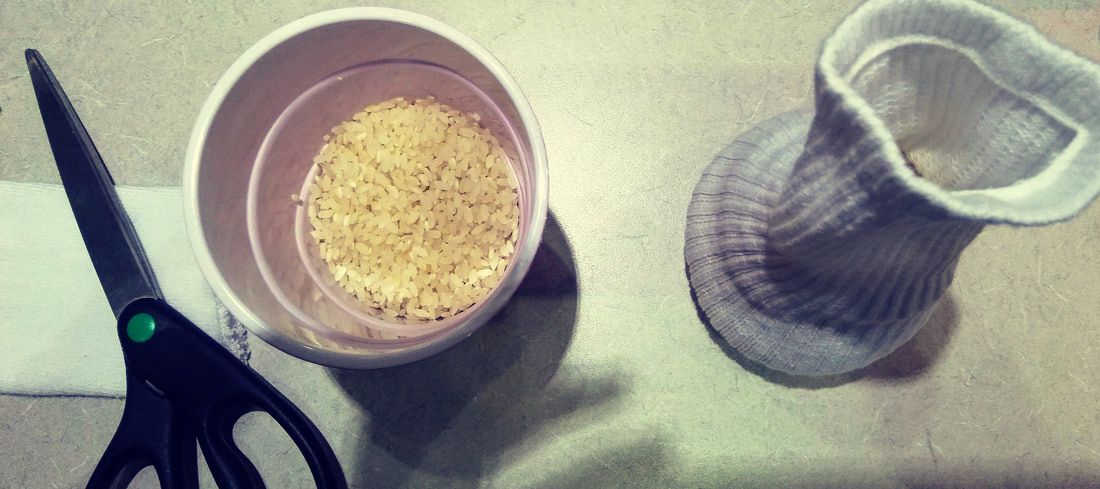
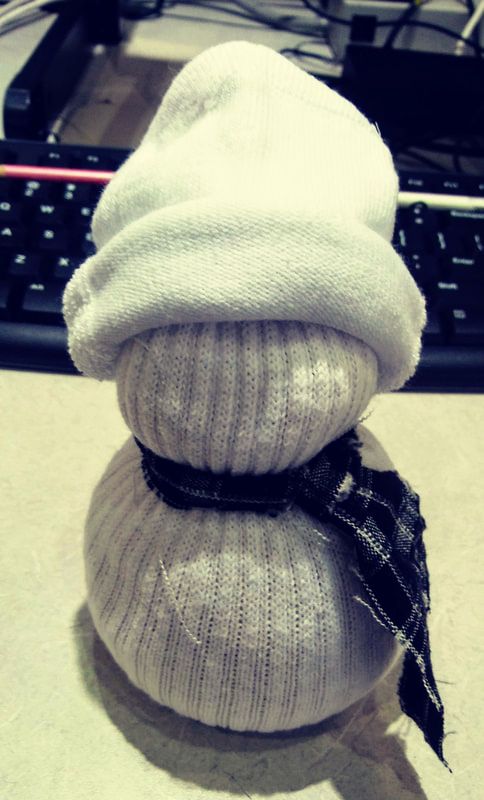
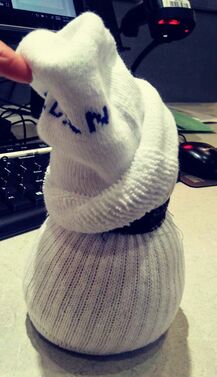
*I wanted to mention here, if you have text on your sock, it may show on the hat. I, luckily, covered mine up by folding the hat over "hipster" style as shown below.
|

Rebecca MyersHey there, I'm Becca, or Rebecca, but not Becky, never Becky, unless you're my family from down south! I'm a simply modern librarian by day and an artist by night. My pursuit is for a simple, happy, healthy, and more fulfilling life! I hope I inspire you to get crafty! Archives
March 2022
Categories
All
|


 RSS Feed