|
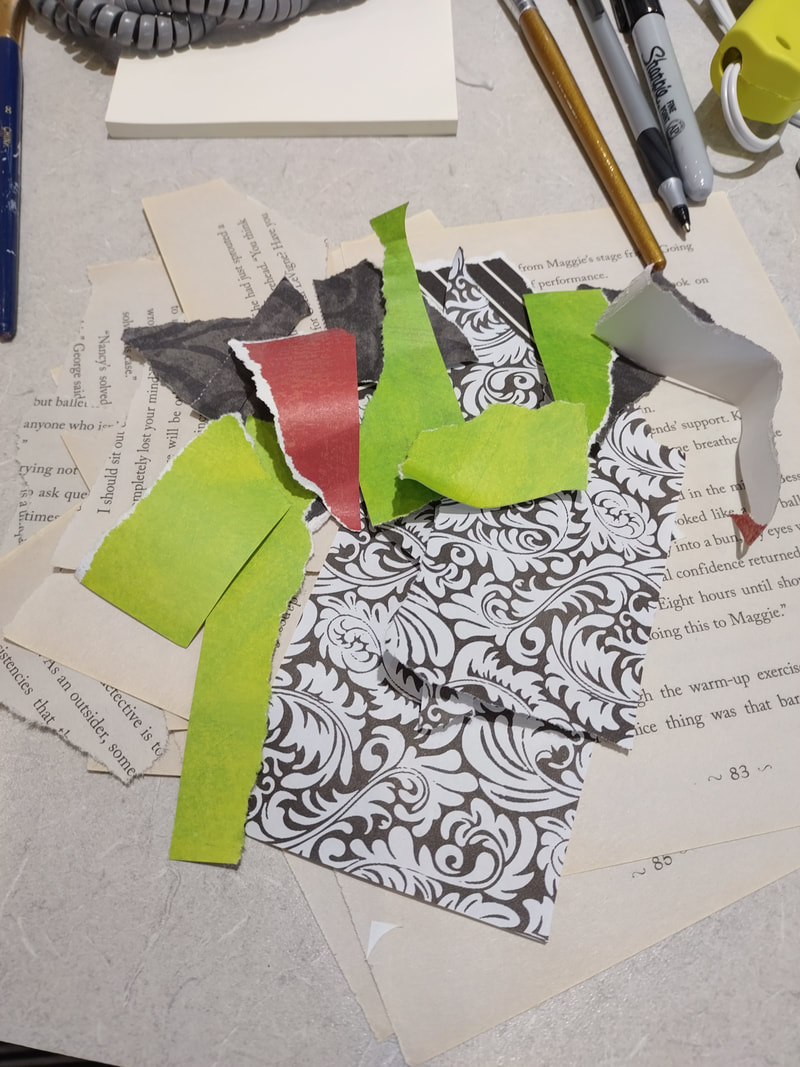
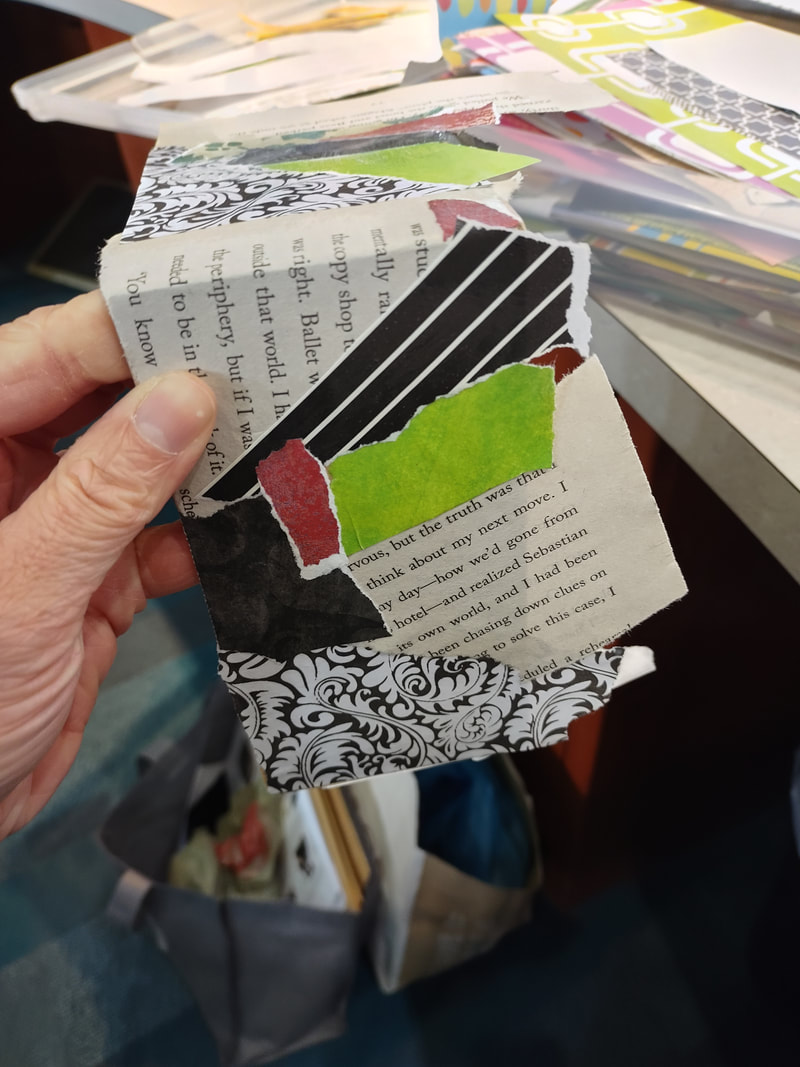
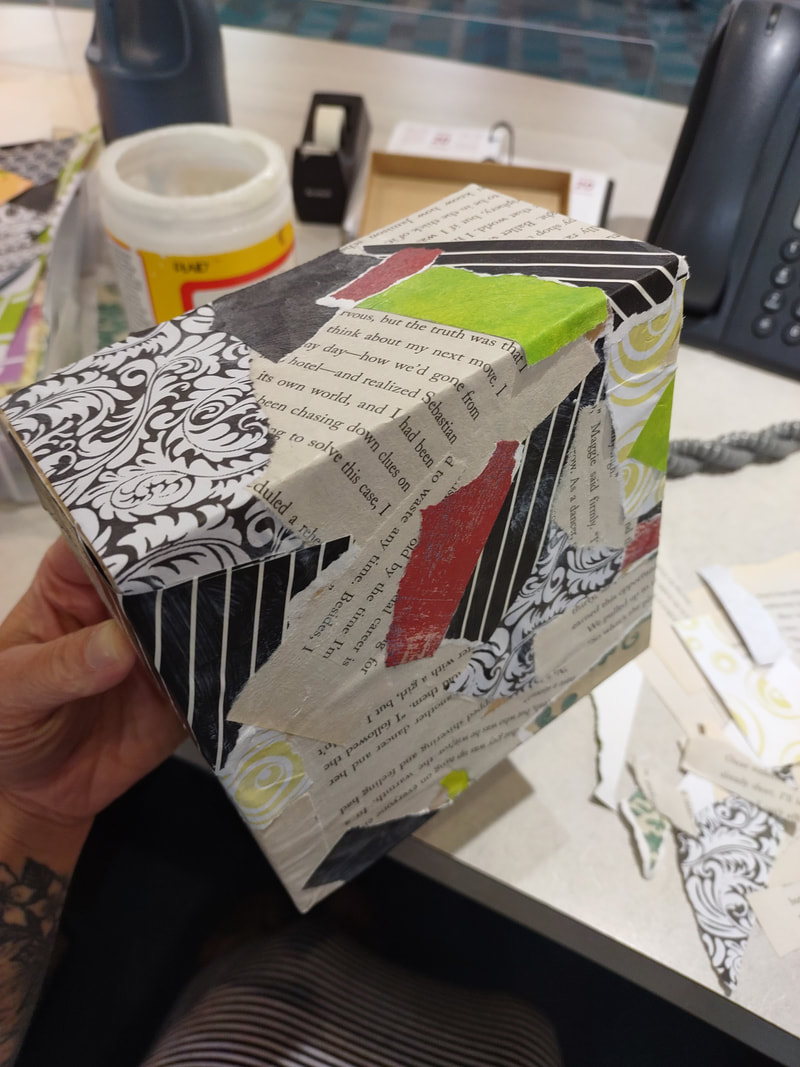
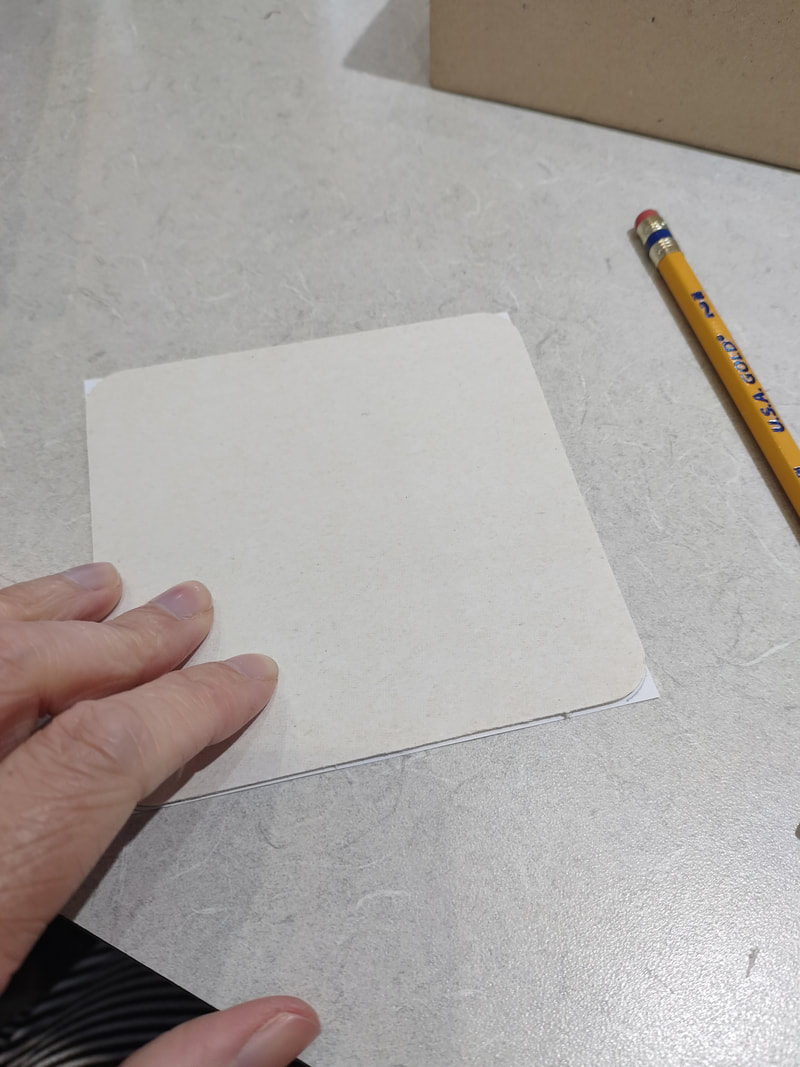
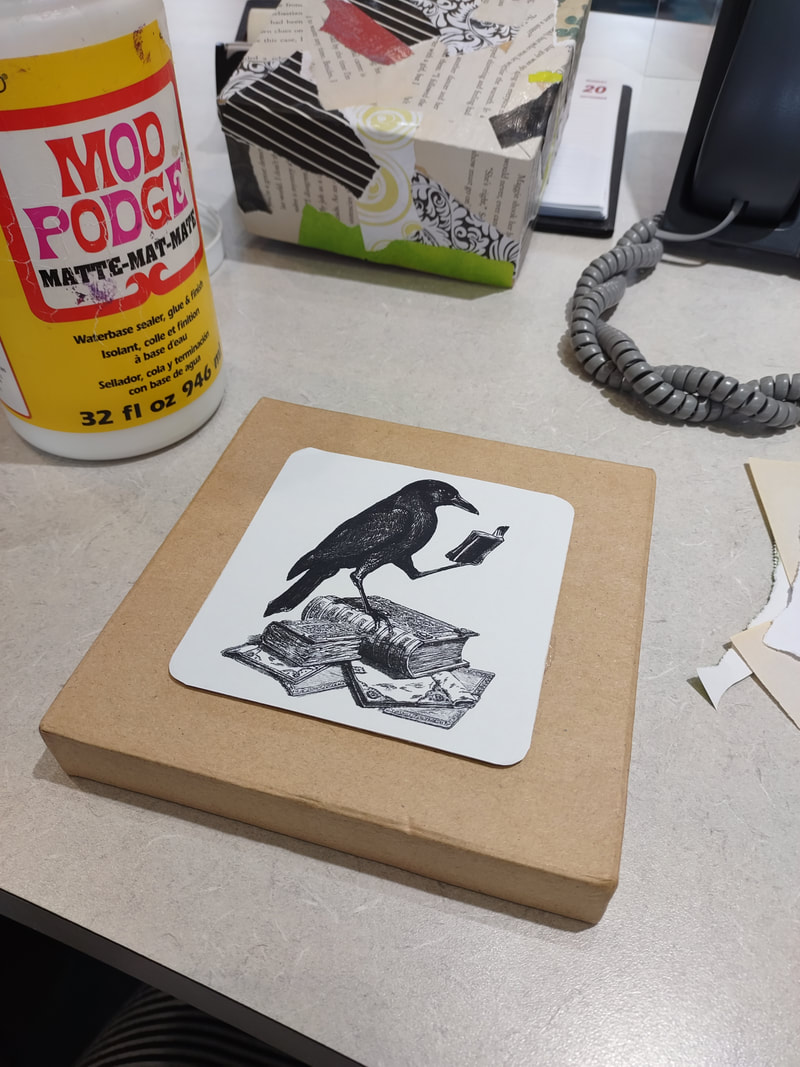
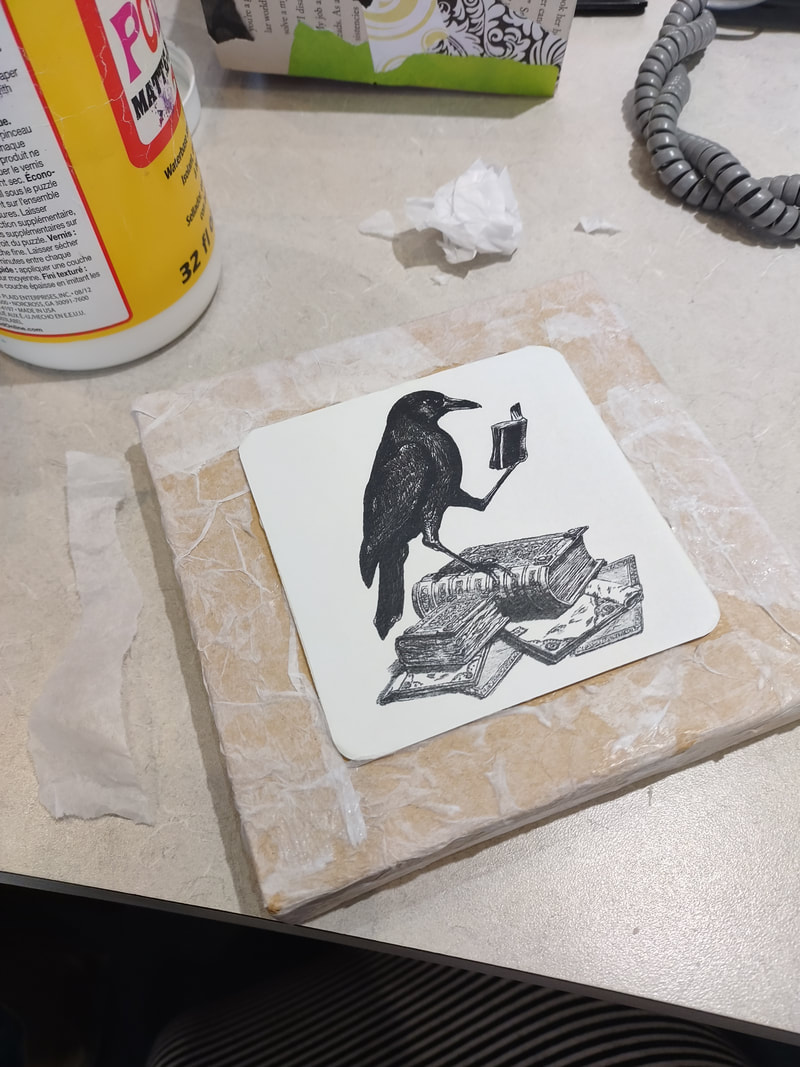
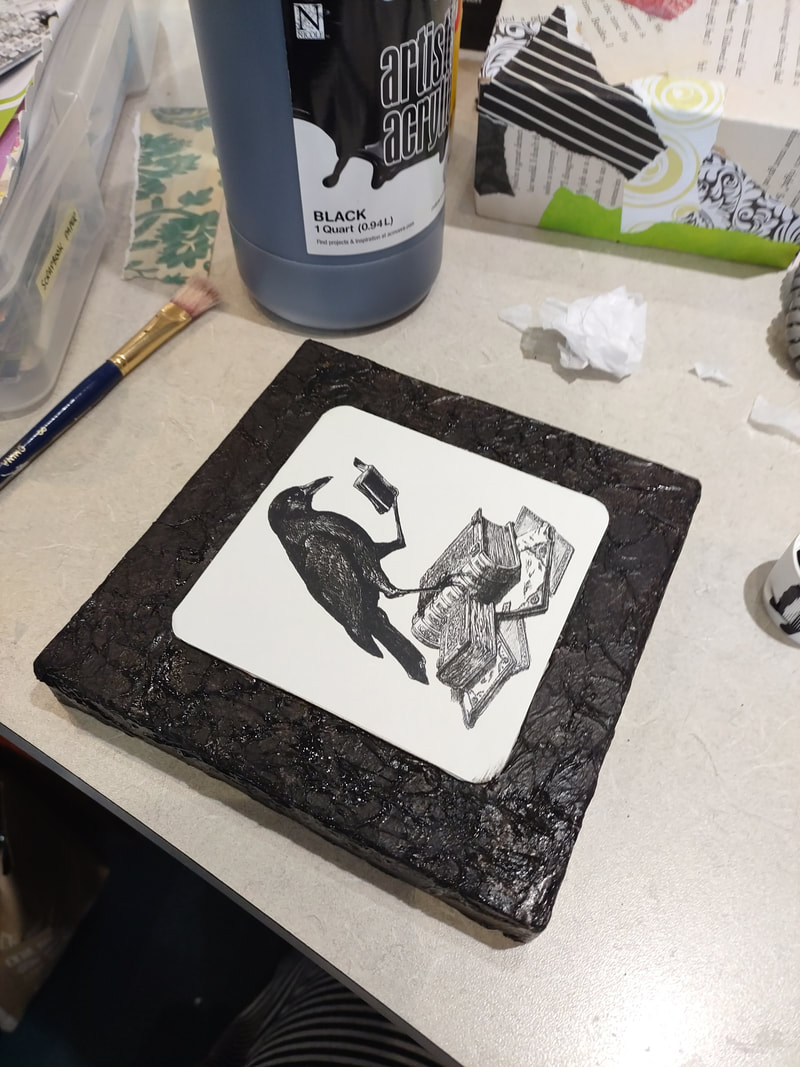
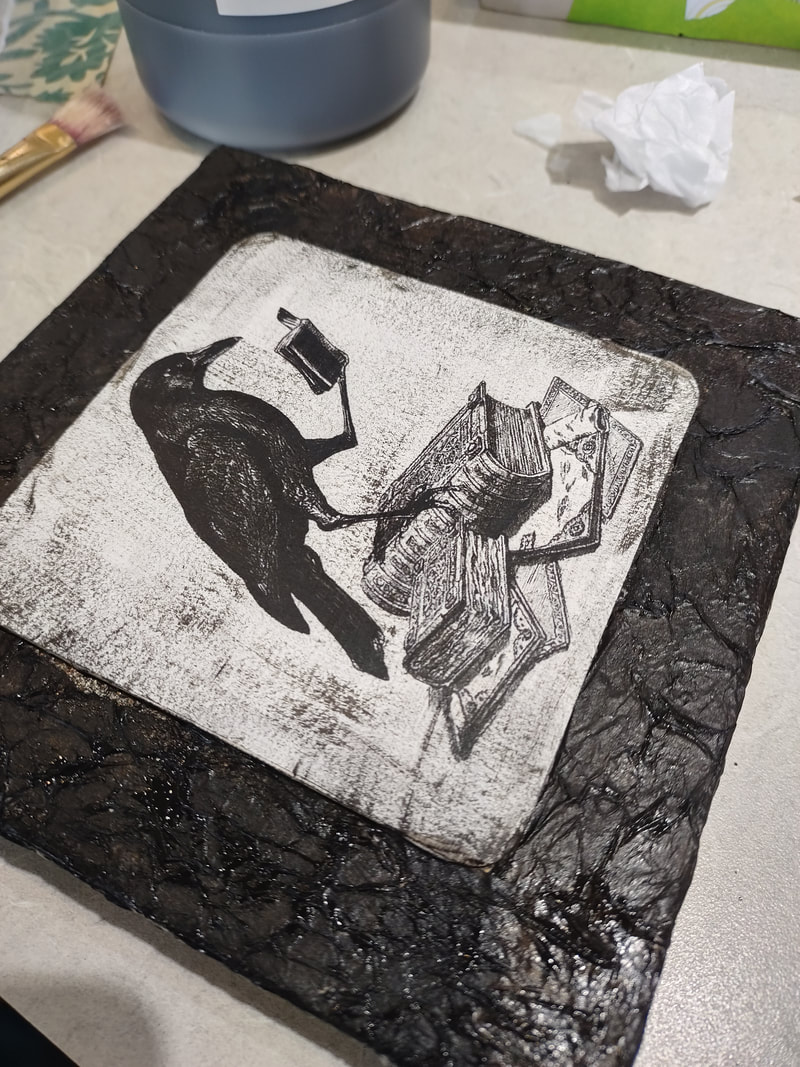
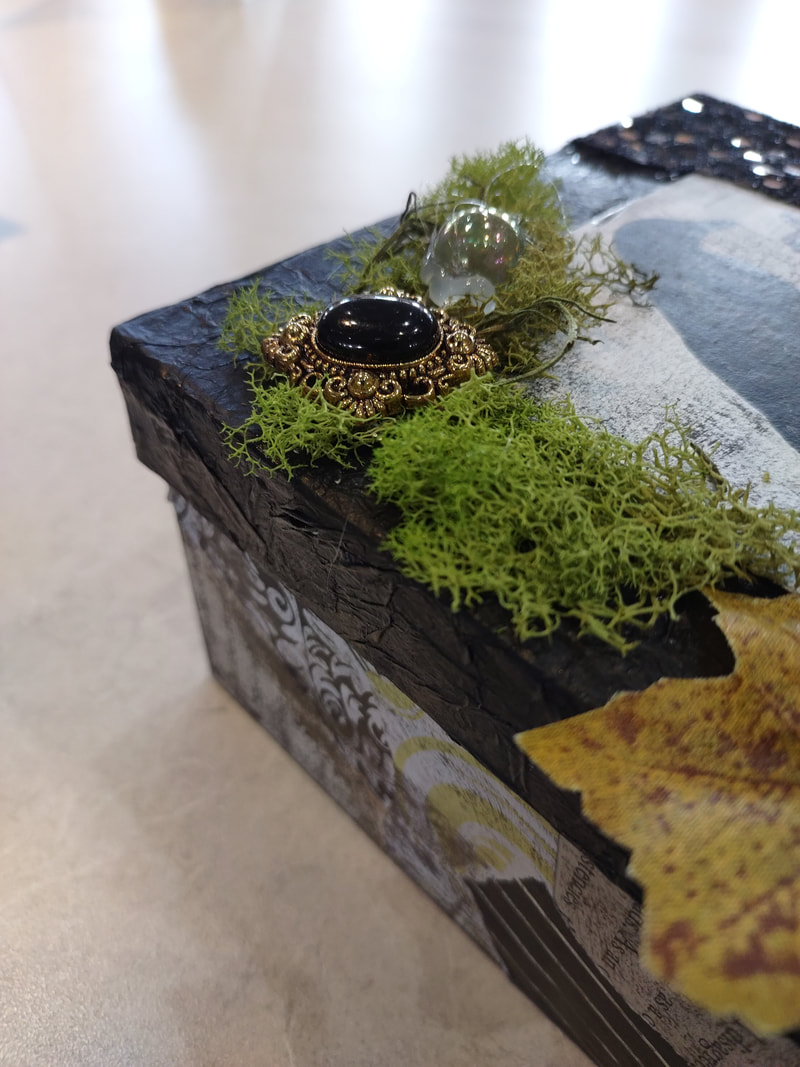
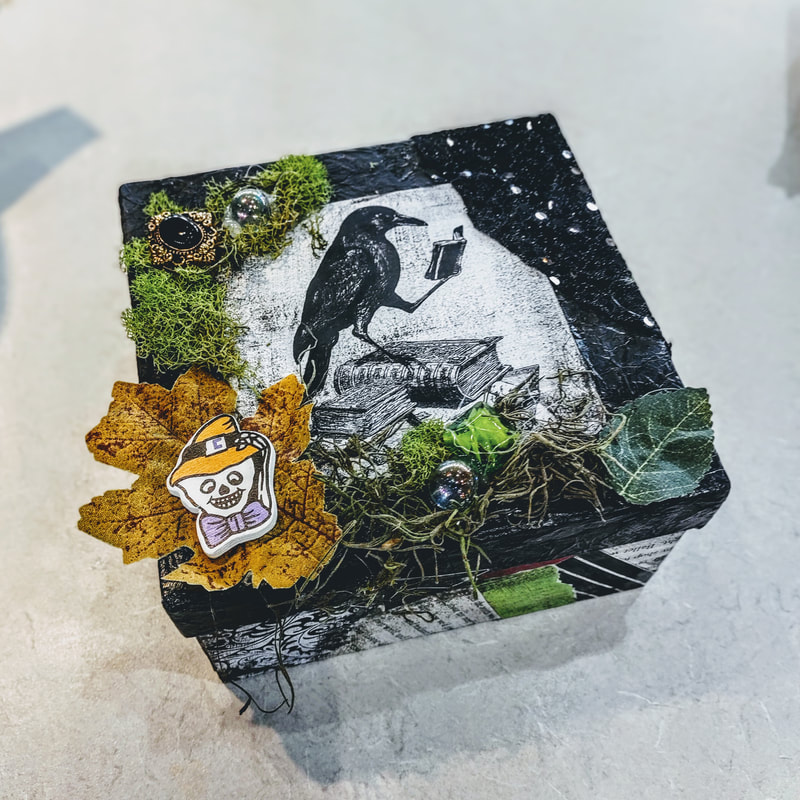
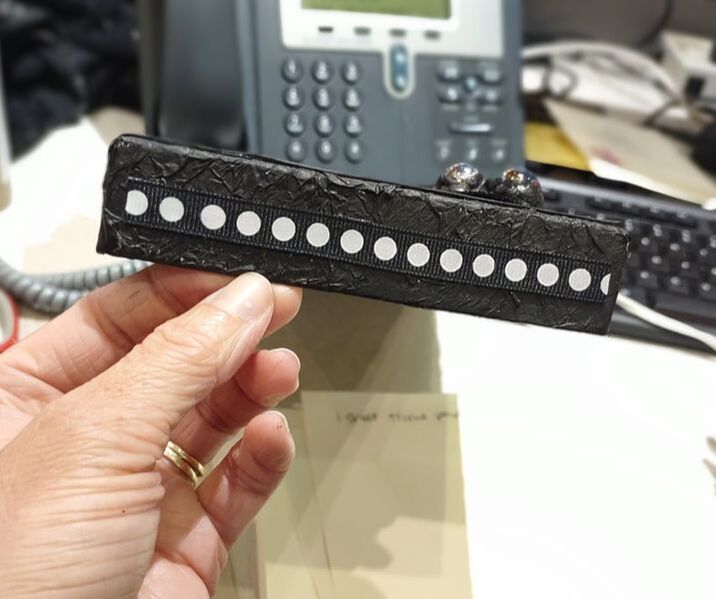
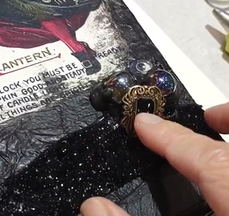
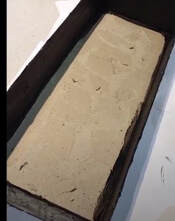
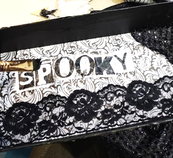
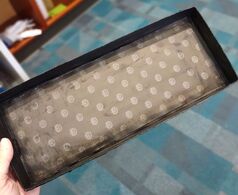
This craft was very similar to my spooky Halloween post from September but I still thought I'd share because, why not! This craft was to go along with the book "The Witch of Blackbird Pond" for our millennial book discussion where we do a craft to match the book! We had a stash of these cardboard craft boxes and, as usual, I wanted to do something that didn't cost us anything and this is what I came up with! I started by grabbing random scrapbook paper scraps (yes, I keep those!) and began piecing them together with mod podge to create this cool, almost Sally-looking pattern on the bottom half of the box. I kept going until the whole thing was covered, including the bottom. Around the top edge you may have to trim some pieces away so the box can still shut or us a piece of sand paper to smooth out the edges. Next, I printed out a black and white vintage clipart image of a blackbird and mod podged that to a white chipboard coaster I had from a previous craft. Then I hot-glued this to the center of the lid. I crumbled up pieces of tissue paper and glued that around the center image. Once dry, I then painted all of the tissue paper black and distressed the white blackbird image by lightly brushing my paintbrush across the coaster (putting a little more pressure around the sides. I ended up doing the same to the scrapbook paper on the bottom of the box, not pictured). Lastly, I finished up the box by adding fun "things" to the top! I used moss (leftover from our wedding!), old jewelry, buttons, beads, marbles, Halloween pieces, etc. to make a really interesting top! For this program we left the inside of the box blank but you could really do a lot to it!
0 Comments
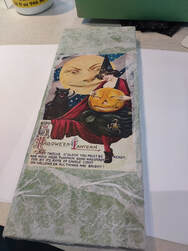
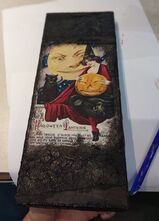
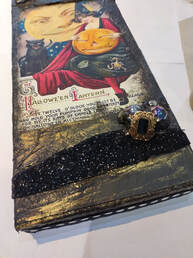
This whole project started with Halloween first of course, then I wanted to use up supplies I already had (also "of course). A library patron who I have mentioned here before donated these boxes for us to use and I thought this would be a great way to use them up! There are many ways to make this type of box! You can do whatever you’d like using so many different supplies and random pieces and parts you have at home. The below steps are how I made the box above but feel free to use it as a general example for your creative ideas. I really don't know if there's a "point" to this box... but... I don't care... it's pretty! So enjoy, and in the perfect amount of just 13 steps :) Supplies:
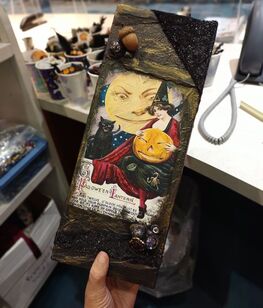
1. To start with, I found a cool old postcard online that of course had a Halloween theme! I printed it off and glued it onto the box with Mod Podge (Just use a thin layer of glue and secure corners).
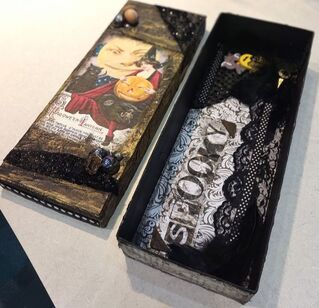
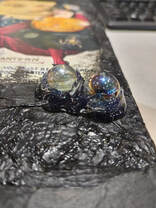
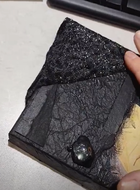
11. Now for the lid! Paint the walls of the inside of the lid black and glue your other scrapbook paper down on the inside as well. I distressed it a little by adding a little paint! 12. Add other embellishments to wherever you would like! 13. Lastly, add your gold paint for the perfect finishing touch by again very very lightly brushing over raised areas! Finish up by adding whatever else you’d like!
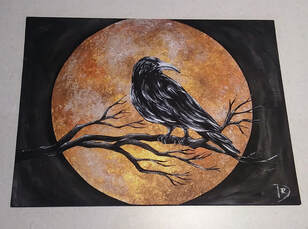
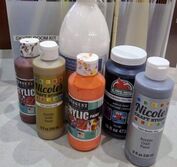
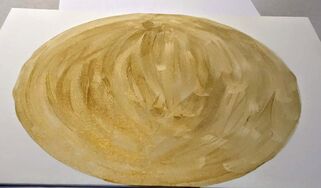
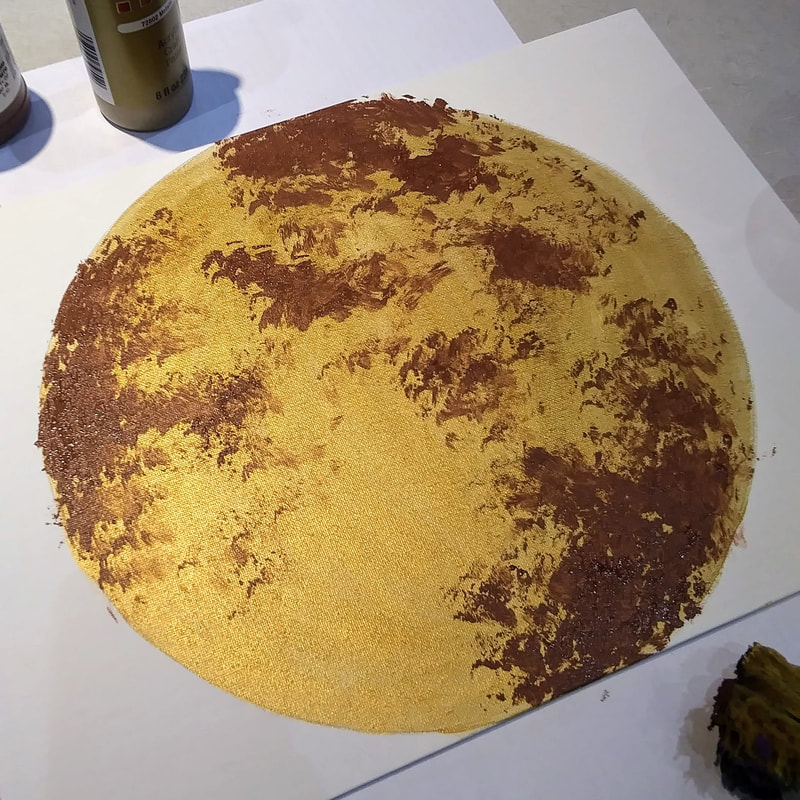
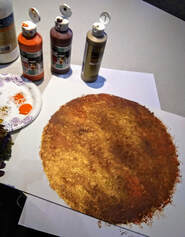
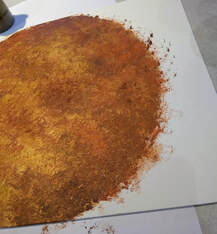
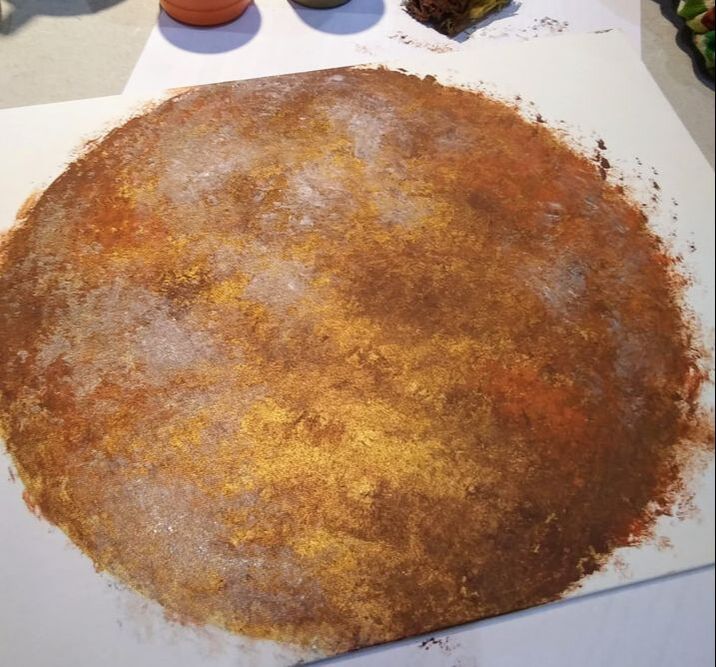
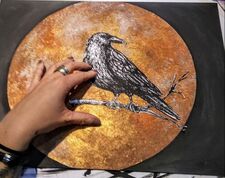
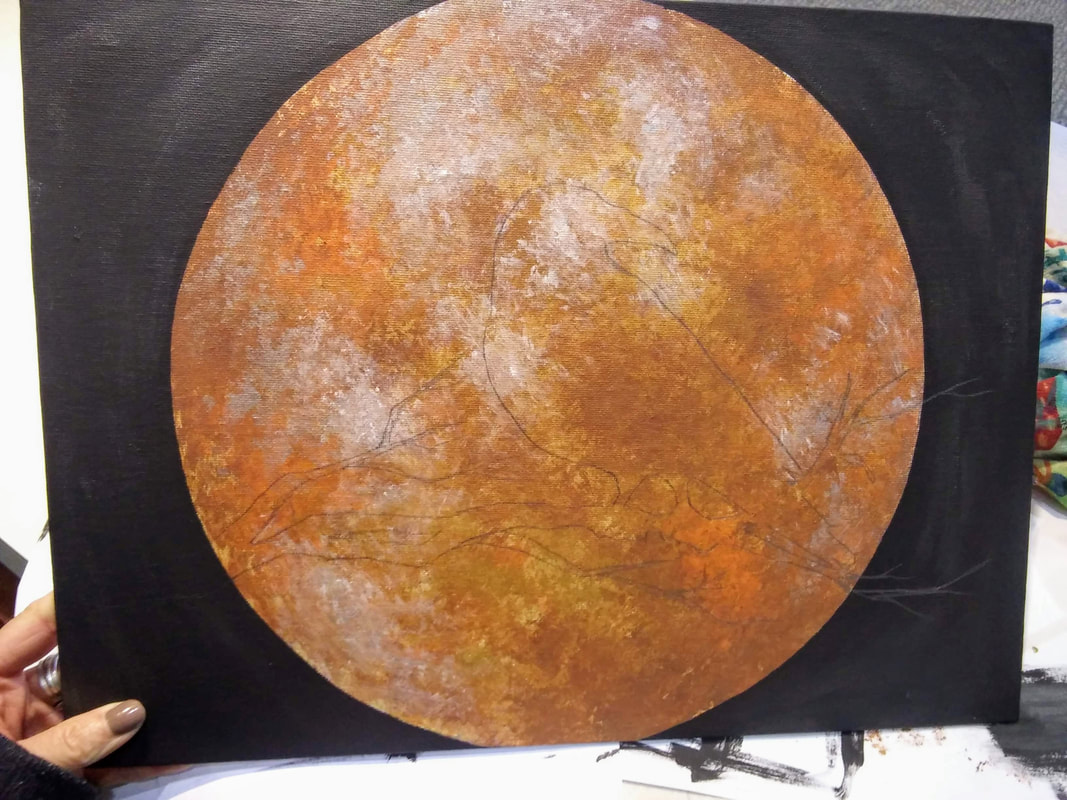
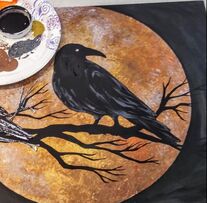
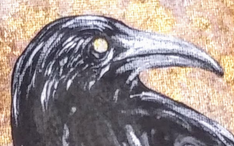
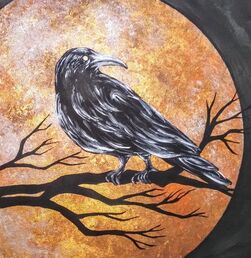
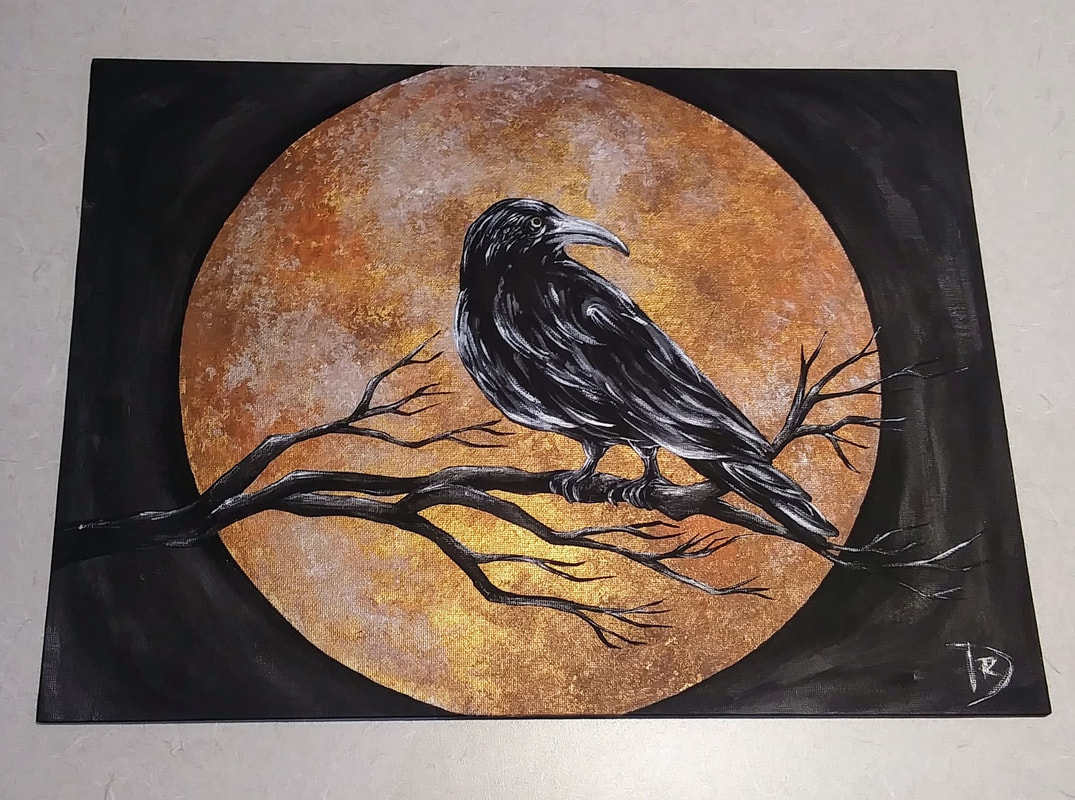
This painting is what I chose to mimic for my October Painted Canvas program at work. I run a "Painted Canvas" program once every quarter along with other monthly craft programs, but the Painted Canvas is, by far, people's favorite. With my other craft programs I usually always have empty seats even if the class had a full registration list but that is definitely not the case with Painted Canvas! The seats are always full! I wanted to do something "spooky" for this quarter's painting program especially since it's October. I had something else in mind originally but ended up picking this one! I followed the tutorial from "Painting with Jane" on Youtube, she's amazing! I didn't go about it exactly as she did. She used a gold metallic canvas (have never seen those before!!) and a paint/gel medium mixture to create translucent paint. I changed mine to just using a sponge on top of gold metallic paint. It's an "ok" effect, and one I think is easier for people in my class but maybe sometime I'll give the gel medium technique a shot! 1. The first step is to trace your large circular object for your blood moon (I used a large plastic bowl). You want it to be nice and big to fill up your background. Paint this circle with your gold metallic paint (you should do 2 coats). 2. "Painting with Jane" recommended using translucent paint so that the colors do not get "muddy". I understood what she meant when I started sponge painting the colors. It did seem to get muddy but I was ok with it overall once it was done. Like I said earlier, I would like to try the original artist's technique in the future. I used a dry sponge and dipped it slightly in the paint, do not saturated your sponge! I started with brown for the dark shadows on the moon, then went into orange, blending slightly, I went back through with more gold to still have the gold represented, it's too pretty not to!
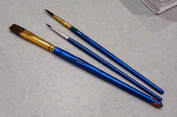
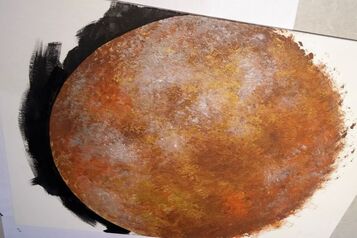
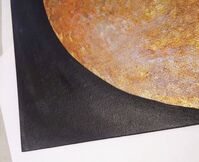
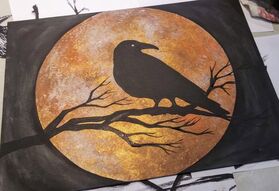
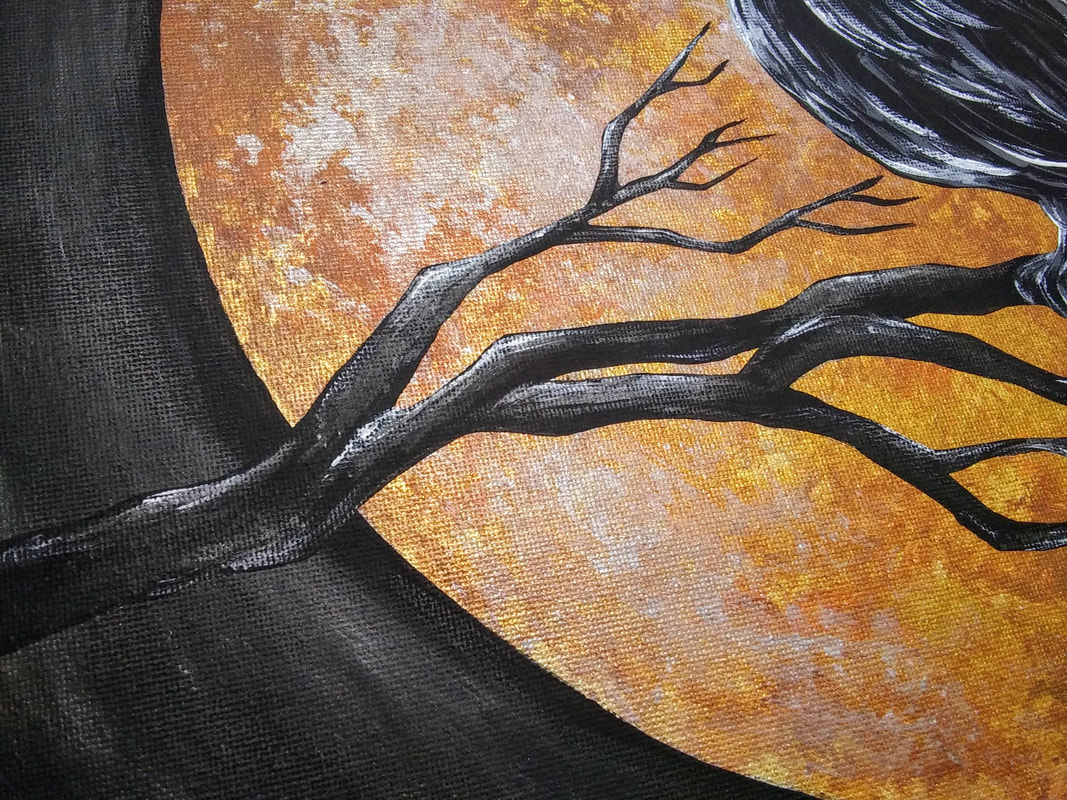
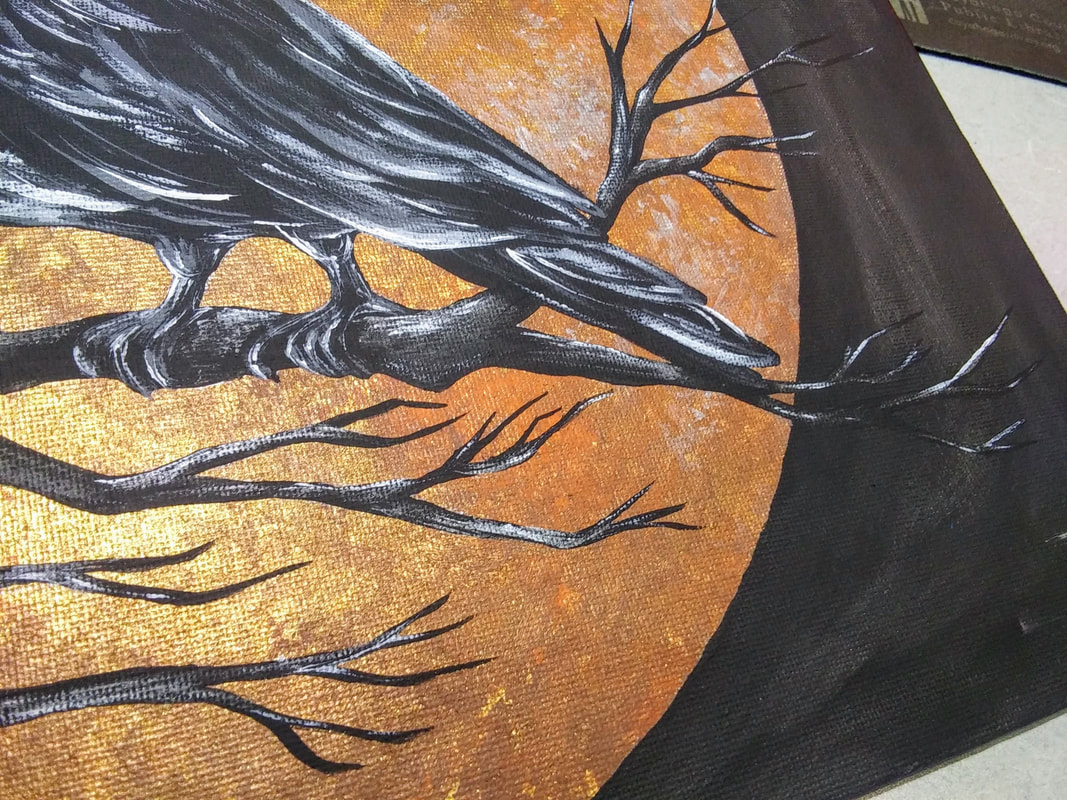
3. Before we are done with the moon, add some silver highlights with your sponge, you can add a dab of white too if you're feeling daring! 4. Retrace the same object you used to reemphasize your circle. With a flat or angled brush, trace the outline of your moon with black paint. Take your time and be patient on this step. Paint the remaining white space black. I used two coats of black paint. As I put the second coat on, I also mixed in a bit of silver to make the background seem "shimmery". You don't have to do this part, it is a personal preference. You will notice this effect more in later photos. 5. Trace your bird/branch template or free draw a bird if you feel comfortable. Paint this entire space black for a good base coat. I left a spot open for the raven's eye so that some of the gold shows through later. 7. In between painting feathers, I went in for the beak and tried to mimic the shape done in the video. 8. I highlighted everything with white. I used my smallest/pointiest brush for this and went over the previous grey with light, quick strokes. 9. The last step is to highlight the gnarly tree branch! To do this, I lightly added some silver in various spots then, again, lightly added some white to those same highlights in smaller strokes. That's really it! Sign your painting with your initials and you are good to go! Talk about an awesome addition to some holiday decor! (And let's all be honest here, this would look pretty good with some glitter too)
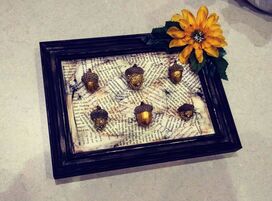
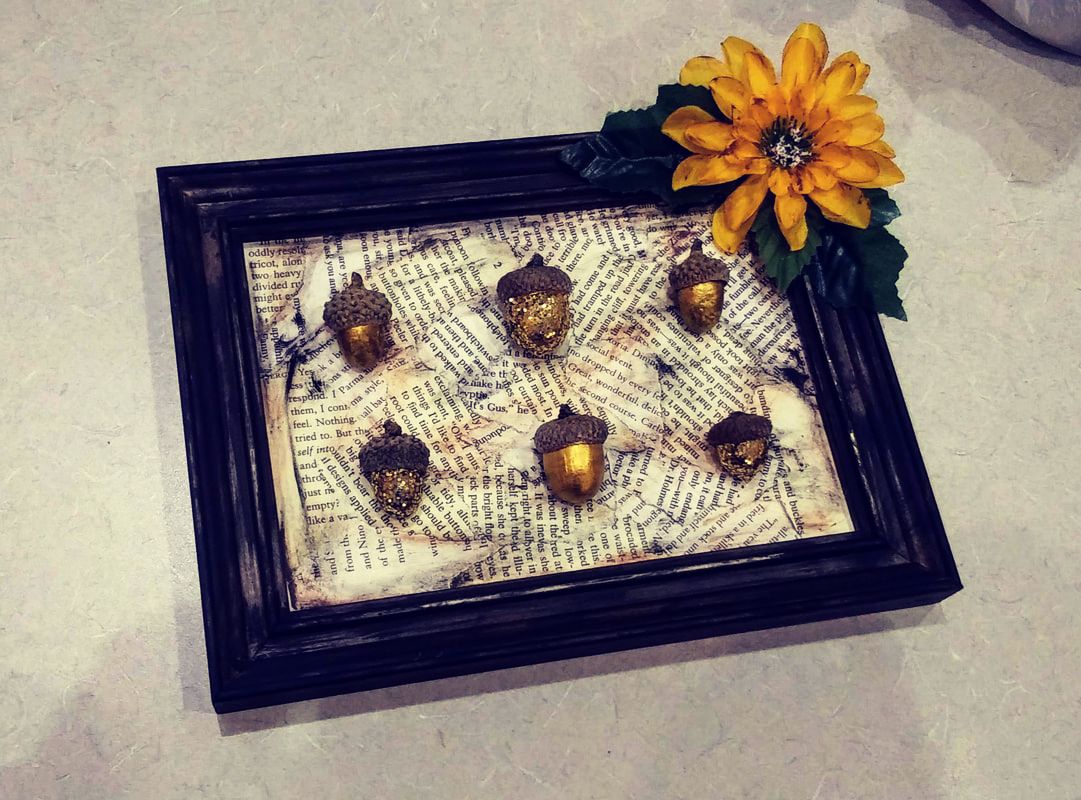
This is a pretty quick fall craft to spruce up your shelf space for the autumn weather or maybe a gift idea! The one I originally saw on Pinterest was very cute with bright fall colors. There are so many options with this type of craft, it's almost overwhelming. I thought about going with a subtle brown, tan, and white color combination at first. I thought it would be very elegant for Thanksgiving but somehow I ended up switching to more of a Halloween based theme with a distressed frame and distressed pages. The possibilities are endless but I hope you find one that you love! Supplies:
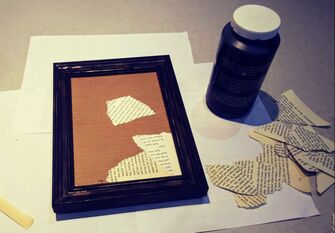
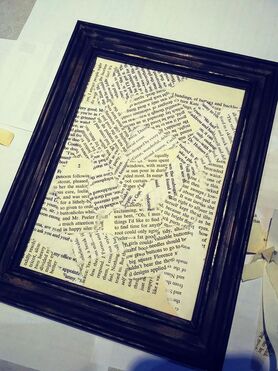
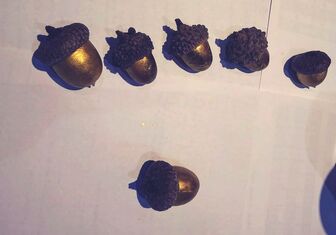
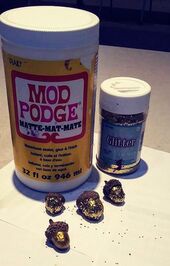
1. Gather up all of your supplies so that you have them near and dear to your project space. 2. If you're like me, I had a few frames to choose from and was very stressed with all the options! Finally, I decided on something medium-sized and relatively simple in structure. I forgot to take a picture ahead of time, but I "distressed" my frame a bit by very lightly adding black in light strokes to make it seem old/give it some more depth to the frame. 3. The original post I saw for this project involved using cute polka dot scrapbook paper as a background. I was going to do this as well, but saw I had some old book pages lying around and thought that would be a much cooler effect! If you're using a piece of scrapbook paper make sure you glue/tape it on carefully, making sure there are no air bubbles forming on your background! For me, I added torn strips of book pages by gluing each piece one by one to the background. Keep adding and adding until your background is full. 4. While your background is setting/drying, this is a good time to decide what you're going to do with your acorns. I decided to paint mine a metallic gold. I used 3 "craft" acorns and 3 real acorns that I found in the woods just to try out the different types to see if there were any differences... there aren't (but if you use real ones make sure you "bake" them to get rid of all the little buggies in there!) You'll want to do a couple of coats. There are many ways to do this. You could leave the acorns in their natural state, paint them, decorate them, wrap them with thread/yarn/twine, oooo!
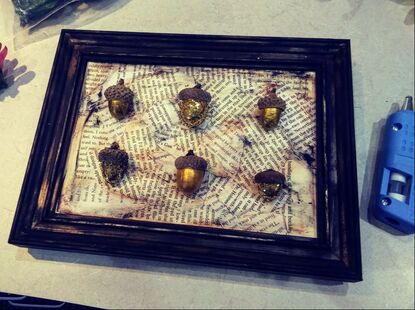
6. While my acorns were drying I also made the glued book pages look more distressed/eerie for a more Halloween look. I lightly brushed very little black and brown paint over the pages giving them that look which you can see in the following photo. 7. Lay out your acorns and see how you like them before you glue them. I used hot glue. Make sure you put enough on there and hold the acorn while it sets. 8. Lastly, I decided to add a little extra somethin' somethin' to the frame and hot glued a flower to the upper corner.
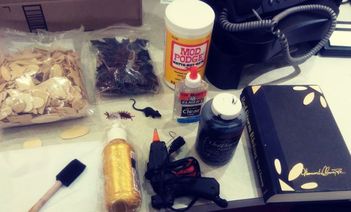
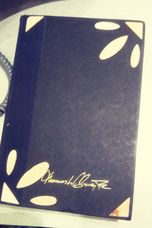
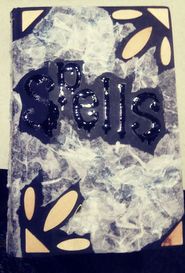
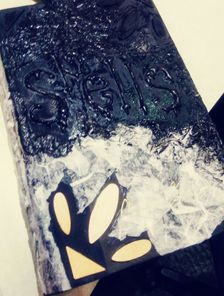
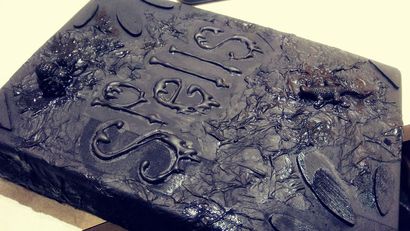
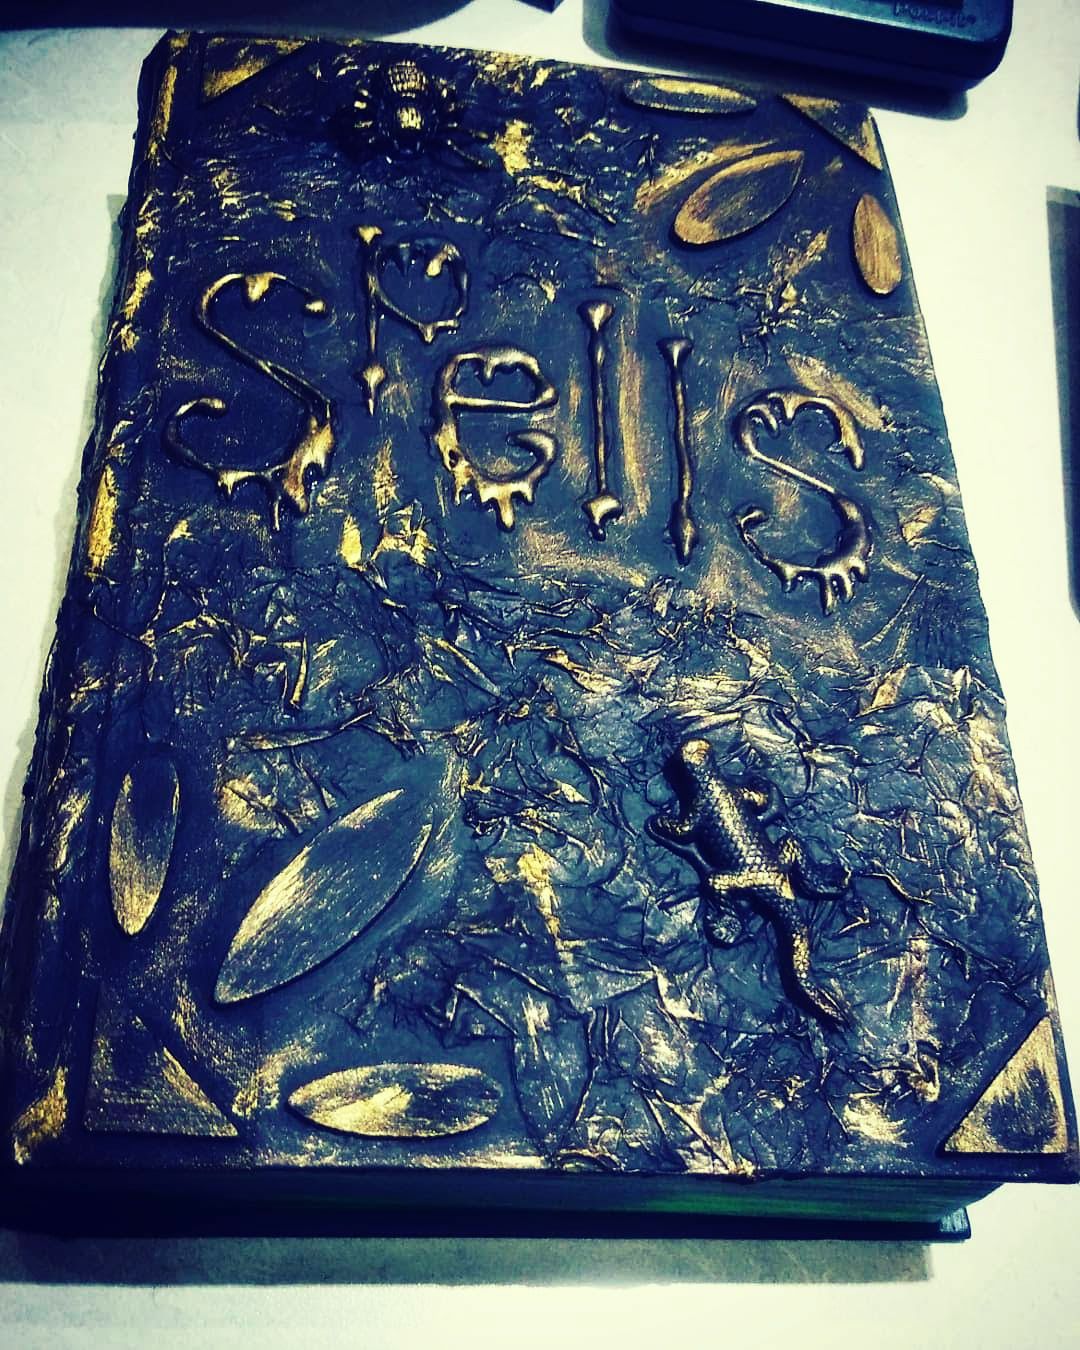
That's it, we're all done! Can you believe it's September already? I love fall, definitely my favorite, but... seriously... where did summer go? In preparation for the coming comforting season what better craft to make than a Spooky Spell Book for your holiday decorating or gift giving!
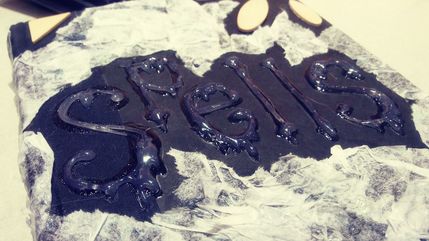
2. Once you like where they are, go ahead and glue them down. I used Elmer's glue for this but you can also use a glue gun of course... it would be much faster too! 3. Next we want to create our creepy title. I went simple and just went with "SPELLS" but you can switch it up and maybe do "HEXES", "CURSES", etc. I created my letters by just using the hot glue gun and "writing" the letters out. However, you could get wood letters and put them on the cover just like you did with the first pieces. Up to you. If you go with the glue technique, do NOT, use Elmer's glue..... awful! It will take forever to dry and will barely be raised - stick with the hot glue and work relatively fast.
6. Next, you can add your creepy crawlies! Ooo! It took me a while to figure out what I wanted to do. I could not decide if I wanted to paint over them or not! Decisions, decisions. I decided the paint over option and was very happy I did. Glue your guys on with hot glue and they will stick great! Then just paint right over them as well.
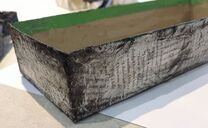
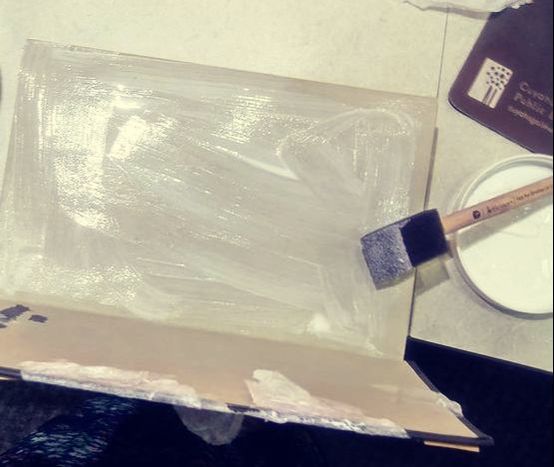
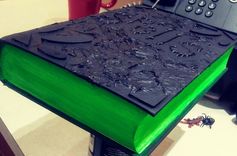
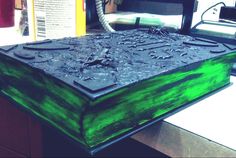
8. After the glue is dry, you can then paint over the exterior of the pages. I painted mine a neon green, super fun! But I think purple, red, and orange would also look awesome. I also took my brush from the black paint and lightly brushed over the green to give it a distressed look.
|
Rebecca MyersHey there, I'm Becca, or Rebecca, but not Becky, never Becky, unless you're my family from down south! I'm a simply modern librarian by day and an artist by night. My pursuit is for a simple, happy, healthy, and more fulfilling life! I hope I inspire you to get crafty! Archives
March 2022
Categories
All
|


 RSS Feed