
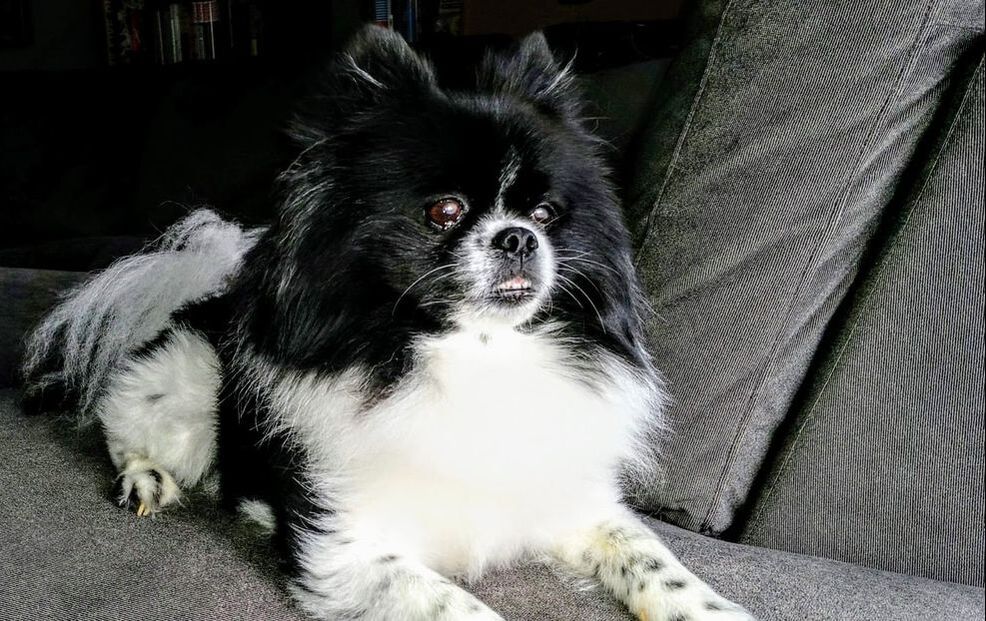
 I was asked to work with another library branch at work and create a "Pop Pet" Portrait class where people would bring in pictures of their pets and we would rock the Andy Warhol style of bright colors and large images. I had never done one of those before but said "sure, why not!". I decided to practice a bit ahead of time with my childhood dog Ginger aka Pinge, Ginge Pinge, Pinger, etc. you get the picture. You can see the results in my previous post here. At the end of last year, I was asked to teach a class for The Little Birdie Wine Nest in Parma to help people "realistically" paint their pets. Again, I had never done that before, although I had a little experience with the "pop" style, but "realistic" would be a little bit different. Again, I decided to practice ahead of time! I watched a variety of YouTube videos on what other artists do and adapted to those techniques. Below I will walk you through those steps!
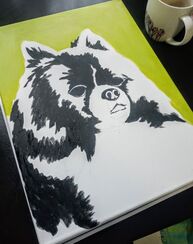
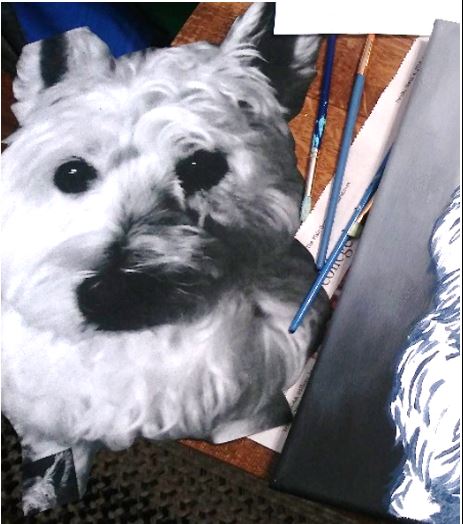
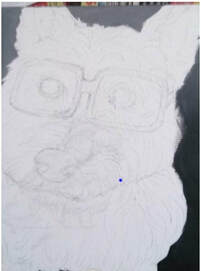
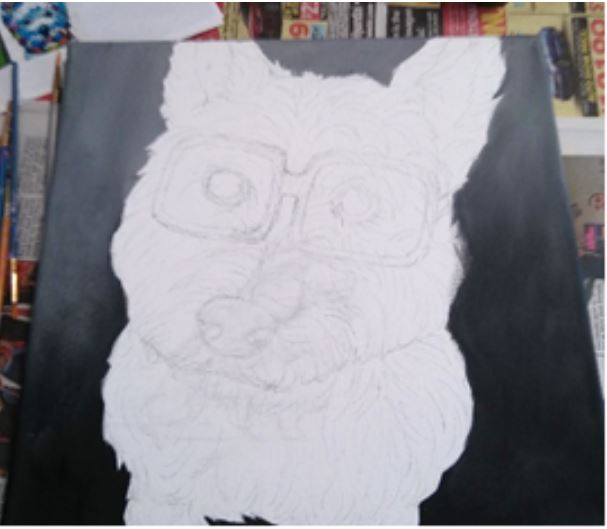
Yes, I can choose to just sketch this out freehand but... I have found the best way to get his basic shape down first and that is with a projector! I save the picture to a flash drive, plug it in to my projector, and project it onto a canvas in order to sketch out the animal. That way, all the features are the right size and shape and located where they're supposed to be! Because.. you know.. that's kind of important. I do want to address here something essential to painting a pet. So when we talk about our animals we might say "I have a black dog... a white cat.." but do you really? If you really study your animal's fur, you will see that your black dog has some copper brown hair in some spots, or your white cat has some grey undertones. Pay attention to these areas because they will come into play while painting your pet! We work from darkest to lightest colors and then go back and forth to create more detail towards the end.
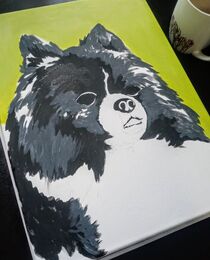
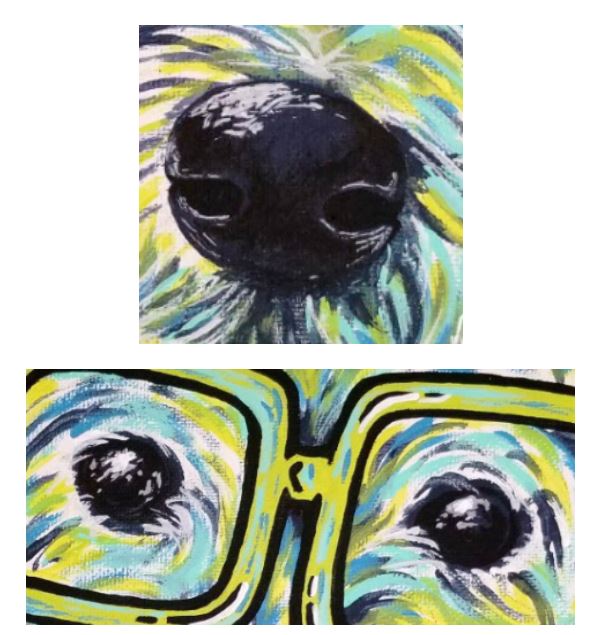
After the basic colors are done, I kind of start hopping all over the place! I worked a bit on Simba's mighty chest which is all white but using a bit of black, then grey, then white. Next, I focused on his snout which is a bit tricky! The key here is just to make sure they don't end up looking like pigs! Which seems to happen a lot :)
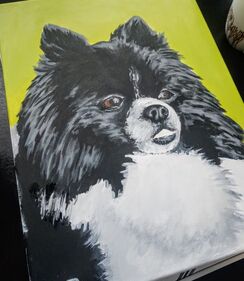
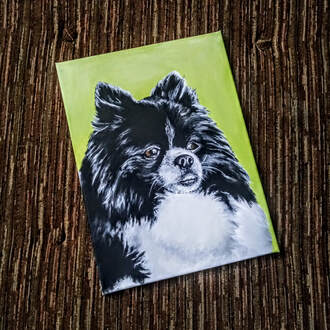
I hope this helps break down the steps of painting your own pet realistically! It takes a little bit of getting used to at first but you will get the hang of it, practice practice practice, right?! If you try this out share it below so I can see what you create!
0 Comments
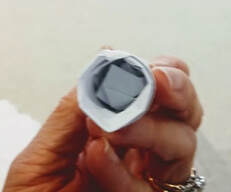
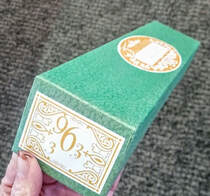
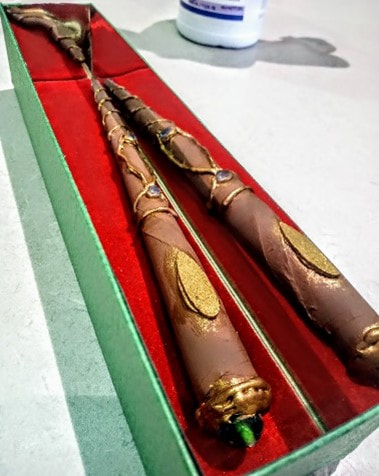
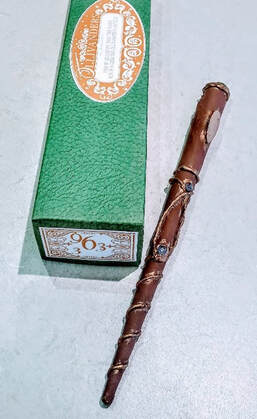
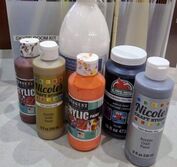
I have a confession to make... I didn't read Harry Potter when I was a kid (enter shocked faces)! I know, I know, how could I not have?! To be honest, I remember my parents buying the first book for me and coming home with it. I remember one of them saying "Here, everyone's talking about this, kids supposedly are obsessed with it". Well, maybe that comment was what threw me off because I, for as long as I can remember, hate doing what everyone else does. I do remember trying to read it, however, but never made it past the first chapter. So, once I became a librarian, I decided that this shame was unacceptable, I MUST read HP and ASAP! Well, I don't know what changed, but I read them all within a a couple of weeks and was in love with them. So yes, I am an HP fan, but it just took me 20 years! With my job at the library I am constantly receiving strange and unusual things from customers and fellow staff members in the hopes that I will save the item from the dumpster. To be honest, I kind of love it! It's like... a "thing" now and I love the challenge. One of our patrons who I have grown to know quite well over the last couple of years, is a gentleman named Ralph. I first met him when he came into the library saying he worked at a warehouse that was closing and asked if we librarians would want anything for crafts or programs. Well on to his warehouse I went and ever since then he stops by and gives me more fun things to use, I love it. One item he gave me was 2 hugeeee boxes of long skinny green boxes. I had no idea what I'd use them for but as always I said, "Yep, I'll take 'em". So there I was staring at 200 of these narrow boxes and the only thing I could think of... wand box. These boxes were perfect, I mean perrrrrfect for a wand so that's what they became! Below are the steps I took to make a simple wand with easily found materials, hopefully you can find a similar box to use too or just make the wand itself! 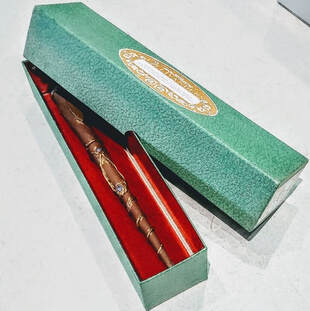 SUPPLIES:
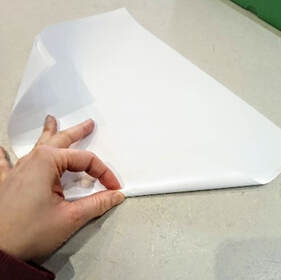
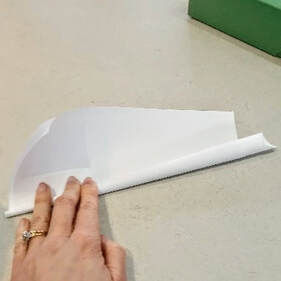
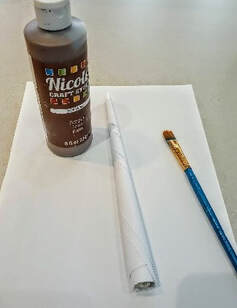
1. Layer 2 sheets of copy paper and begin rolling from one corner into a cone shape (it might take a few tries to get the right look/size).
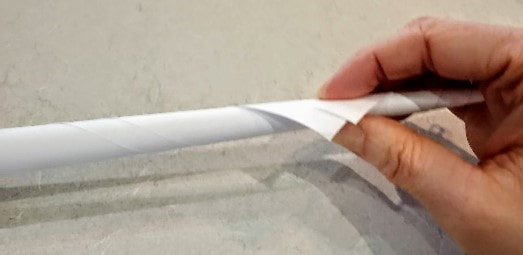
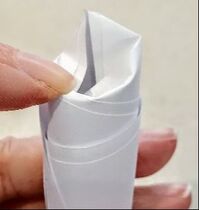
4. This will leave a hole at the end, fill this in with crumpled up paper so the wand becomes sturdier, and fill the end with hot glue to secure.
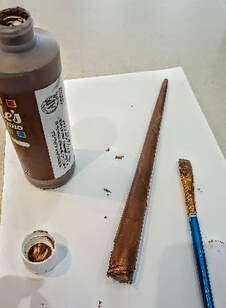
5. Paint your wand whatever color you would like. It may take a couple of coats to cover completely.
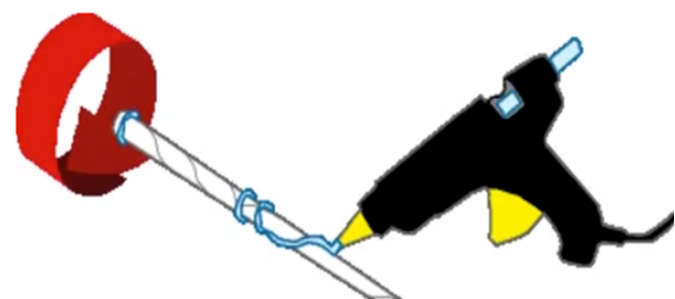
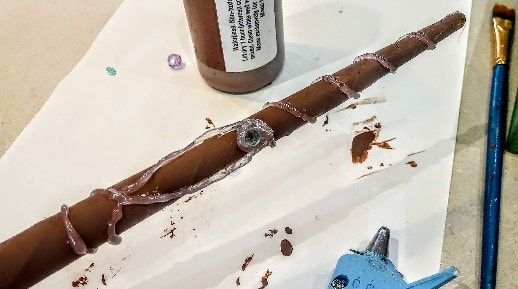
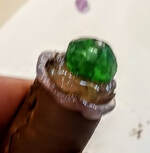
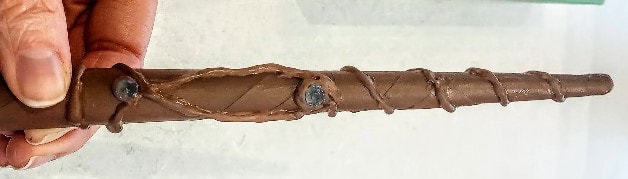
7. Use hot glue to create the character of your wand. While holding the wand, slowly rotate it as you create your lines and shapes with the glue and be careful with your fingers!
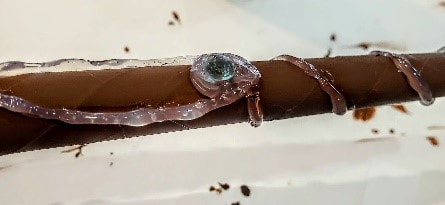
8. Place some of your beads into the hot glue for a “jeweled” effect. One at the end looks very authentic!
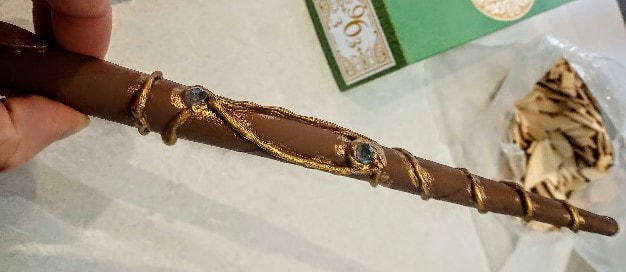
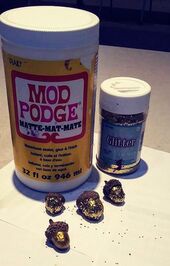
9. Paint over the hot glue with your base color and then again with the metallic paint.
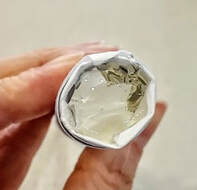
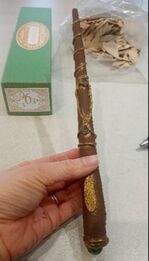
11. Lastly, I wanted to make the box look more "legit". I found both velvet and adhesive mirror pieces to use. I measured and cut the pieces to fit the interior of each side and glued them in each spot. And ta-da! Just look at that beautiful wand! I think it'd be really cool to make a velvet pillow for the inside of the box for the wand to rest on as well!
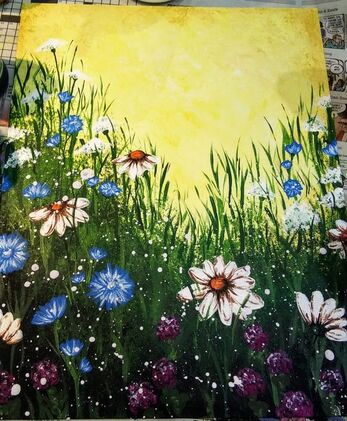
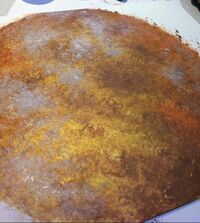
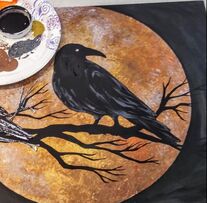
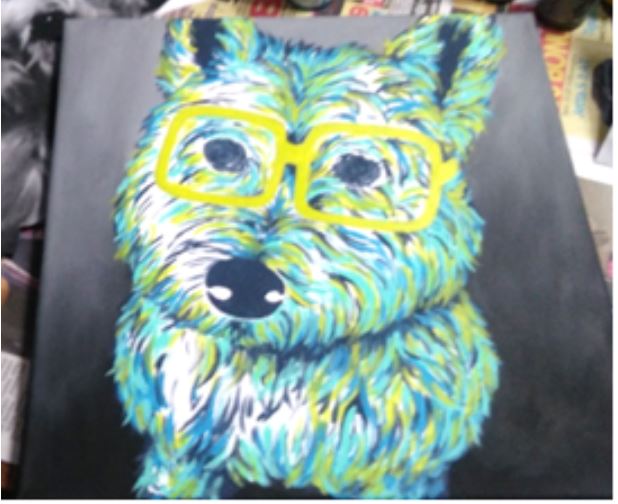
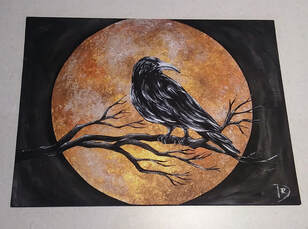 This painting is what I chose to mimic for my October Painted Canvas program at work. I run a "Painted Canvas" program once every quarter along with other monthly craft programs, but the Painted Canvas is, by far, people's favorite. With my other craft programs I usually always have empty seats even if the class had a full registration list but that is definitely not the case with Painted Canvas! The seats are always full! I wanted to do something "spooky" for this quarter's painting program especially since it's October. I had something else in mind originally but ended up picking this one! I followed the tutorial from "Painting with Jane" on Youtube, she's amazing! I didn't go about it exactly as she did. She used a gold metallic canvas (have never seen those before!!) and a paint/gel medium mixture to create translucent paint. I changed mine to just using a sponge on top of gold metallic paint. It's an "ok" effect, and one I think is easier for people in my class but maybe sometime I'll give the gel medium technique a shot!
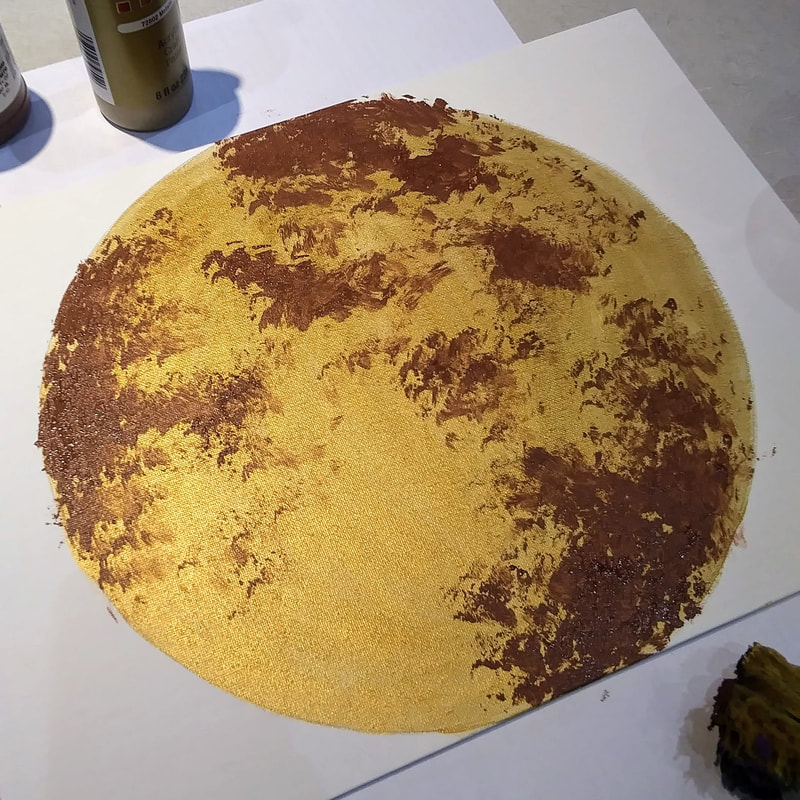
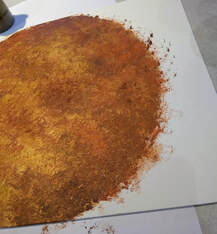
1. The first step is to trace your large circular object for your blood moon (I used a large plastic bowl). You want it to be nice and big to fill up your background. Paint this circle with your gold metallic paint (you should do 2 coats). 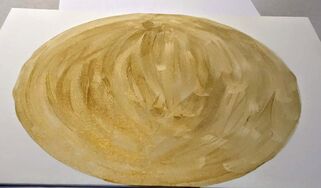 2. "Painting with Jane" recommended using translucent paint so that the colors do not get "muddy". I understood what she meant when I started sponge painting the colors. It did seem to get muddy but I was ok with it overall once it was done. Like I said earlier, I would like to try the original artist's technique in the future. I used a dry sponge and dipped it slightly in the paint, do not saturated your sponge! I started with brown for the dark shadows on the moon, then went into orange, blending slightly, I went back through with more gold to still have the gold represented, it's too pretty not to!
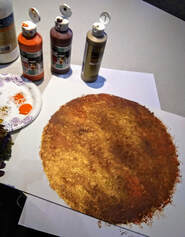
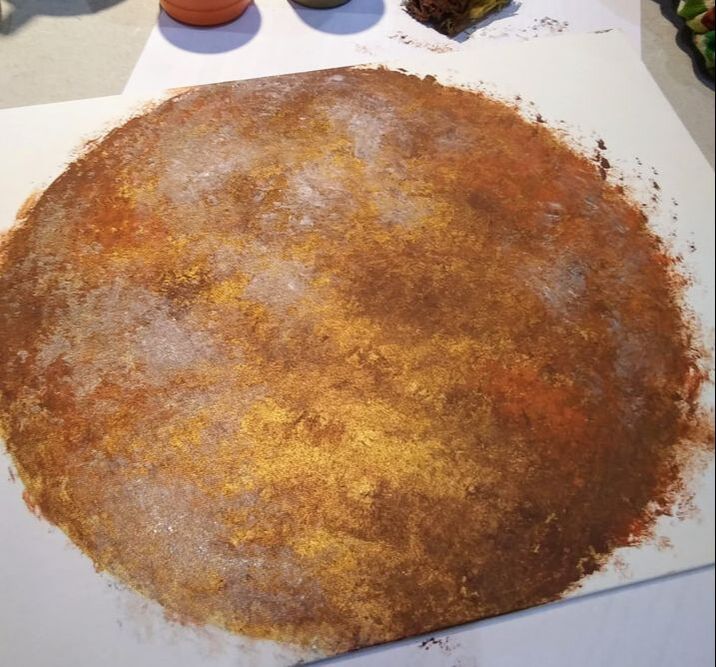
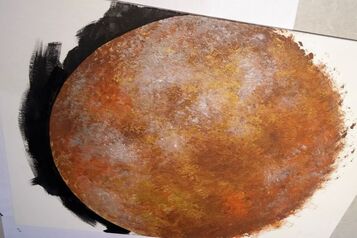
3. Before we are done with the moon, add some silver highlights with your sponge, you can add a dab of white too if you're feeling daring!
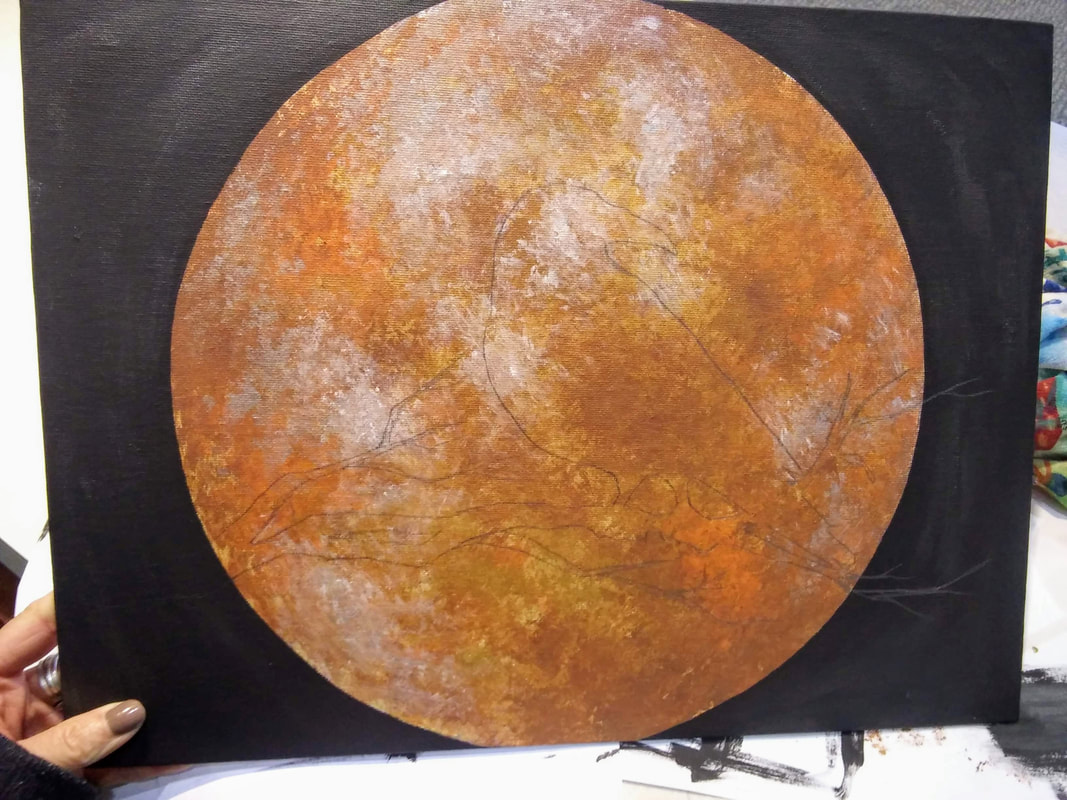
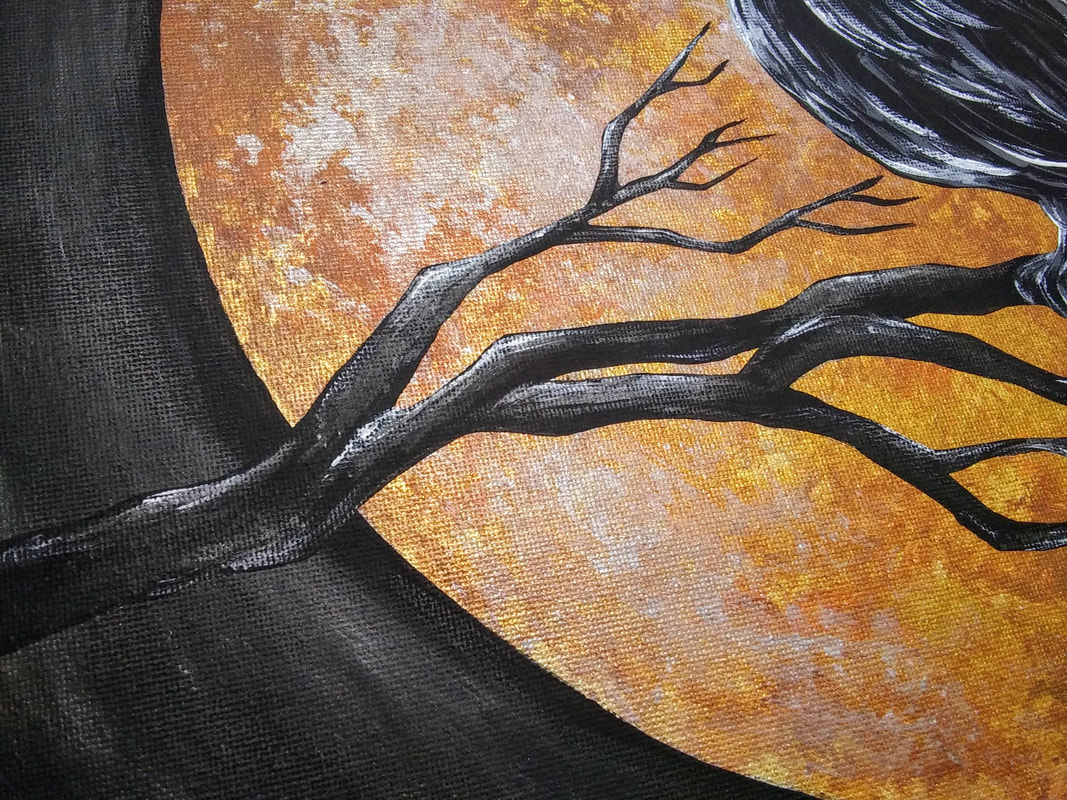
4. Retrace the same object you used to reemphasize your circle. With a flat or angled brush, trace the outline of your moon with black paint. Take your time and be patient on this step. Paint the remaining white space black. I used two coats of black paint. As I put the second coat on, I also mixed in a bit of silver to make the background seem "shimmery". You don't have to do this part, it is a personal preference. You will notice this effect more in later photos.
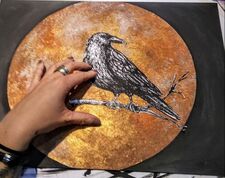
5. Trace your bird/branch template or free draw a bird if you feel comfortable. Paint this entire space black for a good base coat. I left a spot open for the raven's eye so that some of the gold shows through later.
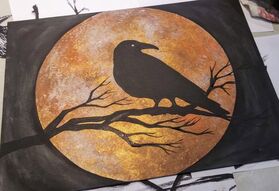
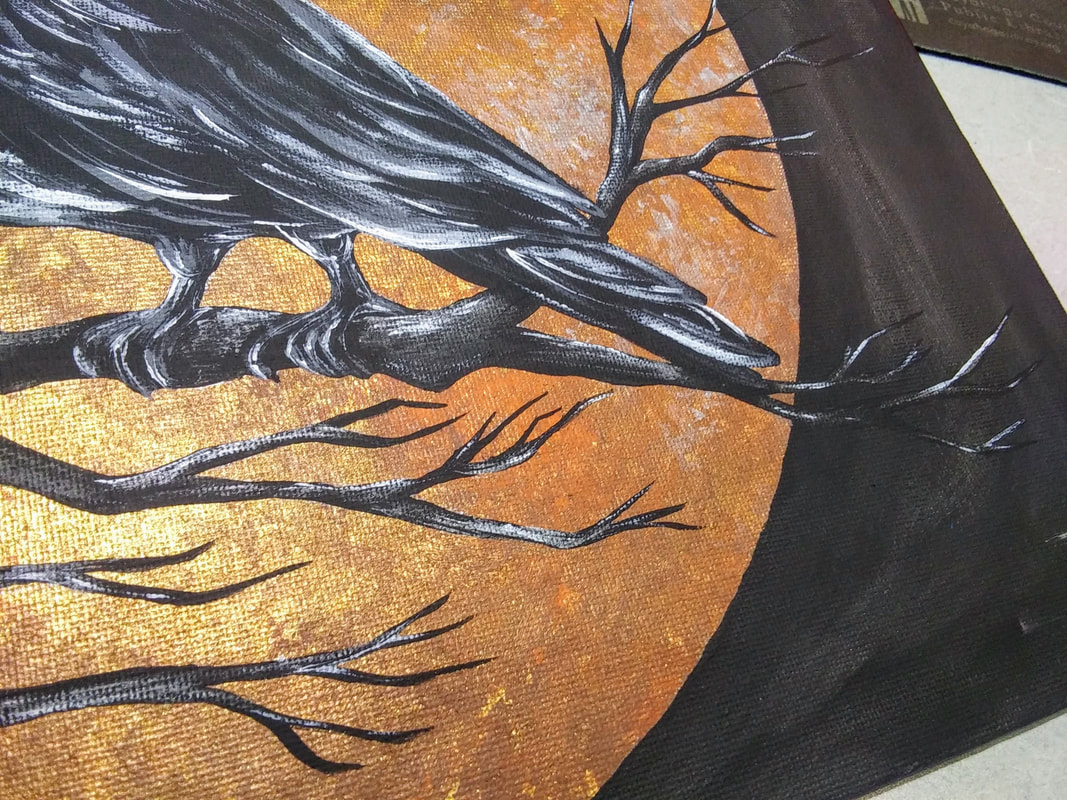
7. In between painting feathers, I went in for the beak and tried to mimic the shape done in the video. 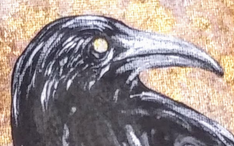 8. I highlighted everything with white. I used my smallest/pointiest brush for this and went over the previous grey with light, quick strokes. 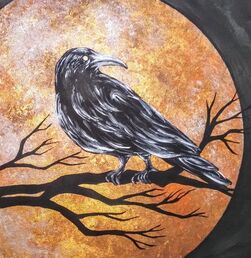 9. The last step is to highlight the gnarly tree branch! To do this, I lightly added some silver in various spots then, again, lightly added some white to those same highlights in smaller strokes.
That's really it! Sign your painting with your initials and you are good to go! Talk about an awesome addition to some holiday decor! (And let's all be honest here, this would look pretty good with some glitter too)  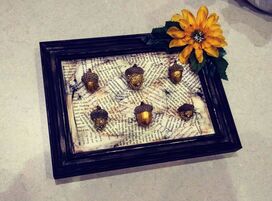 This is a pretty quick fall craft to spruce up your shelf space for the autumn weather or maybe a gift idea! The one I originally saw on Pinterest was very cute with bright fall colors. There are so many options with this type of craft, it's almost overwhelming. I thought about going with a subtle brown, tan, and white color combination at first. I thought it would be very elegant for Thanksgiving but somehow I ended up switching to more of a Halloween based theme with a distressed frame and distressed pages. The possibilities are endless but I hope you find one that you love! Supplies:
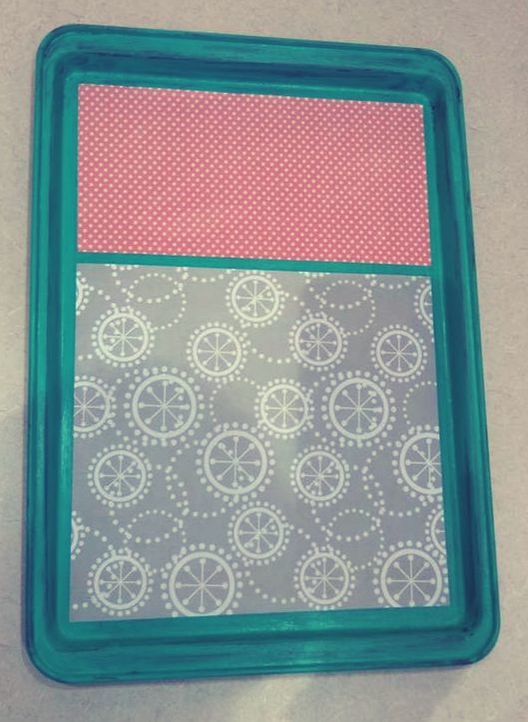
1. Gather up all of your supplies so that you have them near and dear to your project space. 2. If you're like me, I had a few frames to choose from and was very stressed with all the options! Finally, I decided on something medium-sized and relatively simple in structure. I forgot to take a picture ahead of time, but I "distressed" my frame a bit by very lightly adding black in light strokes to make it seem old/give it some more depth to the frame. 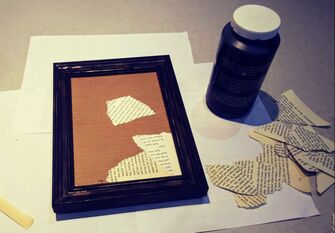 3. The original post I saw for this project involved using cute polka dot scrapbook paper as a background. I was going to do this as well, but saw I had some old book pages lying around and thought that would be a much cooler effect! If you're using a piece of scrapbook paper make sure you glue/tape it on carefully, making sure there are no air bubbles forming on your background! For me, I added torn strips of book pages by gluing each piece one by one to the background. Keep adding and adding until your background is full. 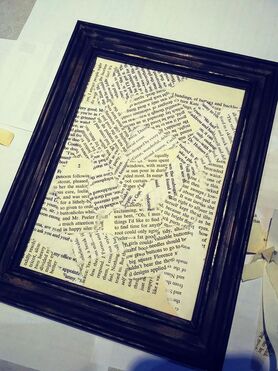 4. While your background is setting/drying, this is a good time to decide what you're going to do with your acorns. I decided to paint mine a metallic gold. I used 3 "craft" acorns and 3 real acorns that I found in the woods just to try out the different types to see if there were any differences... there aren't (but if you use real ones make sure you "bake" them to get rid of all the little buggies in there!) You'll want to do a couple of coats. 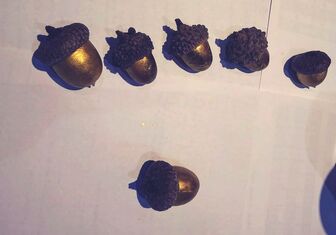 There are many ways to do this. You could leave the acorns in their natural state, paint them, decorate them, wrap them with thread/yarn/twine, oooo!
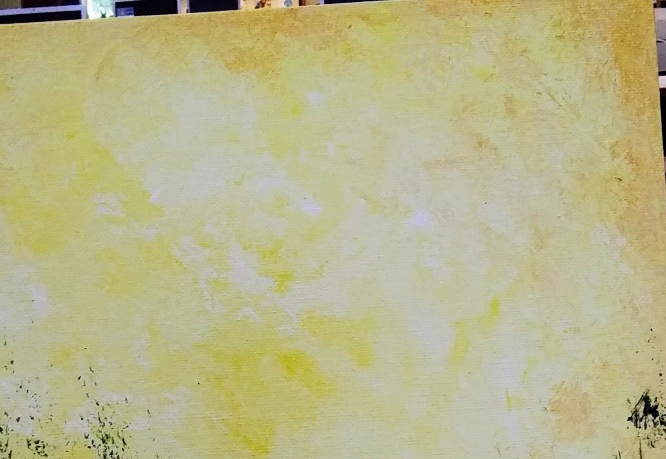
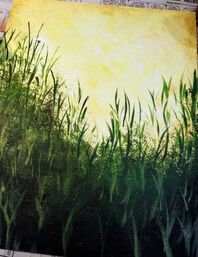
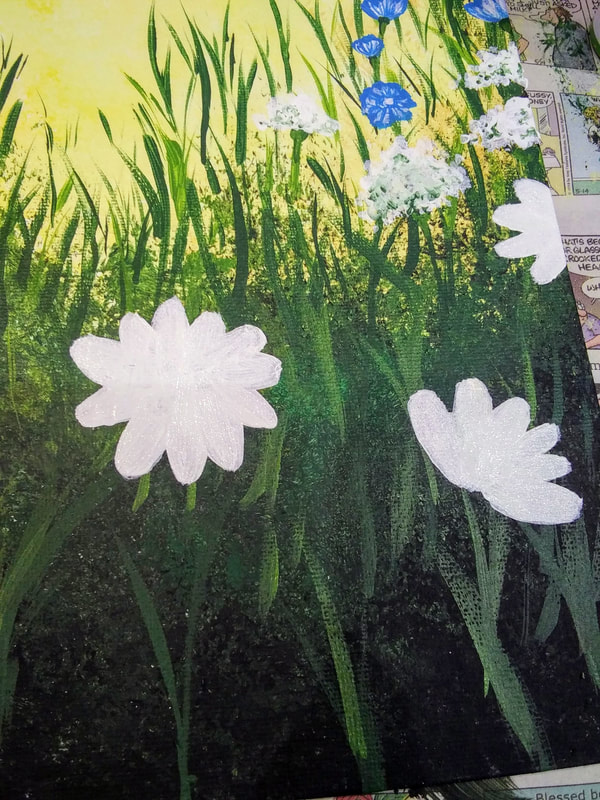
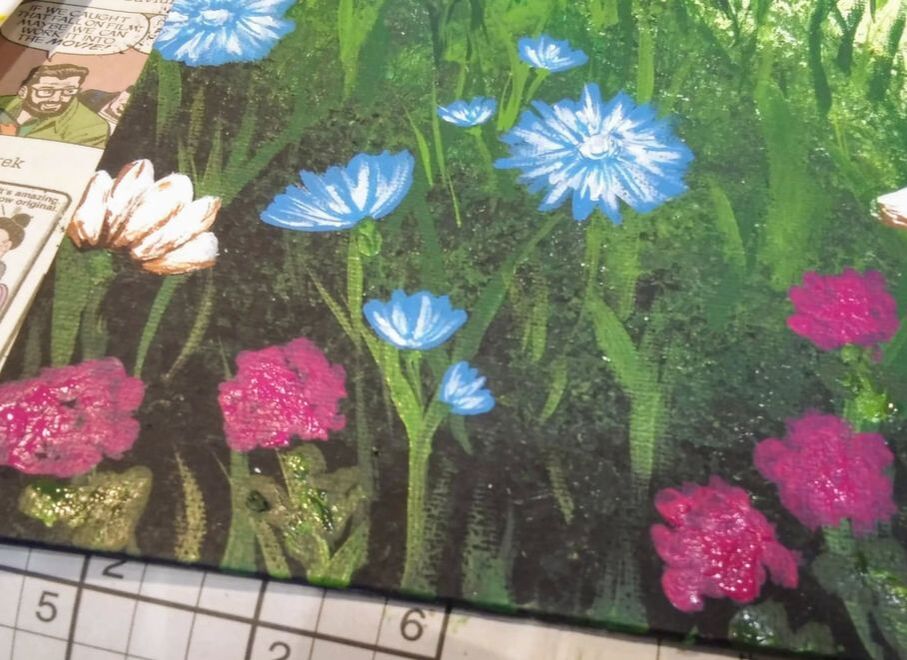
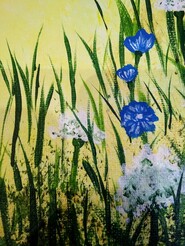
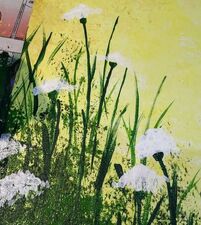
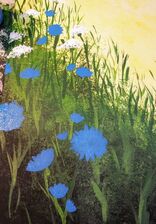
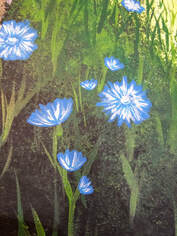
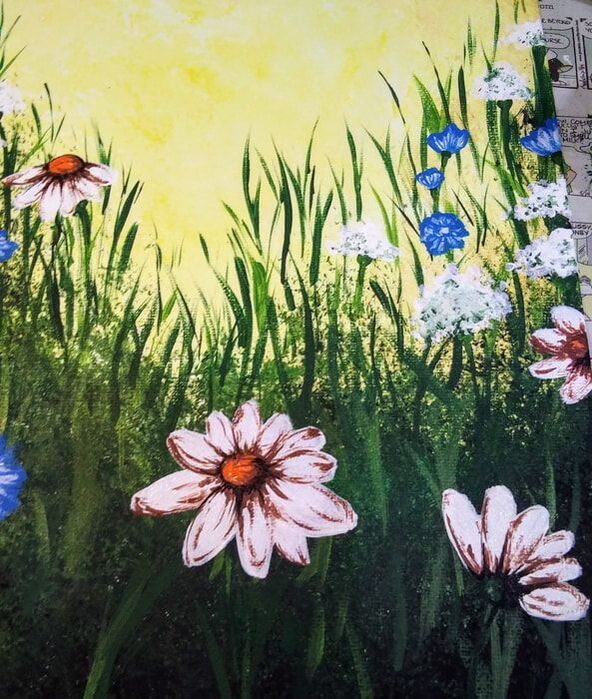
6. While my acorns were drying I also made the glued book pages look more distressed/eerie for a more Halloween look. I lightly brushed very little black and brown paint over the pages giving them that look which you can see in the following photo. 7. Lay out your acorns and see how you like them before you glue them. I used hot glue. Make sure you put enough on there and hold the acorn while it sets. 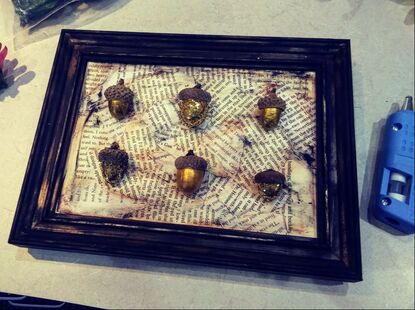 8. Lastly, I decided to add a little extra somethin' somethin' to the frame and hot glued a flower to the upper corner. That's it, we're all done!  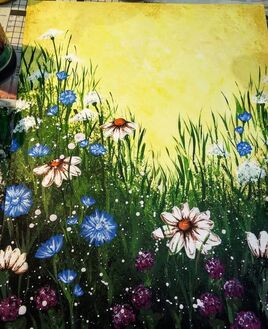 Who doesn't love wildflowers?! This is a fun, whimsical painting to do with friends during the spring or summer months, they'll love it! Supplies:
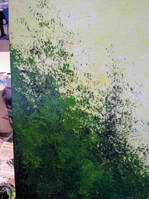
14. After adding some more grass in, it’s time for the really messy part!
  Supplies:
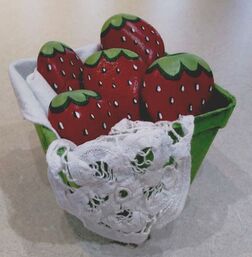
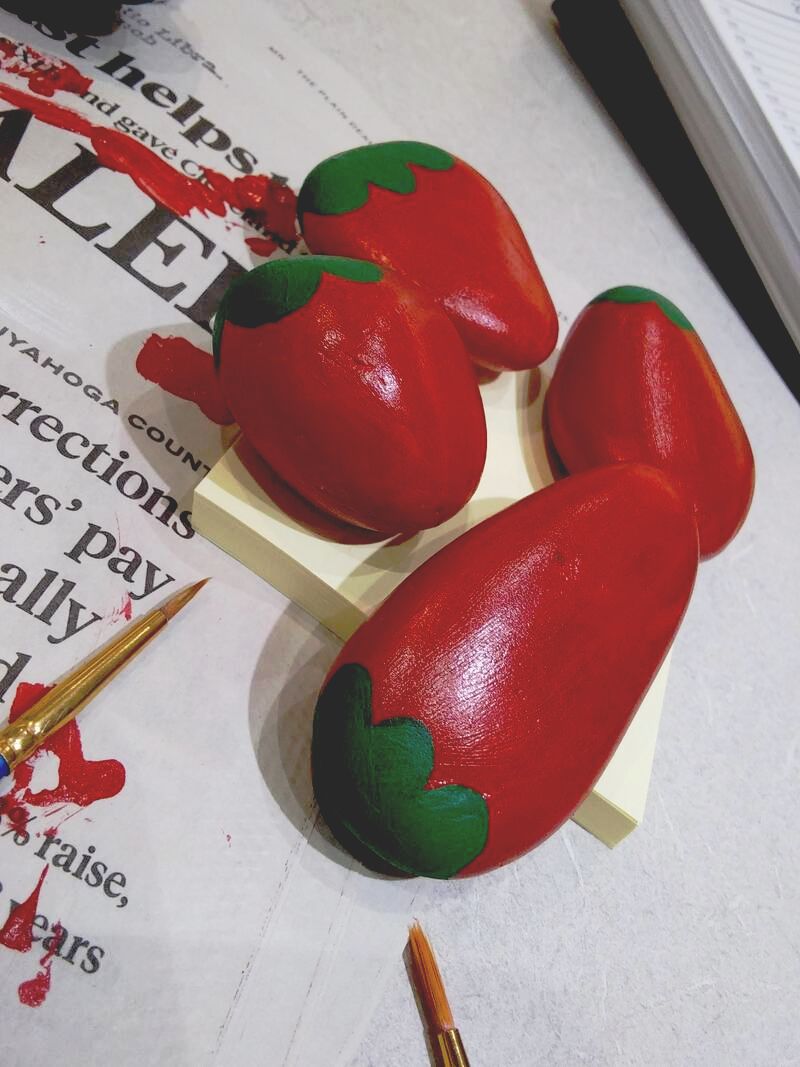
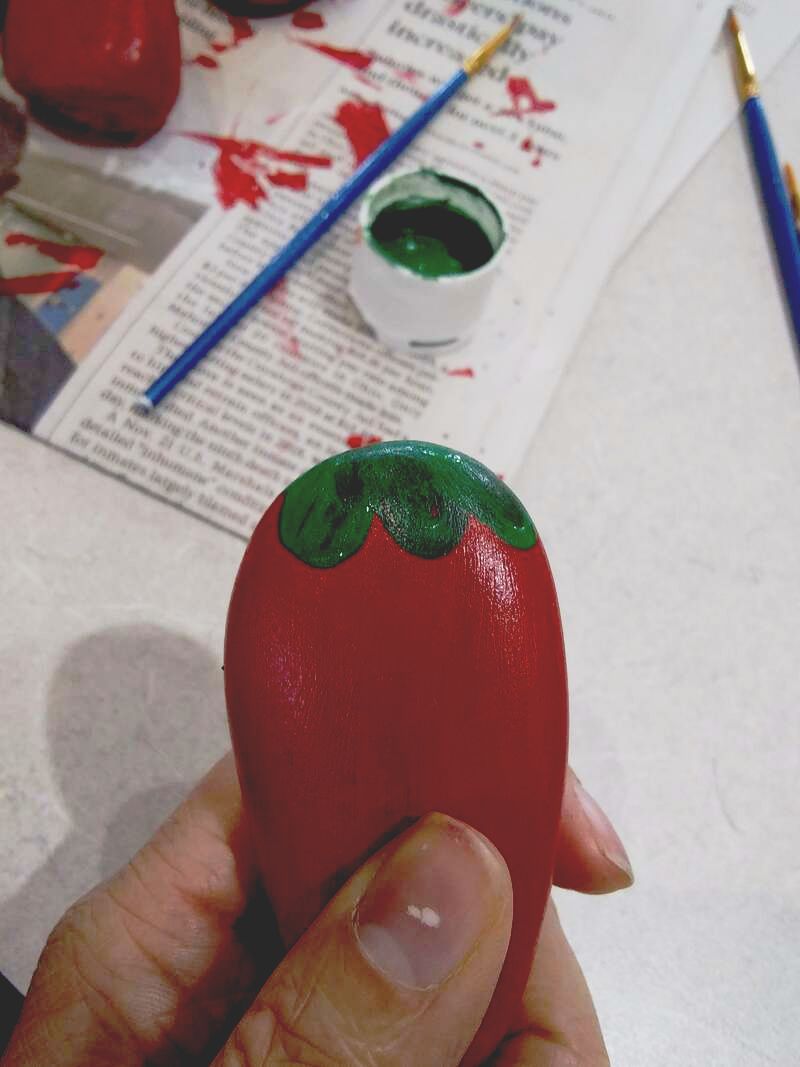
When I saw posts on Pinterest regarding these rocks I thought they were adorable and felt like I had to do them for a program at work, which here I am, prepping to do just that! My goal was to travel around to local parks and search for the perfect "strawberry-shaped" rocks to use, however, doing them for a public program meant that I needed about 110 of these rare diamonds and lets be real... that did not happen. I love using up supplies from previous projects and a coworker of mine had left over "mexican river rocks" from a rock-painting program, so, this is what I ended up using, cool. Taking a quick look at project photos on Pinterest, I saw that some showed that the rocks were painted white first. "Nah, I don't need to do that" I thought to myself peering at the 110 rocks waiting on my cart. So I went ahead and painted the first couple with red... "huh... this doesn't look too good" I quickly realized. "Do I seriously have to paint these white?" I begrudgingly thought to myself. So, I took a shot at the next one with a nice single coat of white acrylic paint. After it dried, I put the first coat of red over it and WOW, what a difference! You can see in the below photo the ones I painted first laying in the background on newspaper vs. the new beautifully vibrant rock in my hand. 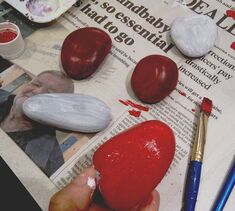 Thankfully, we have people who work with us who are often looking for "odd" jobs to do in down time.... well.... I think painting 110 rocks white is the perfect job to do for that! Thank you, thank you, thank you! I thought 5 rocks would be a good amount for this project which ended up working well for dry times as you make your way through each rock and each layer of paint. So, paint all rocks white, then paint all rocks red. I put 2 coats of red on top so it's a nice even layer.
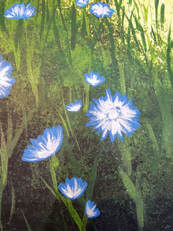
After my dark green dried, I went over it in a smaller reflection with light green. Then, I added a dot of the dark green in the center to represent where the stem would technically be. I'm not gonna lie... I hated this... still hate it. I do not like the way this came out but got even more stressed out the more I tried to "fix" it. I found it best to just leave it as is and move on full steam ahead! 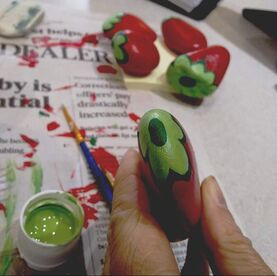 Next, will be your act of patience. Using a tiny pointy brush, paint "raindrop" shaped black "dots" all over your rocks to represent the strawberry seeds. And do this with every... single... rock! 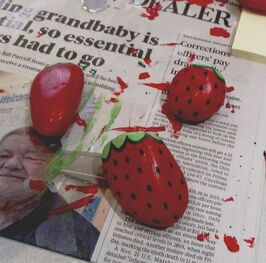 Now, go over every... single... dot.... on every... single... rock... with a tiny white "raindrop"/"dot". You could also change this up and be more realistic by making the seeds a golden yellow or changing the look of some so they're not all exactly the same. But I didn't have time for that and was shooting for a simple, easy project for my participants!  Lastly, put them in a cute bowl, basket, container, whatever! I found farmer market style containers at our local craft store. They came in a pack of six so were super affordable! I also put a piece of fabric in to drape over the sides before I put the rocks in and wa-la, Adorable summer decor! 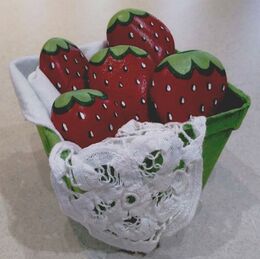 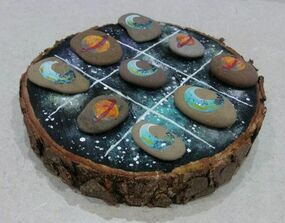 It's been a whole month since I have posted a project. Time is flying by... sometimes it feels too incredibly fast! I have been doing a lot of projects for other people so I don't have much to post, but, my next up-coming project at the library is a DIY Tic-Tac-Toe board. I thought this idea would be perfect since spring is (supposedly) here. I don't have specific steps for this, as you can make it whatever you want! But here is the list of supplies I used and my end product! Supplies:
 I got the original idea on Pinterest on the AttaGirlSays blog! I am encouraging my class to paint whatever they would like for their tic-tac-toe board and have a collage of photos to provide them some ideas. I went with a galaxy/space theme for mine, but, I would love to do like a big daisy for the base/board and then lady bugs and bumblebees for the pieces! Maybe next time! Have fun and happy spring! 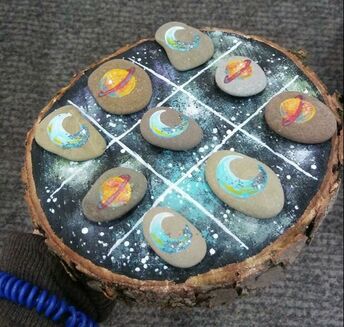 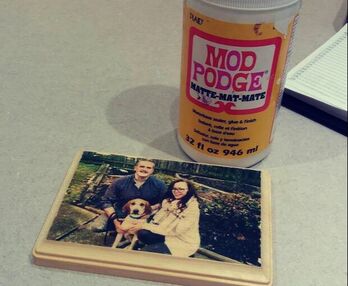 I had always wanted to do this but all the methods I looked at seemed unrealistic and lengthy. Thanks to CreativeBug (which is offered through the Cuyahoga County Library system for free) I was able to discover a quick, super easy way to complete this craft! I only have the end result photos and not the progress photos but, seriously, I don't think you'll need them because it's sooooo easy! Supplies:
1. Print your photo out on regular ol' copy paper on a LAZER printer. It can be in black and white or color. Cut away any excess paper. 2. Paint on a nice solid layer of Mod Podge on your wood piece (You don't want too much that it's goopy and sliding off the sides but enough to see a white layer). 3. Flip your printed photo into the Mod Podge, ink side down and smooth out to remove any air bubbles. 4. Take your burnisher/flat edge and rub the paper with some effort. This helps get rid of any extra air pockets and gets the ink nice and set into the Mod Podge. 5. Wait for the Mod Podge to COMPLETELY dry. 6. Fill a cup with warm water or just let the faucet lightly run (feels pretty wasteful though!). Wet either your fingers, or a sponge, and begin to lightly saturate the photo. DO NOT soak the photo! 7. Start lightly rubbing the paper in circular motions. The paper will begin to turn into a pulp and will slowly roll off the wood surface. 8. As the wood dries you may see some paper areas you missed. Just go back over these in the same fashion by wetting your fingers and rubbing the area in a circular motion. 9. After you're done, you can coat the wood with a finishing agent, paint the sides, decorate with embellishments, etc. Really cute gift idea, especially for family photos! Note: "They" do make photo transfer solutions specifically for this type of project. Even Mod Podge makes a specific Mod Podge for it as well. You can also use a gel medium technique but that takes days to set! I don't see the point in buying extra (expensive) supplies when beautiful, simple Mod Podge works just as good! Here are my 3 transfers below: 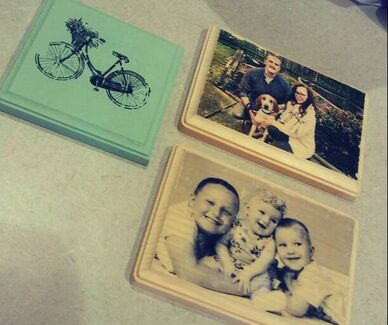  I don't know about you, but this winter weather has got me down in the dumps and tired as all heck! I need something to brighten up these dark days and this is the perfect painting to help me out. Supplies:
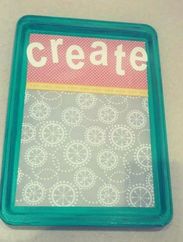
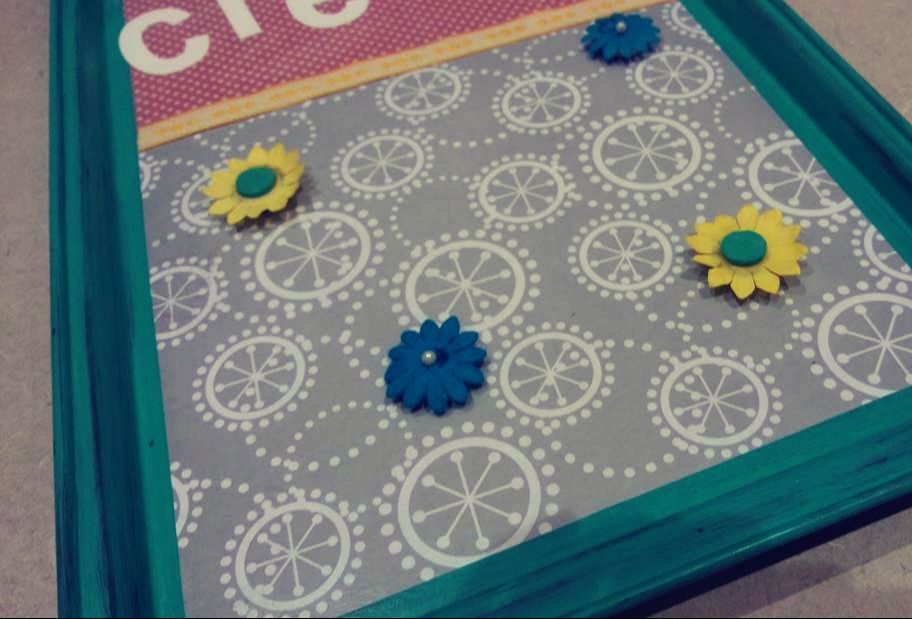
9. Lastly, create a single-color outline around your animal to make it “pop”. This is the prominent emphasis you see in Pop Art and what makes the subject stand out. Usually this is black or white but, feel free to make it whatever color you wish! You have officially created your pop art animal! Enjoy! 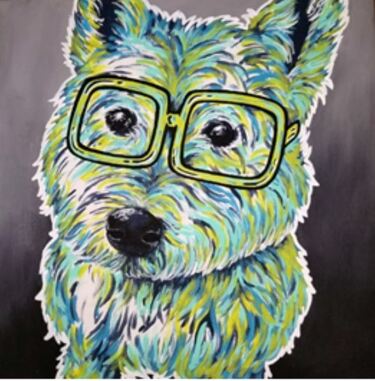 This is a really fun little craft to do with someone of any age. It's a great way to repurpose old icky cookie sheets as well. This would make a great addition to just about any room of your home or a great gift as you can mold it to fit anyone's personal style. Here I go with forgetting to take pictures of every... little... thing yet again, ug! But this one is pretty simple and should be easy to follow regardless. Supplies:
1. If desired, paint your cookie sheet. It seems best to use a spray paint as it will adhere well. I, however, used acrylic paint on an old non-stick cookie sheet. You know what that means right? The paint did not stick great. But, I ended up liking the look and making it "distressed". I also went over the entire paint job with a layer of Mod Podge. If you go this route, and don't use Mod Podge, the paint will scratch right off once dry so make sure you put a layer of some sort over the paint!
|

Rebecca MyersHey there, I'm Becca, or Rebecca, but not Becky, never Becky, unless you're my family from down south! I'm a simply modern librarian by day and an artist by night. My pursuit is for a simple, happy, healthy, and more fulfilling life! I hope I inspire you to get crafty! Archives
March 2022
Categories
All
|


 RSS Feed