|
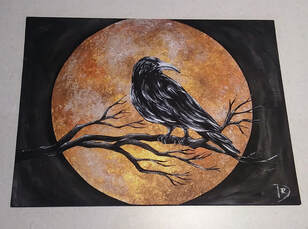
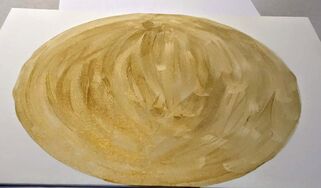
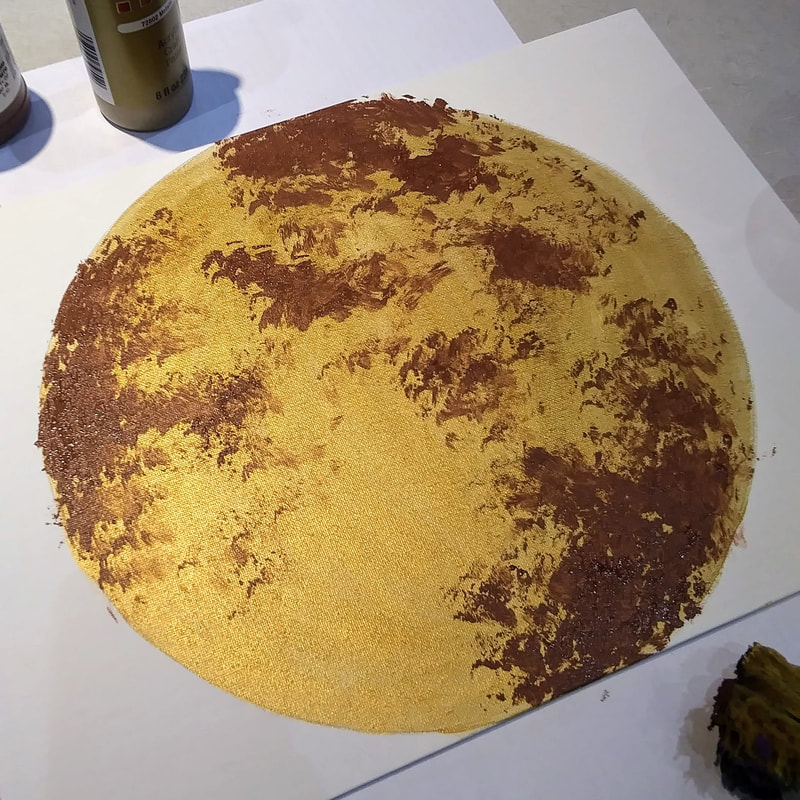
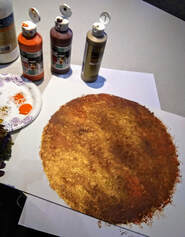
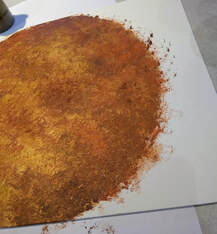
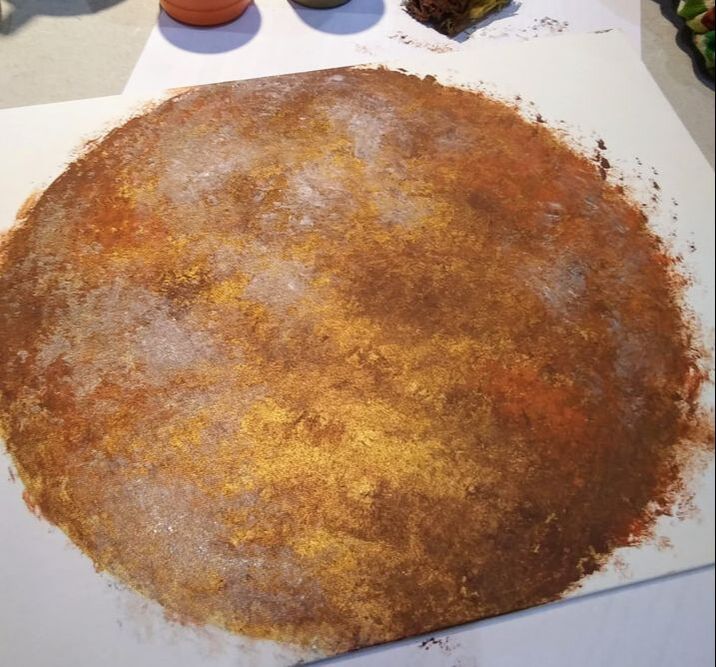
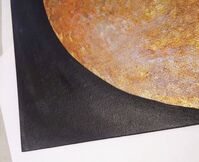
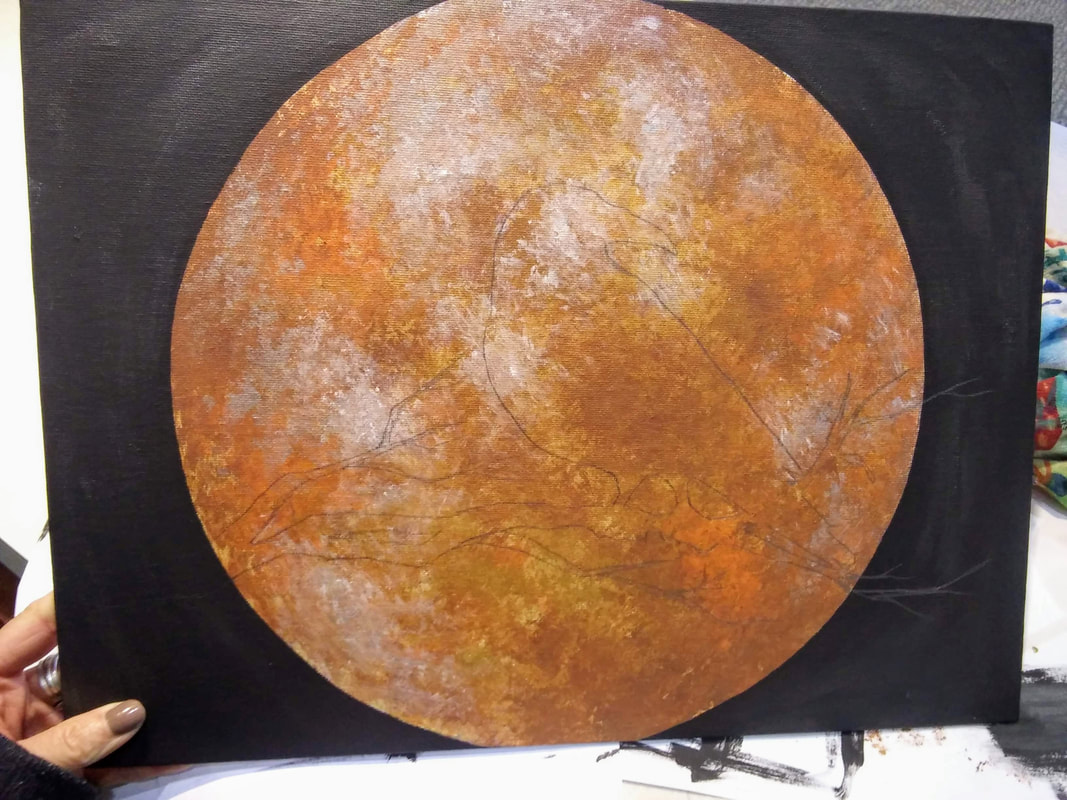
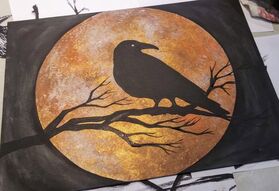
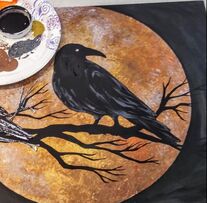
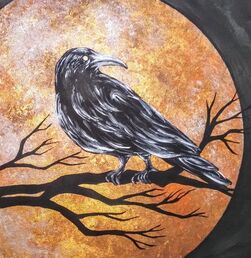
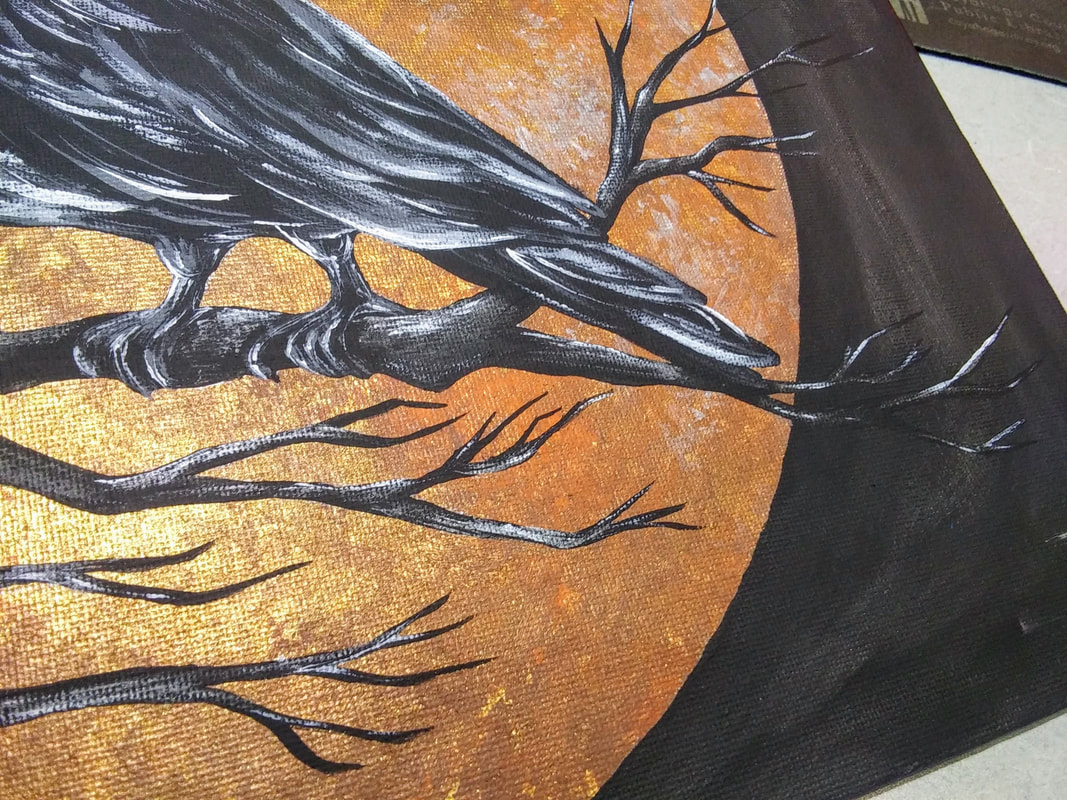
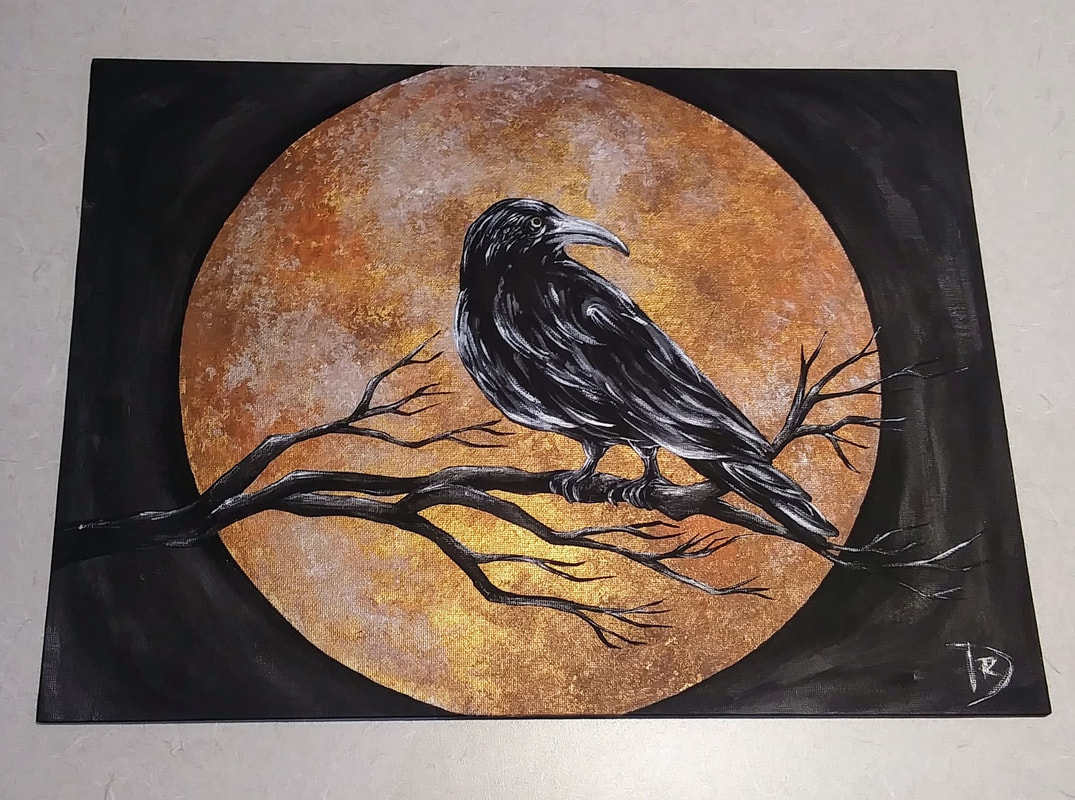
This painting is what I chose to mimic for my October Painted Canvas program at work. I run a "Painted Canvas" program once every quarter along with other monthly craft programs, but the Painted Canvas is, by far, people's favorite. With my other craft programs I usually always have empty seats even if the class had a full registration list but that is definitely not the case with Painted Canvas! The seats are always full! I wanted to do something "spooky" for this quarter's painting program especially since it's October. I had something else in mind originally but ended up picking this one! I followed the tutorial from "Painting with Jane" on Youtube, she's amazing! I didn't go about it exactly as she did. She used a gold metallic canvas (have never seen those before!!) and a paint/gel medium mixture to create translucent paint. I changed mine to just using a sponge on top of gold metallic paint. It's an "ok" effect, and one I think is easier for people in my class but maybe sometime I'll give the gel medium technique a shot! 1. The first step is to trace your large circular object for your blood moon (I used a large plastic bowl). You want it to be nice and big to fill up your background. Paint this circle with your gold metallic paint (you should do 2 coats). 2. "Painting with Jane" recommended using translucent paint so that the colors do not get "muddy". I understood what she meant when I started sponge painting the colors. It did seem to get muddy but I was ok with it overall once it was done. Like I said earlier, I would like to try the original artist's technique in the future. I used a dry sponge and dipped it slightly in the paint, do not saturated your sponge! I started with brown for the dark shadows on the moon, then went into orange, blending slightly, I went back through with more gold to still have the gold represented, it's too pretty not to!
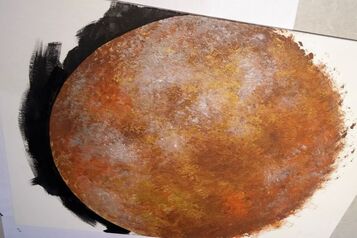
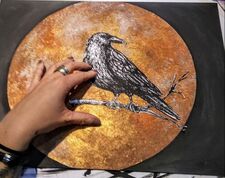
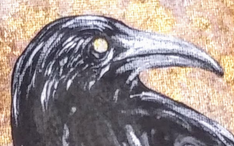
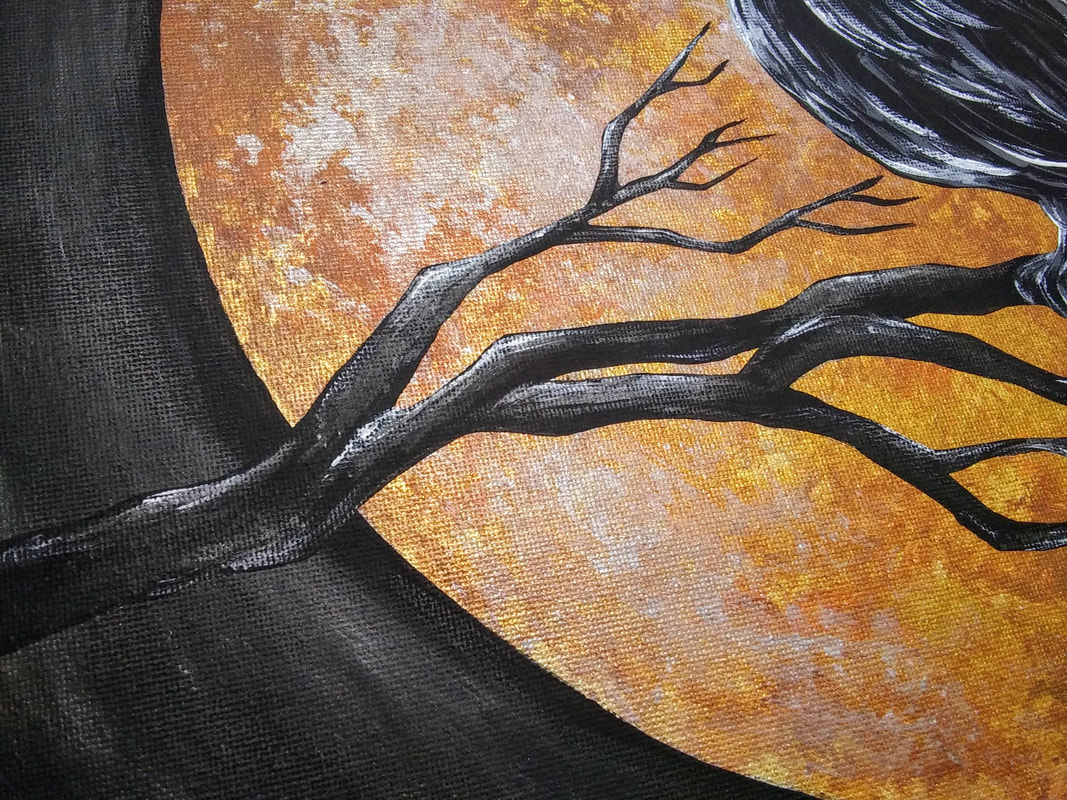
3. Before we are done with the moon, add some silver highlights with your sponge, you can add a dab of white too if you're feeling daring! 4. Retrace the same object you used to reemphasize your circle. With a flat or angled brush, trace the outline of your moon with black paint. Take your time and be patient on this step. Paint the remaining white space black. I used two coats of black paint. As I put the second coat on, I also mixed in a bit of silver to make the background seem "shimmery". You don't have to do this part, it is a personal preference. You will notice this effect more in later photos. 5. Trace your bird/branch template or free draw a bird if you feel comfortable. Paint this entire space black for a good base coat. I left a spot open for the raven's eye so that some of the gold shows through later. 7. In between painting feathers, I went in for the beak and tried to mimic the shape done in the video. 8. I highlighted everything with white. I used my smallest/pointiest brush for this and went over the previous grey with light, quick strokes. 9. The last step is to highlight the gnarly tree branch! To do this, I lightly added some silver in various spots then, again, lightly added some white to those same highlights in smaller strokes. That's really it! Sign your painting with your initials and you are good to go! Talk about an awesome addition to some holiday decor! (And let's all be honest here, this would look pretty good with some glitter too)
4 Comments
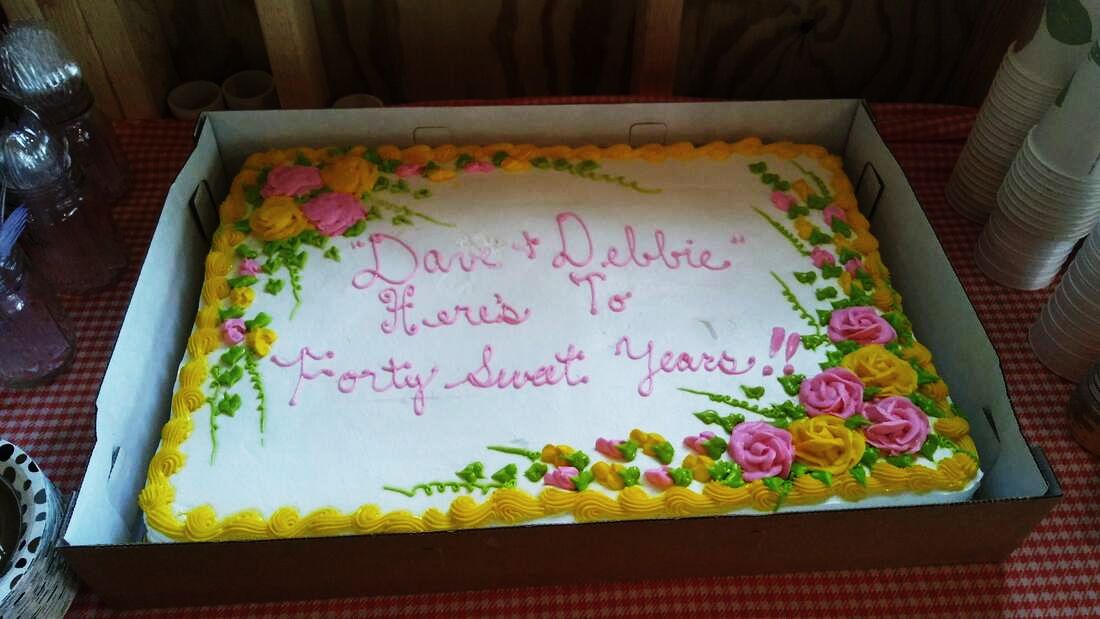
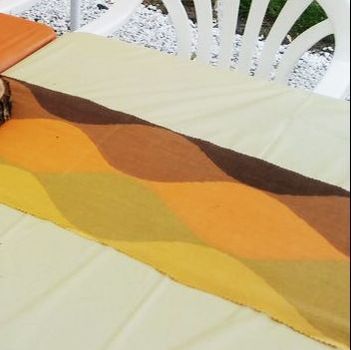
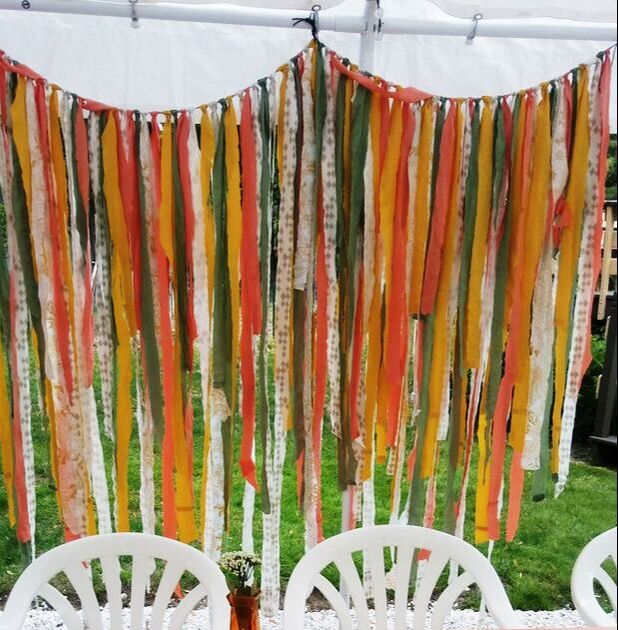
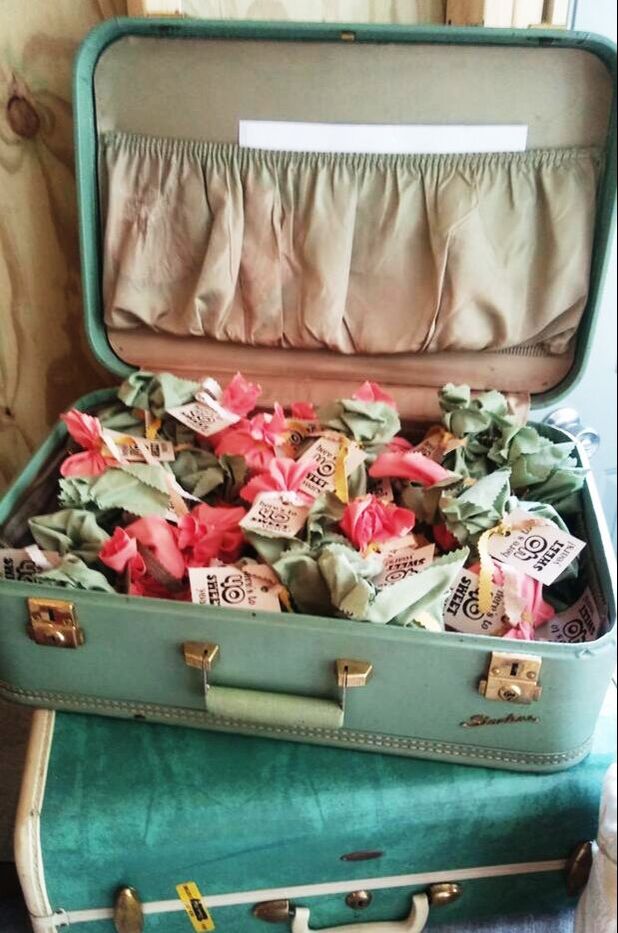
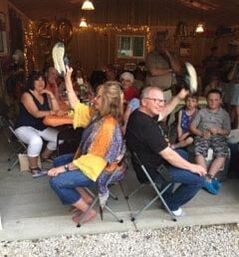
It feels like it has been ages since I have last posted! But it has not quite been 2 months yet so I think I'm still in the clear. The reason for my absence was mostly due to the fact that I was in charge of throwing my parents a surprise 40th anniversary party! And it's no simple feat - especially when you want to do it up like me (Momma taught me best!). Planning a party of any type has so many components! It starts with when to have it, where to have it, and rolls into the confusing guest list of who and who not to invite - hoy, so many decisions! Luckily, a wonderful aunt offered to host the party for us, which means... no cost! (I tried to give her money guys, I swear). Once you decide on a guest list, you can make/order invites. So much fun! 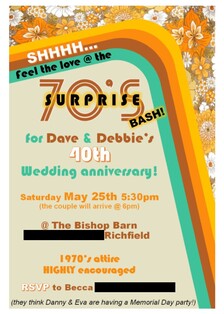 We put a twist on the party since it was for my parents anniversary and made it a 1970's party to honor 1979. I love having a theme. It makes it more fun in my opinion! But, I also think just doing a general color scheme is fun too! So, once you get those invites out you can start thinking about the details: food, decorations, etc. Luckily, my parents have amazing friends, everyone offered to bring something. My aunt and I provided the main dishes and everyone else brought sides and desserts. Someone else even offered to get the cake for us - thank you, thank you! I was left to decorate, which I love more than anything. Since we went with the 1970s, I tried to stick with the beautiful hues of that era - yellow, olive green, peach, brown, etc. and it was beautifully vintage when it all came together.
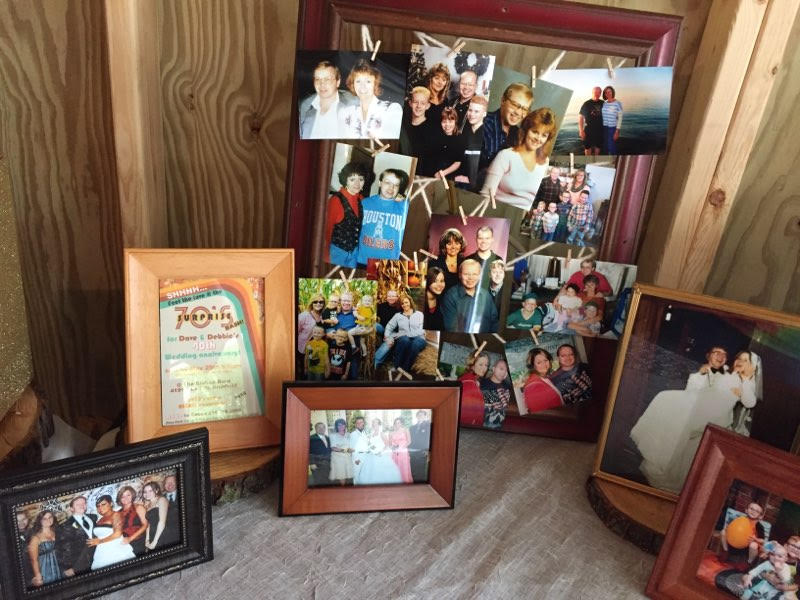
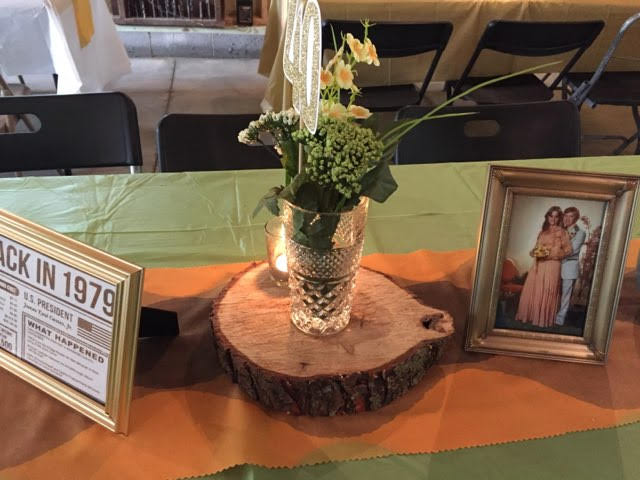
To see how to make the fabric garland, read my post here: https://www.the-art-escape.com/blog/scrap-fabric-garland I put together a small photo collage (didn't want it to be too overwhelming) to show the progression of our family over the last 40 years and also put their 1970 style photos in frames to use as decorations on the tables - and conversation starters of course! 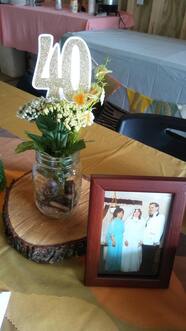 I used mason jars for center pieces, filled them with stones so they wouldn't blow over, and put a simple mixture of fake flowers with pin wheels or "40" stakes in them. I purchased the pin wheels for dirt cheep at a craft store and made the "40" stakes myself by cutting out "40" on glitter paper with the CriCut, gluing them to a white background, and taping them to the stakes. I trimmed everything down to fit into the glasses at varying heights. My aunt also had tree slices left from previous parties that we used under the mason jars! This provides some extra pazaz to the table for sure! To be completely honest, I didn't really know how many tables we would have. I also didn't know where I would be hanging all the stuff I was making but I just kept making away! Everything was able to be used and it all came together perfectly!
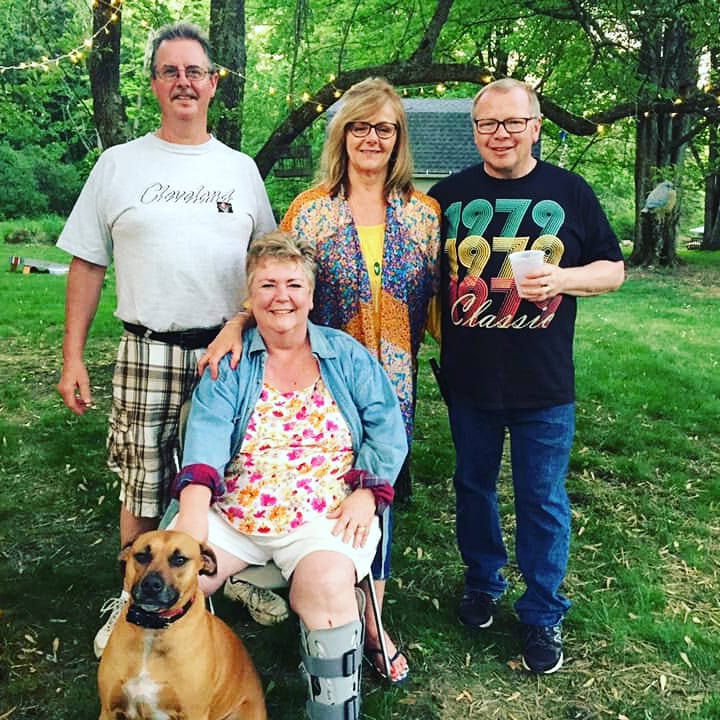
Although it was supposed to be a surprise party... my parents totally knew! They said no one talked to them all week and people were being too weird - woops! That's ok - it was a perfect 70's bash none-the-less. Now, for one thing that was not so perfect.... there always seems to be something that happens at events: strange family drama, weird occurrences, something doesn't work, something breaks, you forget the cake, etc.... this particular event resulted in my aunt (yes the same aunt who hosted) acquiring a broken leg!!!! It was awful, there's just no other way to put it. I felt/feel absolutely terrible that it happened because, in my mind, if I wouldn't have had it there, she wouldn't have broken her leg! Now she will be laid up in a cast for weeks and weeks, right in the middle of summer (she's a camper, this is a big deal people!) and right before her grandbaby is due! Terrible, terrible, terrible! It happened while we were setting up for the party, we tried to make her sit the rest of the day/night but the woman wants to move, move, move! Thankfully, she had a boot from when she broke her other leg another time and wore it all night... but, the next day, x-rays revealed it was most certainly broken. Picture below to prove how amazing my aunt is for sticking around the whole night! So, in conclusion, there are so many different pieces and parts for planning a party. You can go in so many different directions and do just about anything, making it personal for whoever the guest-of-honor is!
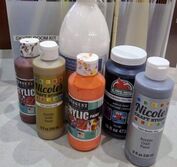
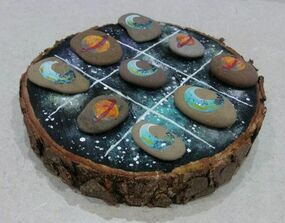
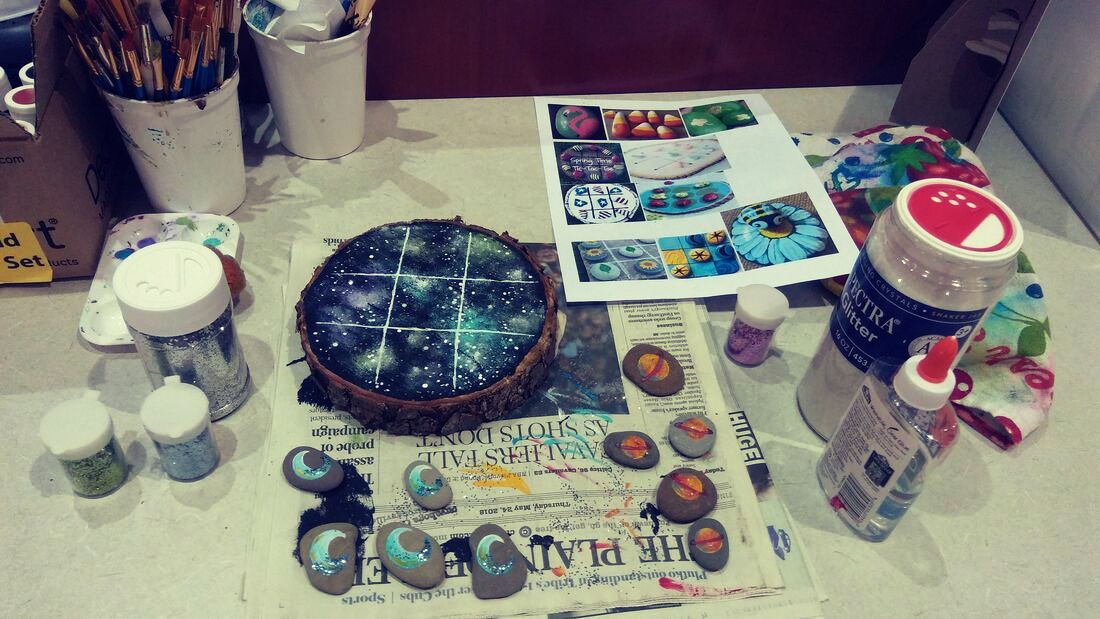
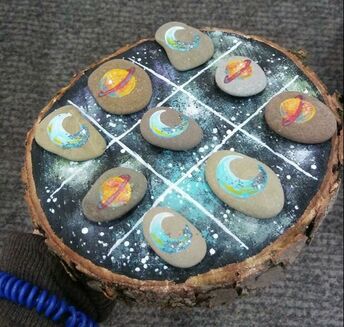
Need ideas for planning your next party?? Just ask me, I'd love to help! It's been a whole month since I have posted a project. Time is flying by... sometimes it feels too incredibly fast! I have been doing a lot of projects for other people so I don't have much to post, but, my next up-coming project at the library is a DIY Tic-Tac-Toe board. I thought this idea would be perfect since spring is (supposedly) here. I don't have specific steps for this, as you can make it whatever you want! But here is the list of supplies I used and my end product! Supplies:
I got the original idea on Pinterest on the AttaGirlSays blog! I am encouraging my class to paint whatever they would like for their tic-tac-toe board and have a collage of photos to provide them some ideas.
I went with a galaxy/space theme for mine, but, I would love to do like a big daisy for the base/board and then lady bugs and bumblebees for the pieces! Maybe next time! Have fun and happy spring! |
Rebecca MyersHey there, I'm Becca, or Rebecca, but not Becky, never Becky, unless you're my family from down south! I'm a simply modern librarian by day and an artist by night. My pursuit is for a simple, happy, healthy, and more fulfilling life! I hope I inspire you to get crafty! Archives
March 2022
Categories
All
|

 RSS Feed