
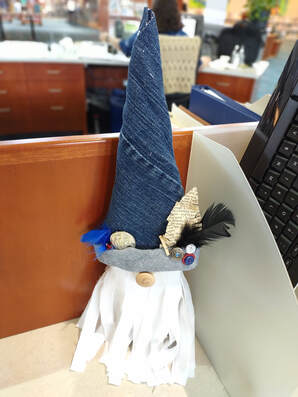
 I loveddddd creating this gnome! I reproduced this from another craft site because I thought it was so cute and creative! The supplies can be altered to fit other items but here is what I used for mine! Supplies:
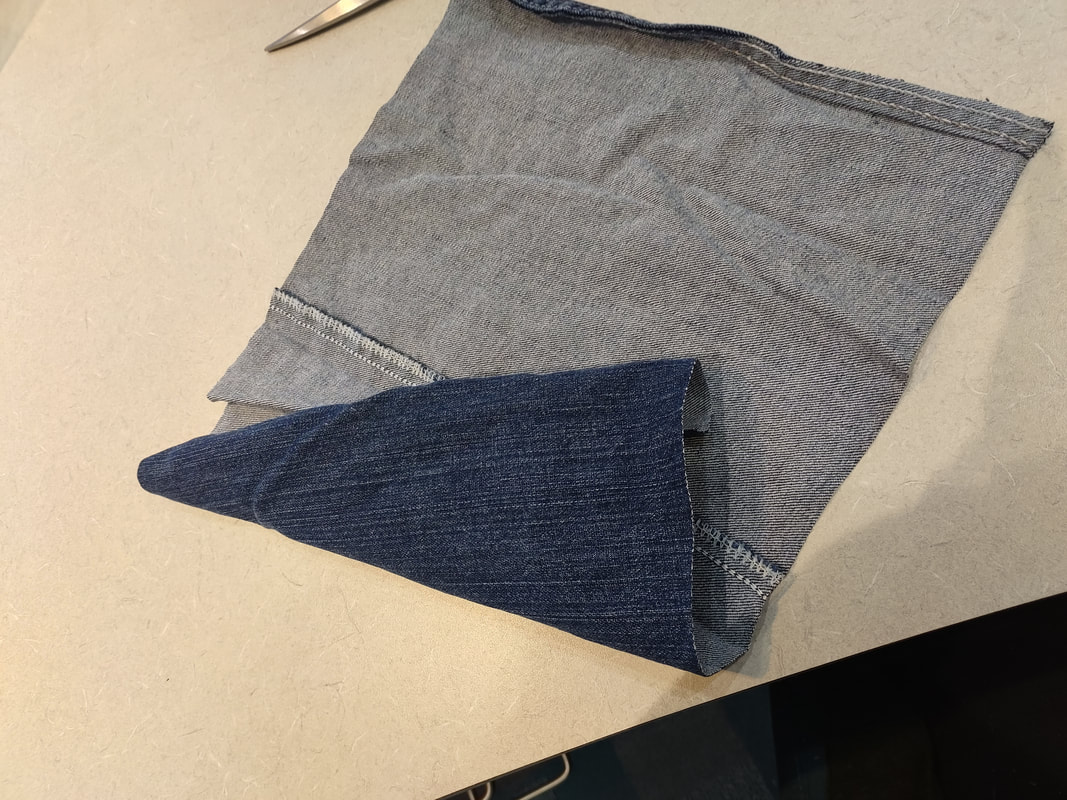
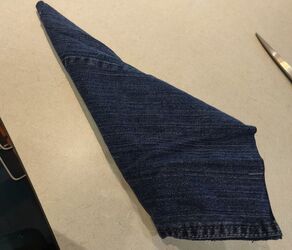
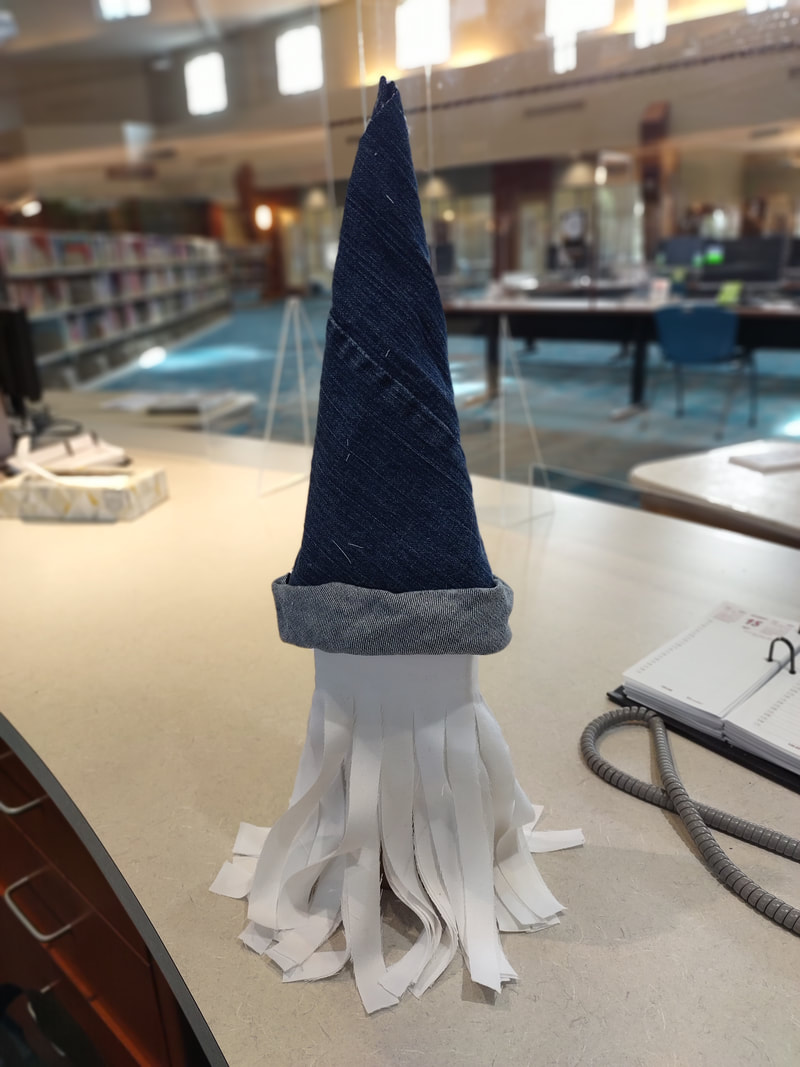
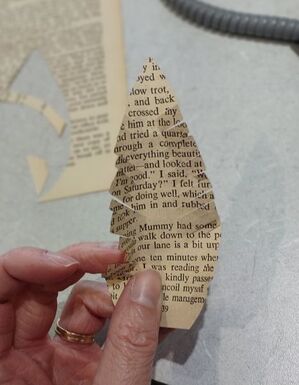
1. Since the block of wood is being pretty much covered up by everything else, you don't need to do anything to it! I started with making the hat. I cut a 10x10 section off the leg of a mans size pair of jeans and then cut it down the center to open it up to be roughly 20x10. I then took multiple tries to form a cone shape by rolling the piece of jean in a diagonal direction, being sure that the bottom opening would fit the width of the wood board.
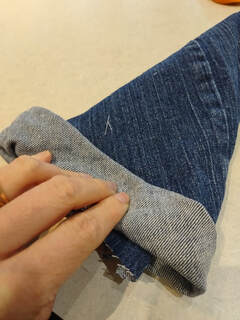
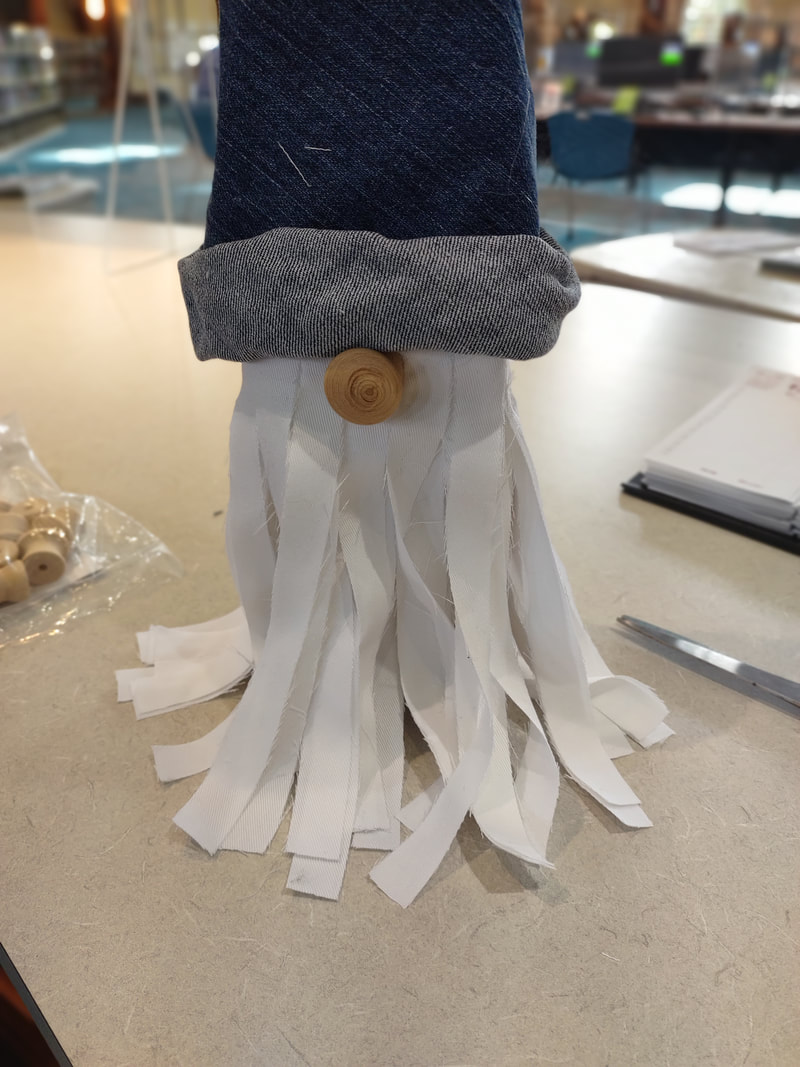
2. You end up with an oblong piece for the hat. You can either just cut off the piece hanging out of the cone shape, or, like me, fold it up and form it into a "cuff" around the bottom of the hat.
3. Be sure to actually secure these pieces with a bit of hot glue. I added some at the point, under the overlap, and under the cuff as well.
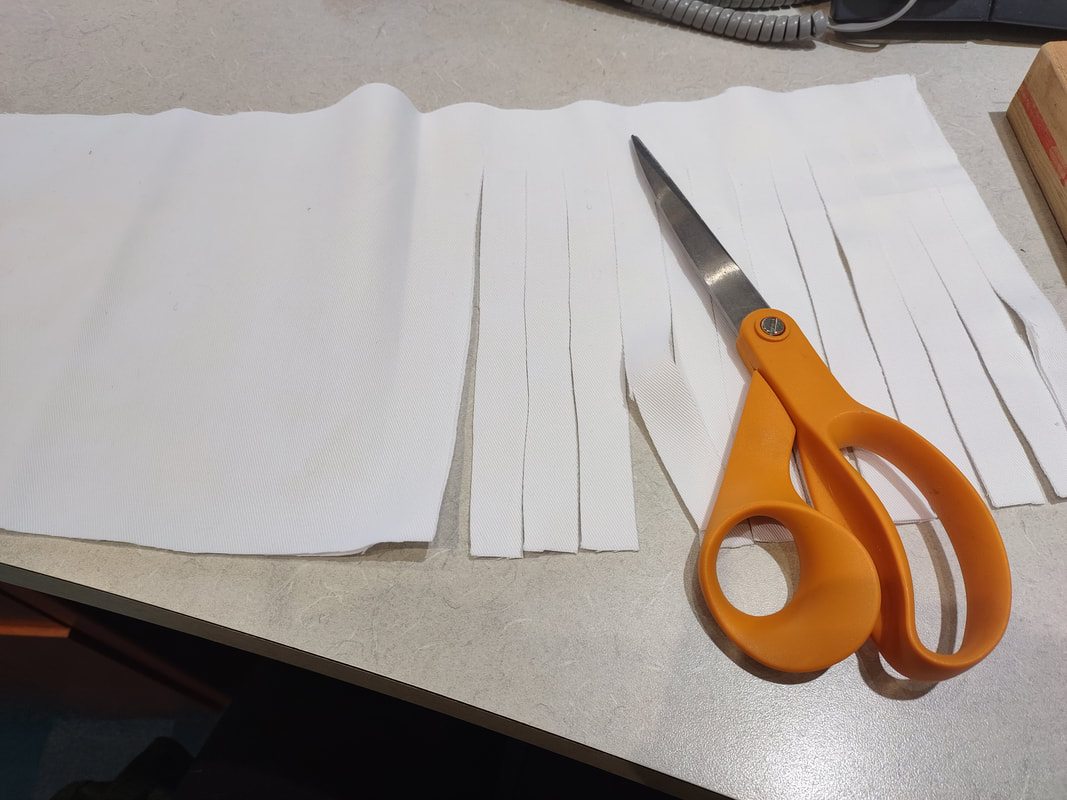
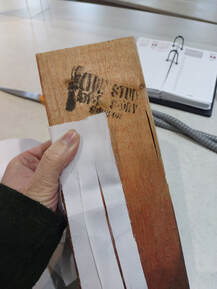
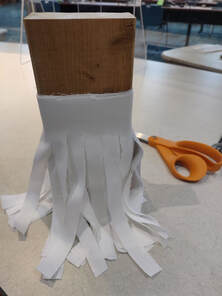
5. Secure one end of the white fabric to the wood board, starting about 4in down from the top. I wrapped it around multiple times so that the beard would look more full and secured it every once in a while with hot glue.
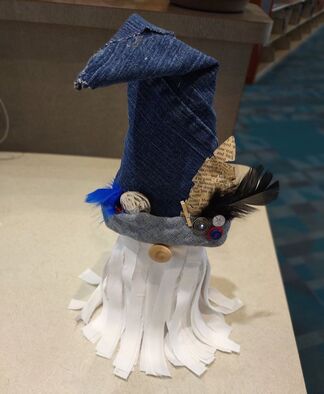
8. The next step is adding all your "junk". I made a feather out of scrap book pages by cutting out a basic shape and "fringing" the sides of it like a feather. I then glued on other do-dads and he was already for a night on the town!
0 Comments
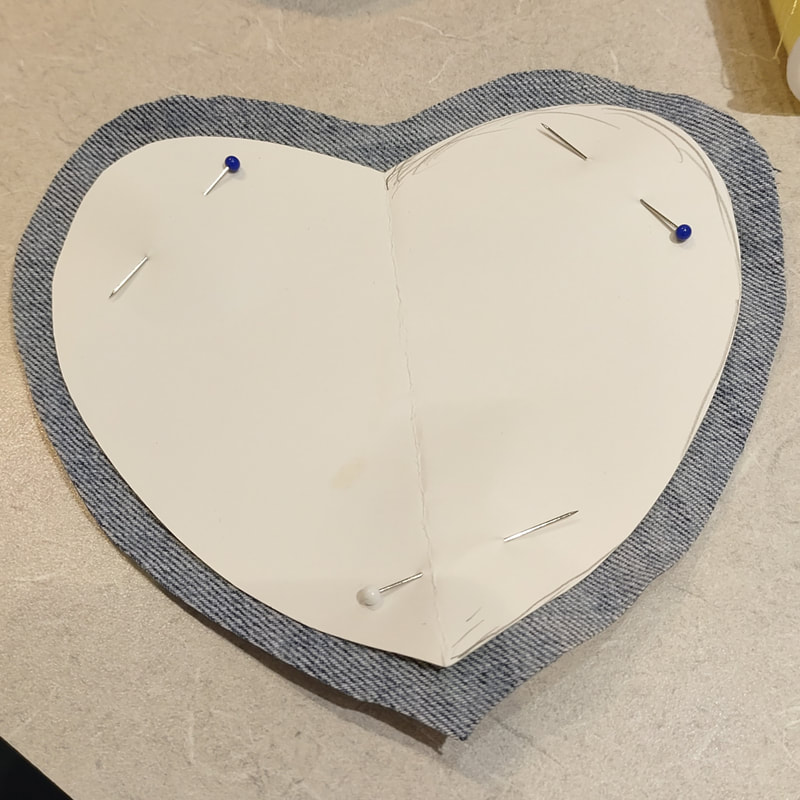
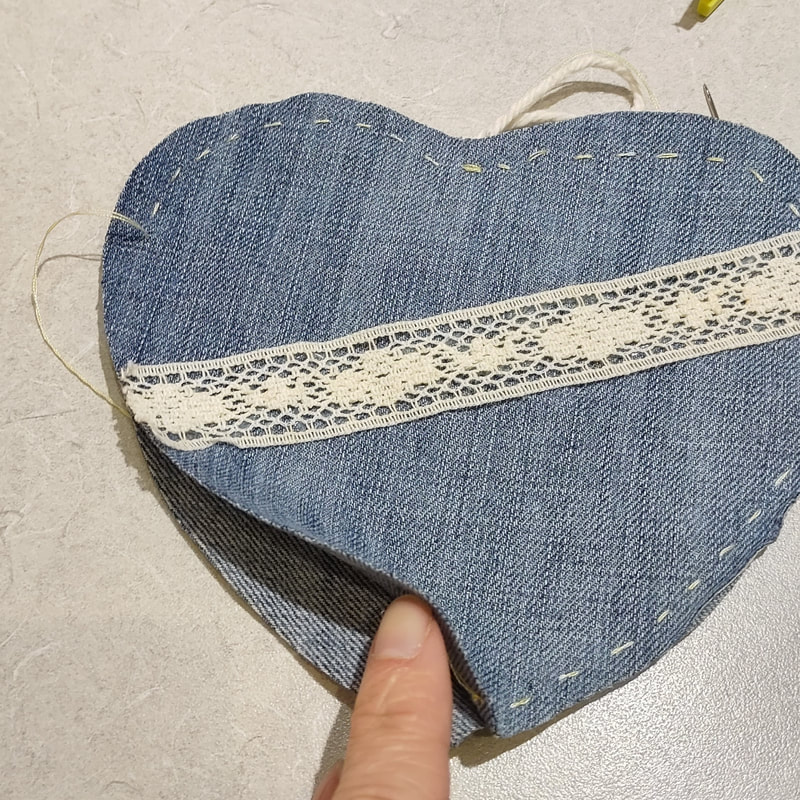
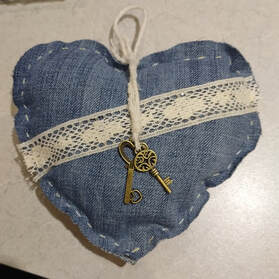 This was such a simple craft that I put together to match up with a book discussion. The book was a YA book with a romance theme and there was also something involving keys so that's how this came about but the end product is just so cute in general! We all have old jeans we don't wear or, you can easily pop into a thrift store and grab a pair for cheap! 1. I made a heart template with thick paper because I always have difficulty getting a symmetric heart shape! I pinned it to a square of jeans and cut around it, leaving enough for a seam! I did this for 2 pieces (front and back).
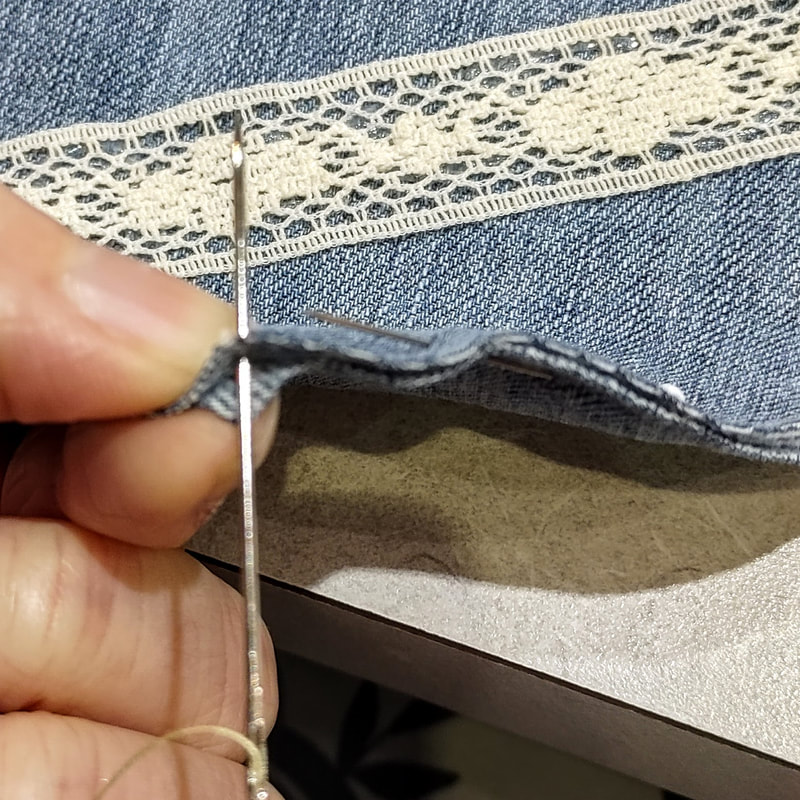
3. Pinning the 2 pieces together, I hand stitched all the way along the outside. When I got to the center of the heart I added a looped piece of yarn that I stitched into the fabric to use for hanging later.
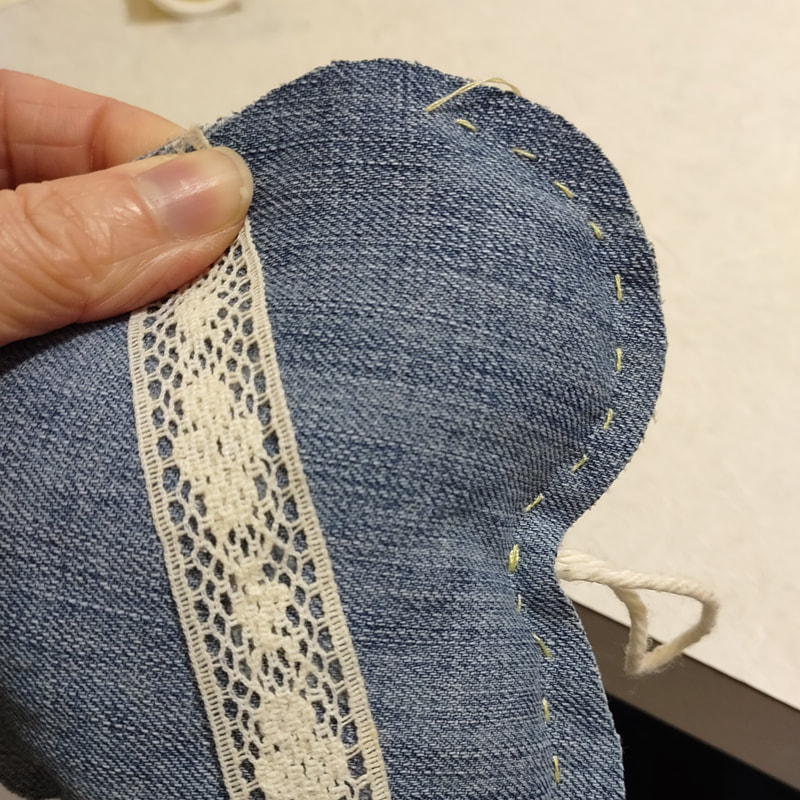
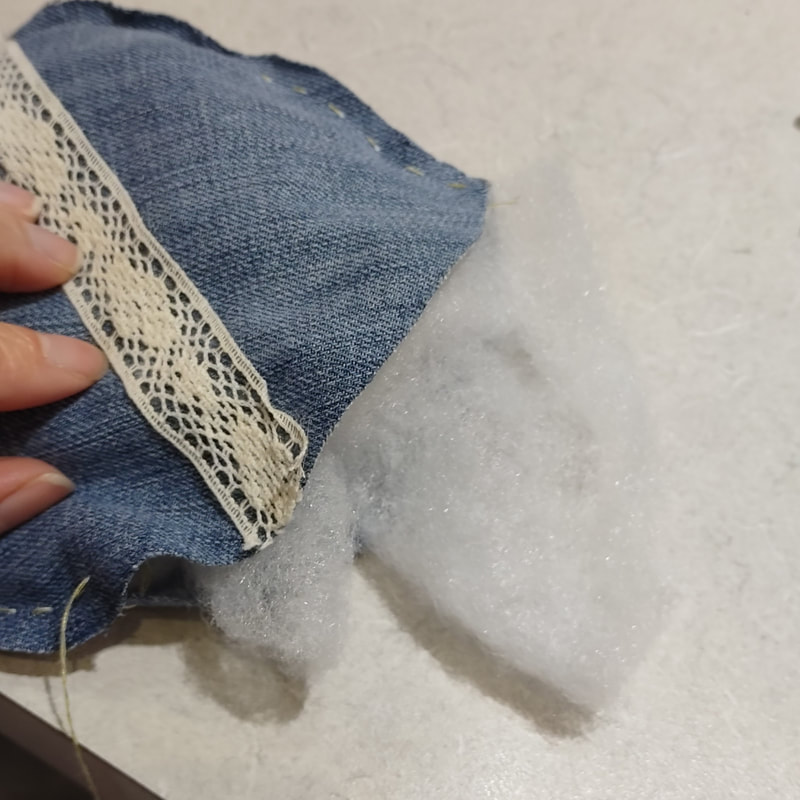
4. I stitched all the way around, leaving a small border that I was hoping to look freyed with time. I left a small opening that would give me enough room to stuff the heart with fluff! (You can use actual fill here or pieces of scrap fabric to use up!). I finished off stitched the heart completely shut.
5. Lastly, I added a strand of yarn with 2 fake skeleton keys dangling from it for an additional shabby chic look! 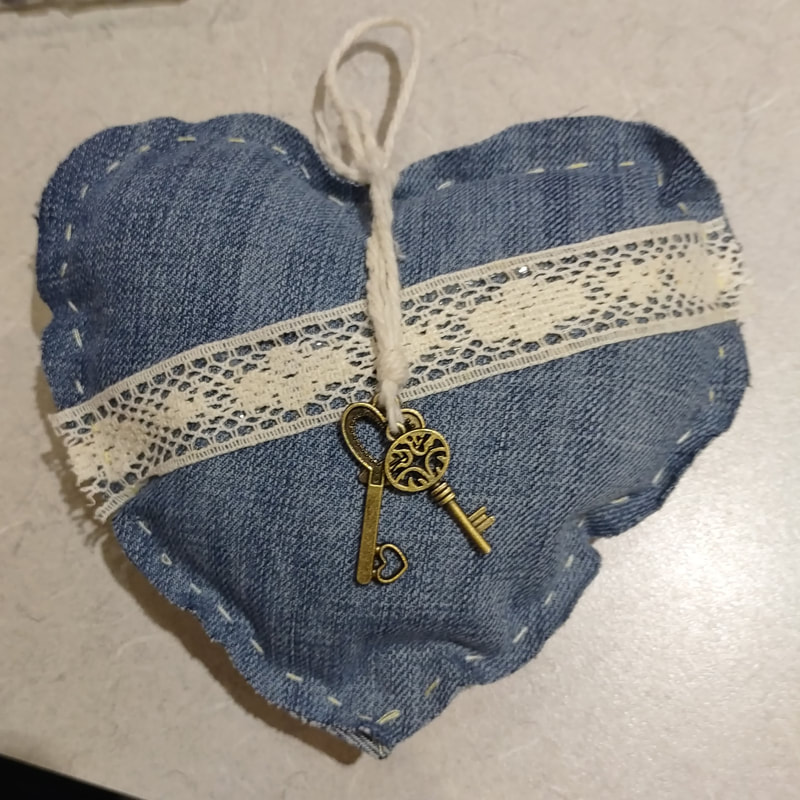 |

Rebecca MyersHey there, I'm Becca, or Rebecca, but not Becky, never Becky, unless you're my family from down south! I'm a simply modern librarian by day and an artist by night. My pursuit is for a simple, happy, healthy, and more fulfilling life! I hope I inspire you to get crafty! Archives
March 2022
Categories
All
|


 RSS Feed