|
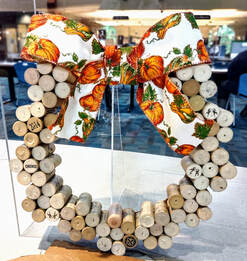
Day late and a penny short, eh? Woops! I like to try to have a new craft post every 2 weeks on Monday but completely forgot about scheduling one! So I thought I'd share this craft while it's still fresh in my mind! The first time I did this craft was as a class at The Little Birdie Wine Nest in Parma. We had a full class and it was kind of tricky with all the hot glue guns that needed to be plugged in! This time, I presented the craft as a free Take & Make at the library where I work and I think people liked it! I used a fall ribbon on my mine because well... I love fall! But, you could add any ribbon you want and it would be super cool if you could make it interchangeable for different holidays and seasons as well! Below are the steps that I took to make mine but I'm sure there are other ways to create this cute wreath! Supplies:
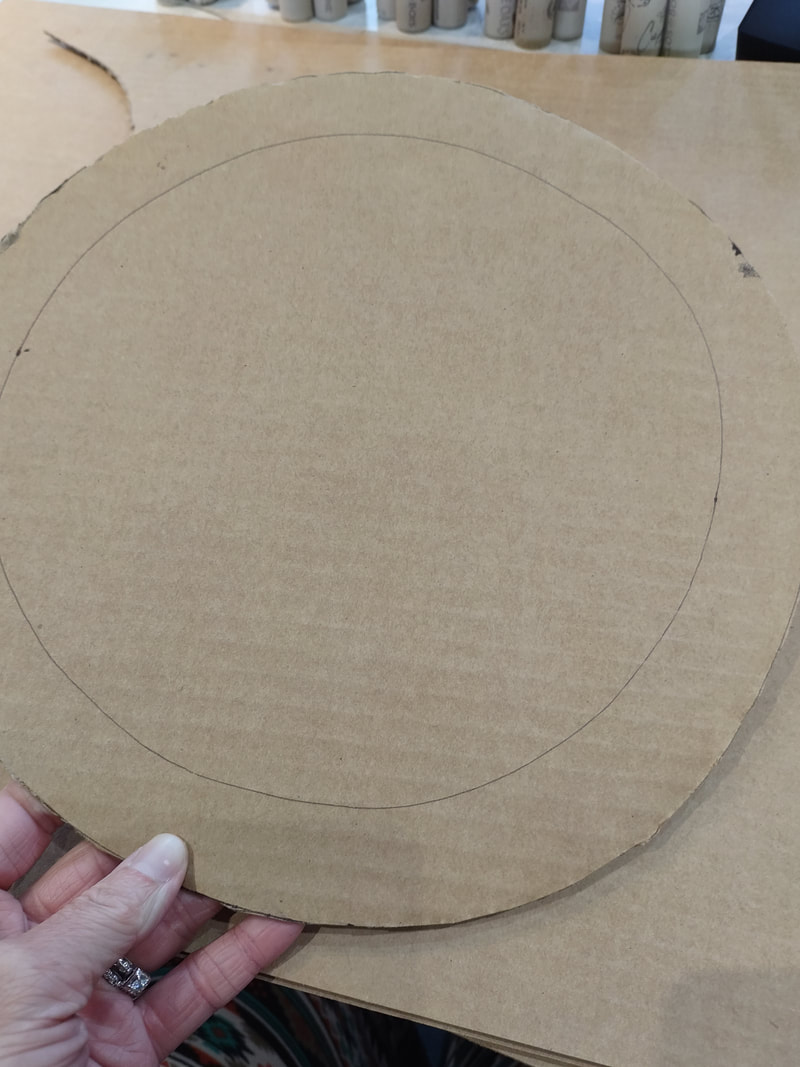
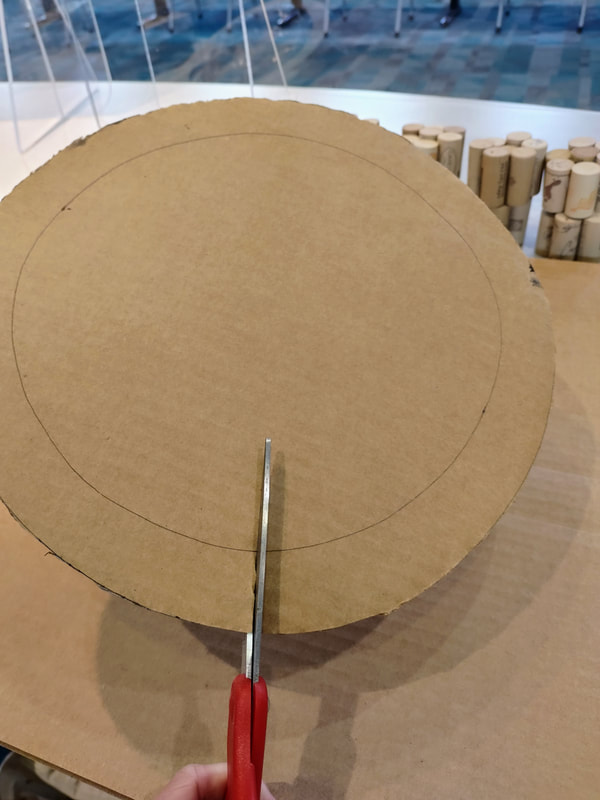
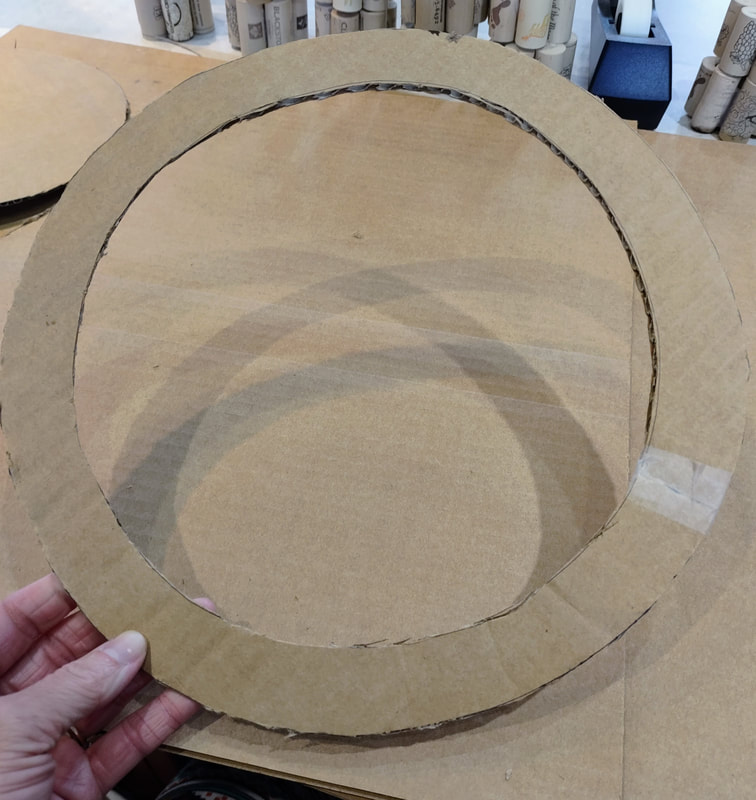
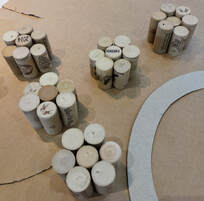
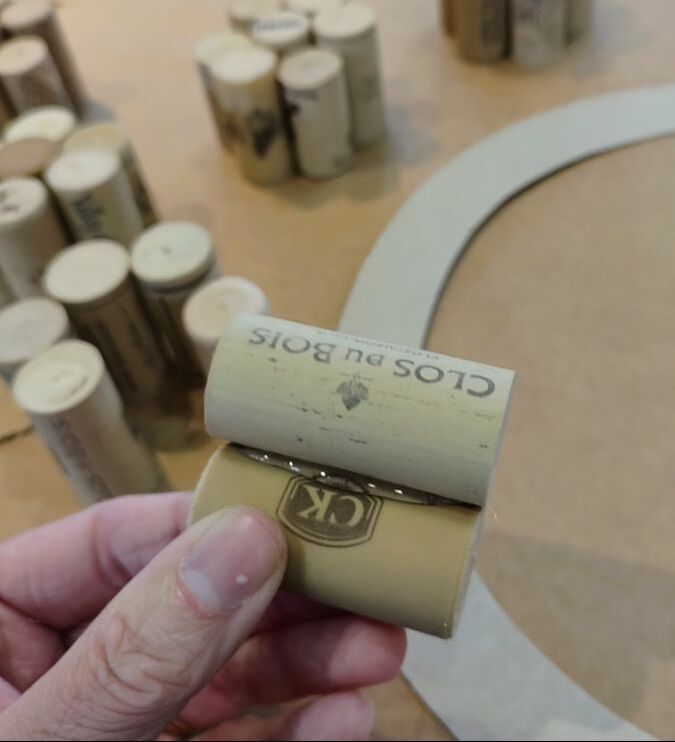
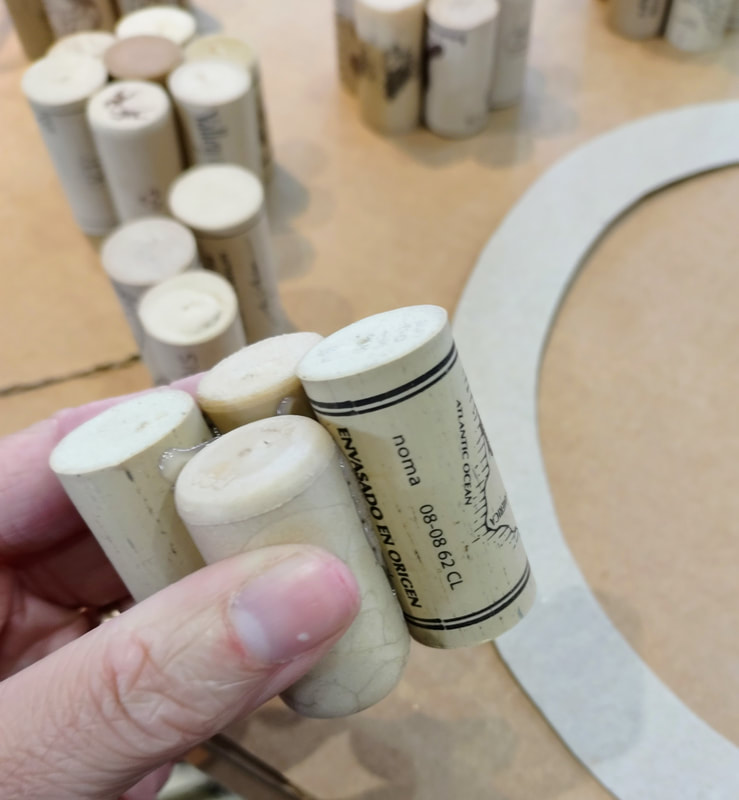
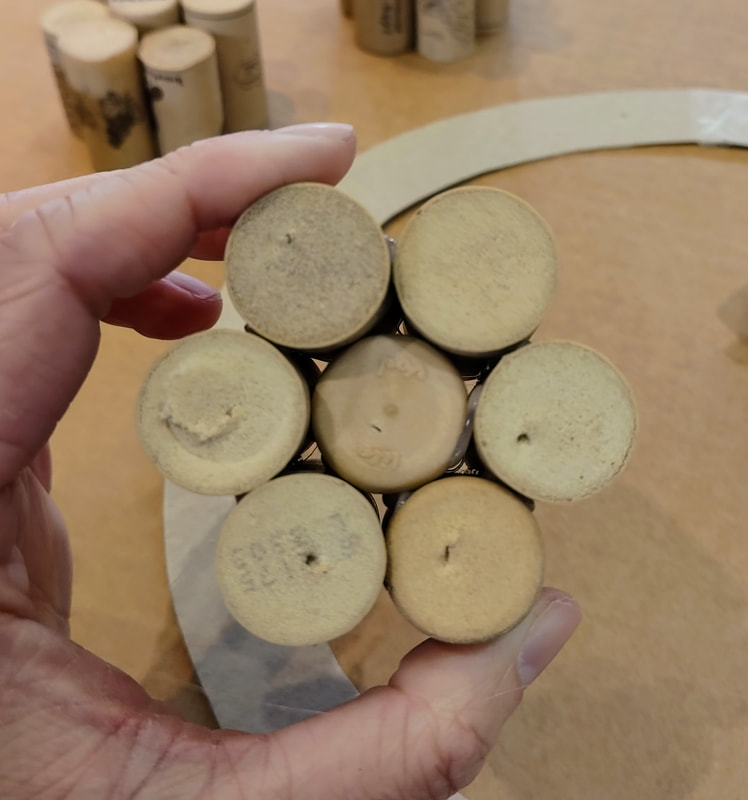
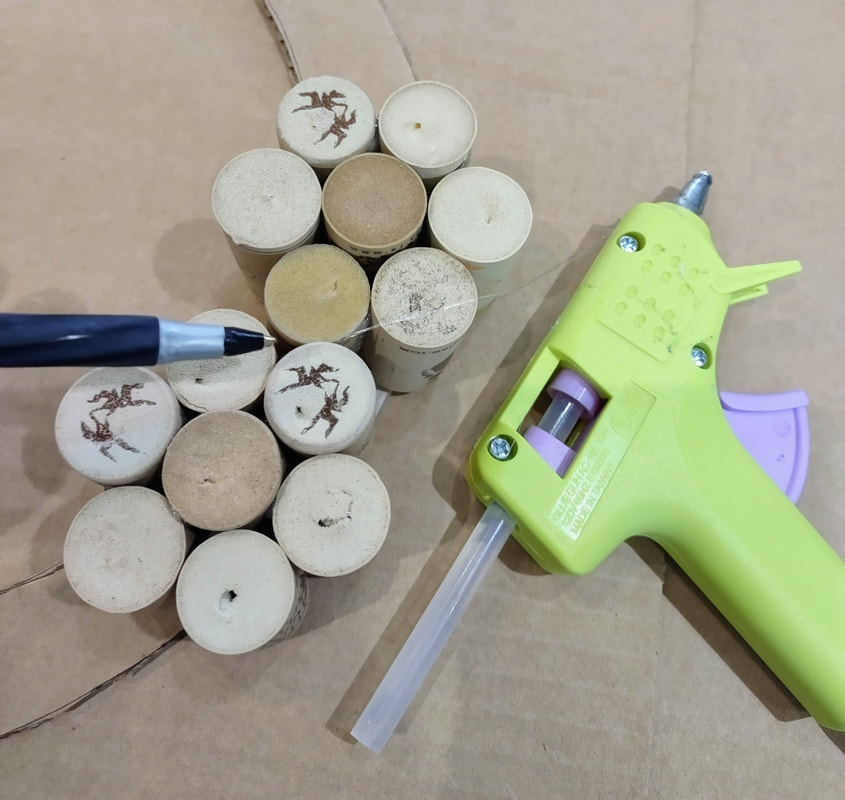
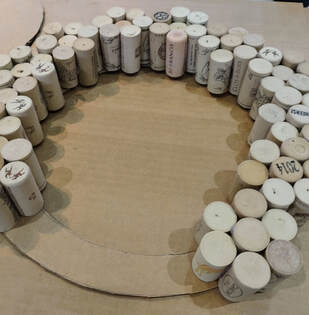
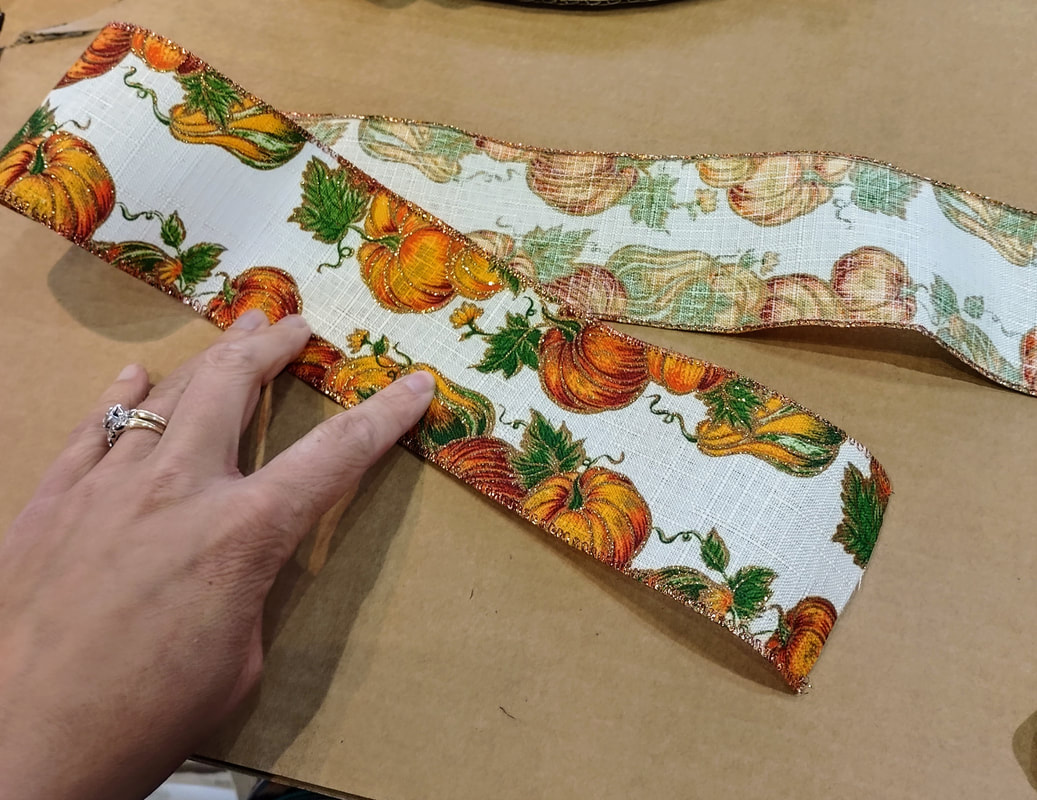
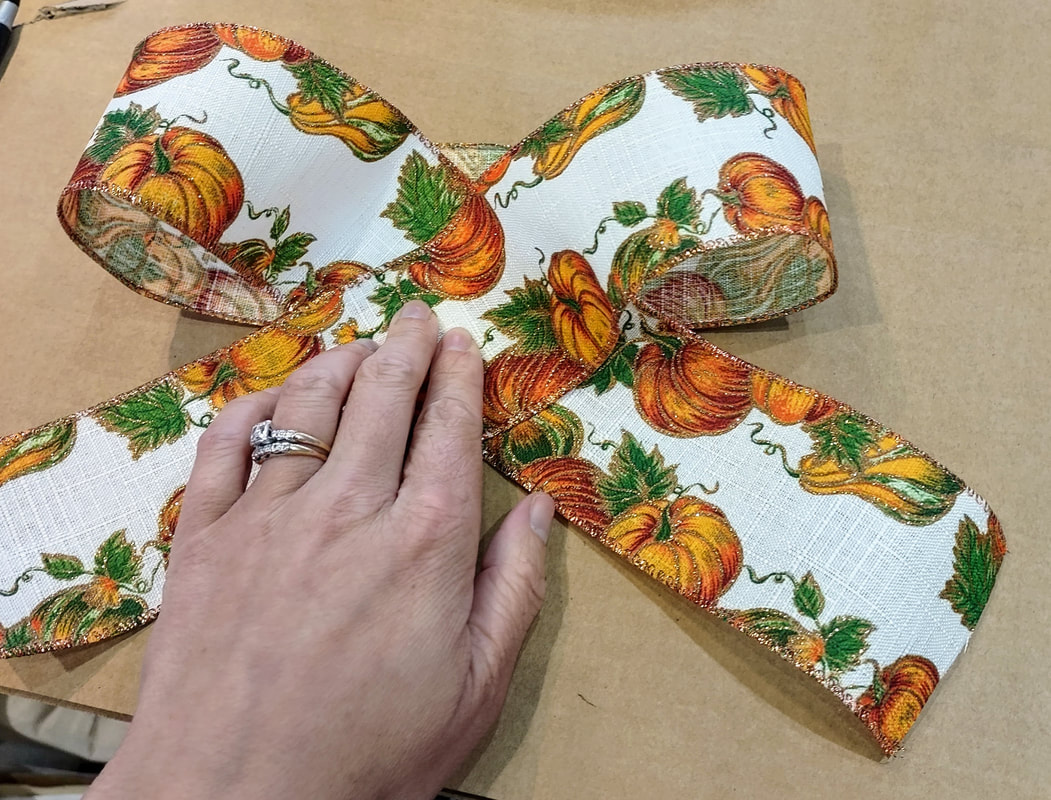
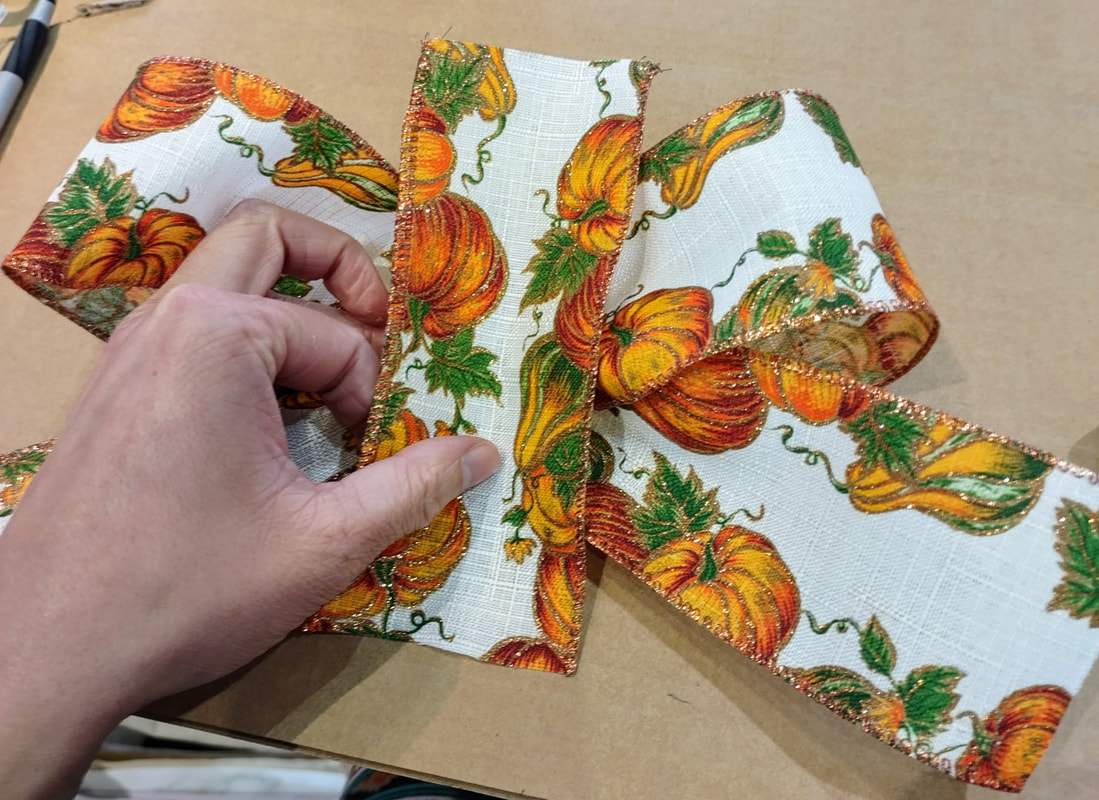
1. So I made my own cardboard base that was about 11 inches in diameter and 1 inch in width but, you could go to the craft store and actually purchase a premade wooden form instead. If you use the cardboard (eh em, free) method, then just be careful as it can get a little tricky to cut out! 3. Start with your first cluster and take the center cork and put a line of hot glue on one side to stick the next cork to. When you start to add more it’ll get tricky! Add a line of glue on both the inside cork and the cork you just glued so the next one has something to stick to! *Note: You may have to add extra glue in certain places to secure the corks better! 4. Glue all your flower clusters together and then glue them to your form. You should put A LOT of glue down for each one and you will need to add some in between each one on the previous cluster so it has something to stick to. Add all your clusters until you have a space left like in the photo (this is for your bow). 5. Make your bow however you like in the photo by crisscrossing the pieces and gluing them together. You pinch all the pieces together and secure them in the center with a 5in piece of your ribbon glued together at the back. That’s it! Thanks for crafting with me!
0 Comments
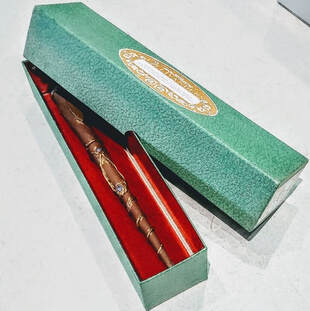
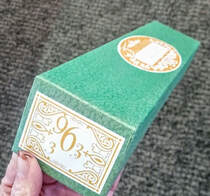
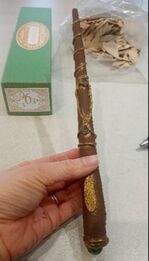
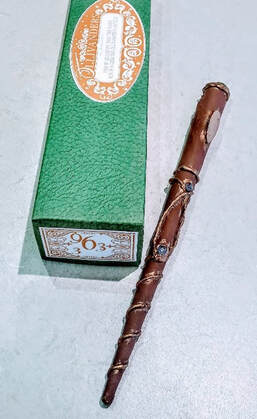
I have a confession to make... I didn't read Harry Potter when I was a kid (enter shocked faces)! I know, I know, how could I not have?! To be honest, I remember my parents buying the first book for me and coming home with it. I remember one of them saying "Here, everyone's talking about this, kids supposedly are obsessed with it". Well, maybe that comment was what threw me off because I, for as long as I can remember, hate doing what everyone else does. I do remember trying to read it, however, but never made it past the first chapter. So, once I became a librarian, I decided that this shame was unacceptable, I MUST read HP and ASAP! Well, I don't know what changed, but I read them all within a a couple of weeks and was in love with them. So yes, I am an HP fan, but it just took me 20 years! With my job at the library I am constantly receiving strange and unusual things from customers and fellow staff members in the hopes that I will save the item from the dumpster. To be honest, I kind of love it! It's like... a "thing" now and I love the challenge. One of our patrons who I have grown to know quite well over the last couple of years, is a gentleman named Ralph. I first met him when he came into the library saying he worked at a warehouse that was closing and asked if we librarians would want anything for crafts or programs. Well on to his warehouse I went and ever since then he stops by and gives me more fun things to use, I love it. One item he gave me was 2 hugeeee boxes of long skinny green boxes. I had no idea what I'd use them for but as always I said, "Yep, I'll take 'em". So there I was staring at 200 of these narrow boxes and the only thing I could think of... wand box. These boxes were perfect, I mean perrrrrfect for a wand so that's what they became! Below are the steps I took to make a simple wand with easily found materials, hopefully you can find a similar box to use too or just make the wand itself! SUPPLIES:
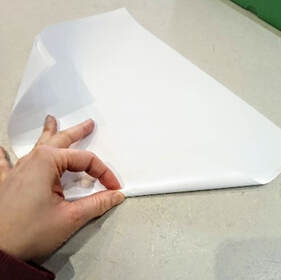
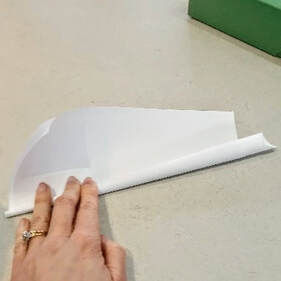
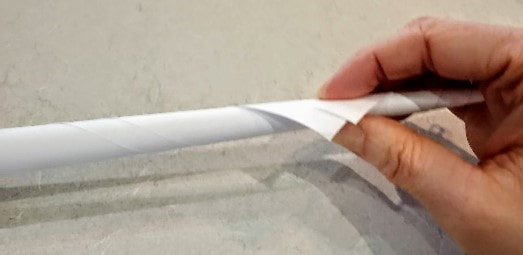
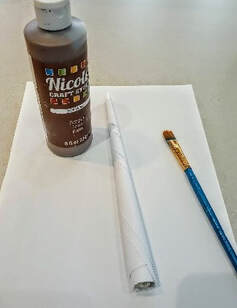
1. Layer 2 sheets of copy paper and begin rolling from one corner into a cone shape (it might take a few tries to get the right look/size).
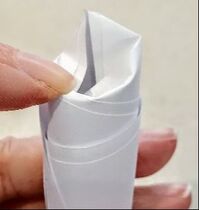
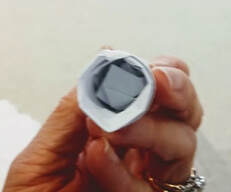
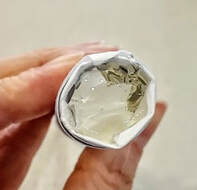
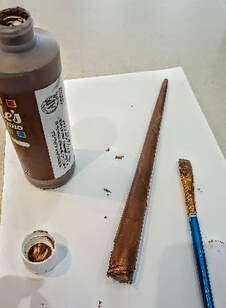
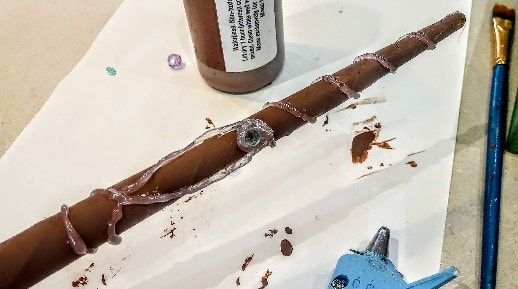
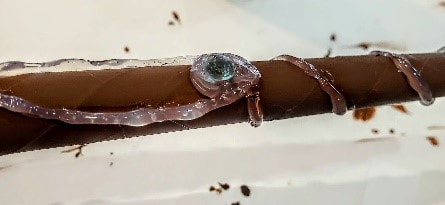
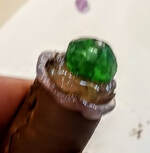
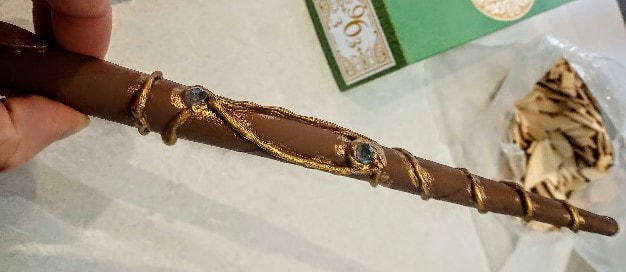
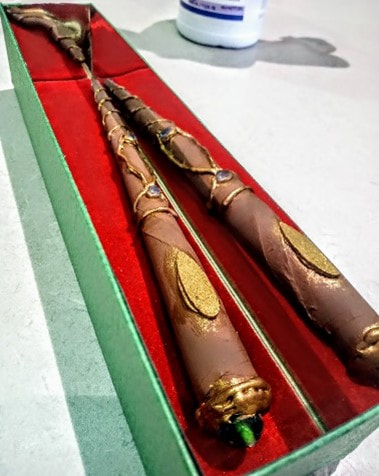
4. This will leave a hole at the end, fill this in with crumpled up paper so the wand becomes sturdier, and fill the end with hot glue to secure. 5. Paint your wand whatever color you would like. It may take a couple of coats to cover completely. 7. Use hot glue to create the character of your wand. While holding the wand, slowly rotate it as you create your lines and shapes with the glue and be careful with your fingers! 8. Place some of your beads into the hot glue for a “jeweled” effect. One at the end looks very authentic! 9. Paint over the hot glue with your base color and then again with the metallic paint. 11. Lastly, I wanted to make the box look more "legit". I found both velvet and adhesive mirror pieces to use. I measured and cut the pieces to fit the interior of each side and glued them in each spot. And ta-da! Just look at that beautiful wand! I think it'd be really cool to make a velvet pillow for the inside of the box for the wand to rest on as well!
|
Rebecca MyersHey there, I'm Becca, or Rebecca, but not Becky, never Becky, unless you're my family from down south! I'm a simply modern librarian by day and an artist by night. My pursuit is for a simple, happy, healthy, and more fulfilling life! I hope I inspire you to get crafty! Archives
March 2022
Categories
All
|



 RSS Feed