|
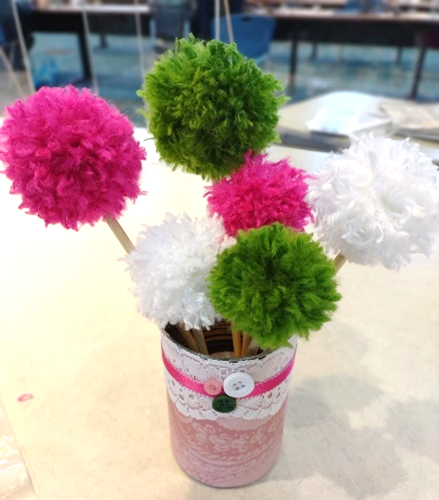
Are you looking for something cute and fun for these summer days ahead? Really this craft can be done for any season or holiday, let's be honest, but I think they are particularly cute for summer! It is a very simple and relatively quick craft that just about anyone can do. If you have littles wanting to help, just make sure you supervise cutting and that you handle the hot glue of course! Supplies for flowers:
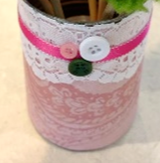
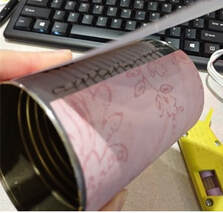
Supplies for upcycled vase:
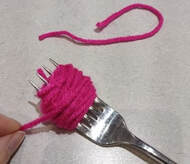
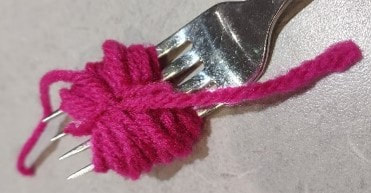
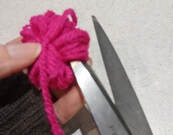
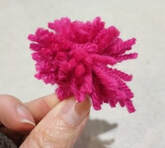
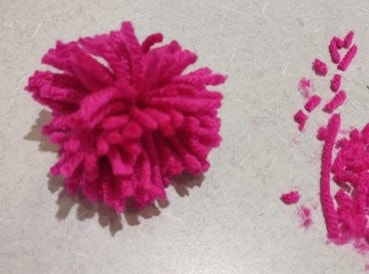
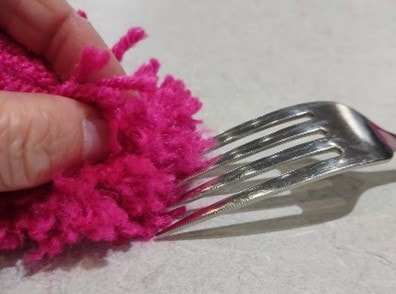
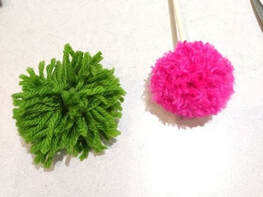
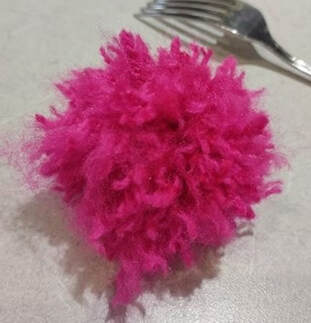
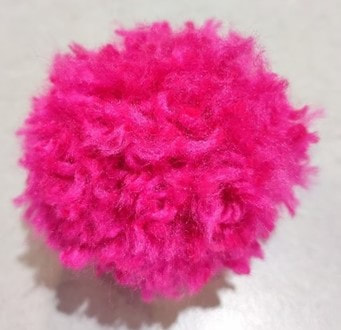
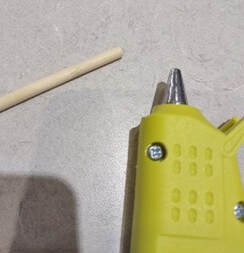
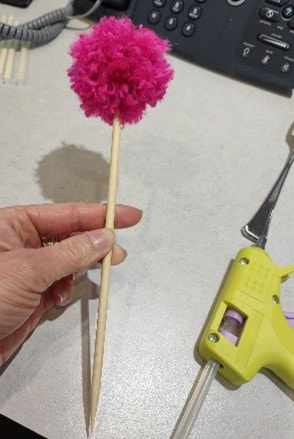
6. It will look pretty uneven, so just trim around the yarn all over again 😊 Do this step with each of your pom pom flowers. 7. Next, using hot glue, glue each of your “flowers” on top of the wooden sticks. I had 6 sticks but cut 3 of them down to smaller sizes so that they would be at different heights! You're all done with your pom pom flowers at this point!
0 Comments
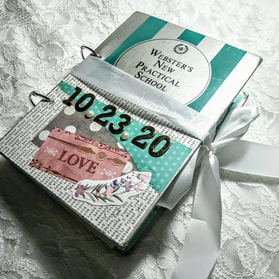
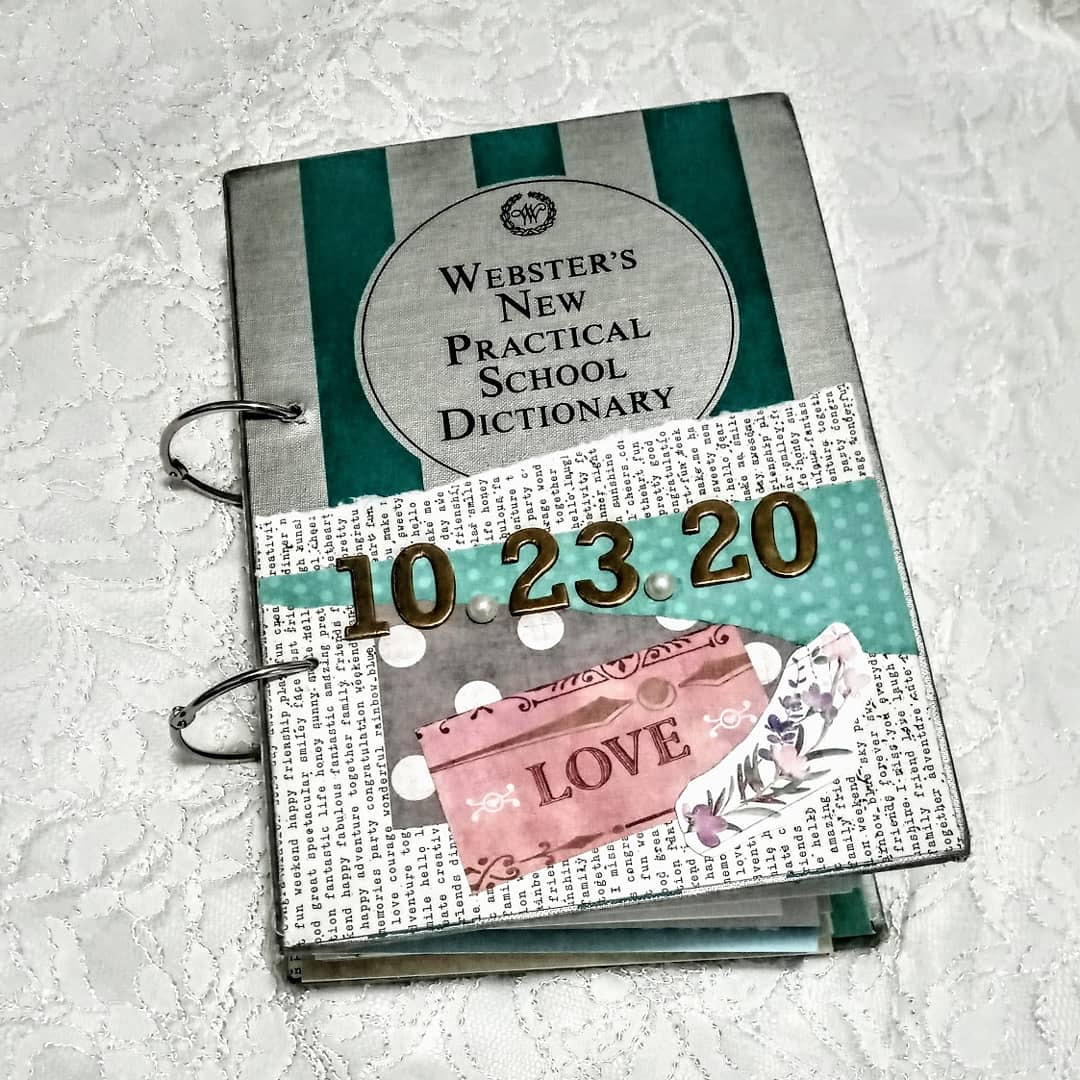
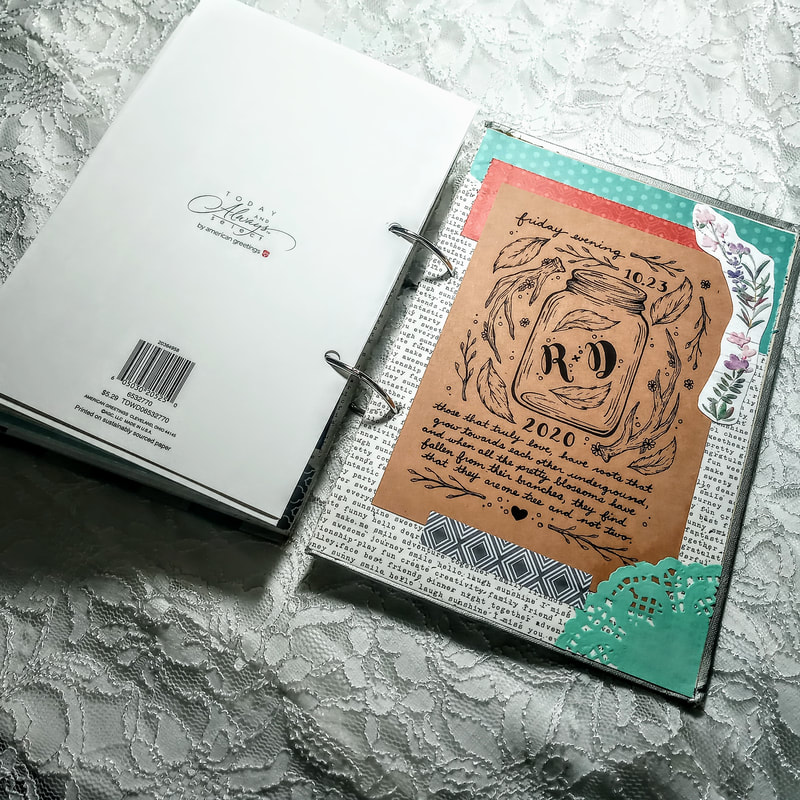
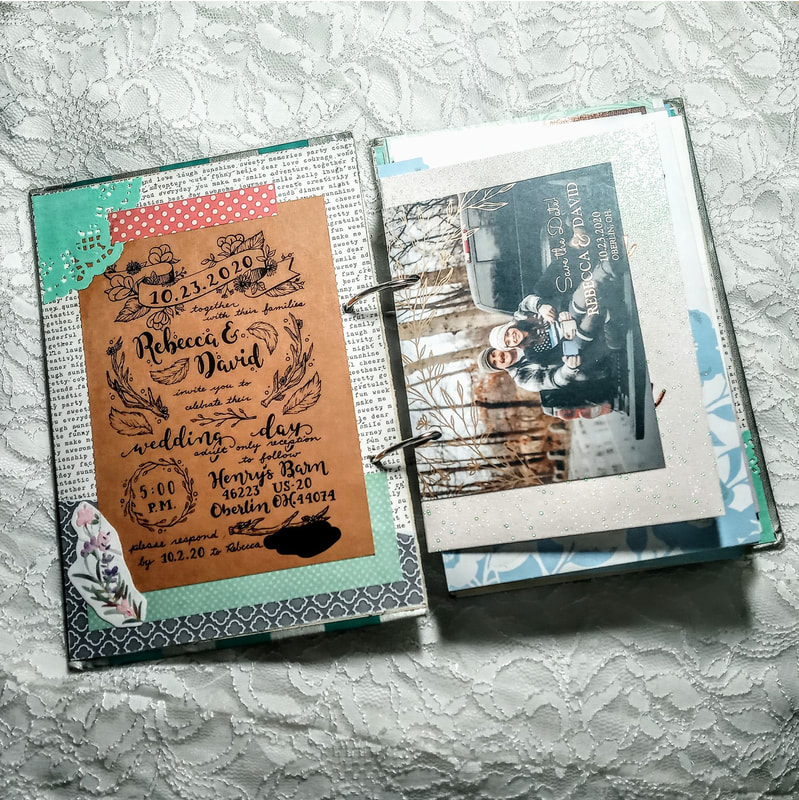
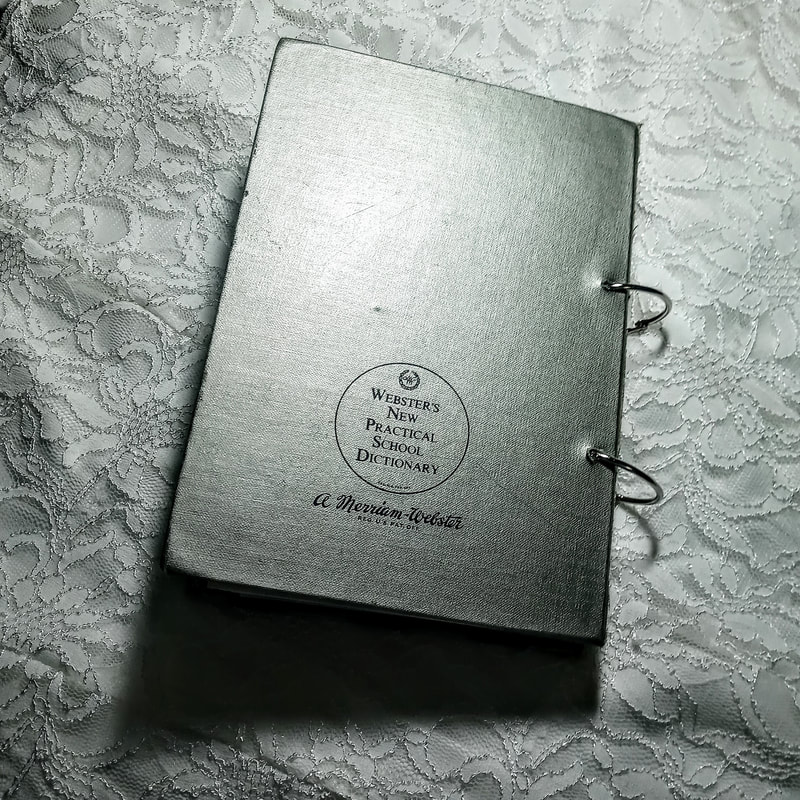
I GOT MARRIEDDDDDD!!!!! I'm a little excited, can you tell?! Wedding planning in general can be stressful but add COVID to the mix and it's just down right exhausting! We went back and forth for so long about what the heck we were even doing and basically started outlining two different wedding possibilities for our day. We ended up still having it at our venue and just had to limit our list down. Despite all the stress over every little detail, dresses, decor, the weather, and covid, it turned out to be the most perfect and beautiful day! I still can't believe just how perfect everything was and felt. To have those closest to us there to celebrate with us and enjoy a happy evening during all the craziness in the world was so incredibly heartwarming! With any big life event, we received plenty of cards! Not just any cards, wedding cards of course. They were just so beautiful, sparkly, meaningful, etc. and I just could not throw them away. I saw the idea people have been making where they punch shapes out of them and put them in a frame but I thought, what if I get tired of having it on my wall, or want to move it around? Then I'm stuck with a big frame to put somewhere else! And I mean that in the best way possible obviously! So instead, I thought, how could I make these into a book or album of some sort and tried looking up ideas on that. Some people take this very seriously and sew sections together just like you would a real handcrafted book but that was a little too much for me! When I began my "dictionary art" I had one singular dictionary and my goal was to use up every bit of that dictionary. After using all the pages and feeling so accomplished I then decided to hoard the cover and backing of the dictionary like a crazy person. Well, well well! Did those come in handy or what?! This became my front and back of our new wedding card book! I did not take step-by-step photos but I'll attempt to explain my process! *Optional: I first decorated both the cover and the backs to spruce up the book. I used scrapbook paper, copies of our wedding invite, and stickers. 1. I found my smallest card and lined them up centered with the cover of the book so that I could mark off roughly where 2 holes would go into the cover, card, and back of the book. 2. I used an electric drill to drill through both the cover and back. 3. Next, I marked every card with matching holes to the cover and hole punched all of them. 4. Optional. I also cut every card in half with an E-xacto knife so that they would flip more easily. 5. I used 2 large binder rings (3in to fit the amount of cards we had), and fed the rings through each card! Note: This was the amount of cards from about 60 people, so if you have a larger event you might want to/need to make multiple books! And that was it! Now we have a gorgeous keepsake!
|
Rebecca MyersHey there, I'm Becca, or Rebecca, but not Becky, never Becky, unless you're my family from down south! I'm a simply modern librarian by day and an artist by night. My pursuit is for a simple, happy, healthy, and more fulfilling life! I hope I inspire you to get crafty! Archives
March 2022
Categories
All
|

 RSS Feed