|
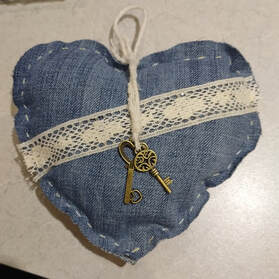
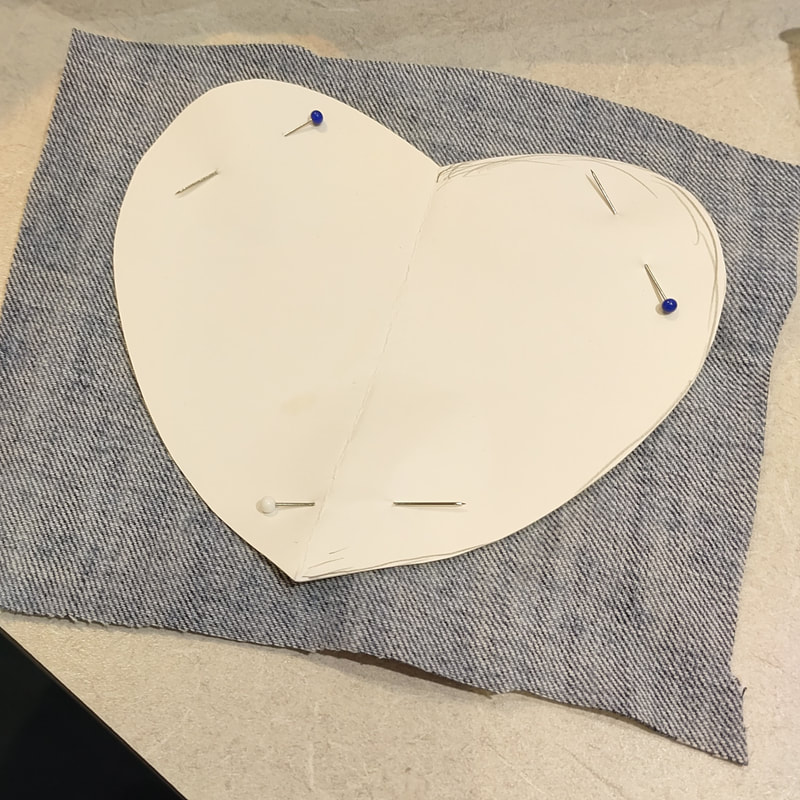
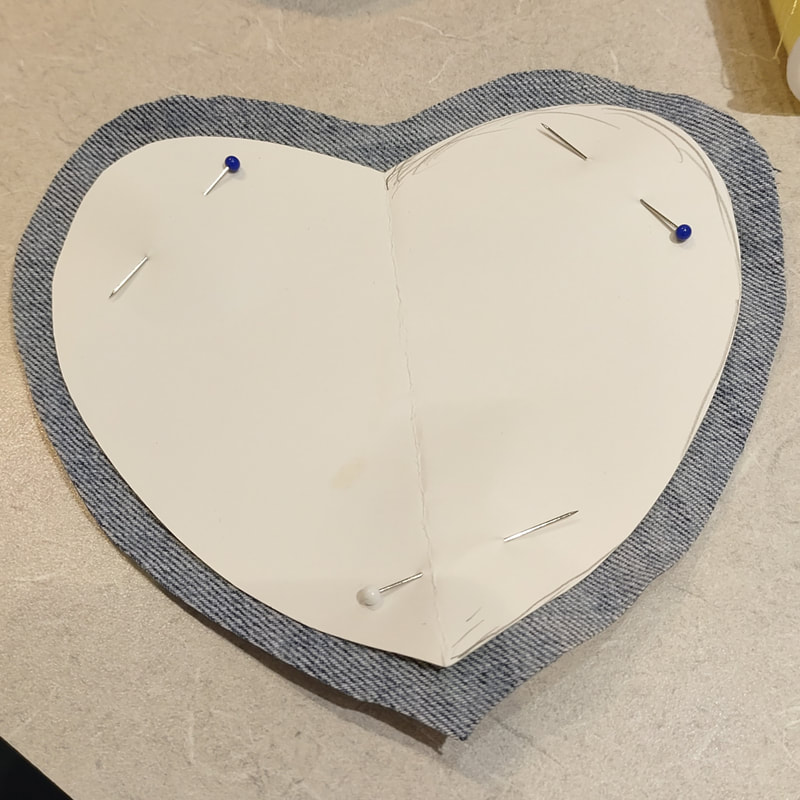
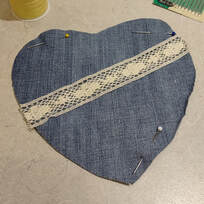
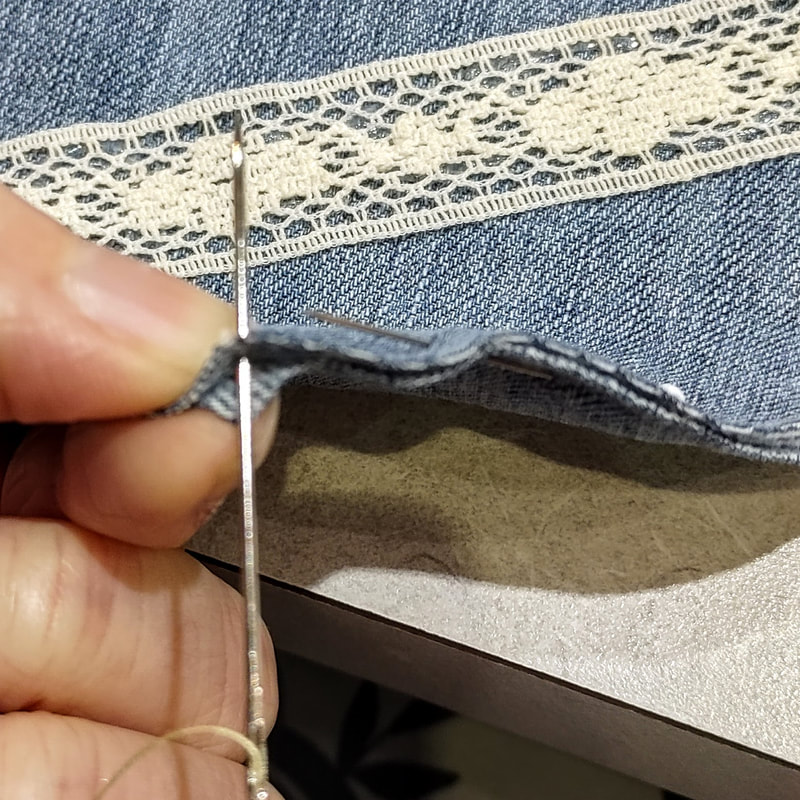
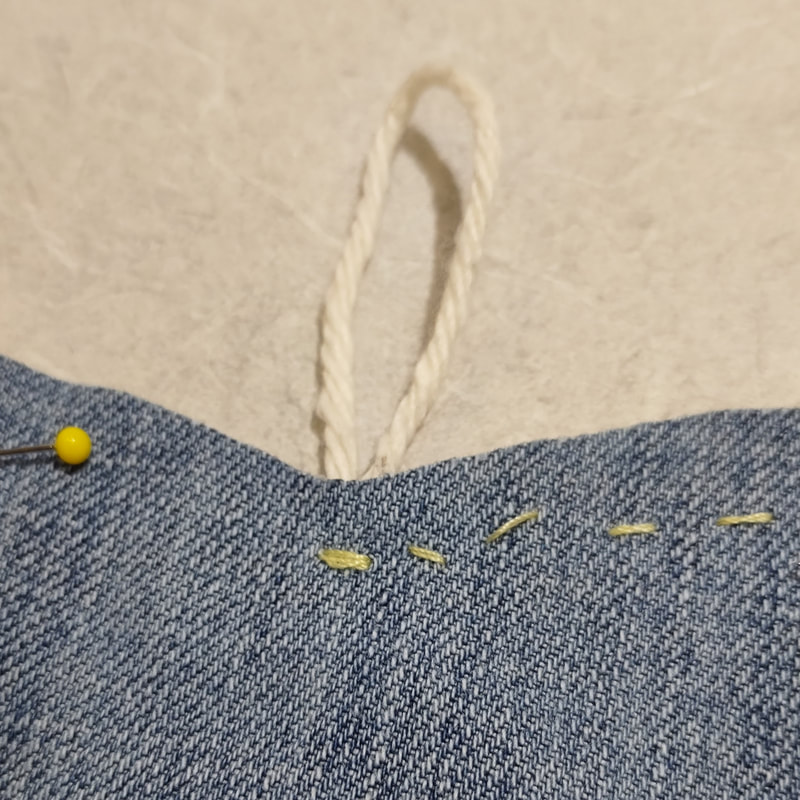
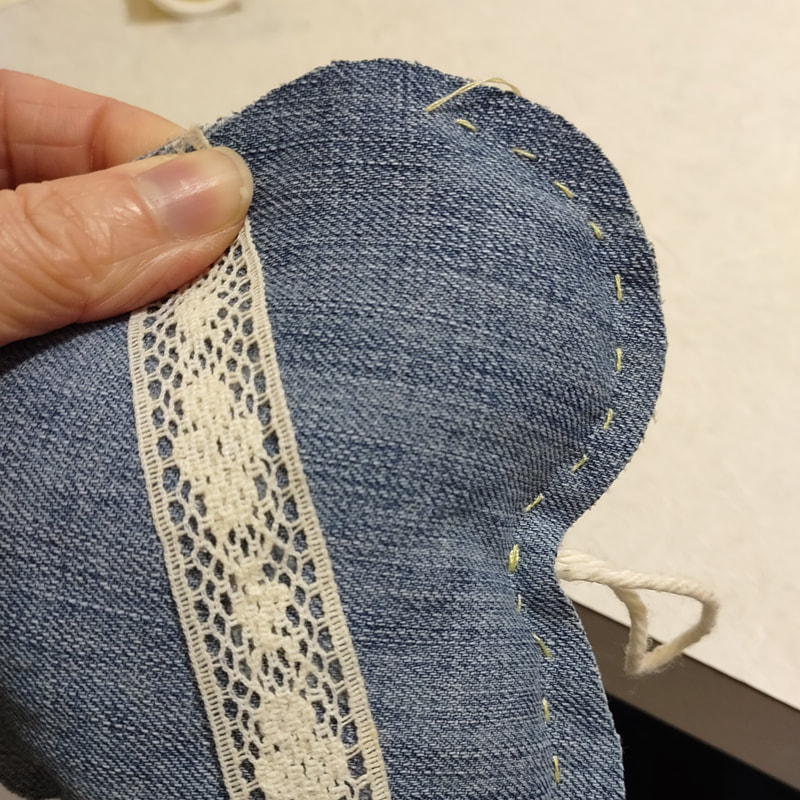
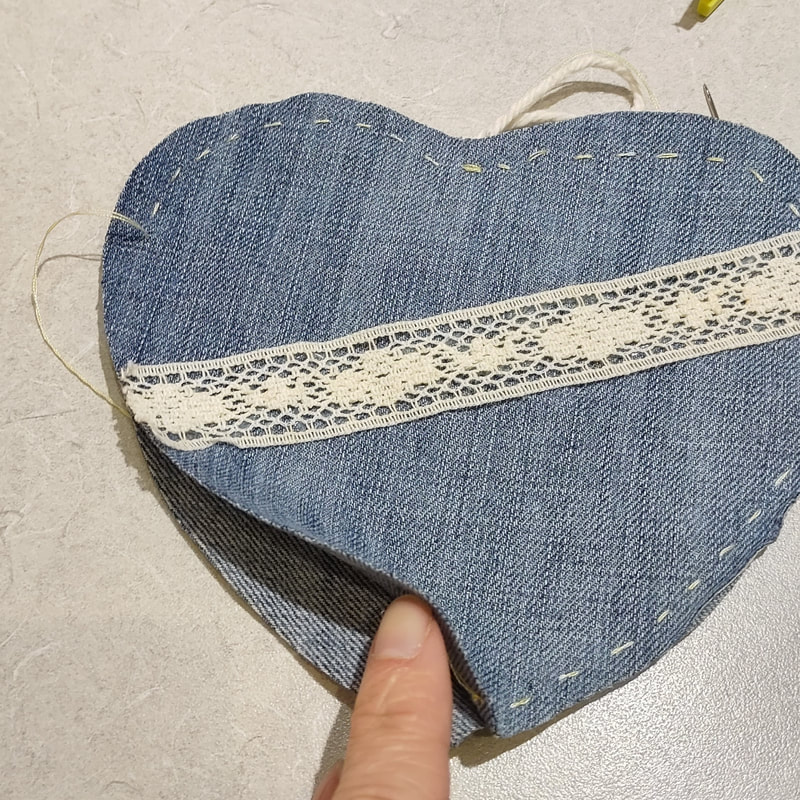
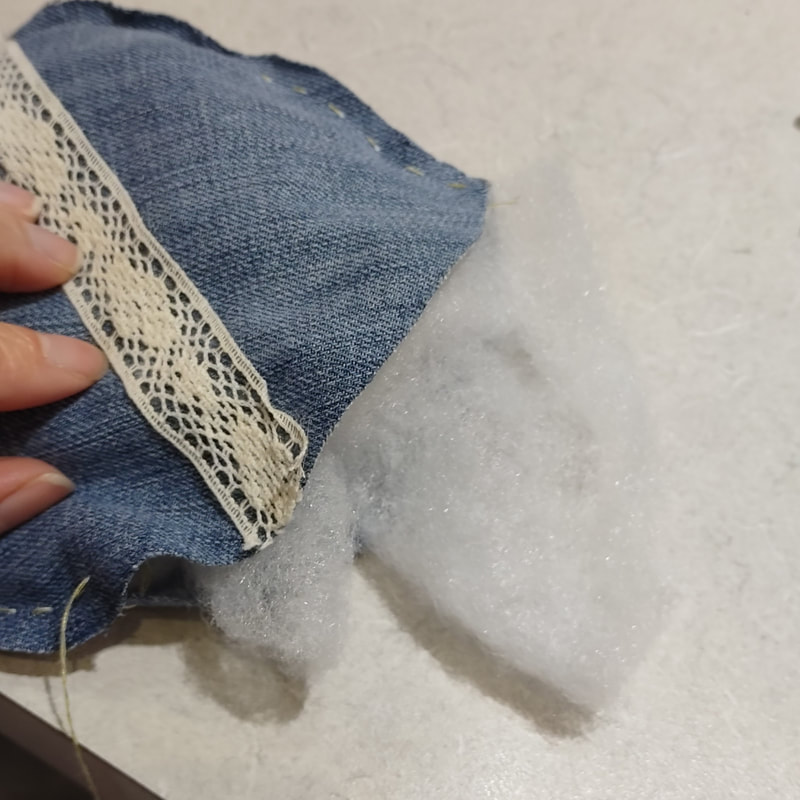
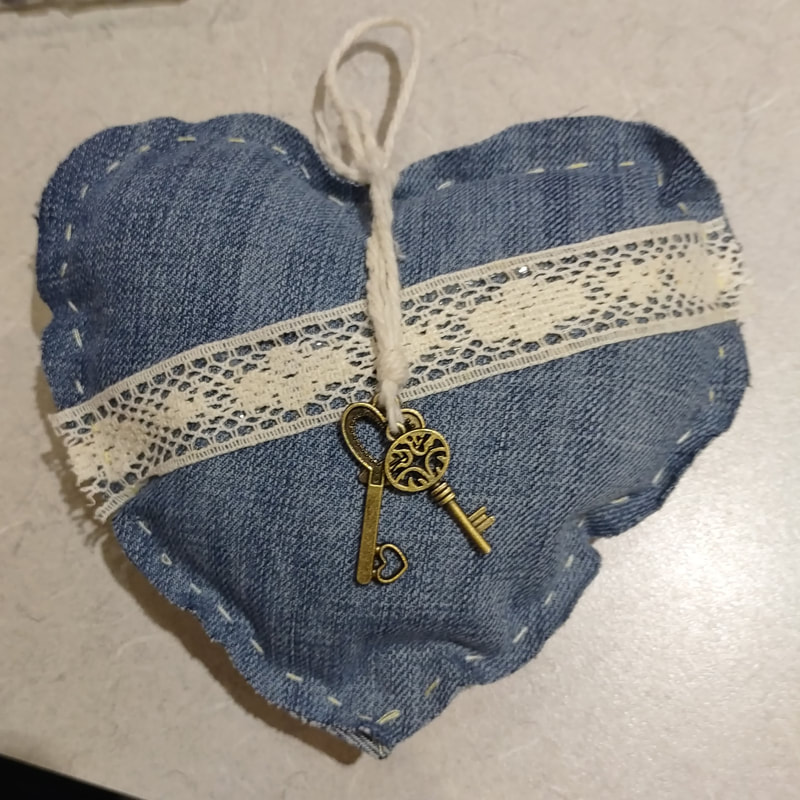
This was such a simple craft that I put together to match up with a book discussion. The book was a YA book with a romance theme and there was also something involving keys so that's how this came about but the end product is just so cute in general! We all have old jeans we don't wear or, you can easily pop into a thrift store and grab a pair for cheap! 1. I made a heart template with thick paper because I always have difficulty getting a symmetric heart shape! I pinned it to a square of jeans and cut around it, leaving enough for a seam! I did this for 2 pieces (front and back). 3. Pinning the 2 pieces together, I hand stitched all the way along the outside. When I got to the center of the heart I added a looped piece of yarn that I stitched into the fabric to use for hanging later. 4. I stitched all the way around, leaving a small border that I was hoping to look freyed with time. I left a small opening that would give me enough room to stuff the heart with fluff! (You can use actual fill here or pieces of scrap fabric to use up!). I finished off stitched the heart completely shut. 5. Lastly, I added a strand of yarn with 2 fake skeleton keys dangling from it for an additional shabby chic look!
0 Comments
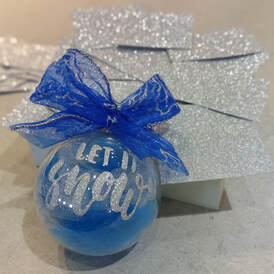
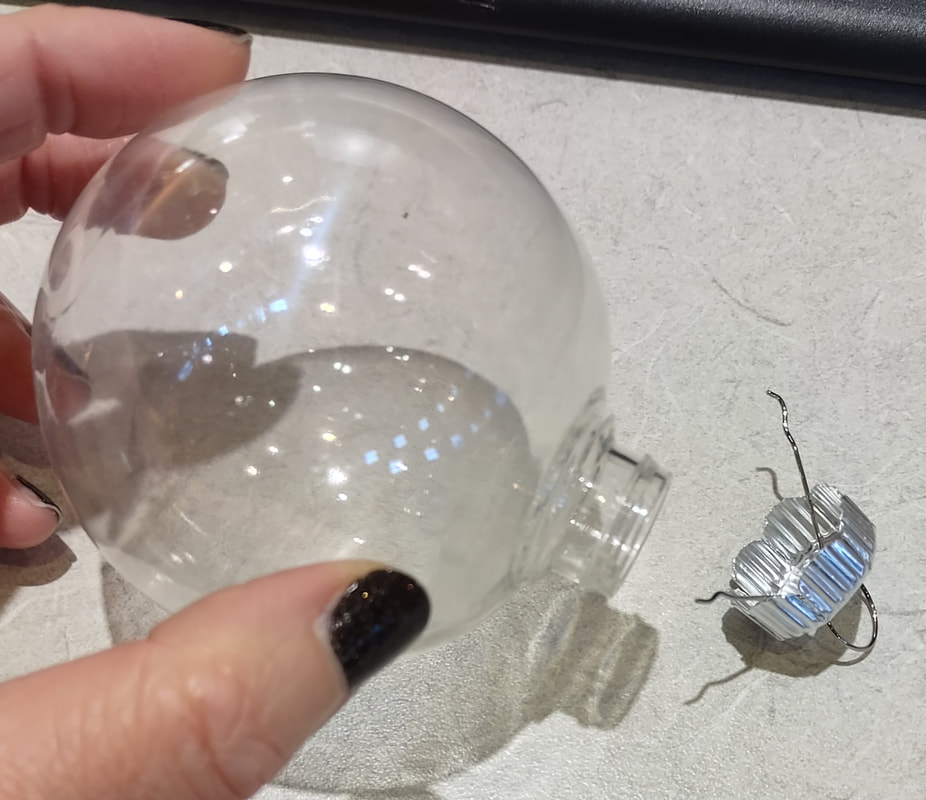
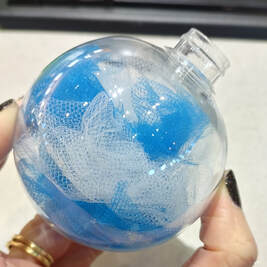
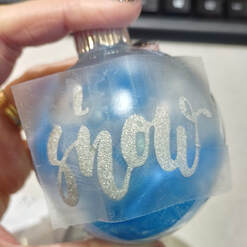
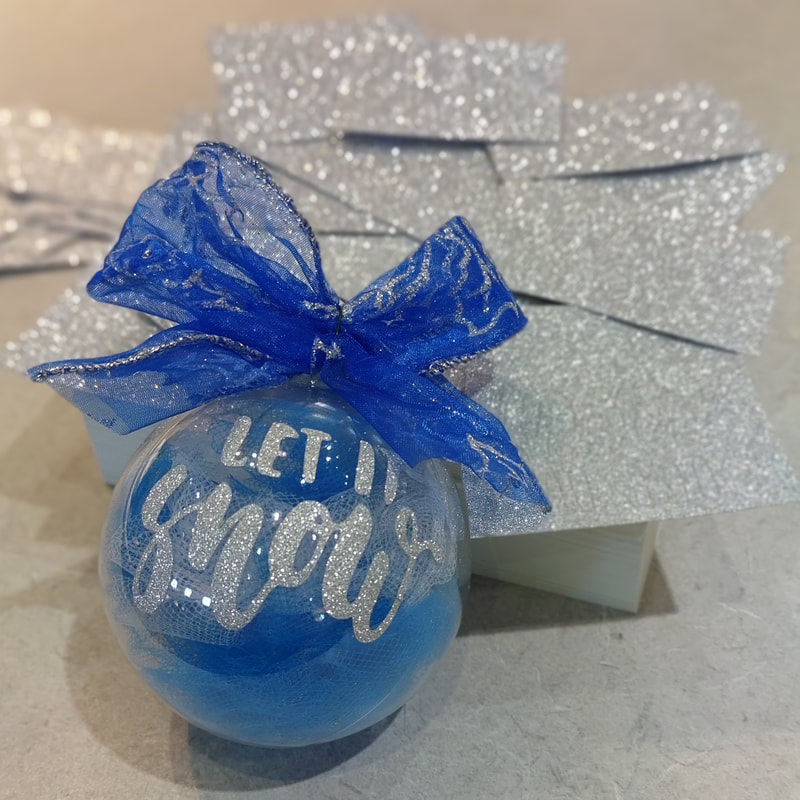
This project served as a "Take and Make" during COVID. We were given a small amount of clear plastic ornaments and I wanted to use them up right away! I created a really simple ornament with no cost at all since everything was something we already had or donated!
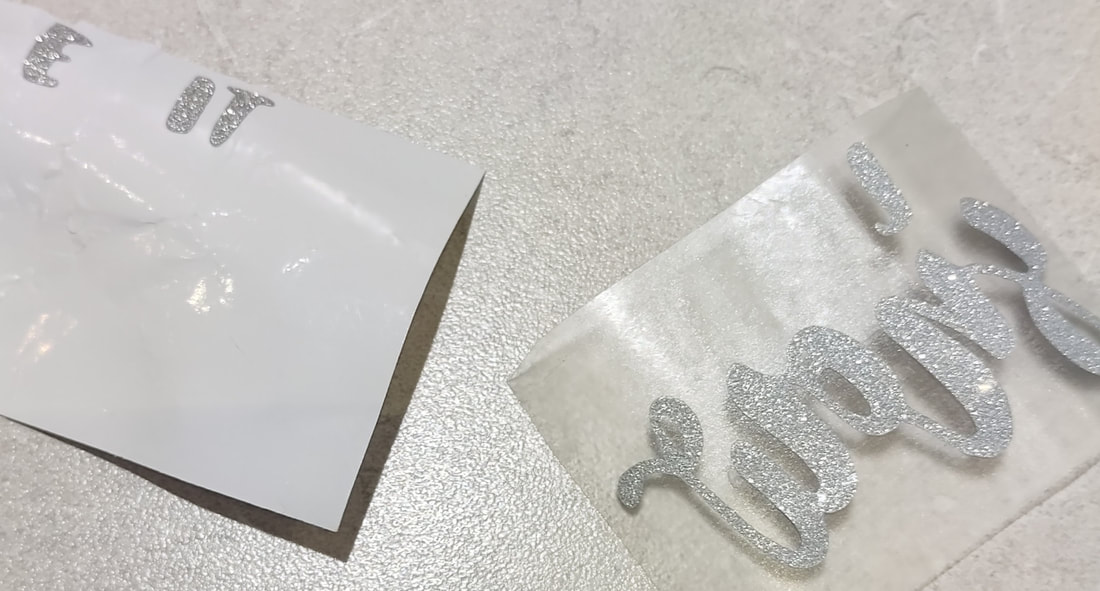
3. I decided to use some glitter vinyl that we had in our drawer. But, I gotta say... it was actual CriCut brand and it was awfulllll to work with! It was so hard to weed and so hard to get off the backing to transfer! I literally lost letters in my transfer but luckily was able to just put them back on by hand!
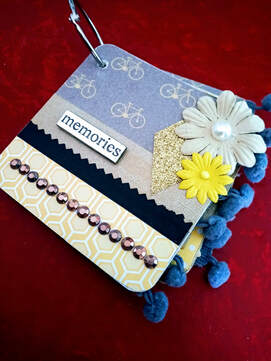
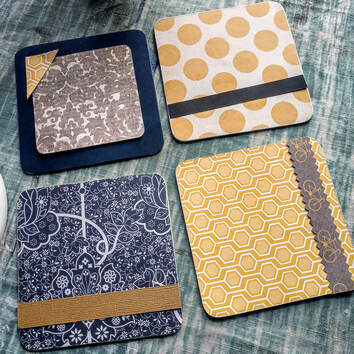
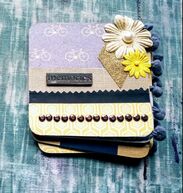
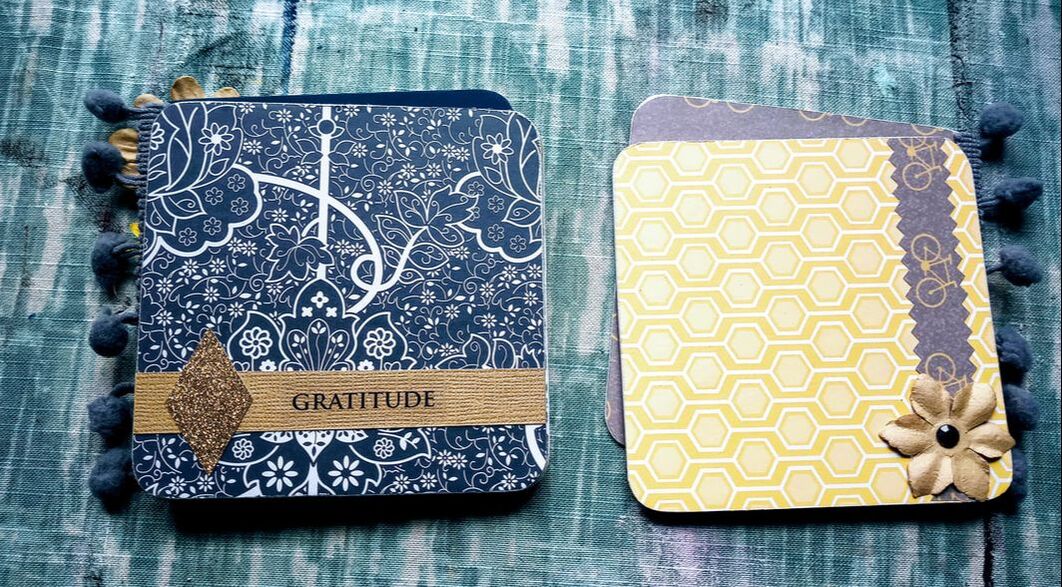
This is a quick project that you can give as a gift with pictures already in it or left empty for the person to fill. They're super cute and itty bitty! Something fun and different to brighten up any day. Supplies:
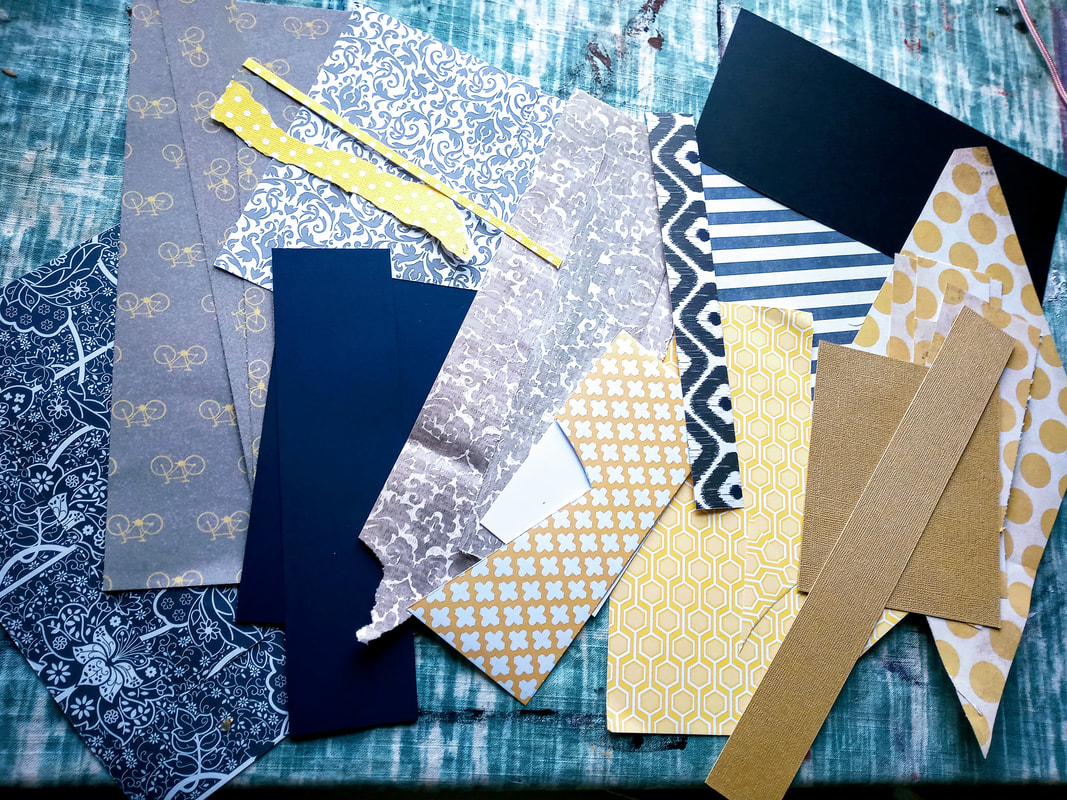
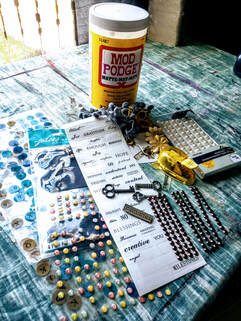
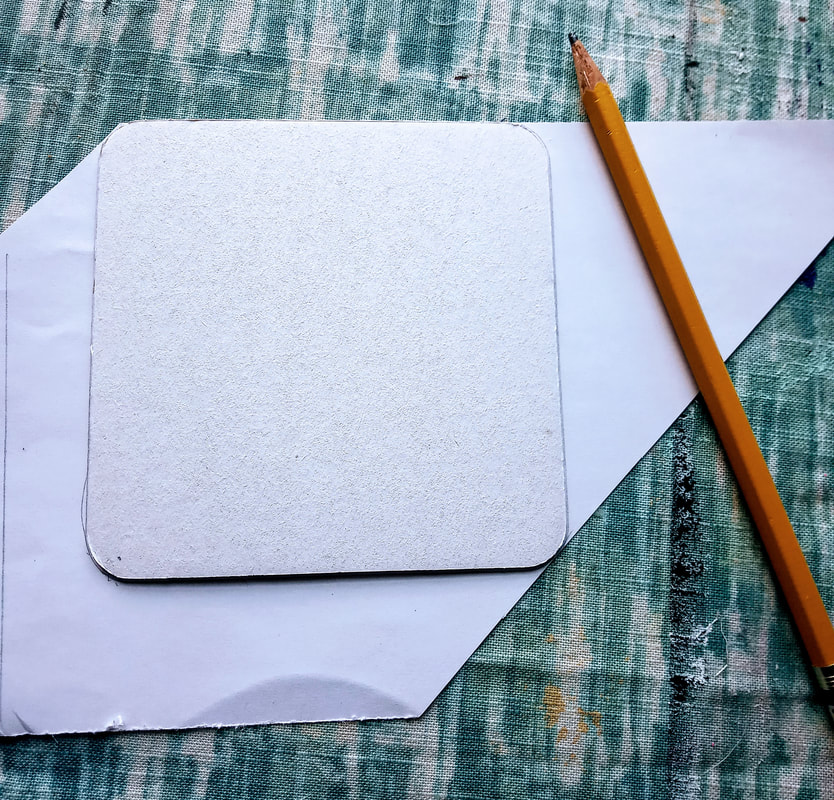
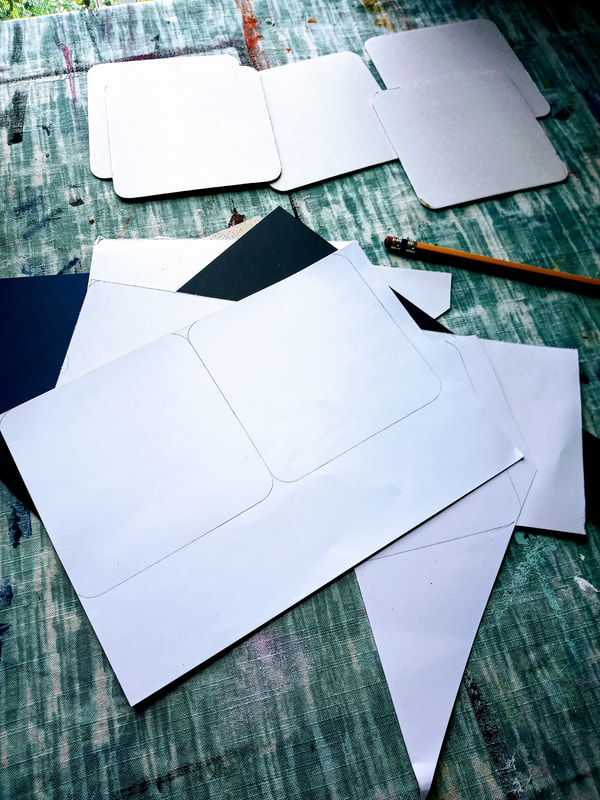
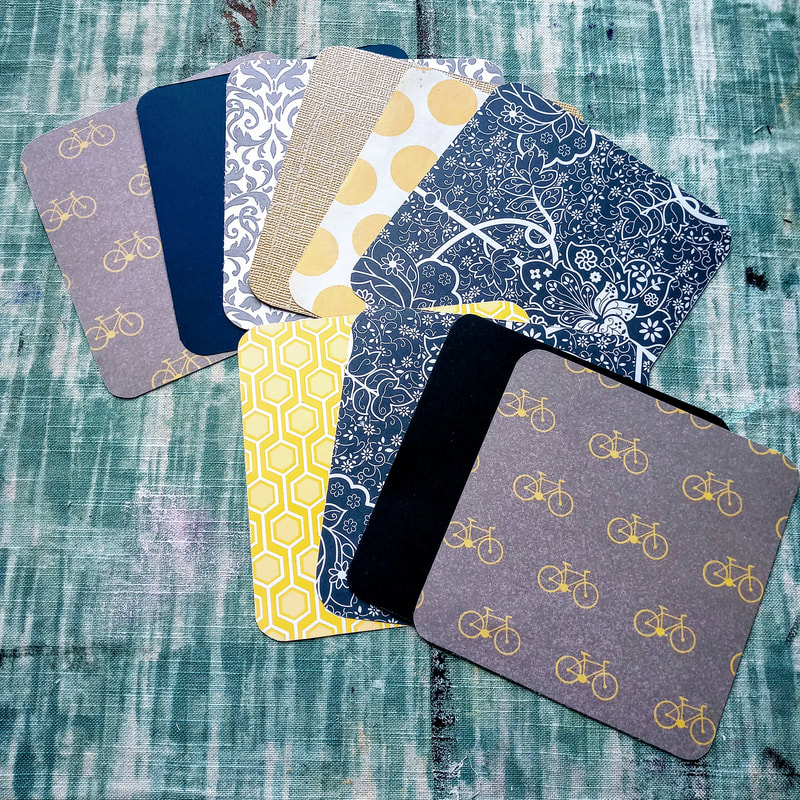
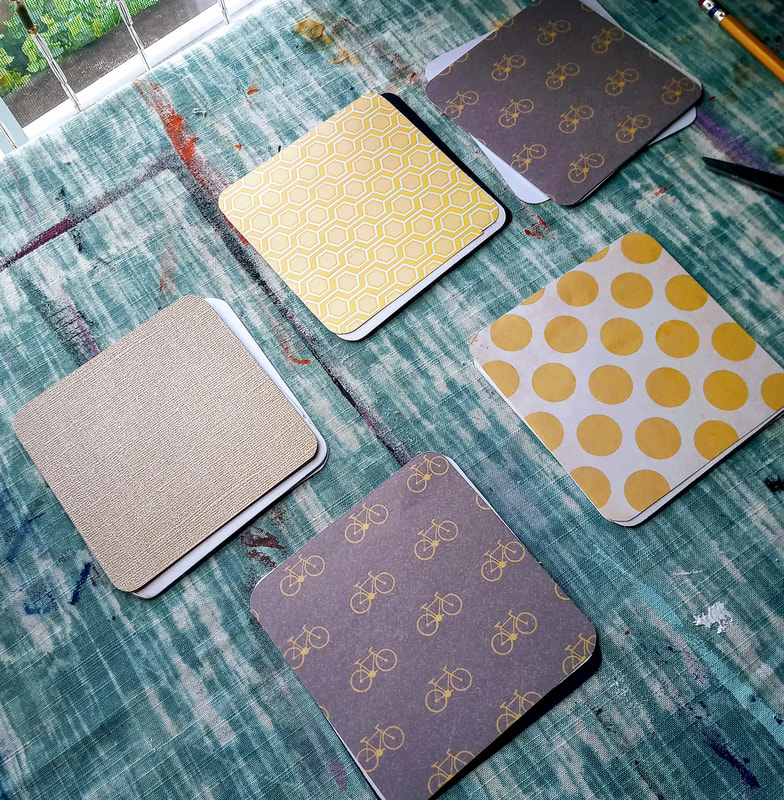
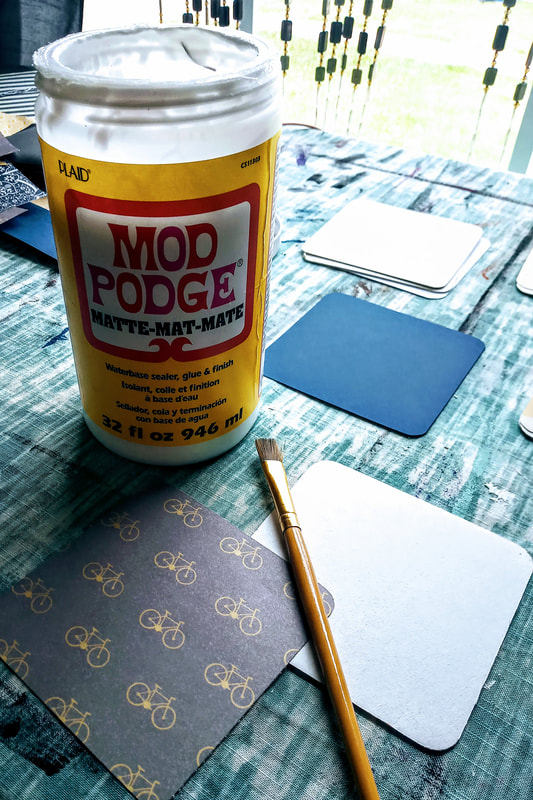
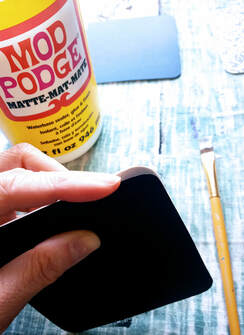
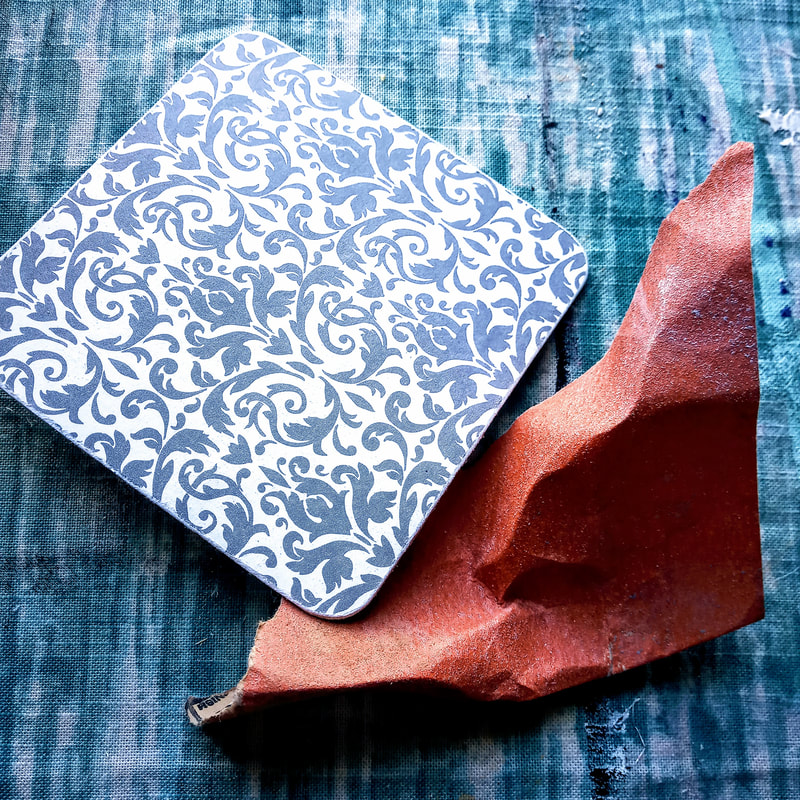
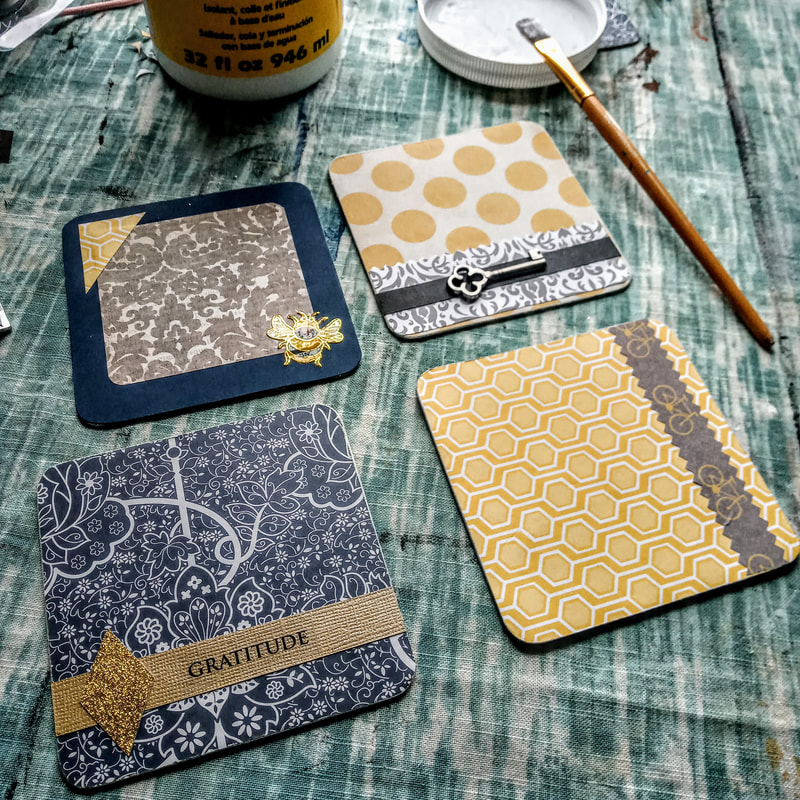
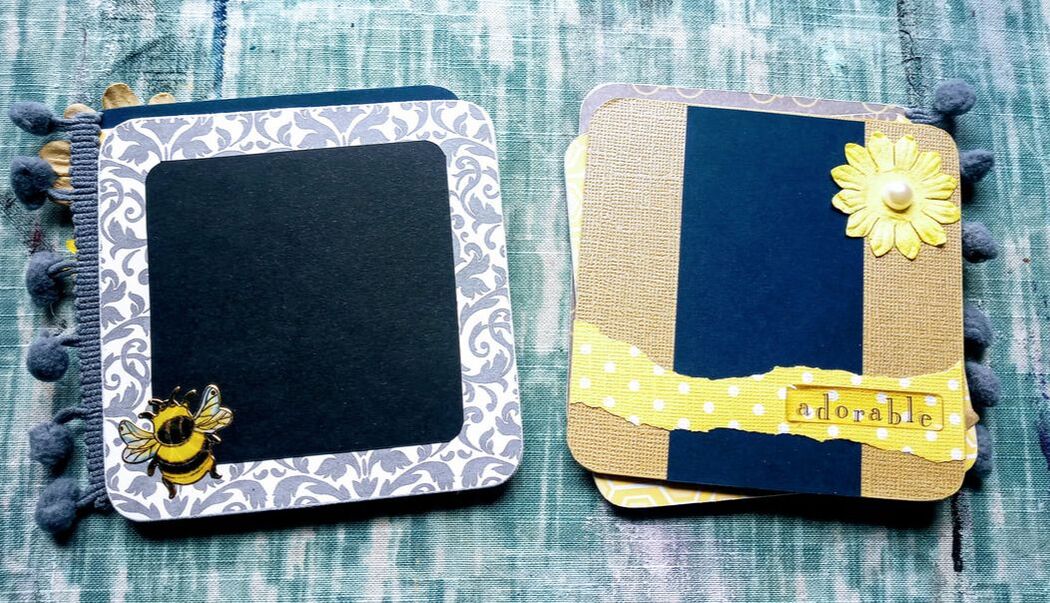
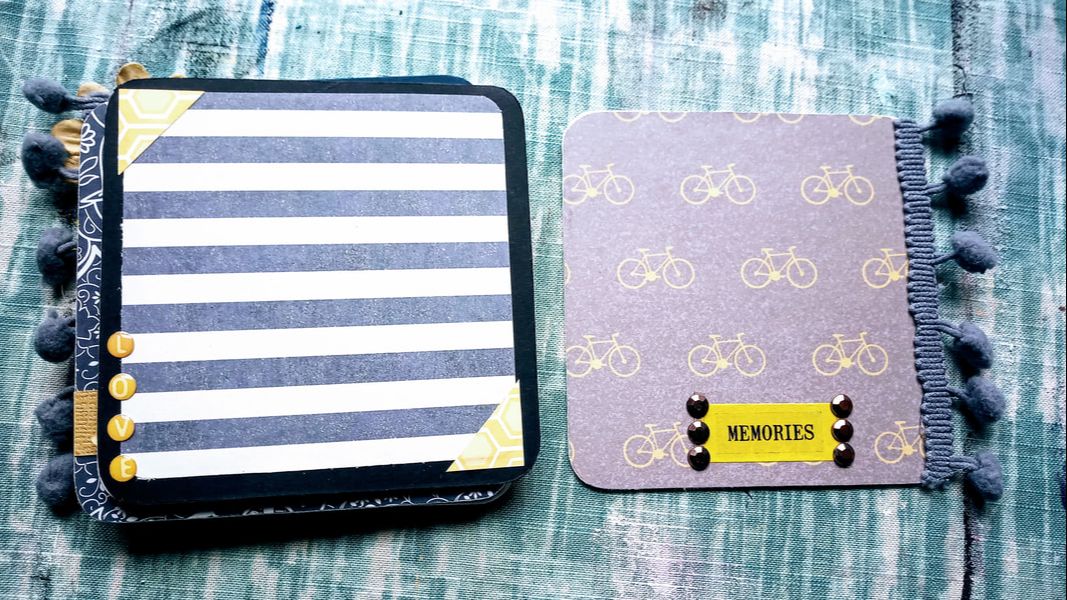
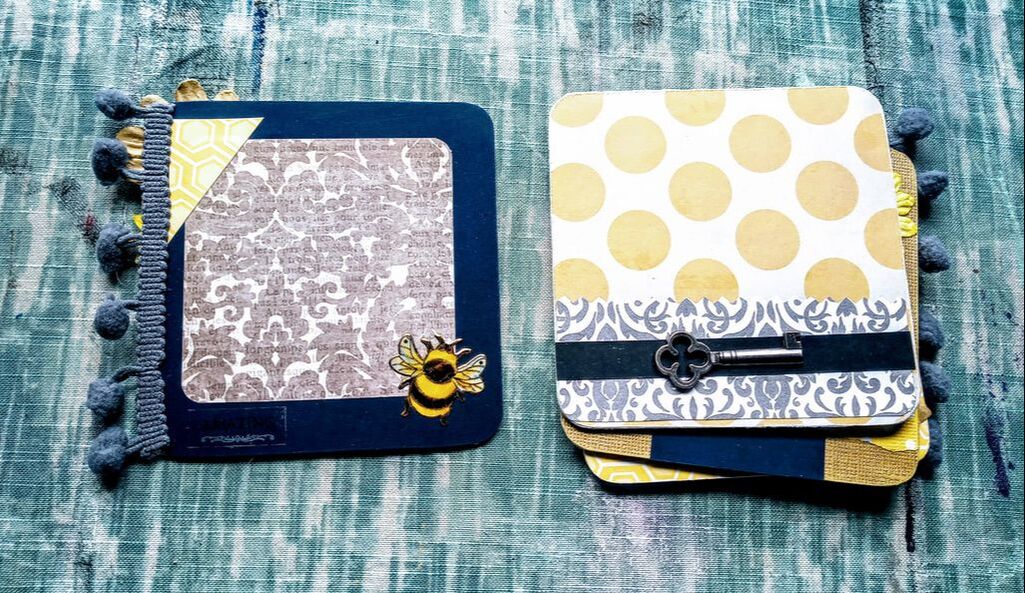
1. The first step for this itty bitty project is gathering all your supplies because there's a lot of potential components. I like to gather everything up that way I have all the supplies necessary near me and ready to go. This is where I picked my color scheme for my scrapbook (I used scraps from my scrap bag) and came up with yellow, grey, and navy. Pretty! I also gathered a pile of random stickers and other embellishments (I had no idea what I would use!). 2. I then traced the coasters onto the backs of the scrapbook paper I would use for the main sheets so I could cut them out to size. 3. I decided the order of the pages that I wanted and laid them out on the coasters. Next, I glued the sheets onto the coasters using the Mod Podge and a paint brush. I did half at a time instead of trying to glue the whole sheet at once, that way I could be more aware of bubbles showing up.
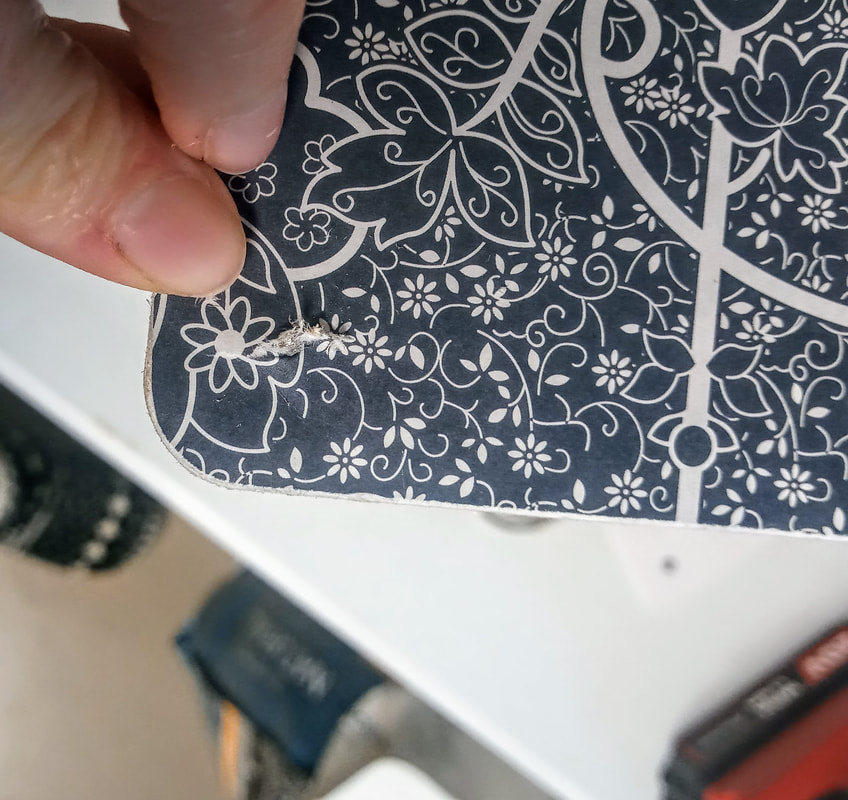
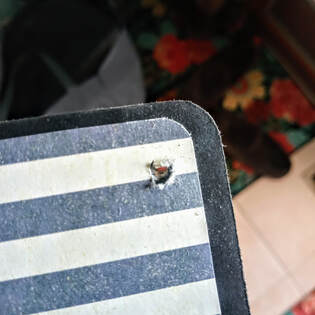
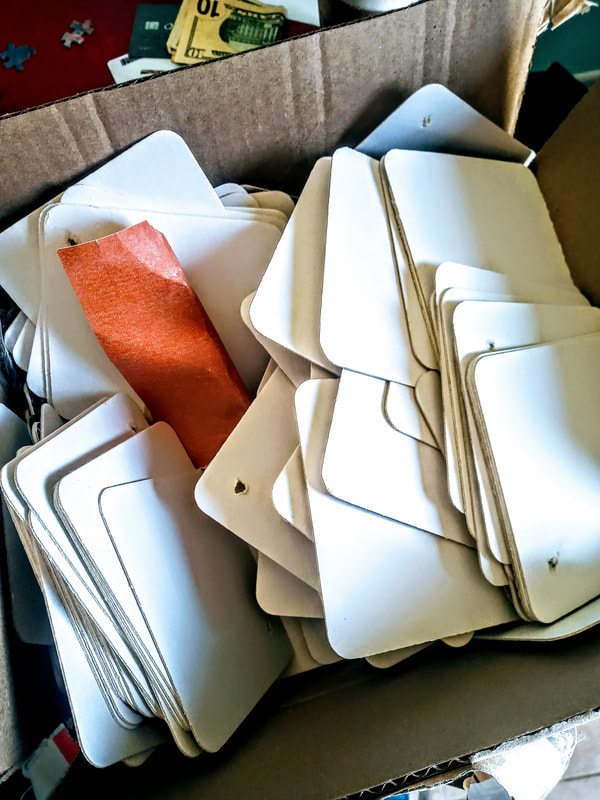
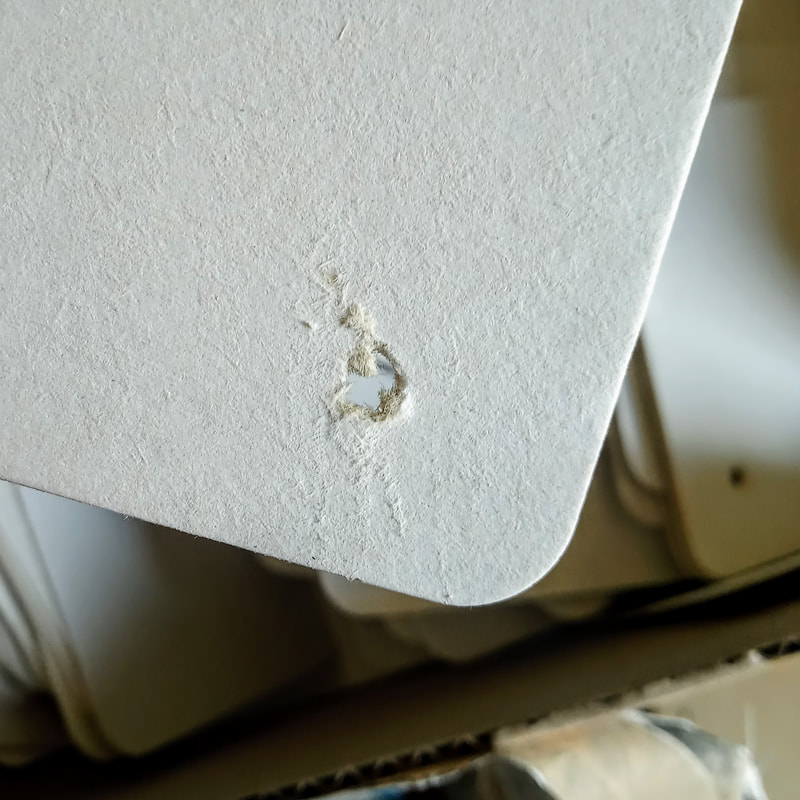
6. Start to plan out your pages by laying out the pieces and parts that you want to include before you officially glue anything down! 7. Mod Podge dries pretty quick so this part of the project will go fast. You can use a hot glue gun for heavier/awkward objects to secure them to the boards. 8. Looks super cute, right?! Well, this is where I realized... oh crap... how do I hold it together?! I looked up some ideas and liked the nonrestrictive binder ring option. But, this meant there needed to be holes for the ring to pass through. I decided to use a drill as this was the only option we had to my knowledge that could accomplish this. I think if I had some sort of press that would have been the way to go! I drilled through and it slightly tore up my paper! Ugg not cool! I am going to be doing this for an upcoming work program so decided to create holes in all 125 coasters... yay!... that way they are done ahead of time instead of afterwards. Still, I do not think this is the best option... it seems to tear through the chipboard (these are really flimsy chipboard!) and I encourage you to find a better way if possible :) It still turned out cute overall!
|
Rebecca MyersHey there, I'm Becca, or Rebecca, but not Becky, never Becky, unless you're my family from down south! I'm a simply modern librarian by day and an artist by night. My pursuit is for a simple, happy, healthy, and more fulfilling life! I hope I inspire you to get crafty! Archives
March 2022
Categories
All
|

 RSS Feed