|
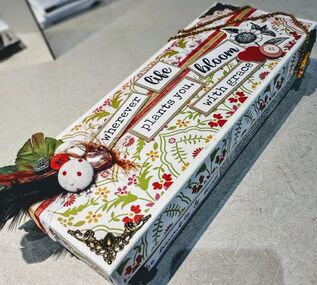
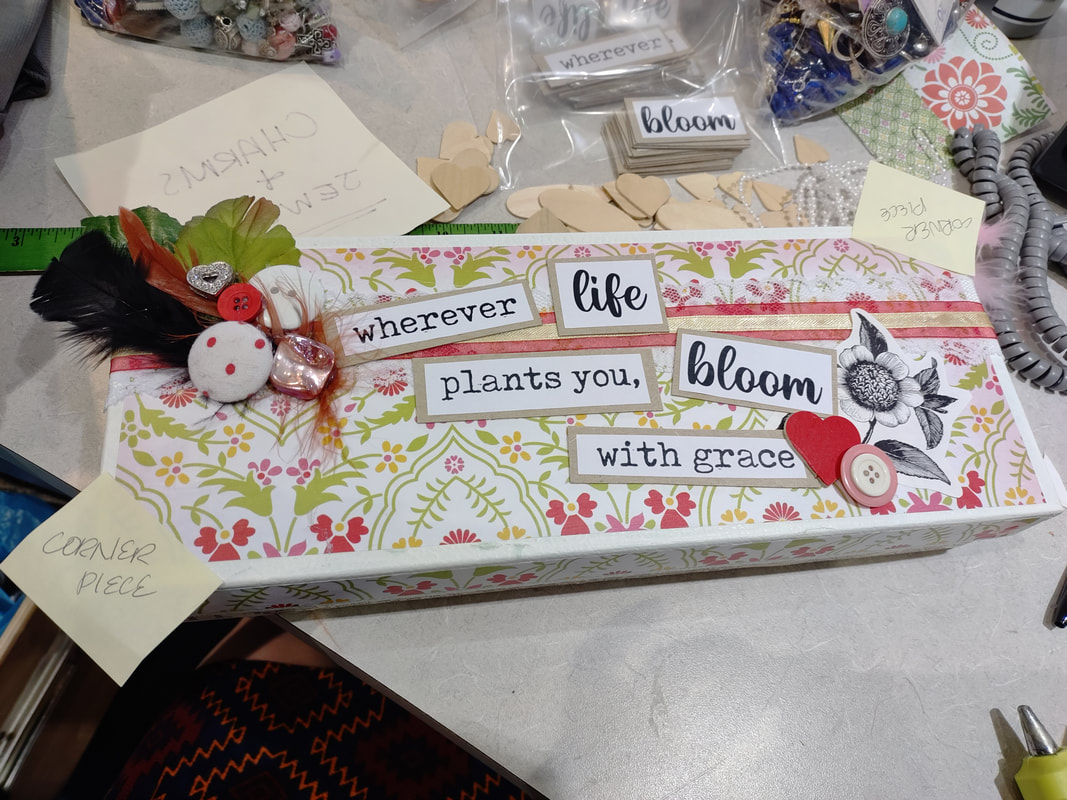
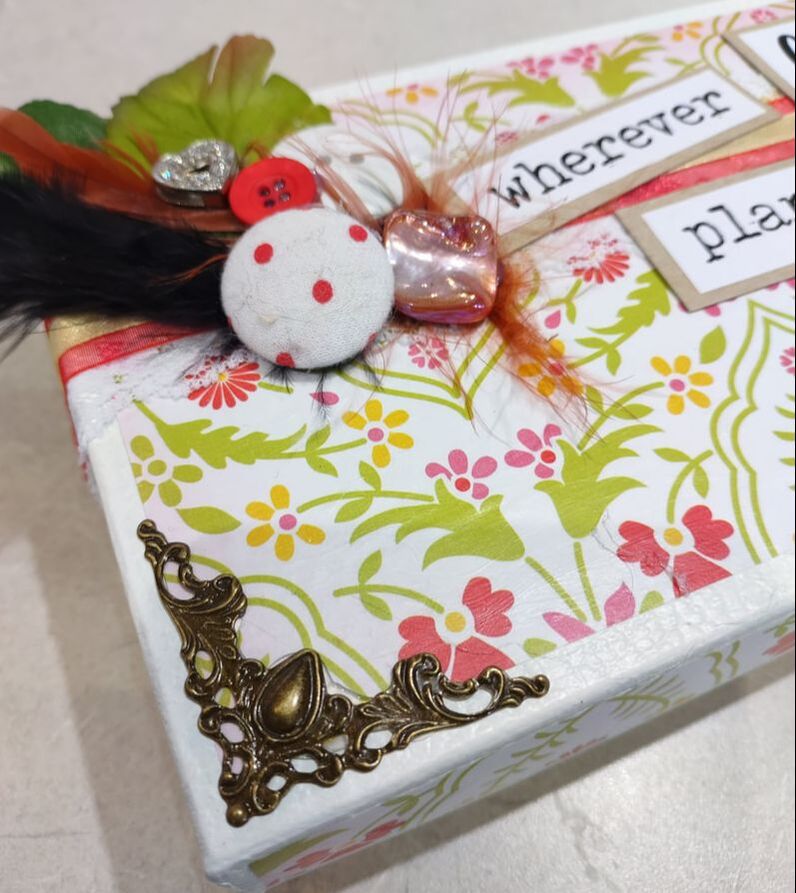
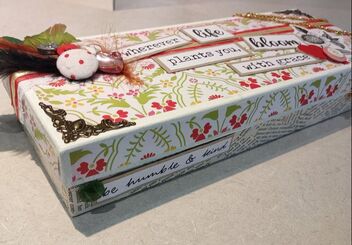
I don't know if you saw my post on making Harry Potter wands but they were pretty awesome sauce if I do say so myself! The box I used for them came from a gentleman at work who likes to give me random things to use for my crafts. Well, he gave me some of the same style of box but they were double the width (if that makes sense). So I had to come up with something to do with them! I have a lot, so it will take a few different crafts to use them up, but, to start, I came up with this simply pretty trinket box! Supplies I used:
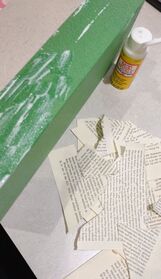
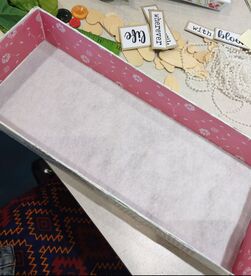
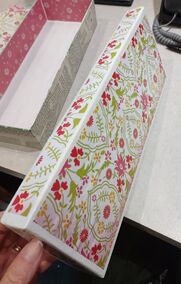
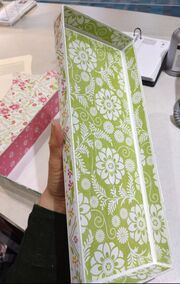
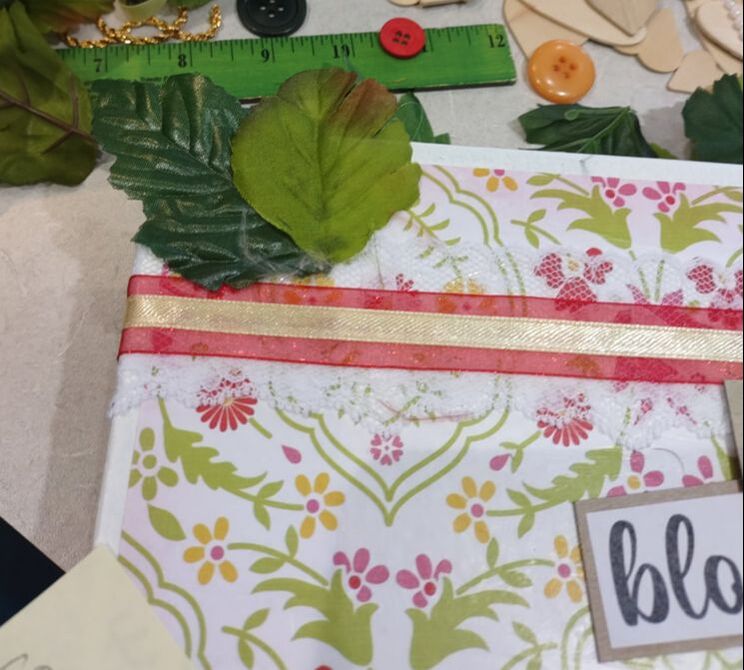
I had some of our staff at work help me with the prep for these. I had them paint the outside and inside of the lid as well as the inside of the box white. I did this because I knew the paper I was going to be using on the top wouldn't completely cover the green and I thought was a little too much to show through and thought white would be a softer choice.
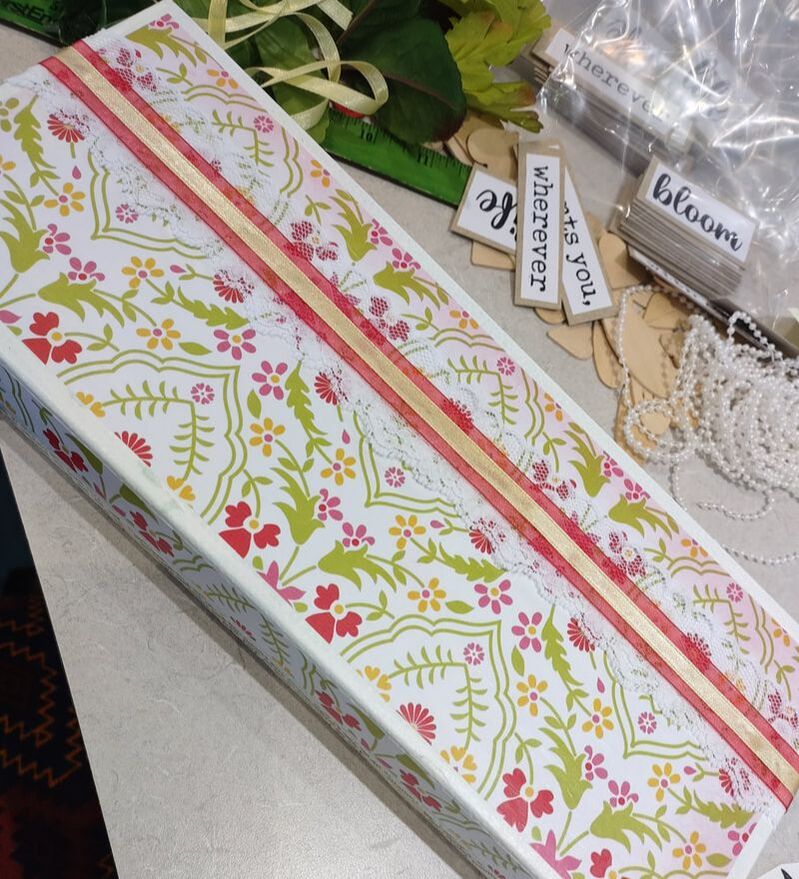
The next part is the really fun part! So, I did this for a virtual work program. This means that I made up prepacked "craft kits" that the participants picked up ahead of time. This included the box, soft vinyl, quote pieces, and embellishments. The quote I made for the box reads, "wherever life plants you, bloom with grace". I ended up adding another quote for the side of the box that read, "be humble and kind". I wanted these to be a little bit nicer than just gluing copy paper on the box, so I first glued them to a thin matt board and cut them out. Adding changes like this adds depth and texture to projects! The embellishments I included in the boxes ranged from all sorts of mismatched stuff such as: buttons, lace, ribbon, floral leaves, jewels, stickers, clip art, broken jewelry, feathers, etc. People are also always encouraged to add things they may have at home too. I laid out my quote pieces until I had them where I thought I liked them and glued them down with hot glue. I then started playing with my embellishment pieces. I have to say... this was shockingly hard! I could not decide where I wanted things and kept moving items back and forth and back again! Slowly, I started feeling happier with what I picked out for each item and began gluing them down, although apprehensively! Essentially, to finish the box up, just keep fenagling with it until you feel happy! You can also always add more items later too, especially if you have something that is uniquely special in some way. Thanks for reading & crafting!
0 Comments
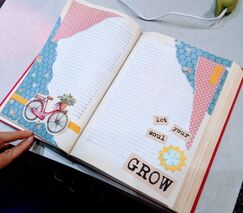
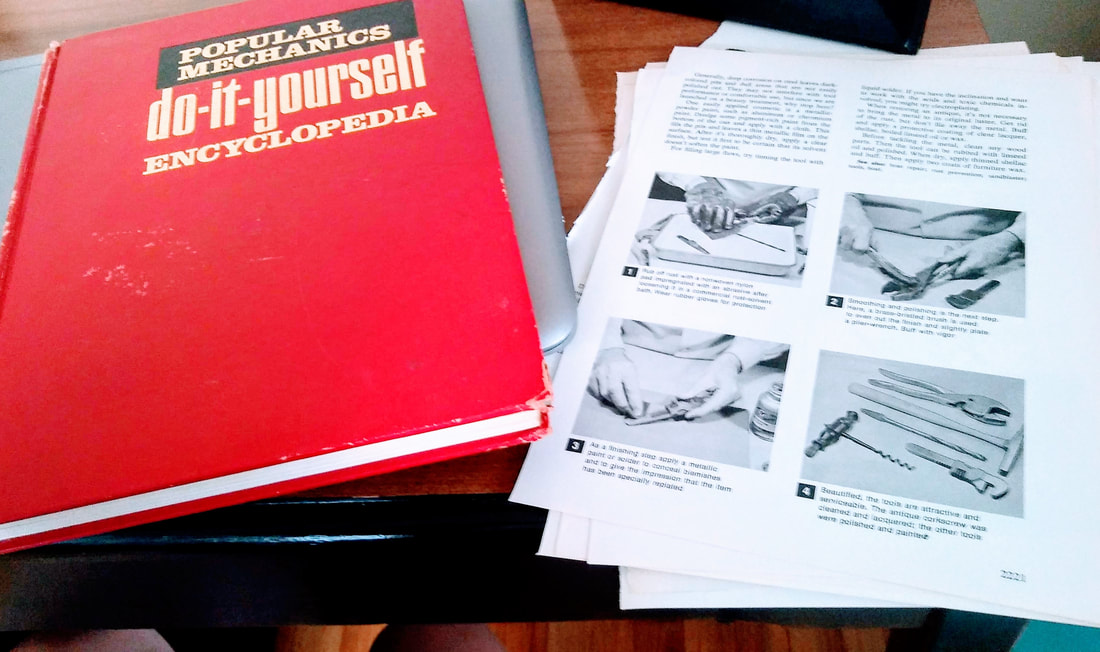
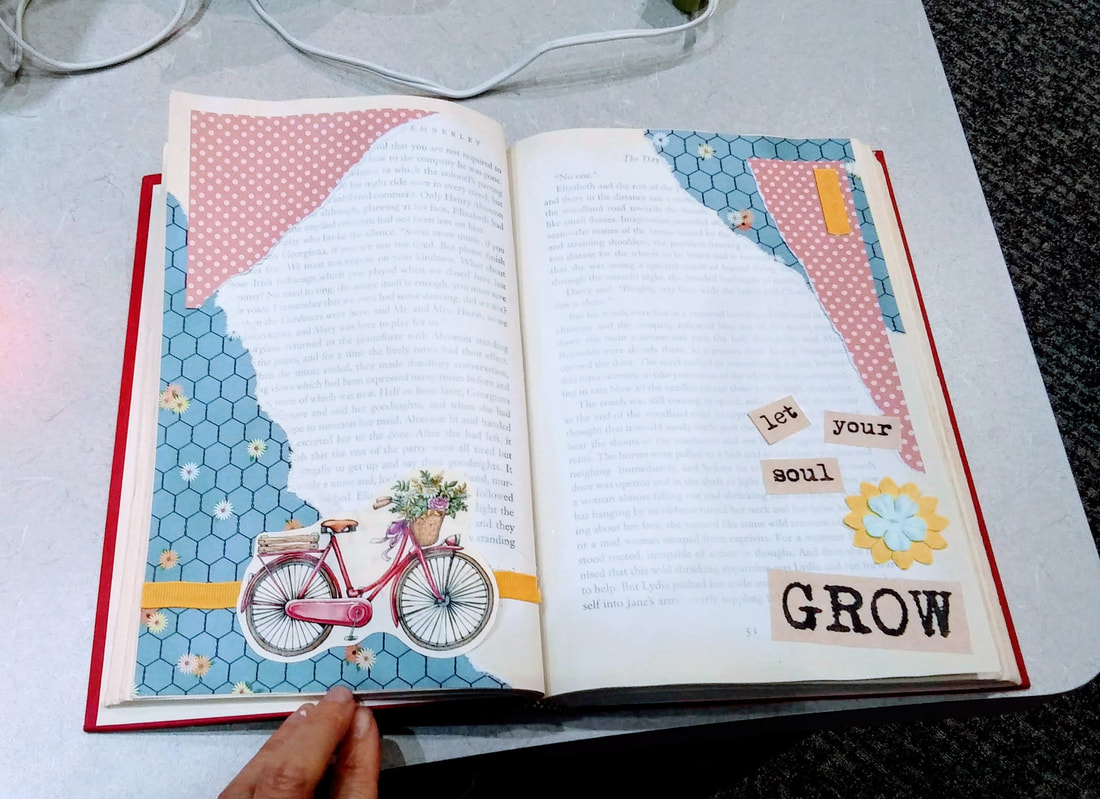
Let me start by saying anything... and I mean anything can be used for an altered book journal! This is what makes this project so much fun and so versatile. Every book is different, every page is different, and every material is different. The purpose of an "altered book" is making an old book into a new piece of art. There are many types of altered books, but for this project, we are beginning an altered book "journal". A journal can be used as a "smash book" for travel or random memories or can be used for a literal journal to write in. There are many possibilities. I did this journal page spread for one of my classes. This was a little tricky as I had to come up with something that we could all do together in our own books but something that could get everyone started and get those creative gears moving! The page above is what I came up with. It is something very simple and uses minimal supplies. We could've gone crazy and used paints, textures, inks, stamps, stickers, etc. but I kept it simple for an easy clean up and to also show that you don't need anything fancy for this type of project! Supplies:
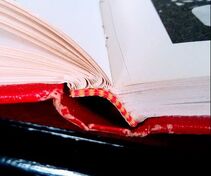
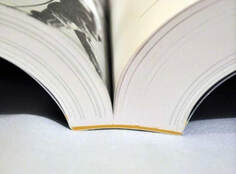
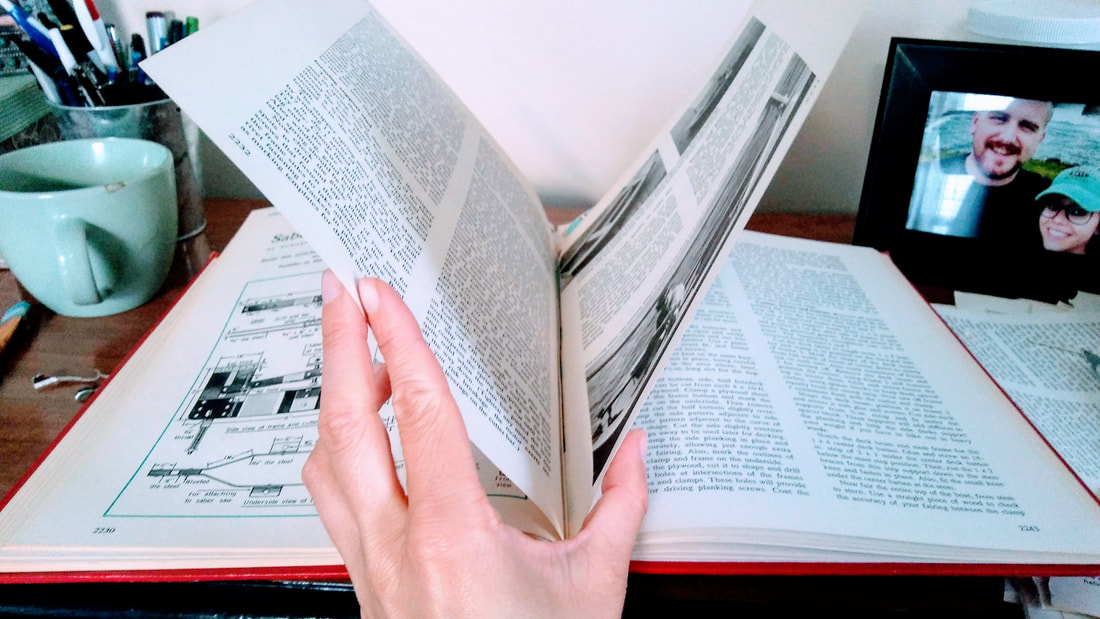
1. First off, let's talk about picking our book. If you can find something with "sewn" pages, that's the way to go! The modern glued pages are terrible for an altered book project! They are too flimsy and as you cut away more pages it loses its stability and could fall apart! These photos show what a sewn spine looks like verses a glued spine.
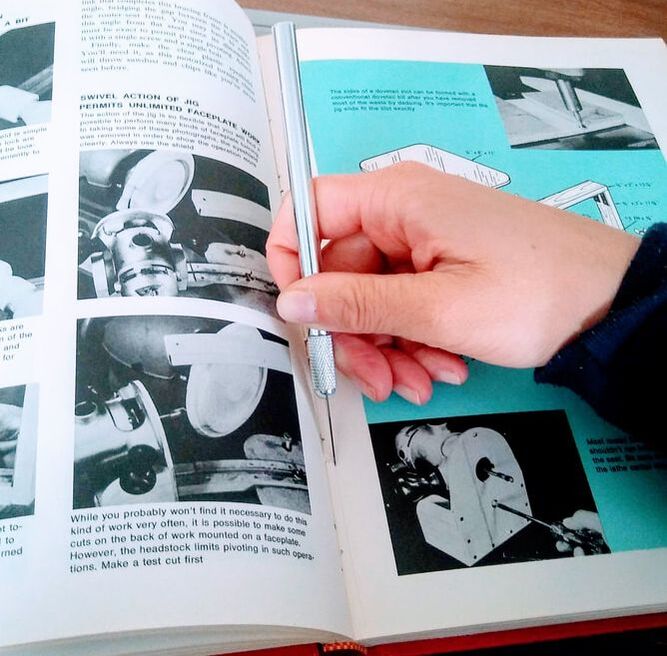
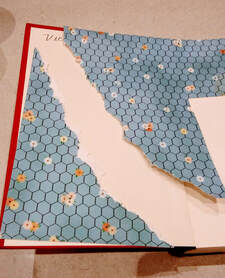
3. Once you are done cutting out pages throughout the book, you are ready to start gluing. As mentioned above, glue the pages to the left and right of the cut together, hiding that cut line. I use Mod Podge for this, putting it on in an even, thin layer. You can always come back and add more if the corners aren't glued down after it dries.
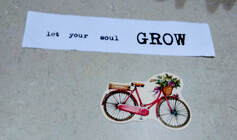
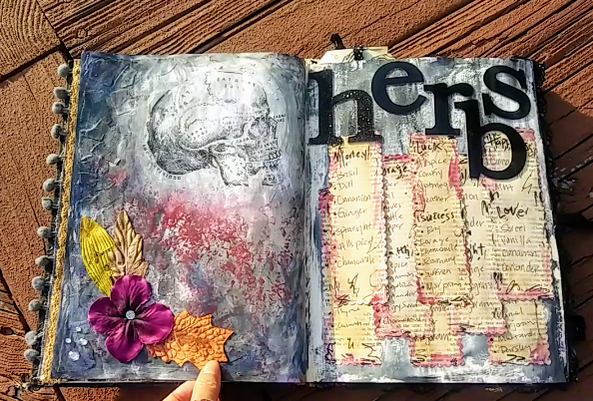
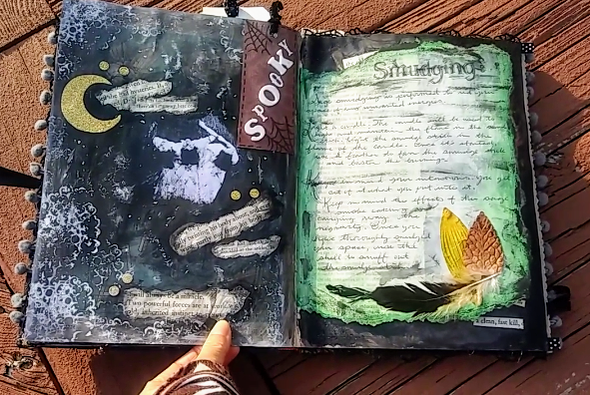
6. All I did to finish this page spread up was glue! First, I arranged everything on the pages to figure out where I wanted it all to go. Once I was good with it all I glued everything down with a thin layer of Elmer's Glue, you could use Mod Podge instead. I also used the hot glue gun to glue the ribbon and the flowers down. But that was it! This was a pretty simple page. But you could really get crazy and do pages like the examples below! Happy Journaling!
|
Rebecca MyersHey there, I'm Becca, or Rebecca, but not Becky, never Becky, unless you're my family from down south! I'm a simply modern librarian by day and an artist by night. My pursuit is for a simple, happy, healthy, and more fulfilling life! I hope I inspire you to get crafty! Archives
March 2022
Categories
All
|



 RSS Feed