
|
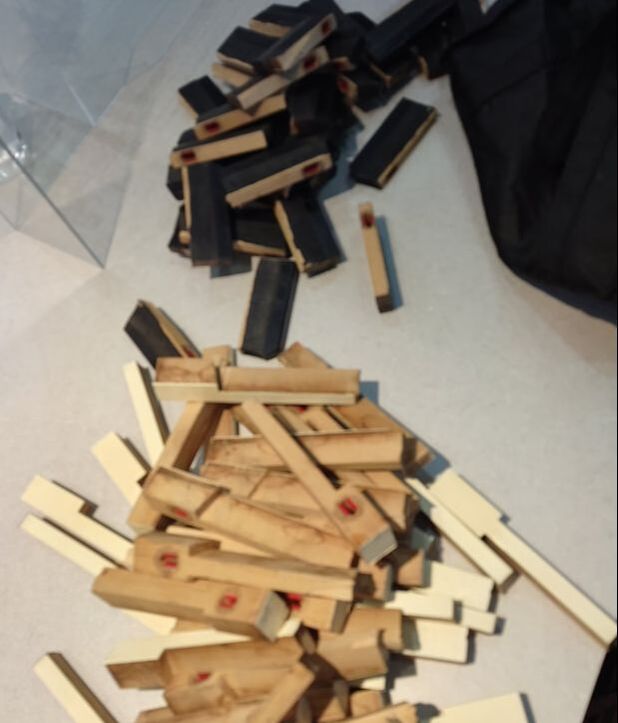
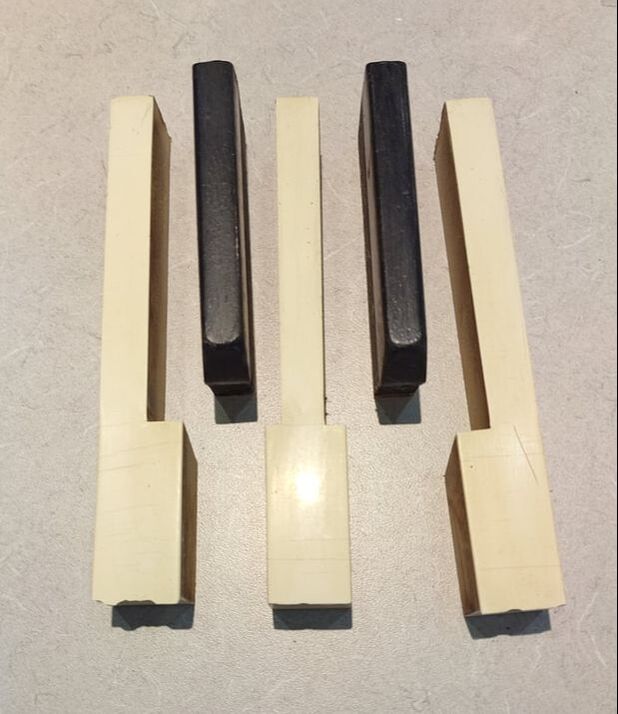
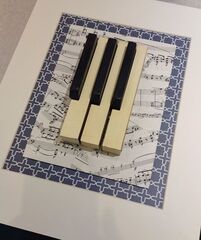
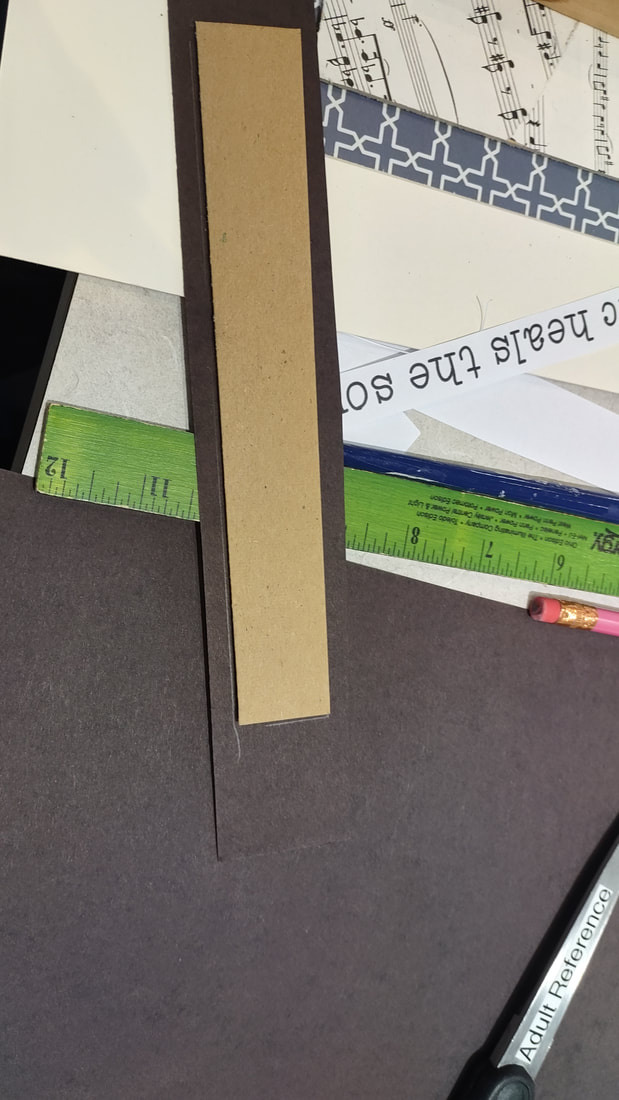
One of my coworkers decided she was going to get rid of her old piano. No one really wanted it and it wasn't in the "best" shape according to music people so she decided she wanted to take it apart! Mostly just for fun but also to see what she could get from the scrapyard for it, because, why not! Knowing that I love to repurpose things, she asked me if I would want the keys and of course I said yes! I turned it into one of classes at the library and it was a hit! Everything I used we already had stashed at work. Random things that had just been sitting around for a while and you know how much I love using that stuff! First off, I don't know if everyone knows this, but a piano key is actually a lottttt longer than you think it is. The "key" part is what we see when we sit down to play but here's a very long wooden piece attached to the back which is what is utilized to hit the hammers to hit your notes! Cool! But... I just wanted the keys... so... que the husband! (Not that I couldn't have done it myself but sometimes it's just nice to have help!) He sawed off all those long pieces for me which was sooooooo super nice of him ;) I sanded these down a bit more because they got a little sharp (ha) on the ends and then I also cleaned them because boy were they dirty! I chose the keys that I wanted to use for mine and lined them up how I thought they should go.
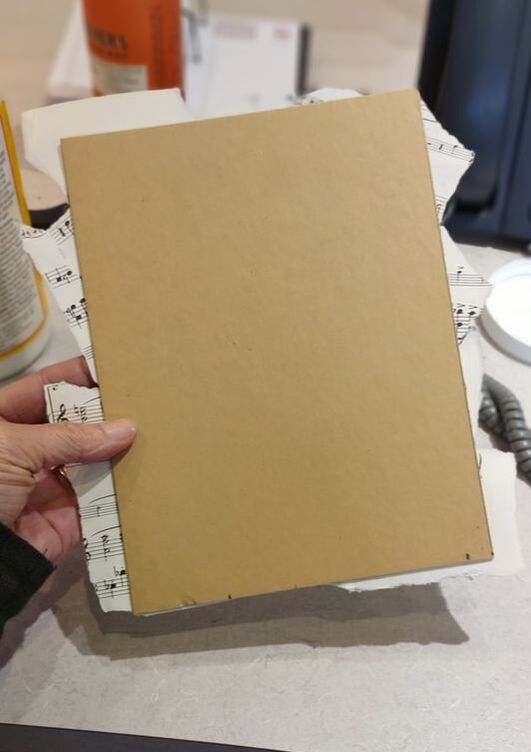
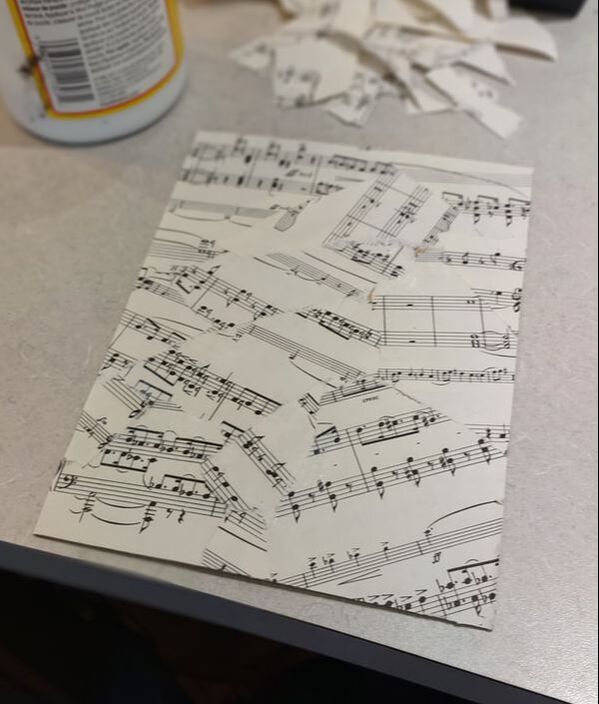
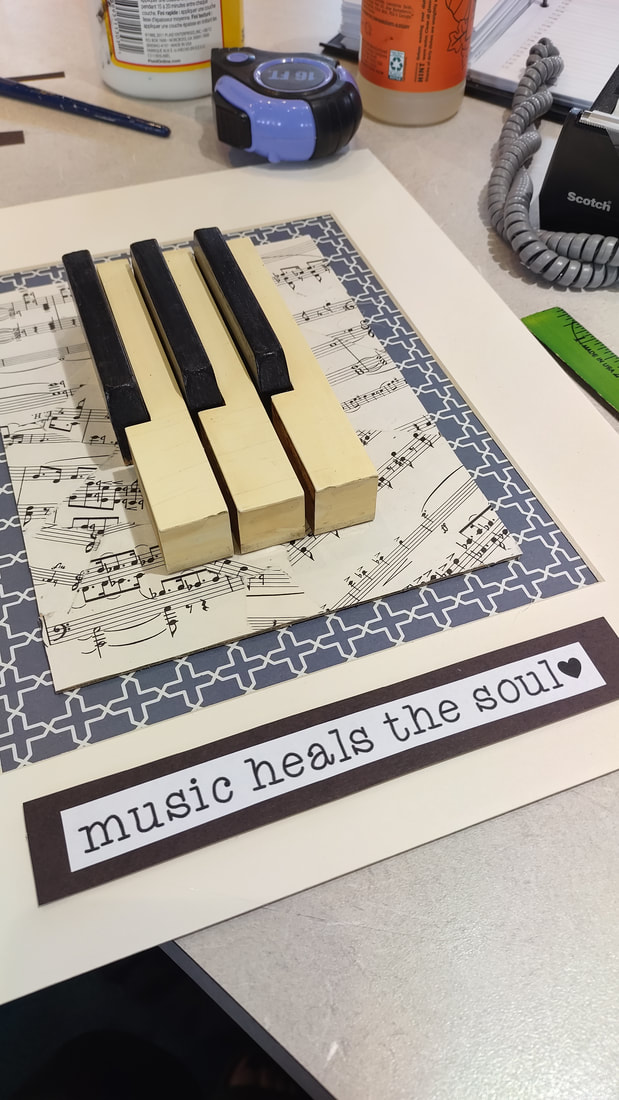
I used a smaller, about a 6x8, piece of cardboard for the focal point of the craft. I used sheet music to cover this piece of cardboard for something eye-catching. I chose to rip it up into pieces and glue it down, but when I did this a second time, I chose to glue down the sheet music as it is normally. Then, I glued down my keys with hot glue, making sure they would lay nice and even (I had to rip them off at some point because it was crooked, what a mess!).
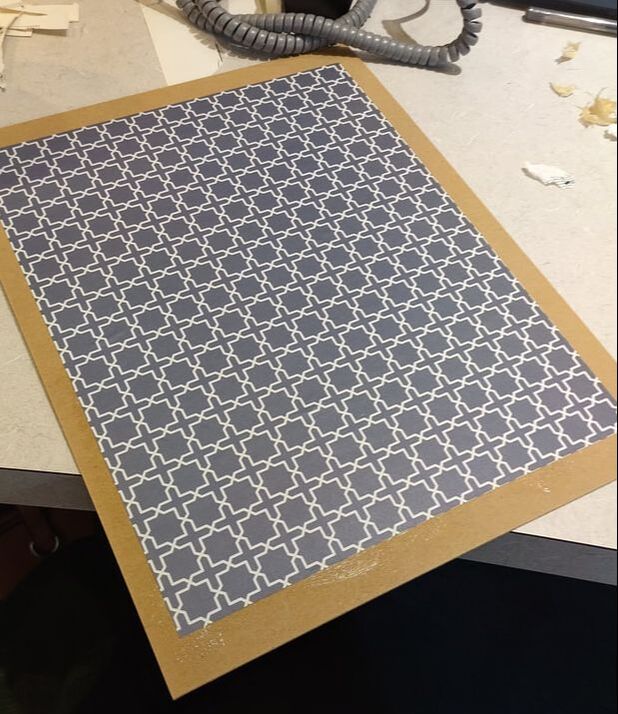
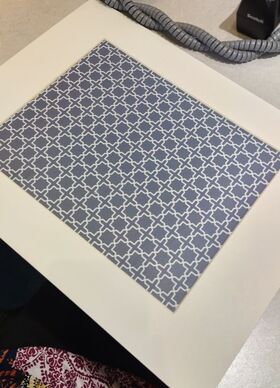
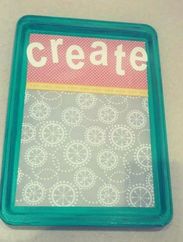
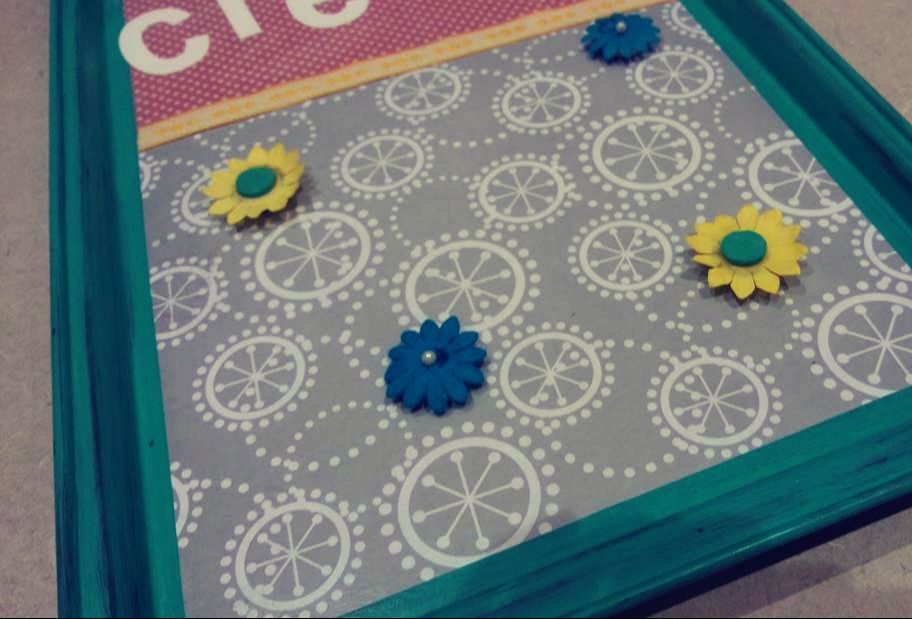
I was using a matt frame with a cardboard backing to create the frame part of the project. I glued down a piece of scrapbook paper that I liked to go with the whole thing then I mapped out where the backing would need to be glued so that the paper would look straight in the background.
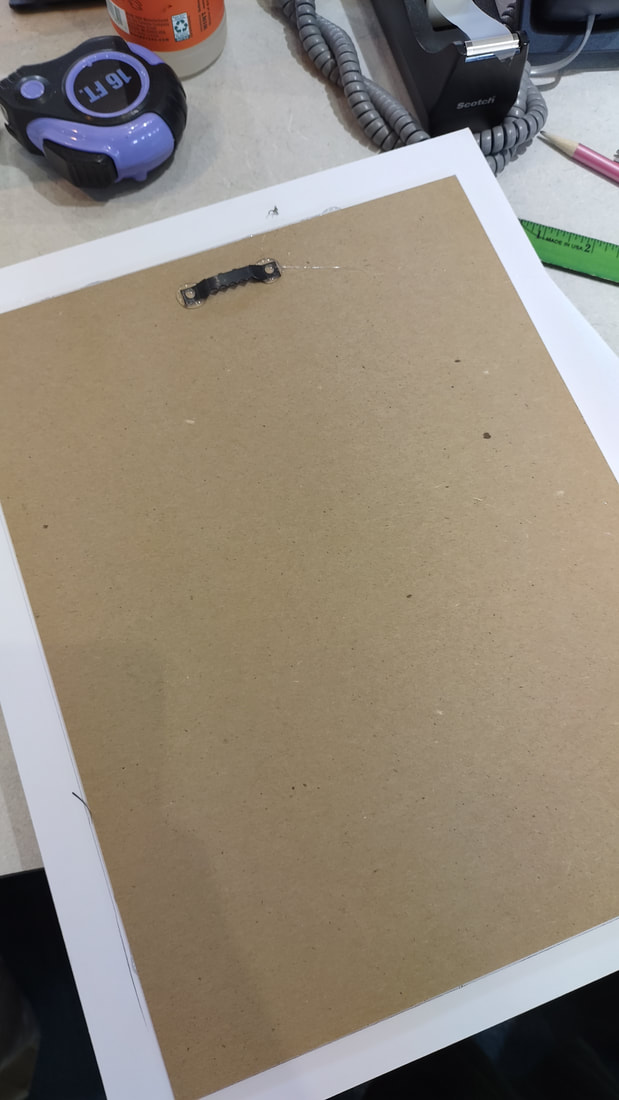
I thought the matt frame looked a bit boring and decided to add a little quote that I found online. I added a piece of cardboard to the back of this to give it some height and then some black paper to form a border around the words. Lastly, I finished it up by adding a sawtooth hanger to the back and it was perfect!
0 Comments
This is a really fun little craft to do with someone of any age. It's a great way to repurpose old icky cookie sheets as well. This would make a great addition to just about any room of your home or a great gift as you can mold it to fit anyone's personal style. Here I go with forgetting to take pictures of every... little... thing yet again, ug! But this one is pretty simple and should be easy to follow regardless. Supplies:
1. If desired, paint your cookie sheet. It seems best to use a spray paint as it will adhere well. I, however, used acrylic paint on an old non-stick cookie sheet. You know what that means right? The paint did not stick great. But, I ended up liking the look and making it "distressed". I also went over the entire paint job with a layer of Mod Podge. If you go this route, and don't use Mod Podge, the paint will scratch right off once dry so make sure you put a layer of some sort over the paint!
 I'll keep my first posted craft short and sweet for y'all. I was planning on including the website link where I found this but, like many things on Pinterest, the site was faulty and is now blocked, great.
So, for whoever made this originally, I give you the credit, whoever you are. This is an adorable quick and easy craft that pretty much anyone can do. Thank you for sharing your creativity with us so we can spread it around. Supplies:
Real simple, are you ready?...
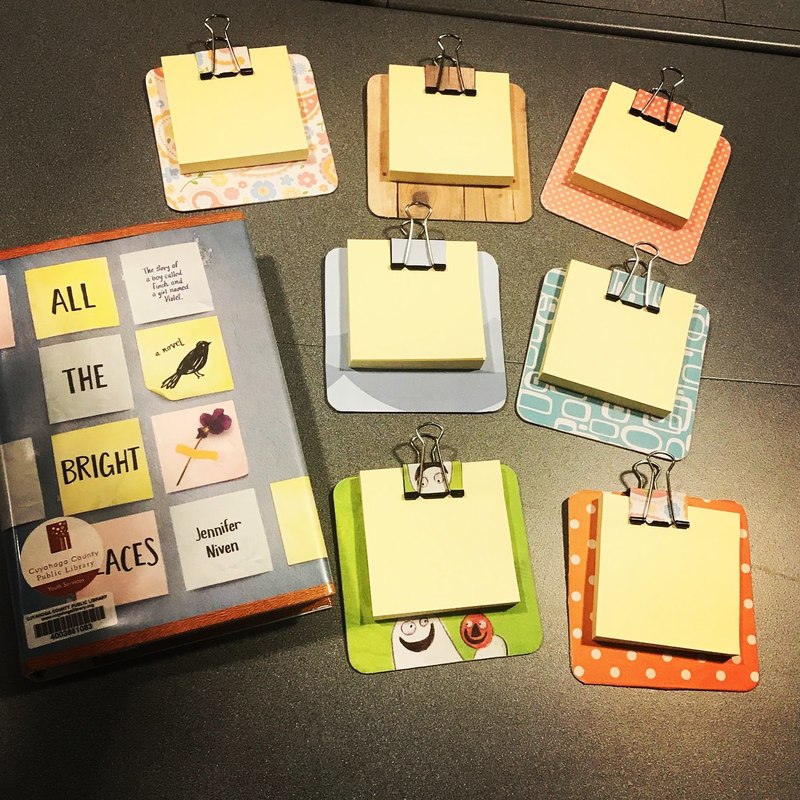
I created mine for my "Discuss & Design: Millennial Book Discussion" to go along with the cover of All the Bright Places by Jennifer Niven Hopefully the steps are easy to follow, I don't have step by step photos unfortunately but will strive to do that for future posts, don't you worry! |

Rebecca MyersHey there, I'm Becca, or Rebecca, but not Becky, never Becky, unless you're my family from down south! I'm a simply modern librarian by day and an artist by night. My pursuit is for a simple, happy, healthy, and more fulfilling life! I hope I inspire you to get crafty! Archives
March 2022
Categories
All
|


 RSS Feed