|
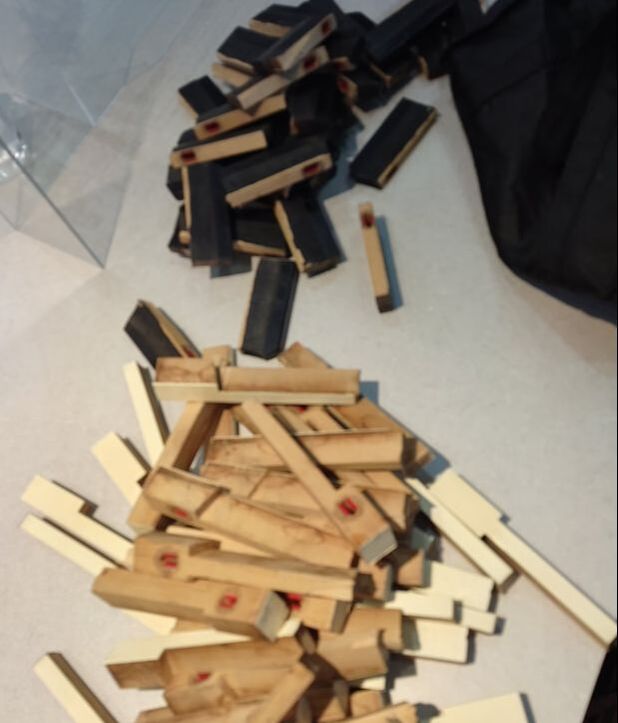
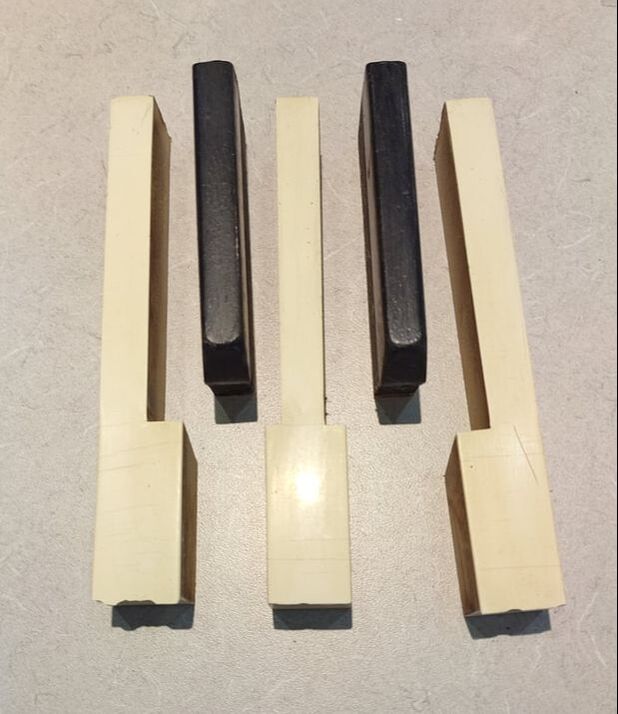
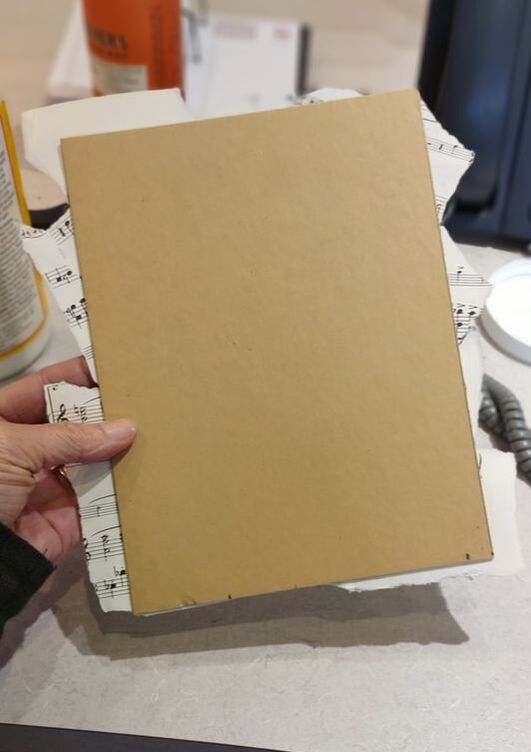
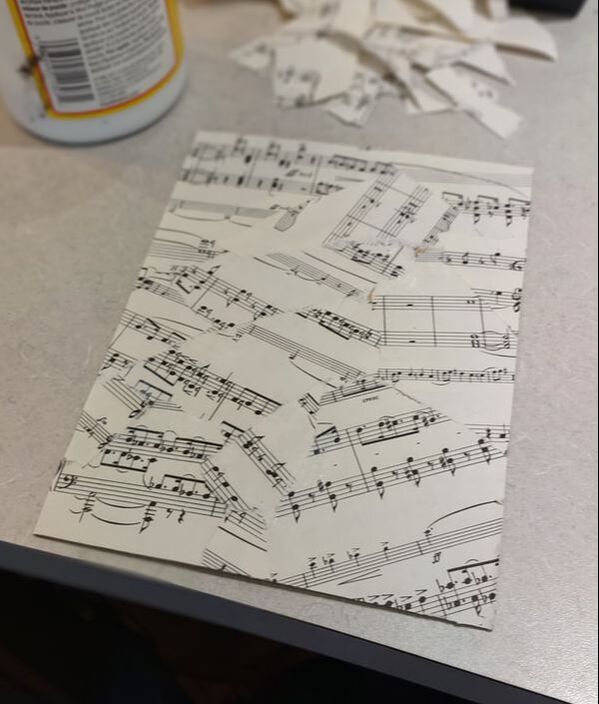
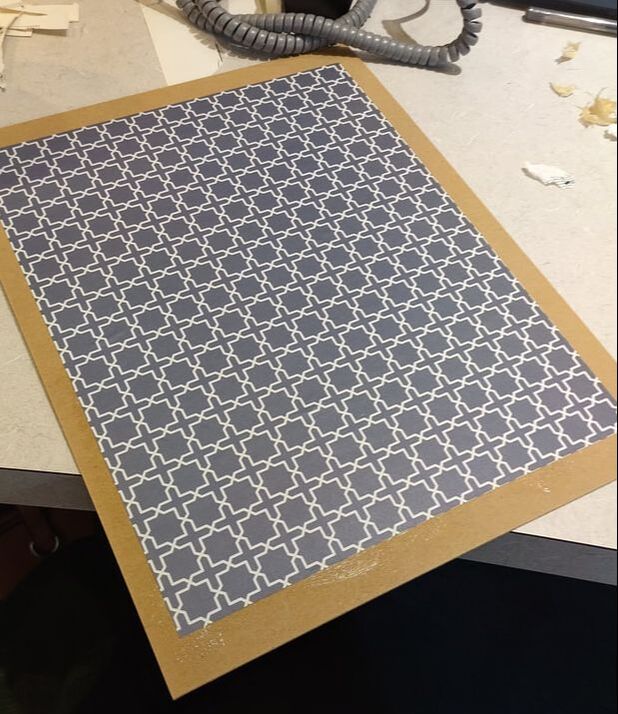
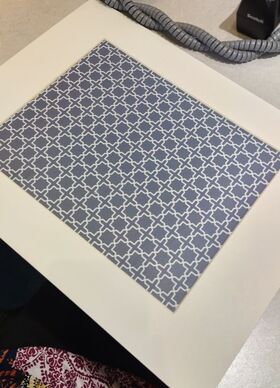
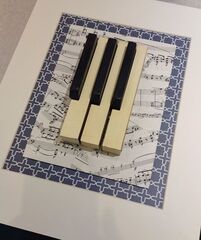
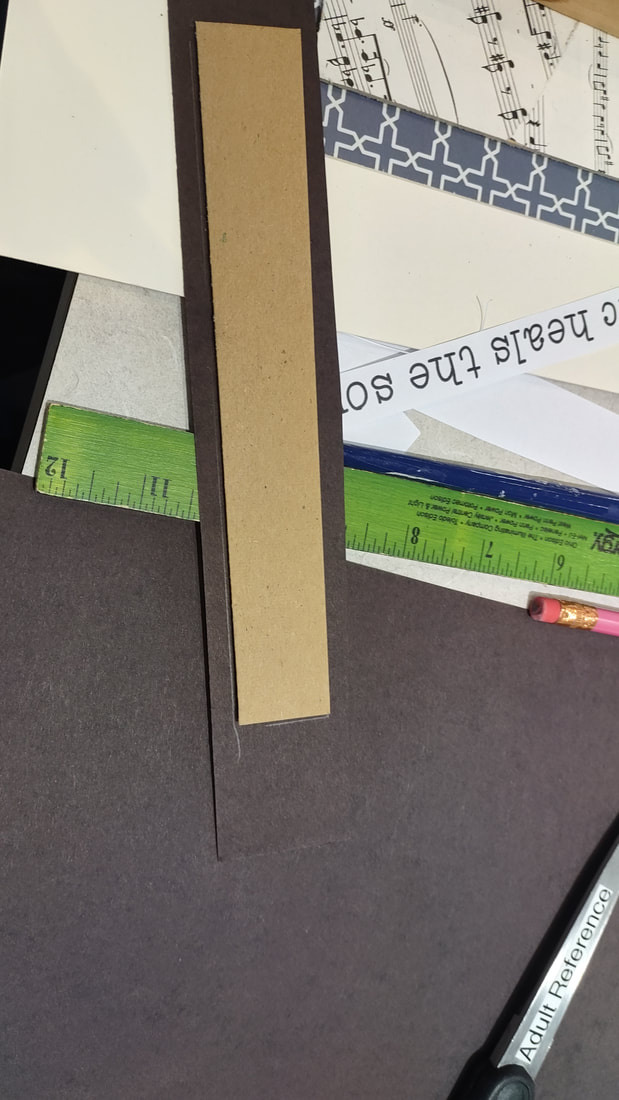
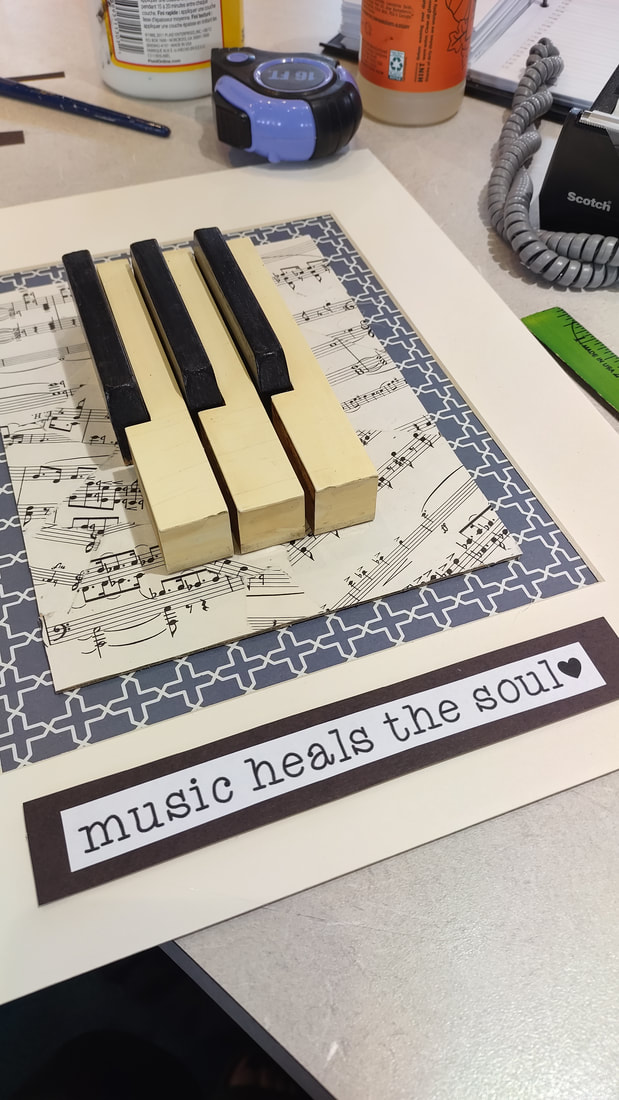
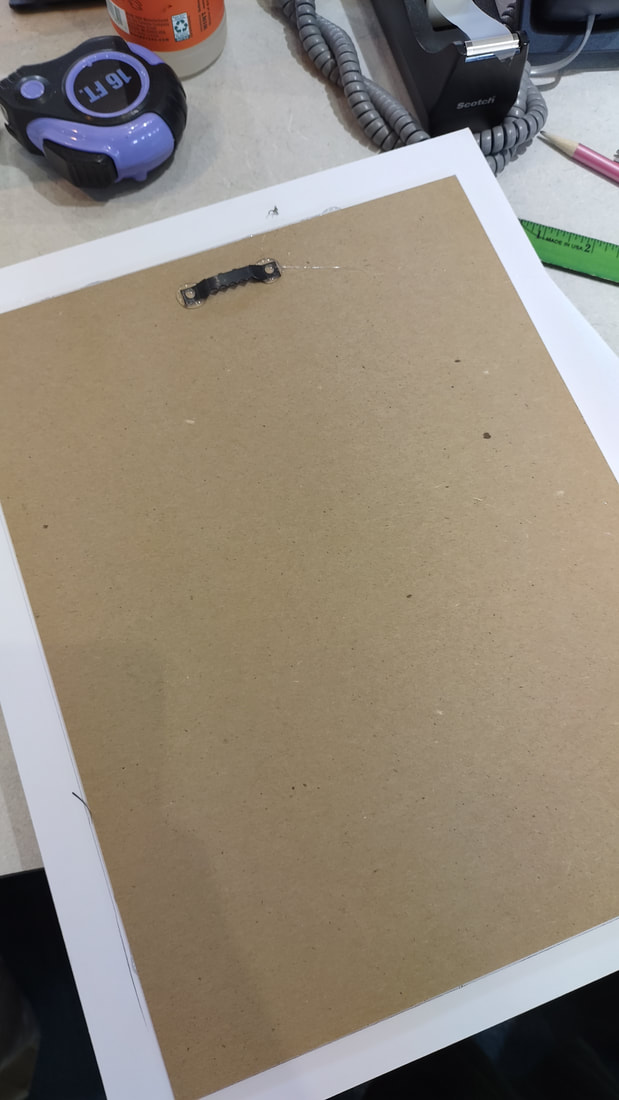
One of my coworkers decided she was going to get rid of her old piano. No one really wanted it and it wasn't in the "best" shape according to music people so she decided she wanted to take it apart! Mostly just for fun but also to see what she could get from the scrapyard for it, because, why not! Knowing that I love to repurpose things, she asked me if I would want the keys and of course I said yes! I turned it into one of classes at the library and it was a hit! Everything I used we already had stashed at work. Random things that had just been sitting around for a while and you know how much I love using that stuff! First off, I don't know if everyone knows this, but a piano key is actually a lottttt longer than you think it is. The "key" part is what we see when we sit down to play but here's a very long wooden piece attached to the back which is what is utilized to hit the hammers to hit your notes! Cool! But... I just wanted the keys... so... que the husband! (Not that I couldn't have done it myself but sometimes it's just nice to have help!) He sawed off all those long pieces for me which was sooooooo super nice of him ;) I sanded these down a bit more because they got a little sharp (ha) on the ends and then I also cleaned them because boy were they dirty! I chose the keys that I wanted to use for mine and lined them up how I thought they should go. I used a smaller, about a 6x8, piece of cardboard for the focal point of the craft. I used sheet music to cover this piece of cardboard for something eye-catching. I chose to rip it up into pieces and glue it down, but when I did this a second time, I chose to glue down the sheet music as it is normally. Then, I glued down my keys with hot glue, making sure they would lay nice and even (I had to rip them off at some point because it was crooked, what a mess!). I was using a matt frame with a cardboard backing to create the frame part of the project. I glued down a piece of scrapbook paper that I liked to go with the whole thing then I mapped out where the backing would need to be glued so that the paper would look straight in the background. I thought the matt frame looked a bit boring and decided to add a little quote that I found online. I added a piece of cardboard to the back of this to give it some height and then some black paper to form a border around the words. Lastly, I finished it up by adding a sawtooth hanger to the back and it was perfect!
0 Comments
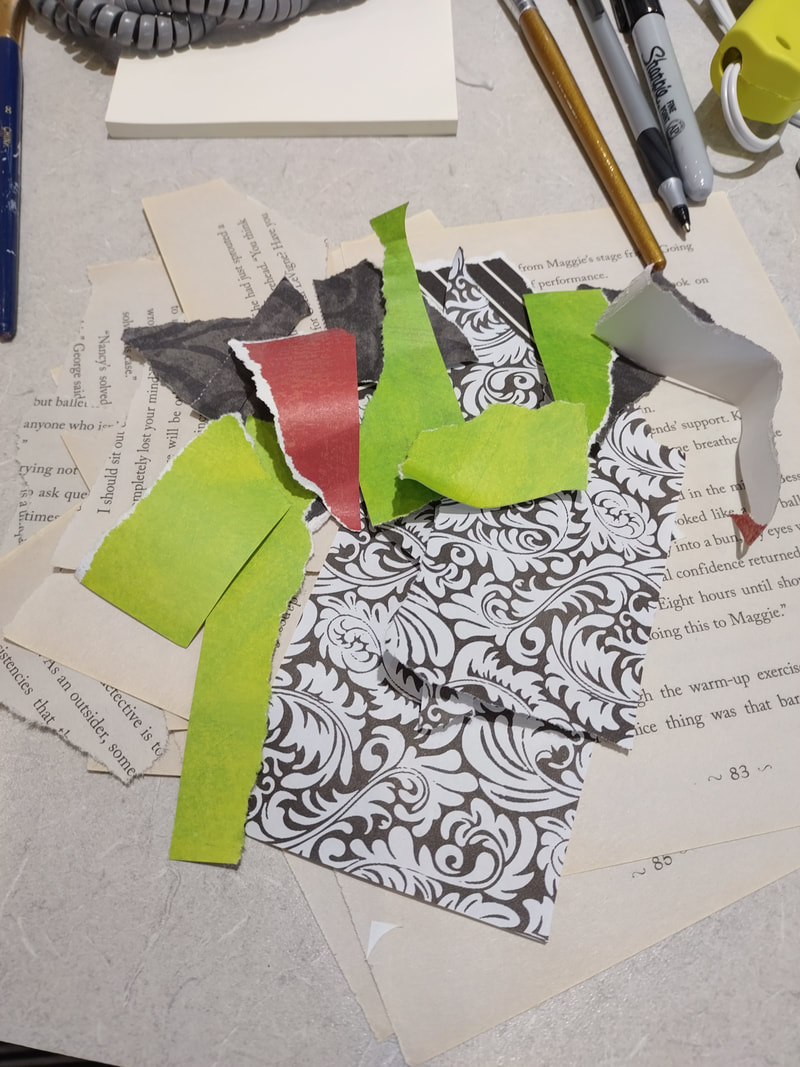
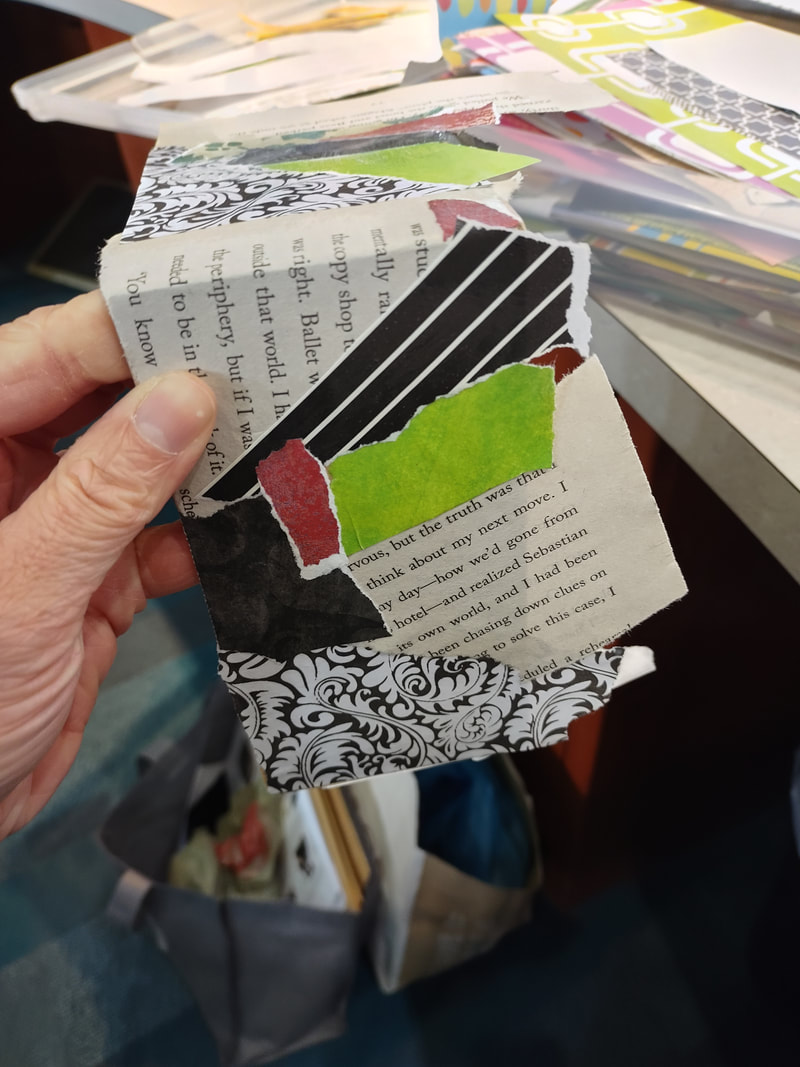
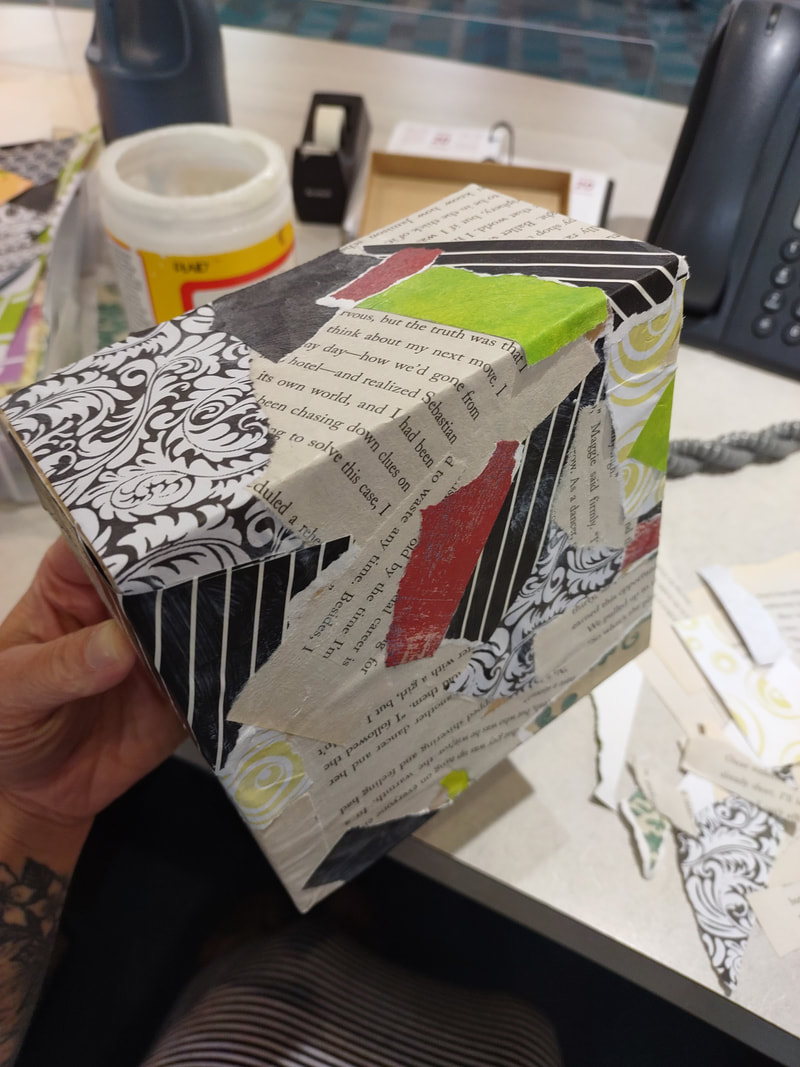
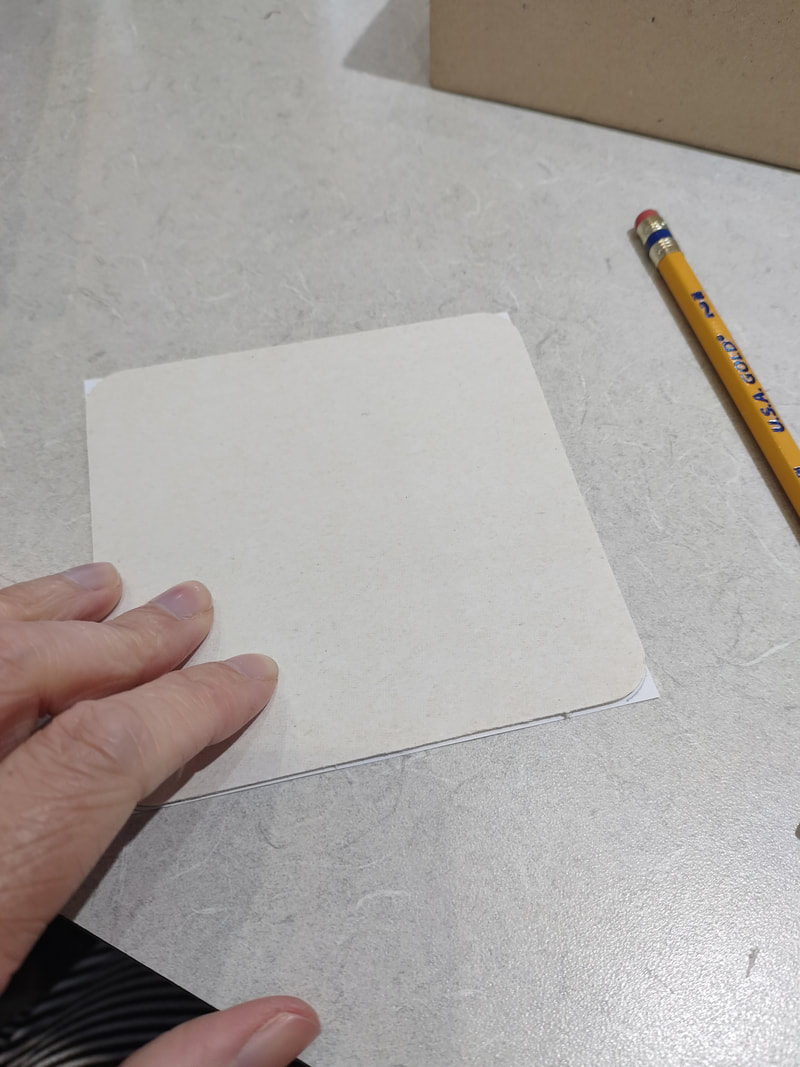
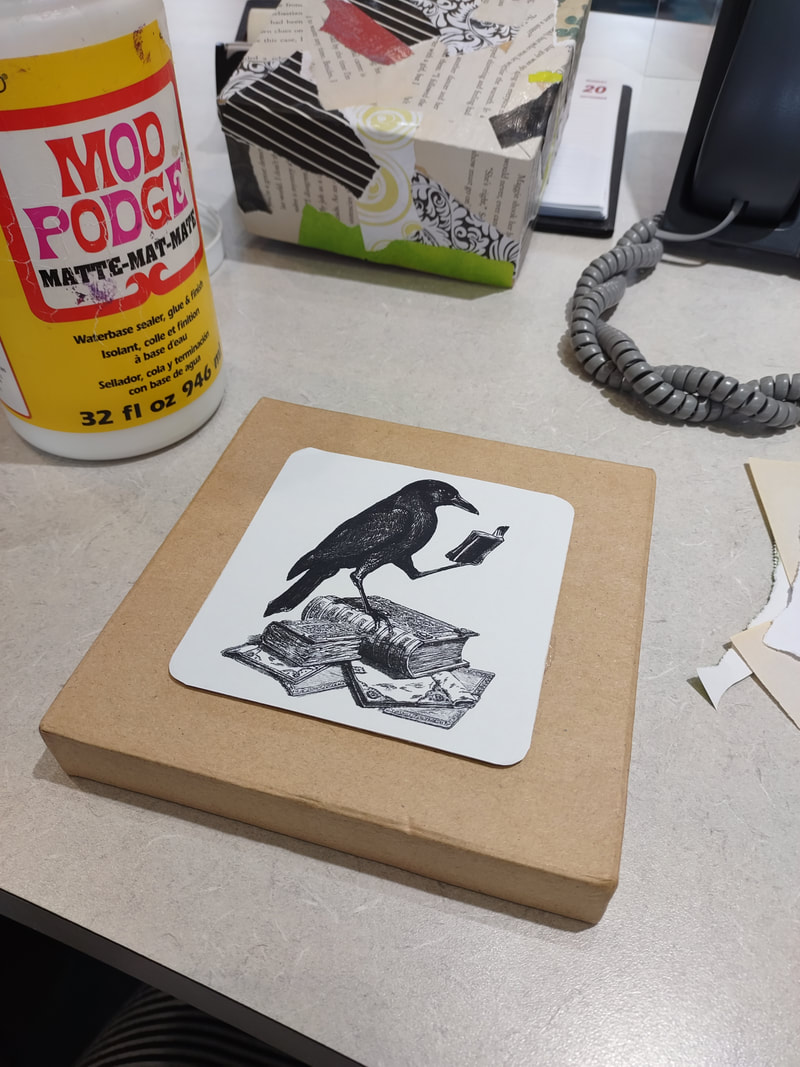
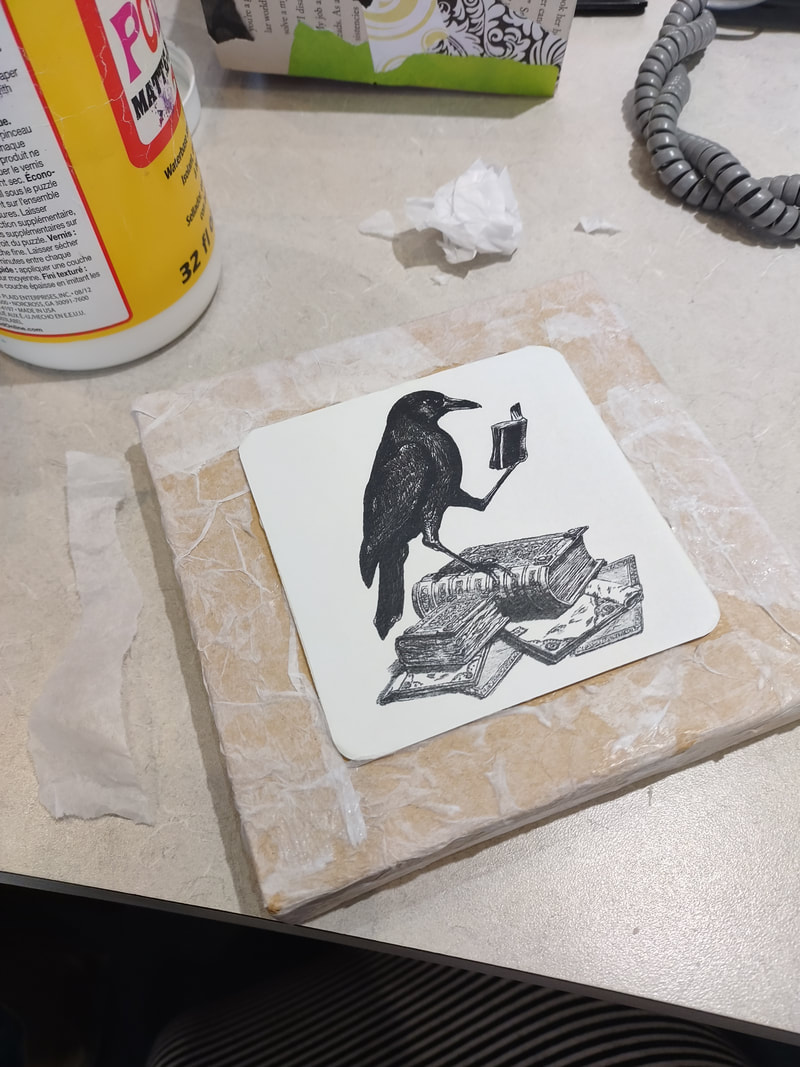
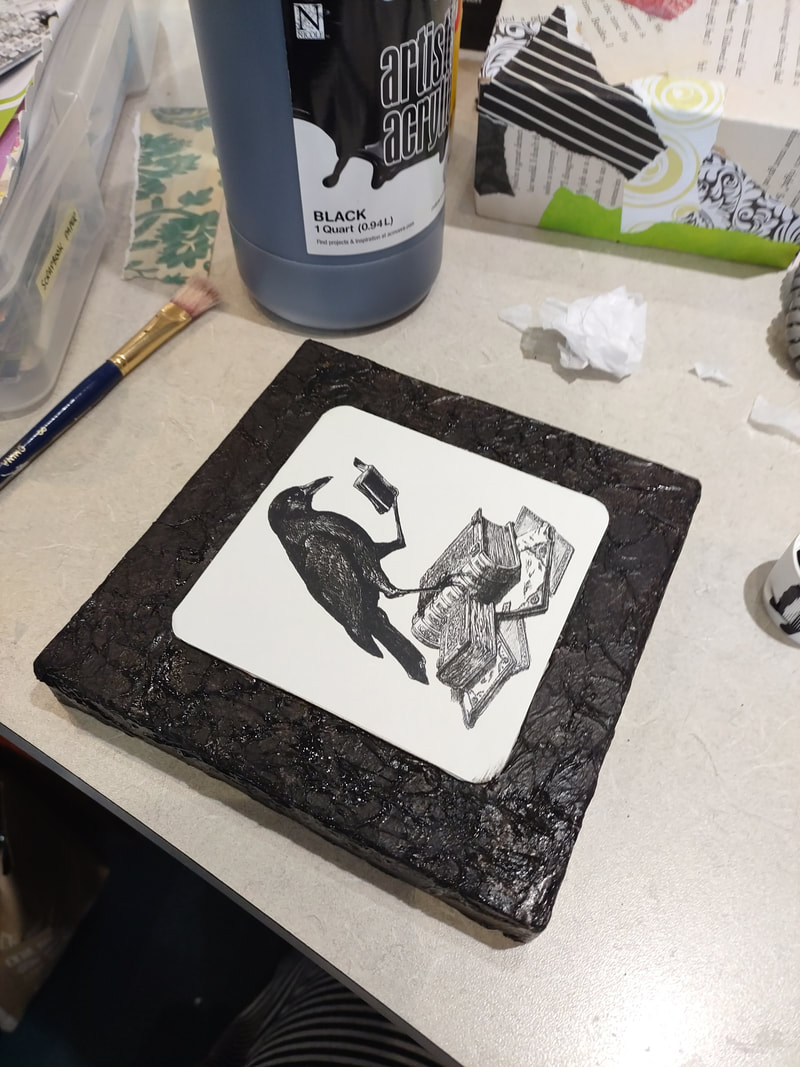
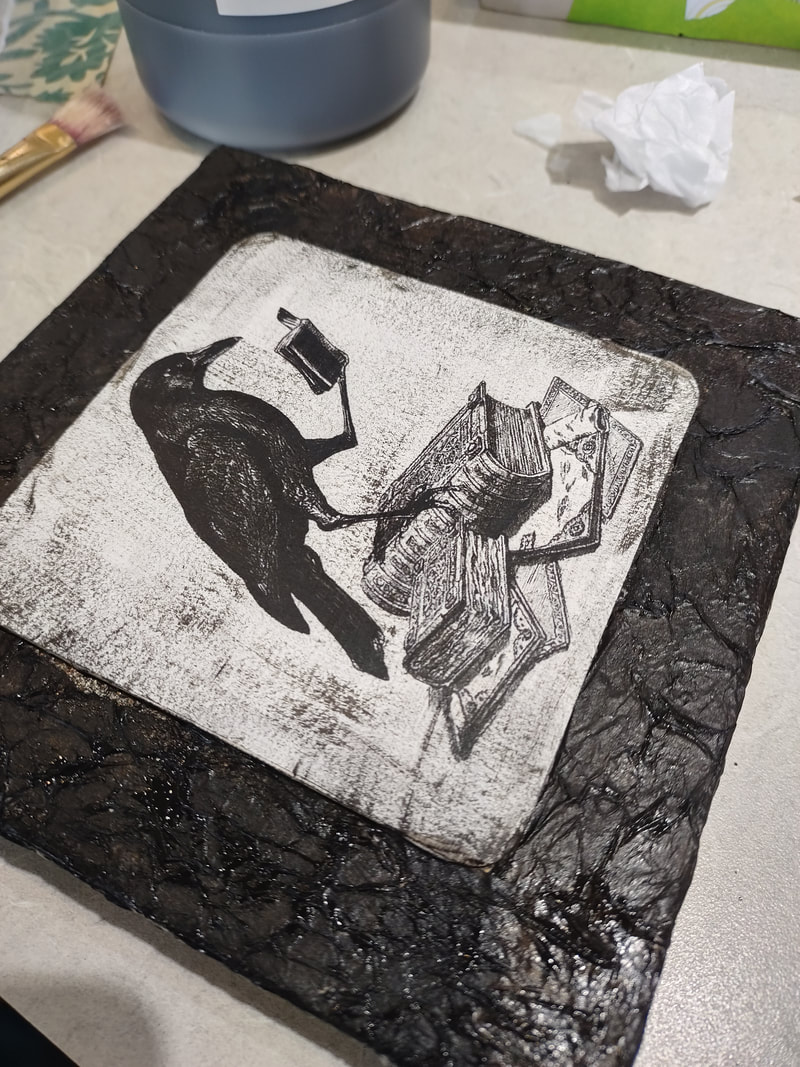
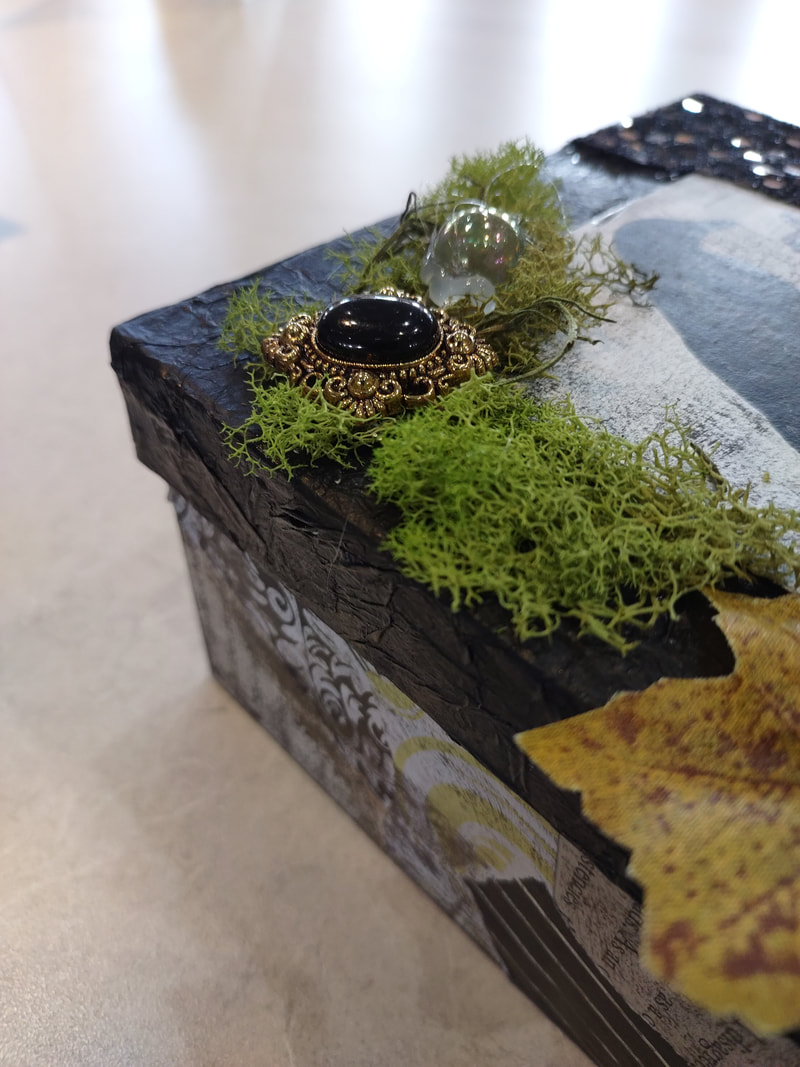
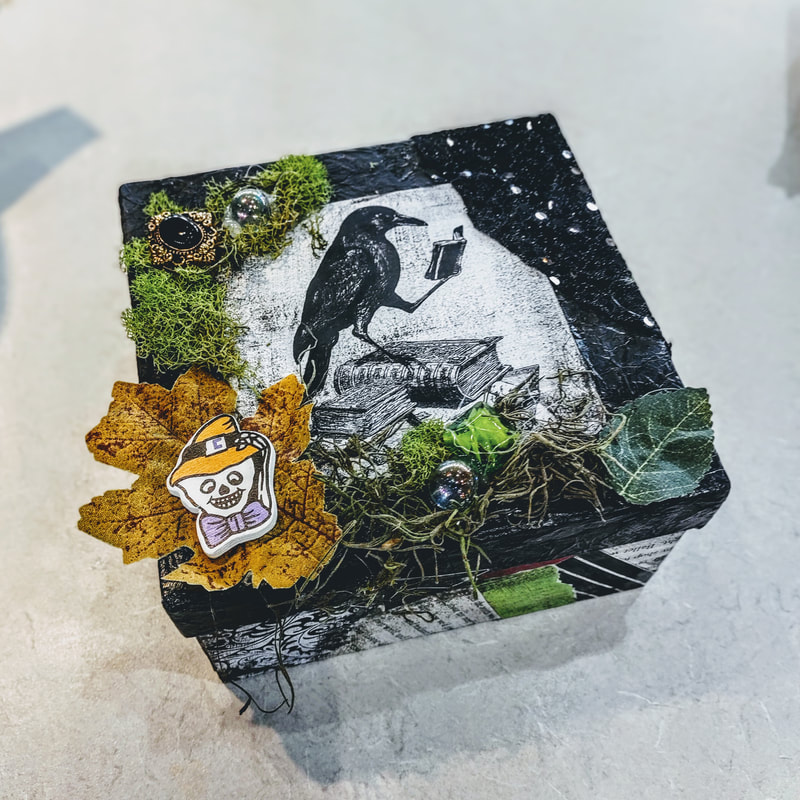
This craft was very similar to my spooky Halloween post from September but I still thought I'd share because, why not! This craft was to go along with the book "The Witch of Blackbird Pond" for our millennial book discussion where we do a craft to match the book! We had a stash of these cardboard craft boxes and, as usual, I wanted to do something that didn't cost us anything and this is what I came up with! I started by grabbing random scrapbook paper scraps (yes, I keep those!) and began piecing them together with mod podge to create this cool, almost Sally-looking pattern on the bottom half of the box. I kept going until the whole thing was covered, including the bottom. Around the top edge you may have to trim some pieces away so the box can still shut or us a piece of sand paper to smooth out the edges. Next, I printed out a black and white vintage clipart image of a blackbird and mod podged that to a white chipboard coaster I had from a previous craft. Then I hot-glued this to the center of the lid. I crumbled up pieces of tissue paper and glued that around the center image. Once dry, I then painted all of the tissue paper black and distressed the white blackbird image by lightly brushing my paintbrush across the coaster (putting a little more pressure around the sides. I ended up doing the same to the scrapbook paper on the bottom of the box, not pictured). Lastly, I finished up the box by adding fun "things" to the top! I used moss (leftover from our wedding!), old jewelry, buttons, beads, marbles, Halloween pieces, etc. to make a really interesting top! For this program we left the inside of the box blank but you could really do a lot to it!
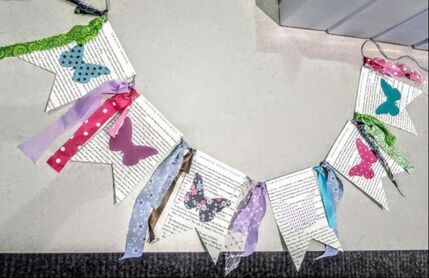
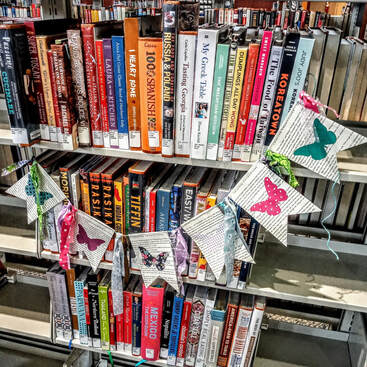
I have always, always loved butterflies. I became particularly attached to them when my elderly babysitter passed away when I was little. I remember.. or at least this is the story that's in my head.. that when she passed I made a wish for her to come back to me as a butterfly. And, lo and behold, the next day I was outside playing and a butterfly landed right next to me. Now, do I think it was quite a coincidence with it being spring and all that a butterfly would be flying around on a bright, sunny, April day, maybe. But to my little eyes and heart, it was her. I was looking for a simple craft that booklovers would (hopefully) love to make and came up with this sweet craft involving book pages, butterflies, and bright fabric scraps. Below are my step by step instructions to make it, enjoy! Supplies:
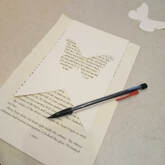
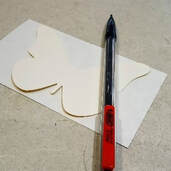
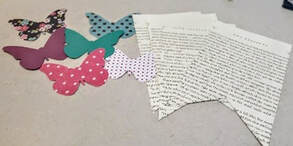
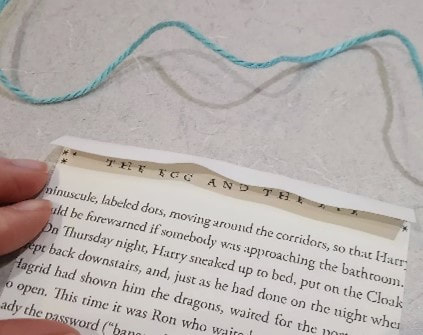
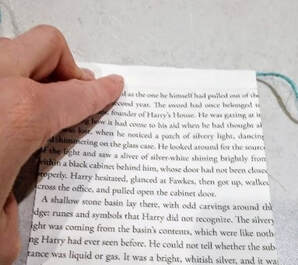
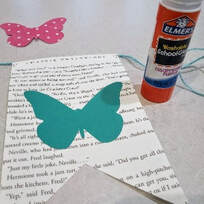
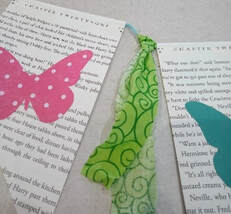
1. Lay out all your supplies to get organized 😊 I made a template for both the pennant and the butterflies so that they'd all be the same size. Trace your book page banner shapes and the butterflies. Then cut them all out. 2. Glue your banner book pages onto the twine by first folding the top over for a crease. Then, lay a line of glue (I used a glue stick) across the crease. While holding the twine in place, fold over the smaller top piece and press it into the glue. 4. Lastly, add your scrap fabric, ribbon, etc. in between each banner. You can tie it with a loop or a regular knot. That’s it 😊 Look how cute!
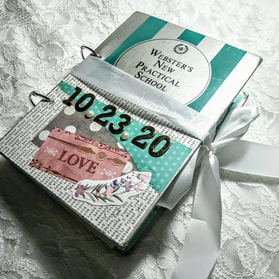
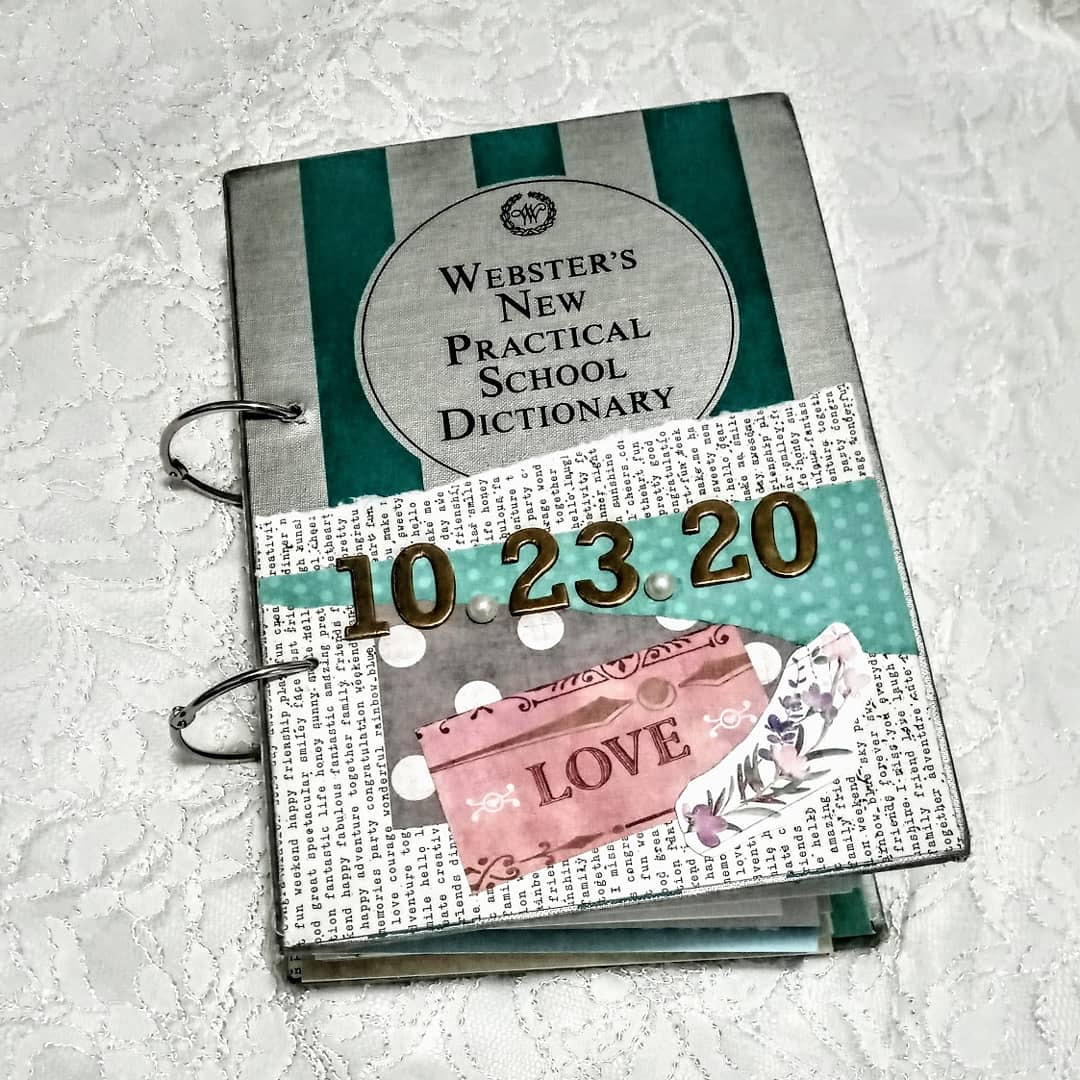
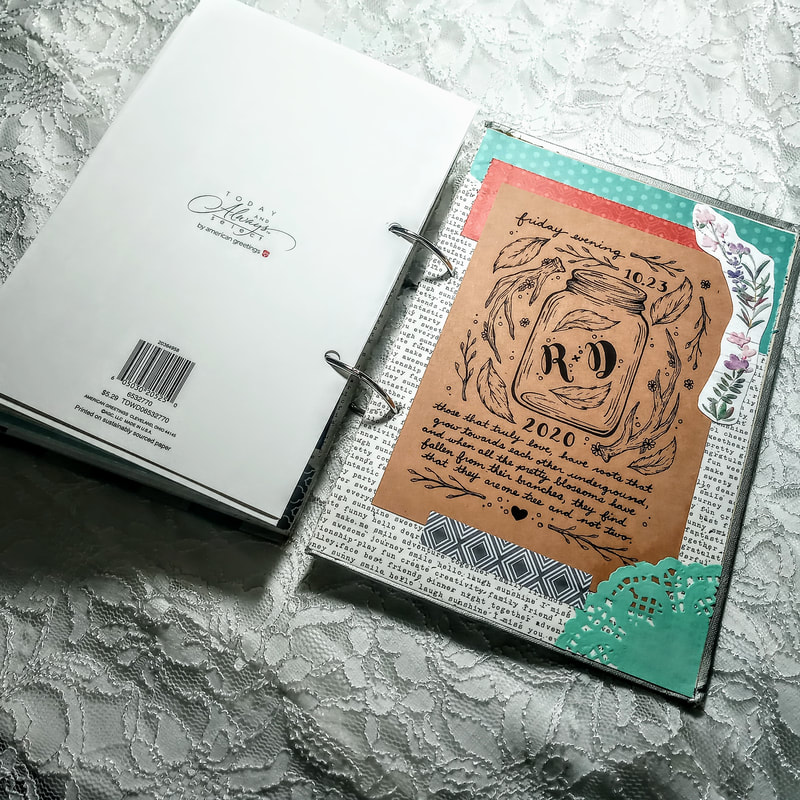
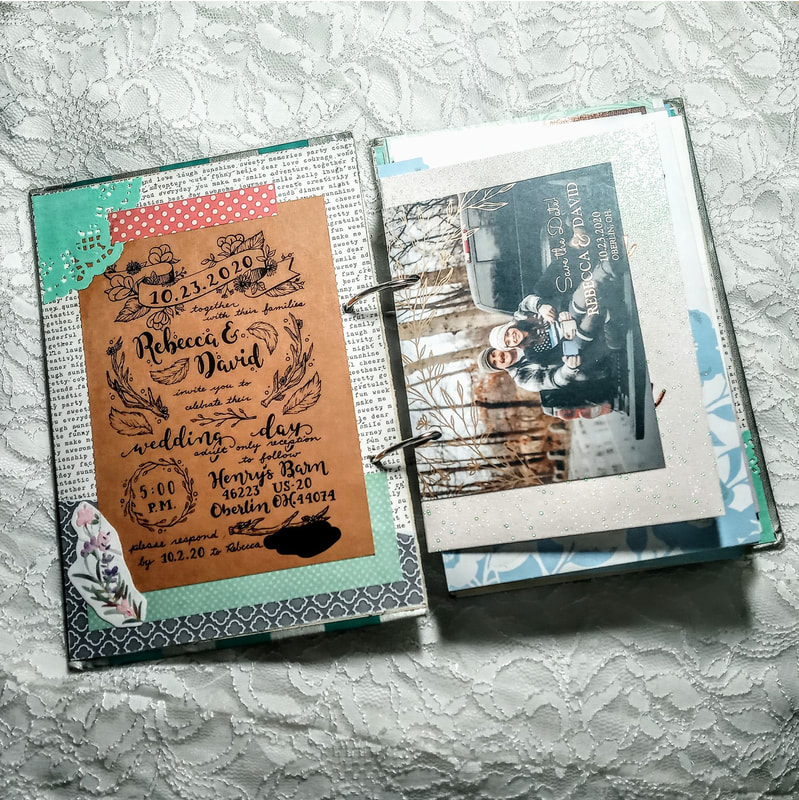
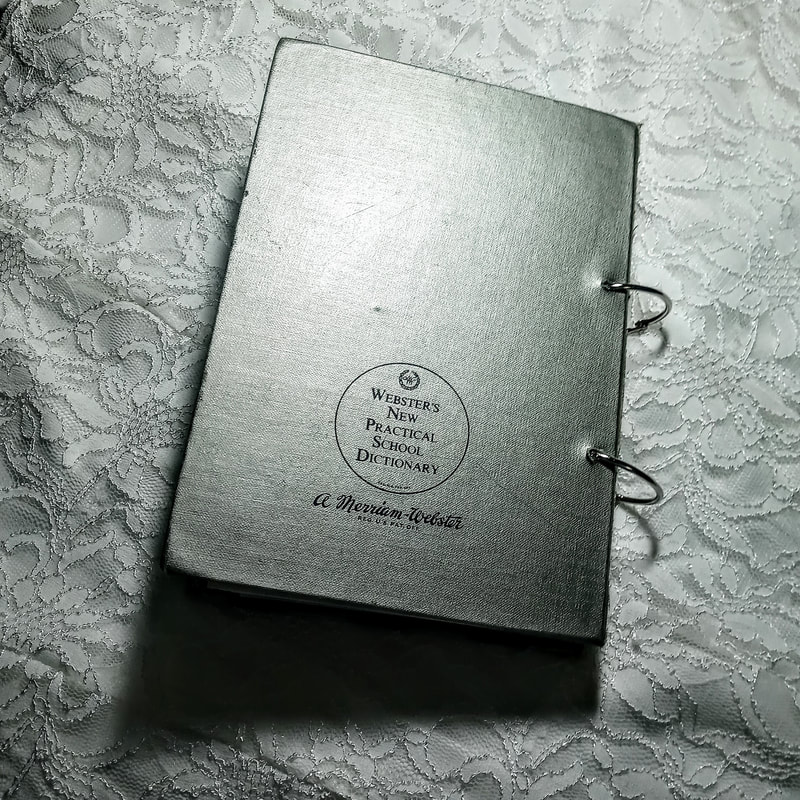
I GOT MARRIEDDDDDD!!!!! I'm a little excited, can you tell?! Wedding planning in general can be stressful but add COVID to the mix and it's just down right exhausting! We went back and forth for so long about what the heck we were even doing and basically started outlining two different wedding possibilities for our day. We ended up still having it at our venue and just had to limit our list down. Despite all the stress over every little detail, dresses, decor, the weather, and covid, it turned out to be the most perfect and beautiful day! I still can't believe just how perfect everything was and felt. To have those closest to us there to celebrate with us and enjoy a happy evening during all the craziness in the world was so incredibly heartwarming! With any big life event, we received plenty of cards! Not just any cards, wedding cards of course. They were just so beautiful, sparkly, meaningful, etc. and I just could not throw them away. I saw the idea people have been making where they punch shapes out of them and put them in a frame but I thought, what if I get tired of having it on my wall, or want to move it around? Then I'm stuck with a big frame to put somewhere else! And I mean that in the best way possible obviously! So instead, I thought, how could I make these into a book or album of some sort and tried looking up ideas on that. Some people take this very seriously and sew sections together just like you would a real handcrafted book but that was a little too much for me! When I began my "dictionary art" I had one singular dictionary and my goal was to use up every bit of that dictionary. After using all the pages and feeling so accomplished I then decided to hoard the cover and backing of the dictionary like a crazy person. Well, well well! Did those come in handy or what?! This became my front and back of our new wedding card book! I did not take step-by-step photos but I'll attempt to explain my process! *Optional: I first decorated both the cover and the backs to spruce up the book. I used scrapbook paper, copies of our wedding invite, and stickers. 1. I found my smallest card and lined them up centered with the cover of the book so that I could mark off roughly where 2 holes would go into the cover, card, and back of the book. 2. I used an electric drill to drill through both the cover and back. 3. Next, I marked every card with matching holes to the cover and hole punched all of them. 4. Optional. I also cut every card in half with an E-xacto knife so that they would flip more easily. 5. I used 2 large binder rings (3in to fit the amount of cards we had), and fed the rings through each card! Note: This was the amount of cards from about 60 people, so if you have a larger event you might want to/need to make multiple books! And that was it! Now we have a gorgeous keepsake!
|
Rebecca MyersHey there, I'm Becca, or Rebecca, but not Becky, never Becky, unless you're my family from down south! I'm a simply modern librarian by day and an artist by night. My pursuit is for a simple, happy, healthy, and more fulfilling life! I hope I inspire you to get crafty! Archives
March 2022
Categories
All
|


 RSS Feed