|
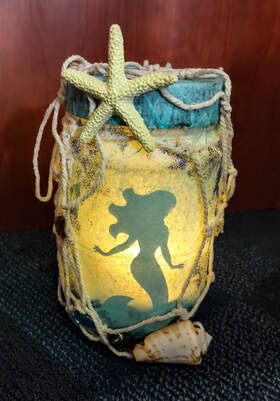
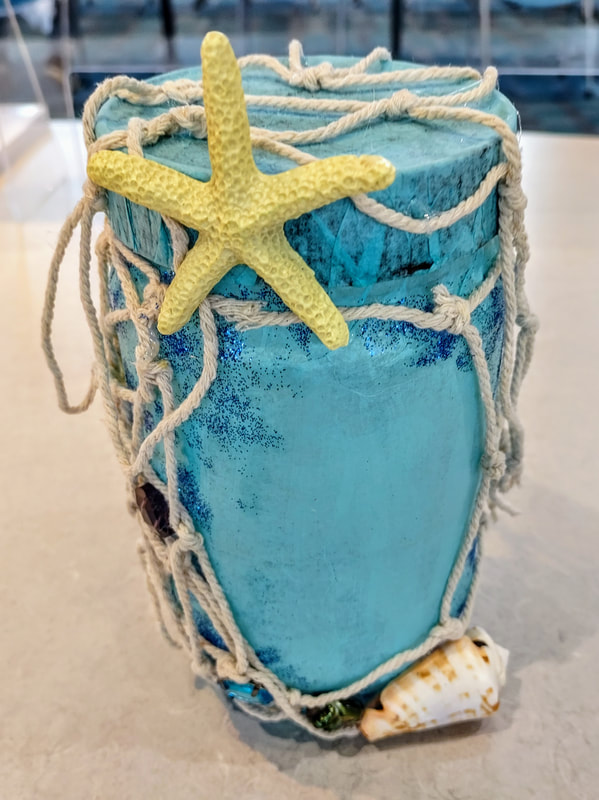
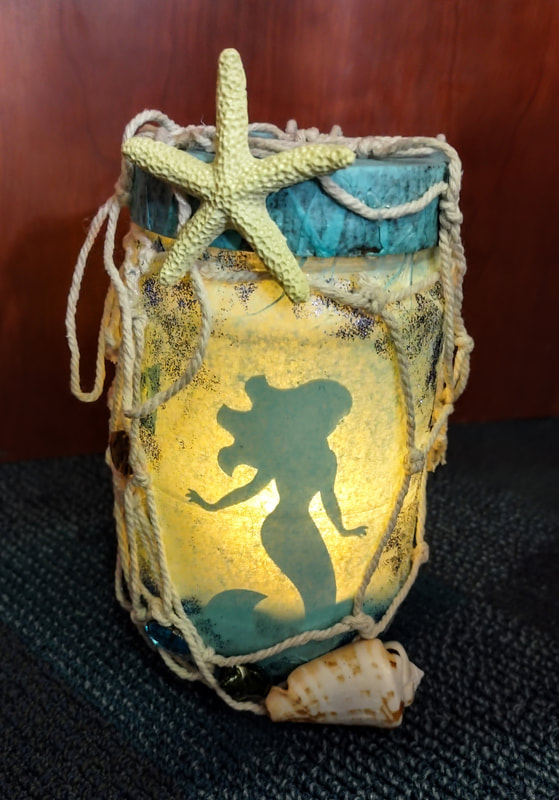
I've never been a beach girl. Well, I guess I like to sit on beaches but not swim and such... does that make sense? I'm the girl that wants to just sit and read outside in the sun with a drink then go cool off by putting my feet in and then repeat the process! Anywho, regardless of not being a beach girl... I have to say I love how this Mermaid Lantern came out. I have previously done many renditions of a fairy lantern seen here but this change up was really fun especially for summer. For this particular craft I utilized a readily available peanut butter jar but you could definitely use just about any jar you may have at home! If you want to make this project a little more fun and involved (especially for kiddos) take a trip to the beach to look for shells, sea glass, and interesting beach finds to use instead of buying items at the store! Even broken jewelry or random gems will look perfect on this jar if you think about what is often lost and found at beaches! I did purchase this cool starfish on Amazon as I was doing it for a class and it came in a pack of 24. As well as this pack of fish netting that I cut and hot glued to the outside and lid! Supplies:
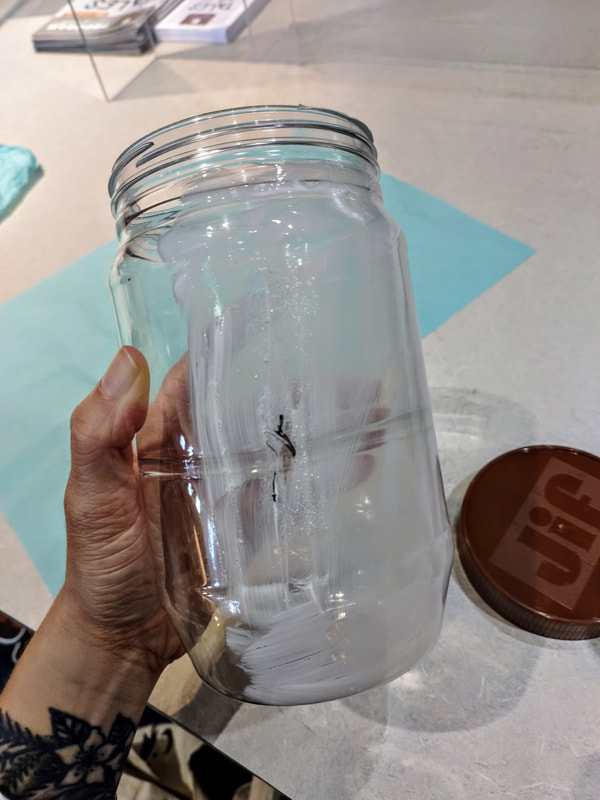
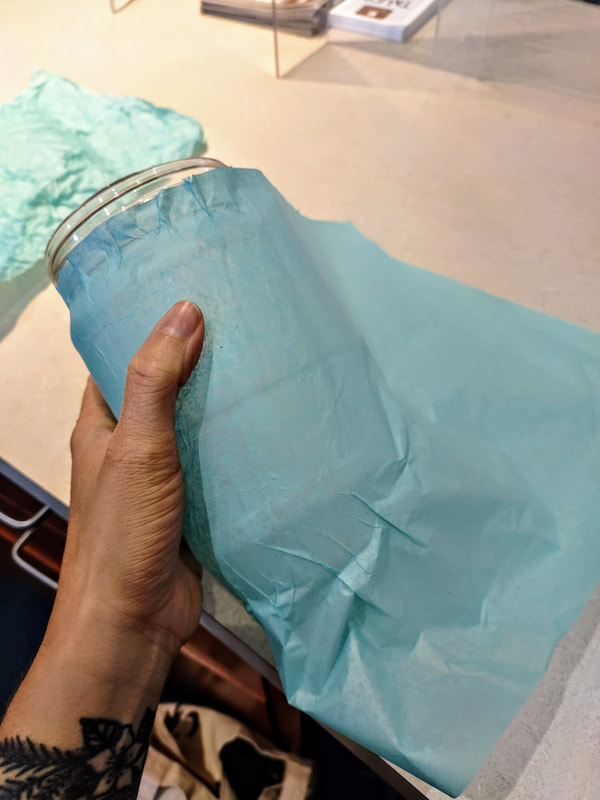
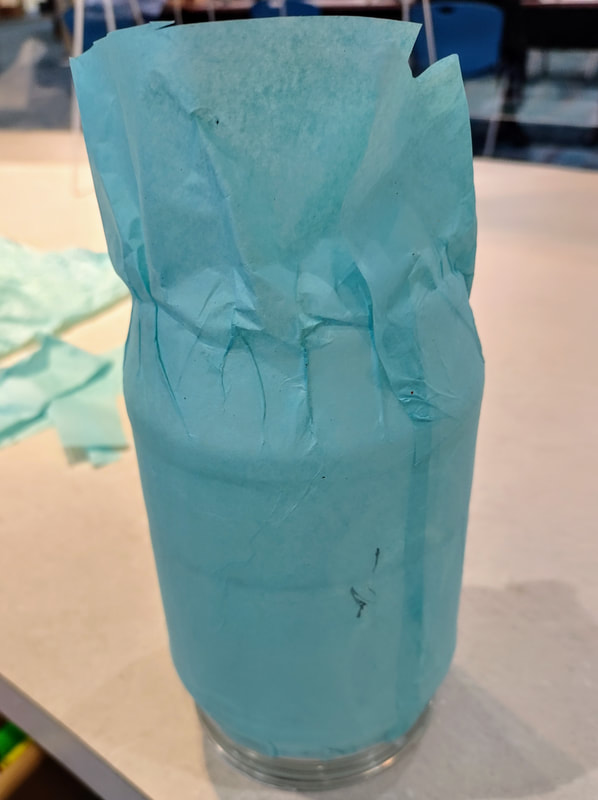
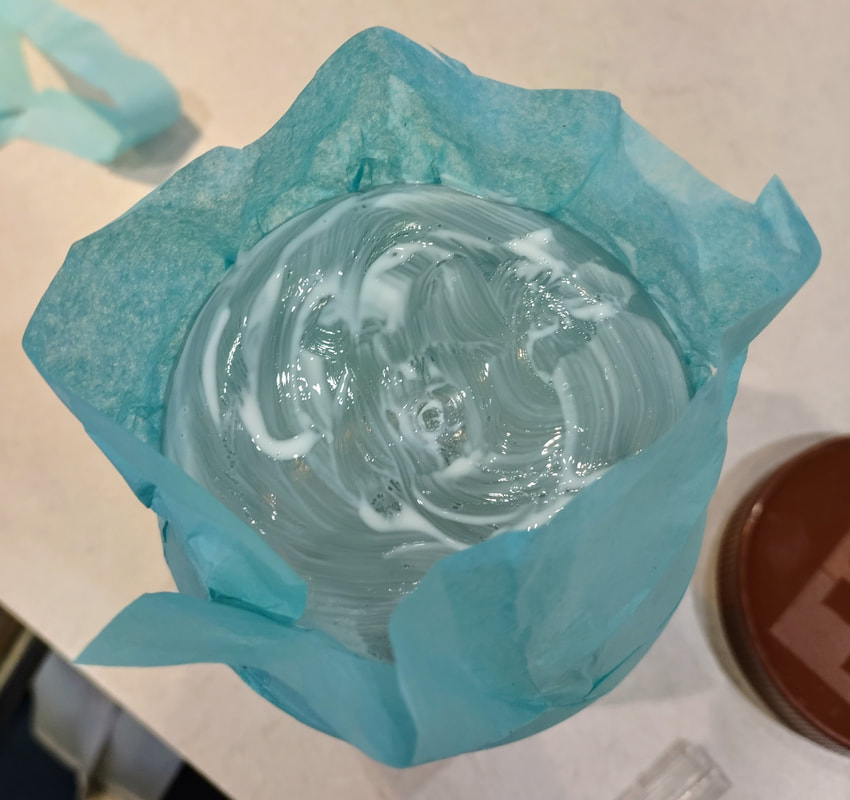
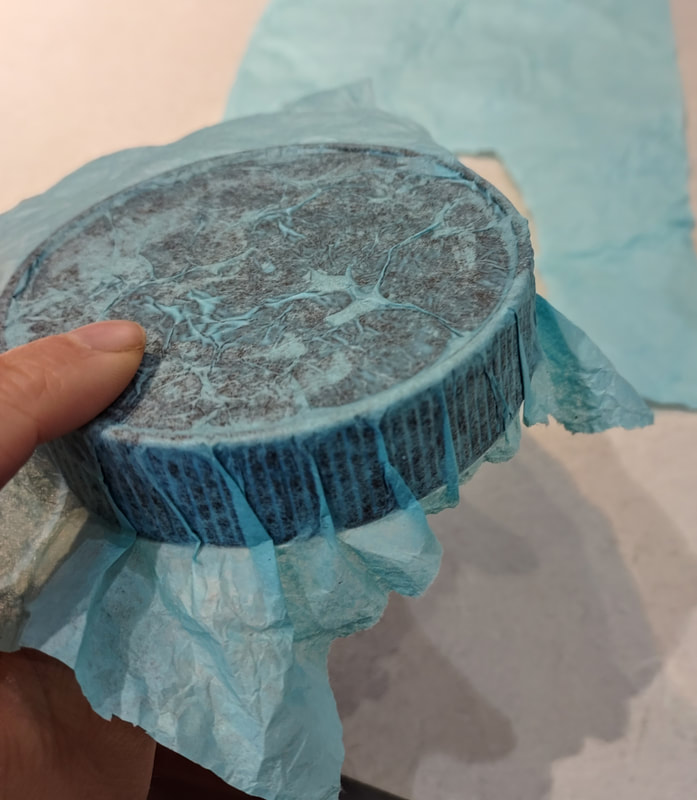
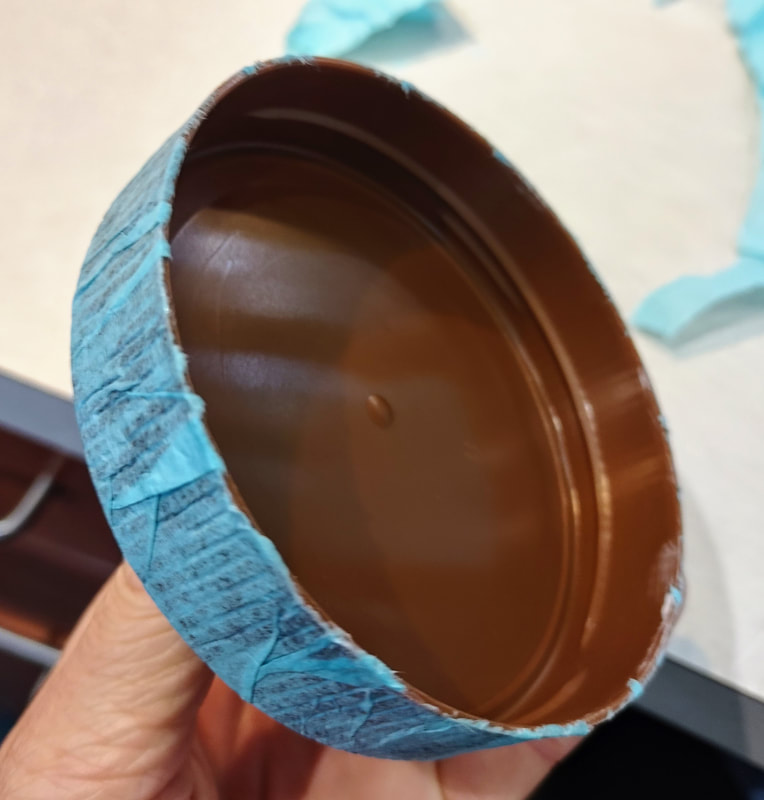
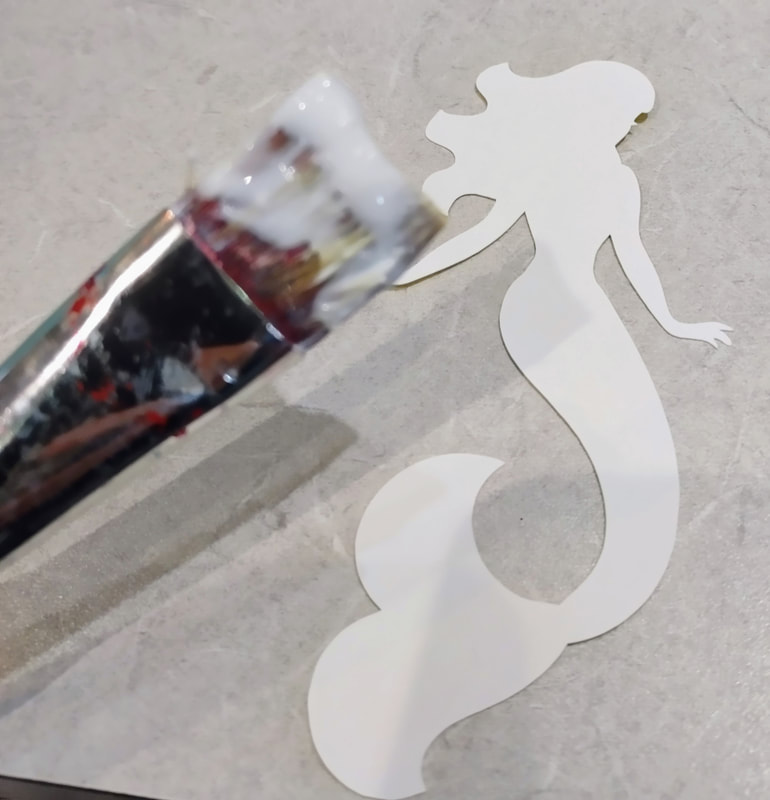
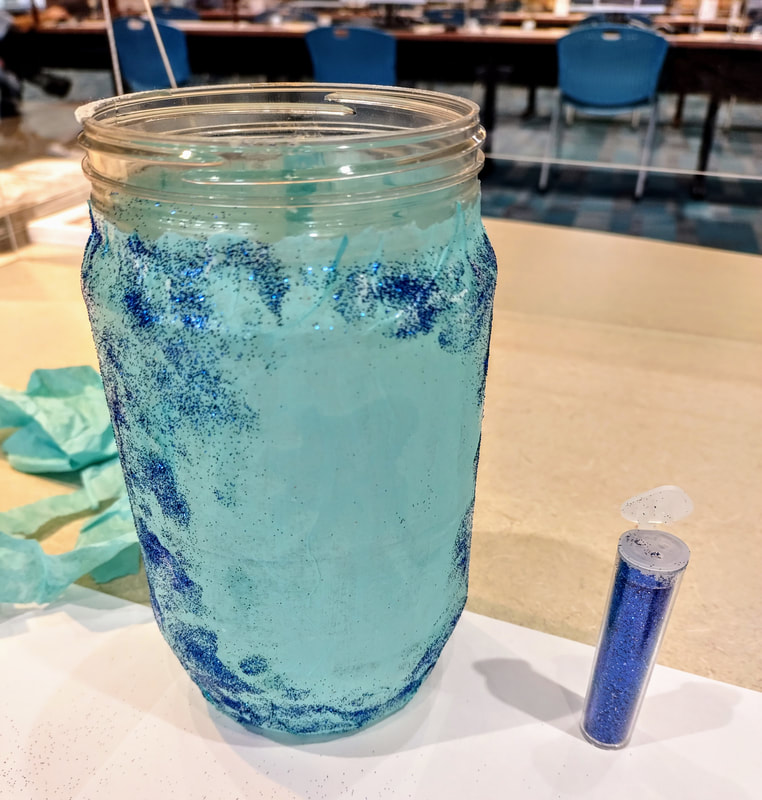
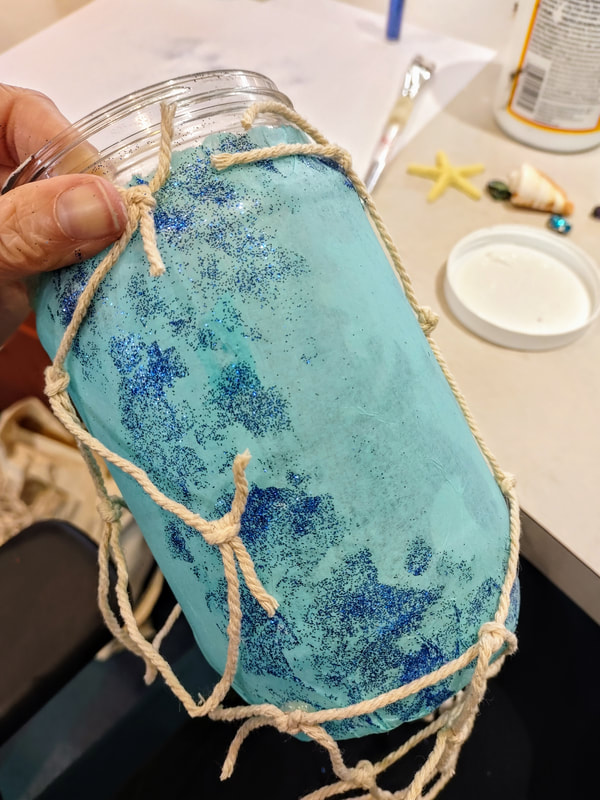
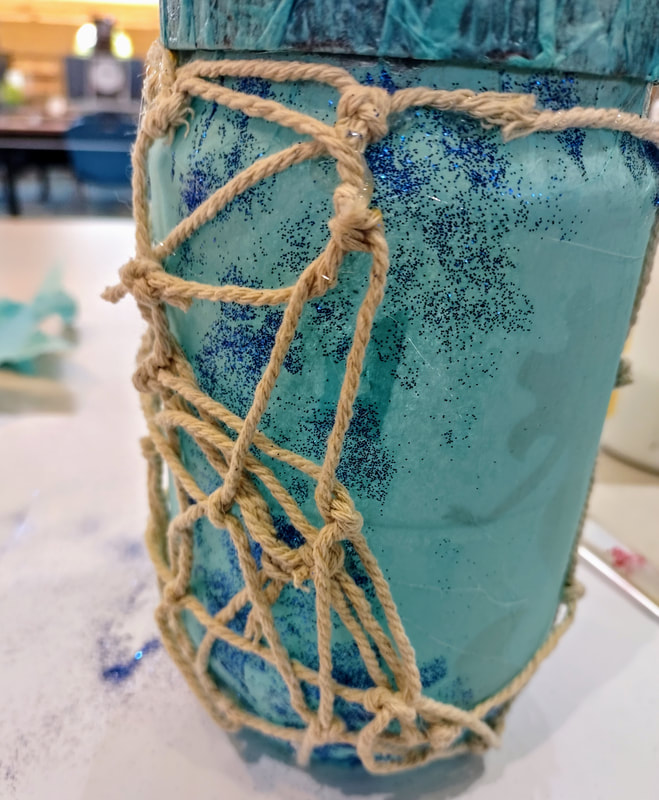
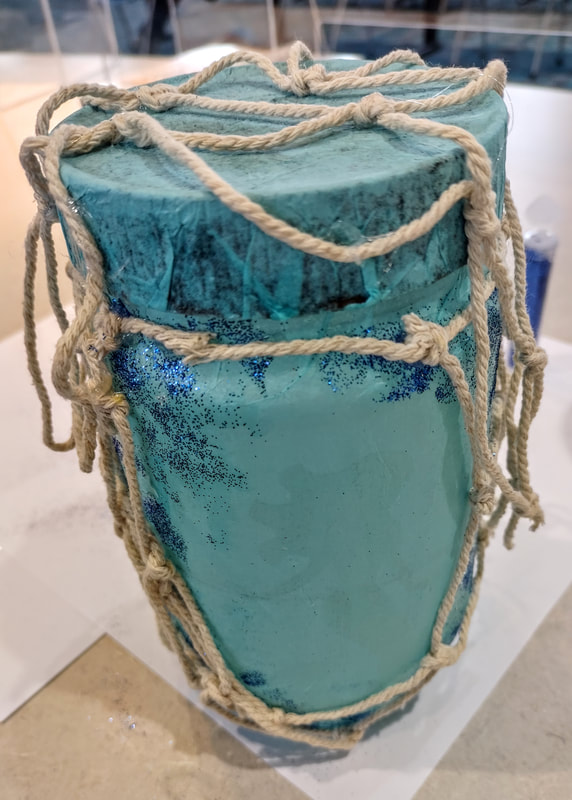
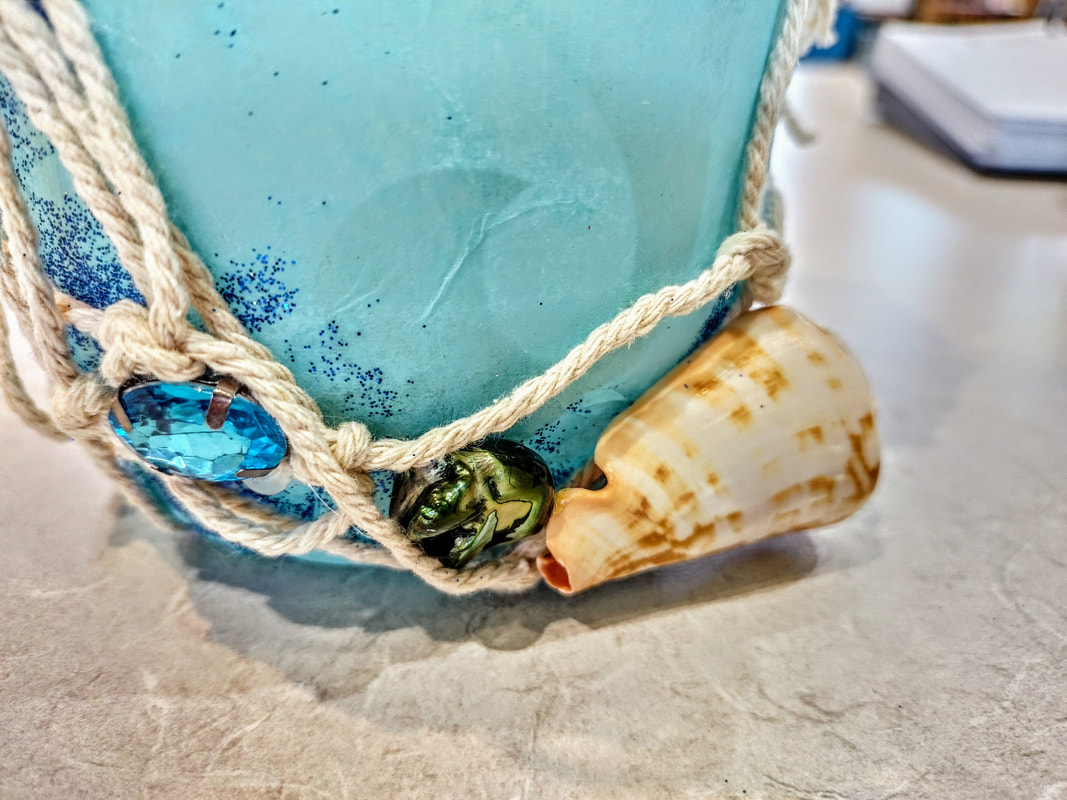
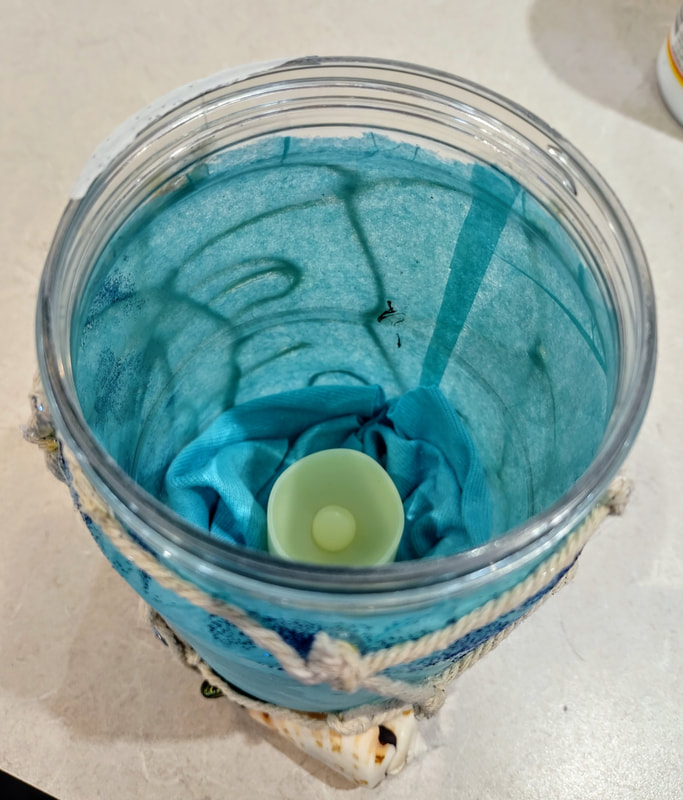
1. So let's begin! For this project I utilized light blue tissue paper (you could use any color though!). You can cut it down beforehand to better fit your jar so you don't have a bunch of extra in your way! I chose to leave this flat and not crinkle it at up like I had done with my fairy lanterns. Start by brushing your liquid glue onto your jar in about a quarter of a section at a time. Then lightly lay your tissue paper (right under the top of the jar so you can still put the lid on!) into the glue and smooth it out gently. Repeat the process until the jar is covered. 2. Flip the jar upside down so that you can cover the bottom. Trim away some if there is too much, paint on some glue and fold over the paper into the glue to cover it completely. 3. Work on covering your lid by doing the same thing. Paint on your glue and cover it the lid with the paper. I put one layer on and did another to make it a bit darker! Trim away the excess from the lip of the lid. 4. Add your mermaid to the inside of the jar by painting the one side with the glue and pressing her on the inside of the jar where you would like (avoid the seam from your tissue paper!). (Optional) Add glitter to the outside of the jar by painting glue on where you would like the glitter to be and sprinkle the glitter into it. I used it to “frame” around where the mermaid is in the jar. Use your finger to tap the glitter into the glue and shake off the excess. 5. Next, add the netting! I found this surprisingly tricky! You can stretch it across your jar, cover the entire jar, or overlap it in a messy way (option I chose!). Secure it in various spots with hot glue, careful with your fingers! I also added some to my lid so that it would hang over the sides! 6. Once you get your netting situated, you can hot glue your embellishments! You could really add however many you want to your jar and all the way around too. We only had a limited number of supplies so I added them mostly around where the mermaid is to frame her silhouette. 7. Last step, add your candle! Again, I got my candles from Amazon, because they came in bulk for the class, but I also liked these ones because they were a bit taller than normal too since the jar was also taller and wider. Mine kept rolling around in the bottom of the jar so I also added a piece of scrap fabric in the bottom first so that the candle would have something to sit into. Turn the candle on, put the lid on, and watch it glow! Ps. you don't have to actually twist the lid on, just close it enough so the top is covered :)
0 Comments
Leave a Reply. |
Rebecca MyersHey there, I'm Becca, or Rebecca, but not Becky, never Becky, unless you're my family from down south! I'm a simply modern librarian by day and an artist by night. My pursuit is for a simple, happy, healthy, and more fulfilling life! I hope I inspire you to get crafty! Archives
March 2022
Categories
All
|


 RSS Feed