|
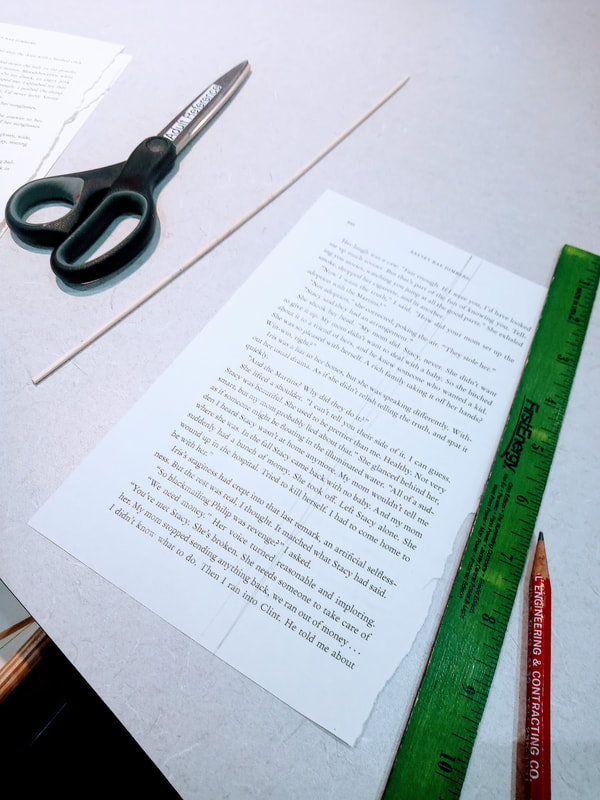
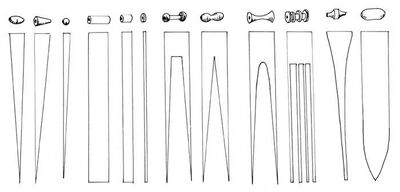
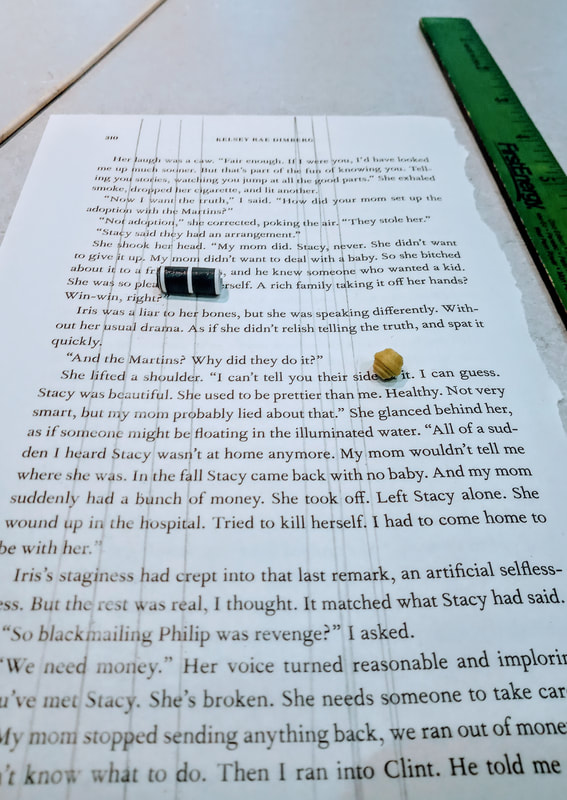
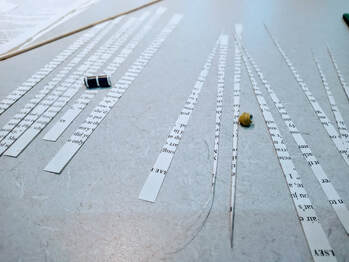
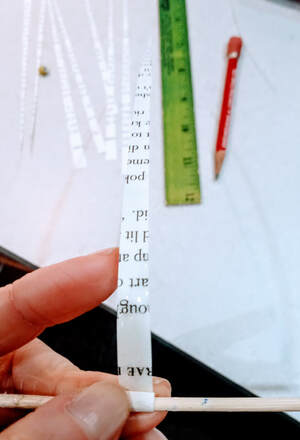
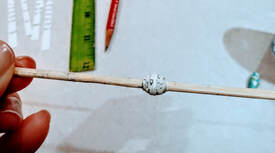
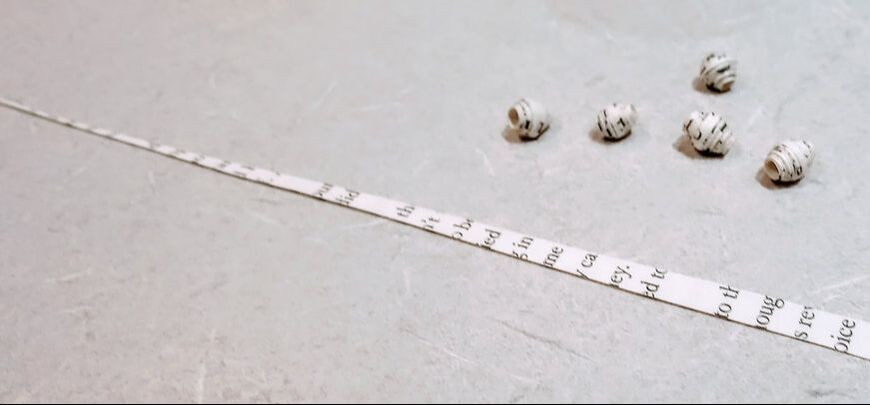
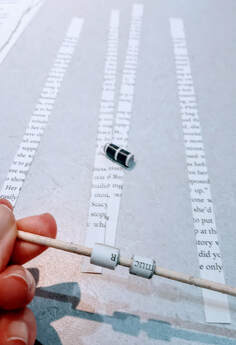
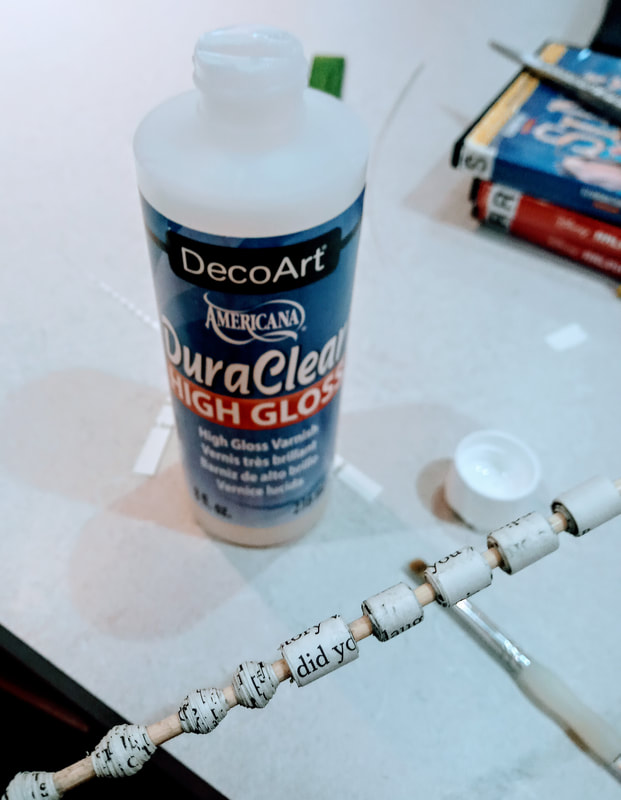
1. Decide what type (size/shape) beads you would like to create. This will determine how to cut your paper. You can find many templates online for various paper beads. I went with very simple designs. 3. Cut out your strips of paper and get ready to roll! Literally. 4. Wrap the end of your paper around the skewer. With the tail of the paper sticking out, put a light line of glue on the paper facing up towards you and begin to roll the skewer forward into the glue, wrapping the paper around at the same time, smoothing the glue with your finger as you roll. Keep rolling until you have used all of your strand that you want to use (add more glue when necessary). 5. My second set of beads I made were more cylindrical by cutting parallel strips of paper and using the same rolling technique with the skewer.
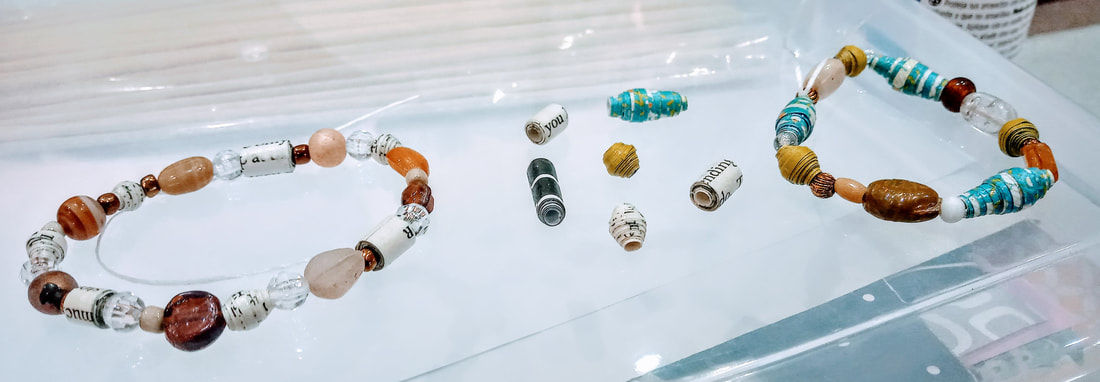
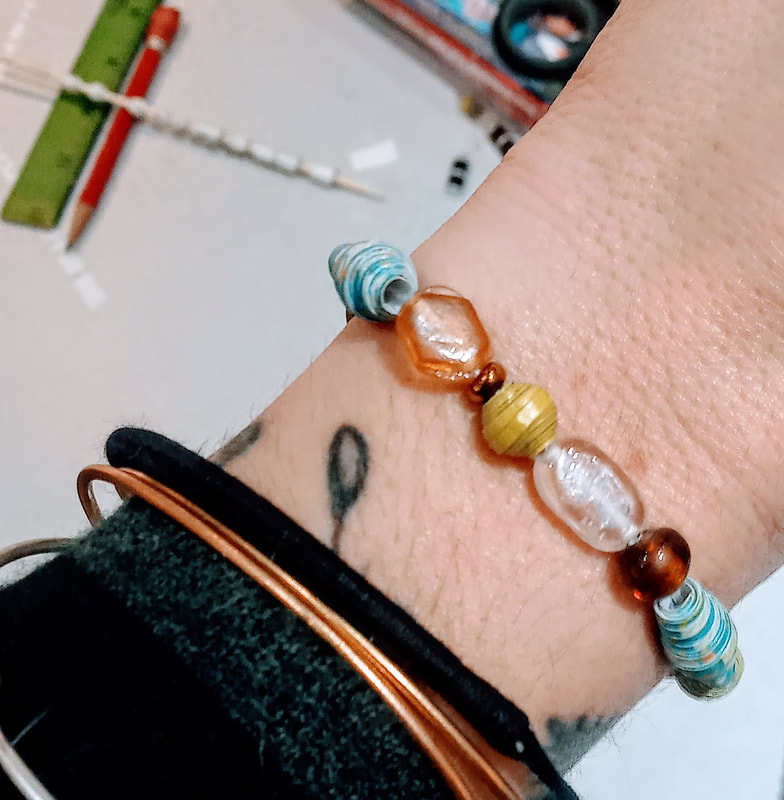
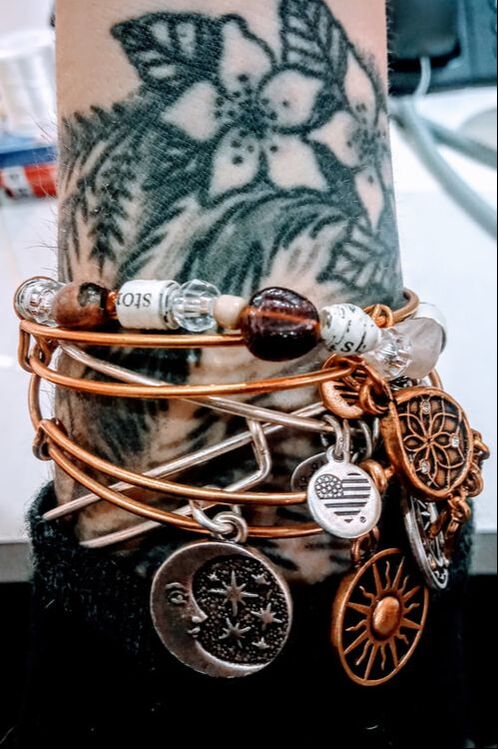
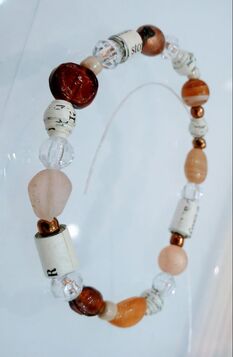
7. I used these to make bracelets with for a future program. I used elastic beading string so I wouldn't have to deal with any clasps or rings. I strung the beads onto the string, tied it off, and used the same sealer to coat the knot so that it (hopefully) stays together. The first bracelet I made, I failed at. Although it had colors I liked, it was just too much for my taste. I also made it way too small. It should have had another handful of beads on it. You can see the gap in the photo. Here's some images of my final bracelet that I actually like.
0 Comments
Leave a Reply. |
Rebecca MyersHey there, I'm Becca, or Rebecca, but not Becky, never Becky, unless you're my family from down south! I'm a simply modern librarian by day and an artist by night. My pursuit is for a simple, happy, healthy, and more fulfilling life! I hope I inspire you to get crafty! Archives
March 2022
Categories
All
|


 RSS Feed