
|
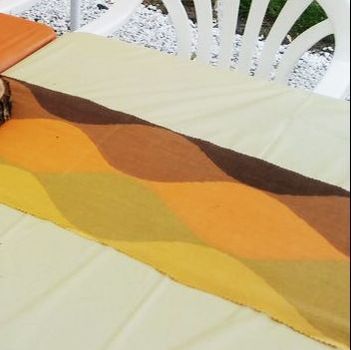
It feels like it has been ages since I have last posted! But it has not quite been 2 months yet so I think I'm still in the clear. The reason for my absence was mostly due to the fact that I was in charge of throwing my parents a surprise 40th anniversary party! And it's no simple feat - especially when you want to do it up like me (Momma taught me best!). Planning a party of any type has so many components! It starts with when to have it, where to have it, and rolls into the confusing guest list of who and who not to invite - hoy, so many decisions! Luckily, a wonderful aunt offered to host the party for us, which means... no cost! (I tried to give her money guys, I swear). Once you decide on a guest list, you can make/order invites. So much fun!  We put a twist on the party since it was for my parents anniversary and made it a 1970's party to honor 1979. I love having a theme. It makes it more fun in my opinion! But, I also think just doing a general color scheme is fun too! So, once you get those invites out you can start thinking about the details: food, decorations, etc. Luckily, my parents have amazing friends, everyone offered to bring something. My aunt and I provided the main dishes and everyone else brought sides and desserts. Someone else even offered to get the cake for us - thank you, thank you! 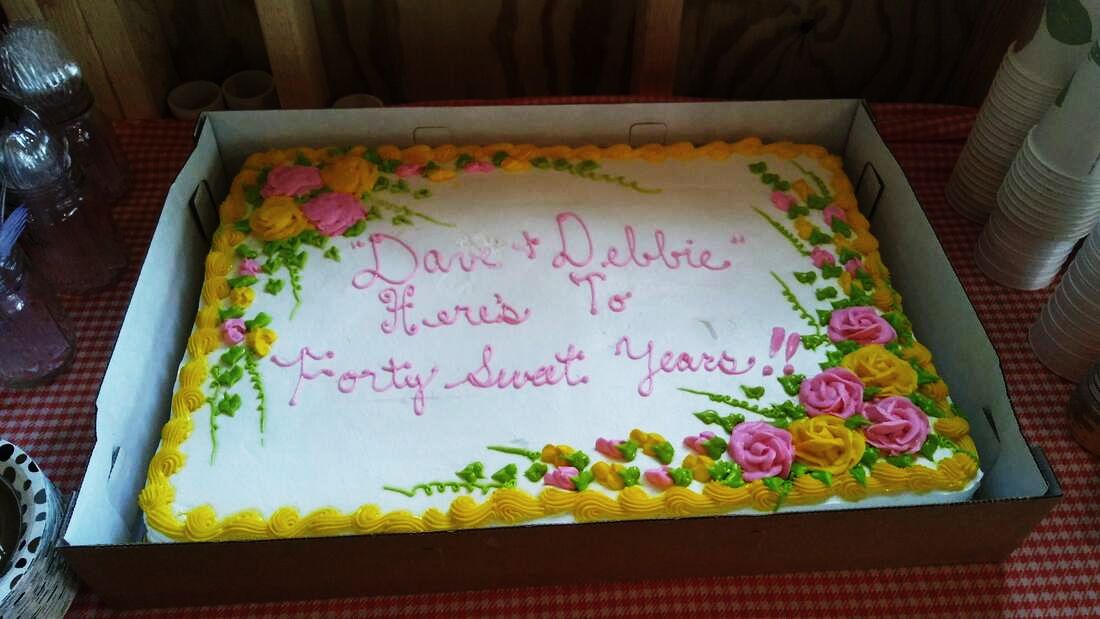 I was left to decorate, which I love more than anything. Since we went with the 1970s, I tried to stick with the beautiful hues of that era - yellow, olive green, peach, brown, etc. and it was beautifully vintage when it all came together.
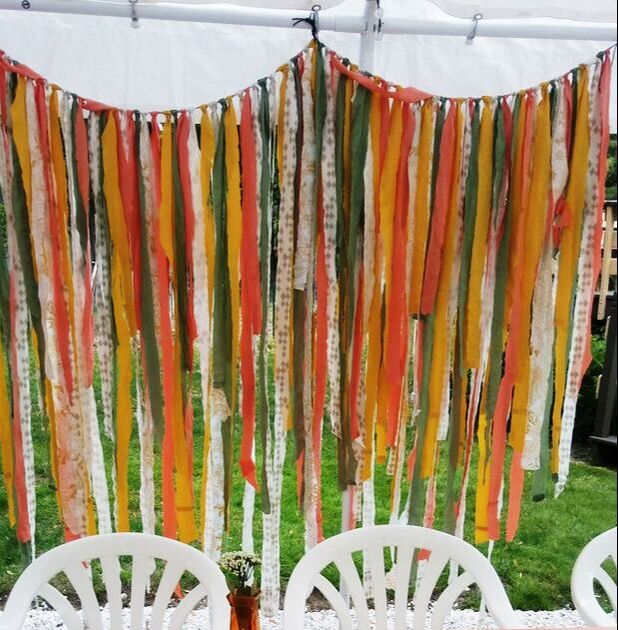
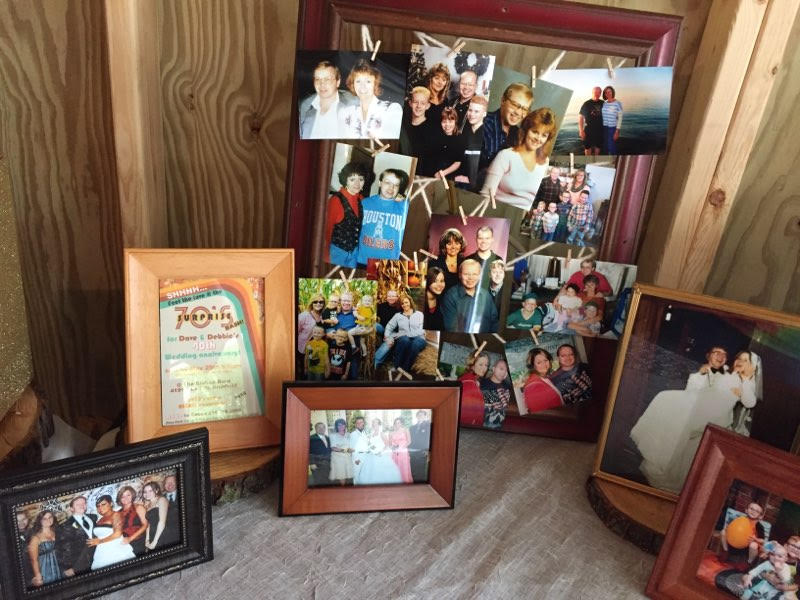
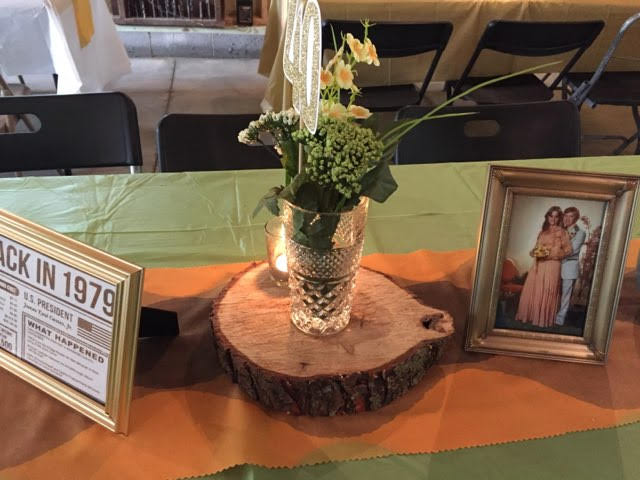
To see how to make the fabric garland, read my post here: https://www.the-art-escape.com/blog/scrap-fabric-garland I put together a small photo collage (didn't want it to be too overwhelming) to show the progression of our family over the last 40 years and also put their 1970 style photos in frames to use as decorations on the tables - and conversation starters of course!
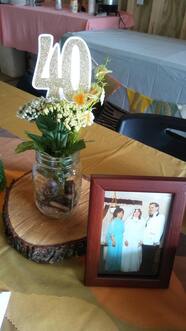 I used mason jars for center pieces, filled them with stones so they wouldn't blow over, and put a simple mixture of fake flowers with pin wheels or "40" stakes in them. I purchased the pin wheels for dirt cheep at a craft store and made the "40" stakes myself by cutting out "40" on glitter paper with the CriCut, gluing them to a white background, and taping them to the stakes. I trimmed everything down to fit into the glasses at varying heights. My aunt also had tree slices left from previous parties that we used under the mason jars! This provides some extra pazaz to the table for sure! To be completely honest, I didn't really know how many tables we would have. I also didn't know where I would be hanging all the stuff I was making but I just kept making away! Everything was able to be used and it all came together perfectly!
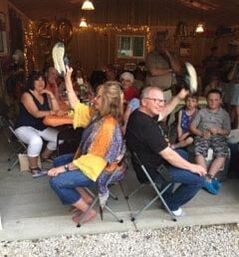
Although it was supposed to be a surprise party... my parents totally knew! They said no one talked to them all week and people were being too weird - woops! That's ok - it was a perfect 70's bash none-the-less. Now, for one thing that was not so perfect.... there always seems to be something that happens at events: strange family drama, weird occurrences, something doesn't work, something breaks, you forget the cake, etc.... this particular event resulted in my aunt (yes the same aunt who hosted) acquiring a broken leg!!!! It was awful, there's just no other way to put it. I felt/feel absolutely terrible that it happened because, in my mind, if I wouldn't have had it there, she wouldn't have broken her leg! Now she will be laid up in a cast for weeks and weeks, right in the middle of summer (she's a camper, this is a big deal people!) and right before her grandbaby is due! Terrible, terrible, terrible! It happened while we were setting up for the party, we tried to make her sit the rest of the day/night but the woman wants to move, move, move! Thankfully, she had a boot from when she broke her other leg another time and wore it all night... but, the next day, x-rays revealed it was most certainly broken. Picture below to prove how amazing my aunt is for sticking around the whole night! 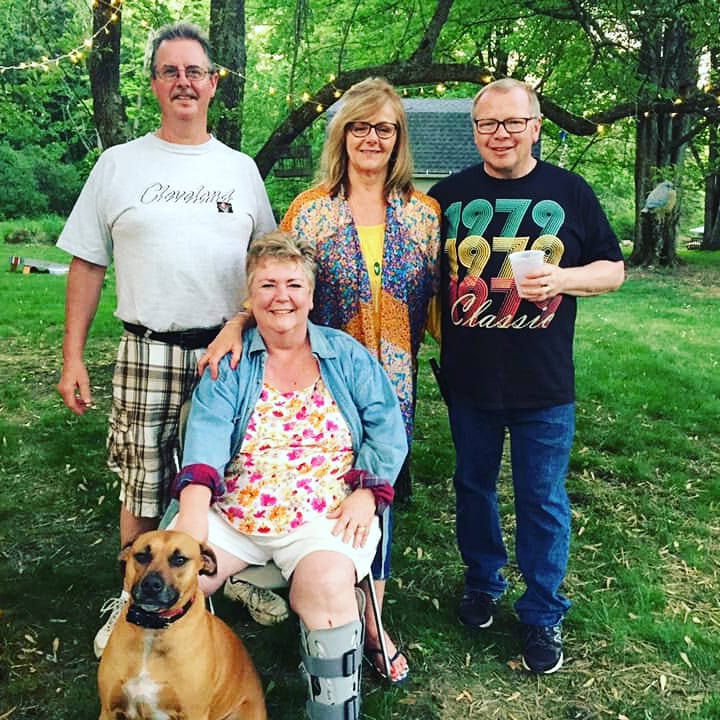 So, in conclusion, there are so many different pieces and parts for planning a party. You can go in so many different directions and do just about anything, making it personal for whoever the guest-of-honor is!
Need ideas for planning your next party?? Just ask me, I'd love to help!
0 Comments
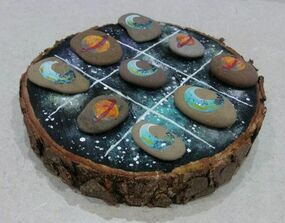 It's been a whole month since I have posted a project. Time is flying by... sometimes it feels too incredibly fast! I have been doing a lot of projects for other people so I don't have much to post, but, my next up-coming project at the library is a DIY Tic-Tac-Toe board. I thought this idea would be perfect since spring is (supposedly) here. I don't have specific steps for this, as you can make it whatever you want! But here is the list of supplies I used and my end product! Supplies:
 I got the original idea on Pinterest on the AttaGirlSays blog! I am encouraging my class to paint whatever they would like for their tic-tac-toe board and have a collage of photos to provide them some ideas. I went with a galaxy/space theme for mine, but, I would love to do like a big daisy for the base/board and then lady bugs and bumblebees for the pieces! Maybe next time! Have fun and happy spring! 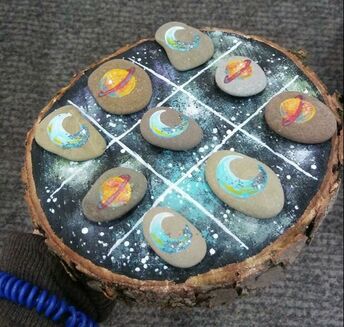 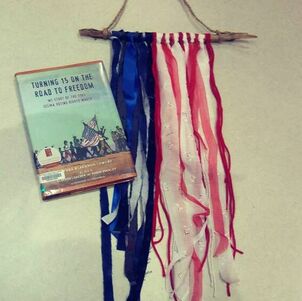 I created this quick craft project to tie into a book discussion at work. But this so easy, anyone can do it and it's very quick as long as you are making a smaller size. I also think this would be awesome in an extra large size as well! Supplies:
1. Gather your supplies all in one space so you are ready to go! a. If you are using fabric, I would cut your strips at this time as well 2. Use blue pieces to represent the blue star part of the flag (I saw some online that used white beads throughout to represent the stars!) and alternate your red and white for the stripes. 3. Tie your strips on using the Larkshead Knot technique below. This is a great way to add your elements because you get two components out of one. a. You can also tie them however you wish. Try tying little pieces together of different types/textures to give your flag more variety. 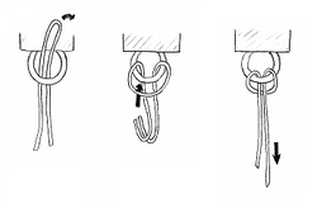 4. Create a piece for hanging. I did this by wrapping 3 pieces of twine around the one end, braiding it, and tying it off on the other side.
5. That's it! Feel free to add whatever types of elements you have lying around! Perfect decoration for the most rustic folks you know! 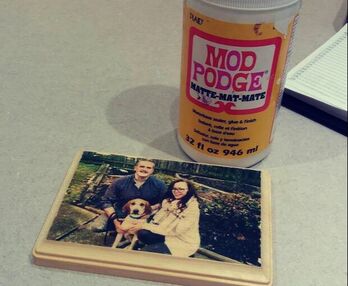 I had always wanted to do this but all the methods I looked at seemed unrealistic and lengthy. Thanks to CreativeBug (which is offered through the Cuyahoga County Library system for free) I was able to discover a quick, super easy way to complete this craft! I only have the end result photos and not the progress photos but, seriously, I don't think you'll need them because it's sooooo easy! Supplies:
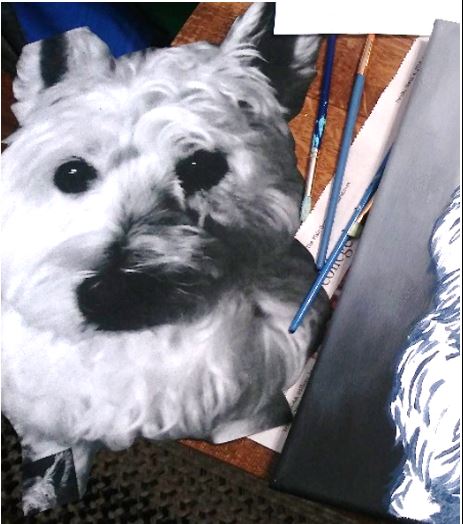
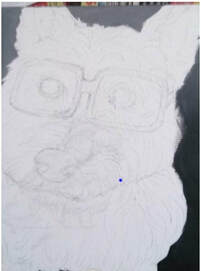
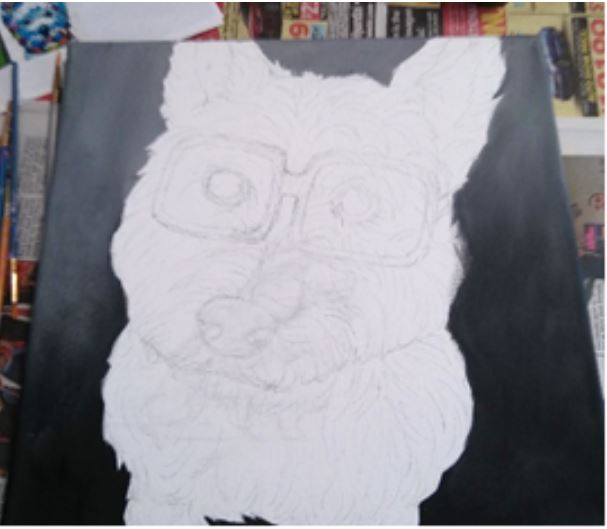
1. Print your photo out on regular ol' copy paper on a LAZER printer. It can be in black and white or color. Cut away any excess paper. 2. Paint on a nice solid layer of Mod Podge on your wood piece (You don't want too much that it's goopy and sliding off the sides but enough to see a white layer). 3. Flip your printed photo into the Mod Podge, ink side down and smooth out to remove any air bubbles. 4. Take your burnisher/flat edge and rub the paper with some effort. This helps get rid of any extra air pockets and gets the ink nice and set into the Mod Podge. 5. Wait for the Mod Podge to COMPLETELY dry. 6. Fill a cup with warm water or just let the faucet lightly run (feels pretty wasteful though!). Wet either your fingers, or a sponge, and begin to lightly saturate the photo. DO NOT soak the photo! 7. Start lightly rubbing the paper in circular motions. The paper will begin to turn into a pulp and will slowly roll off the wood surface. 8. As the wood dries you may see some paper areas you missed. Just go back over these in the same fashion by wetting your fingers and rubbing the area in a circular motion. 9. After you're done, you can coat the wood with a finishing agent, paint the sides, decorate with embellishments, etc. Really cute gift idea, especially for family photos! Note: "They" do make photo transfer solutions specifically for this type of project. Even Mod Podge makes a specific Mod Podge for it as well. You can also use a gel medium technique but that takes days to set! I don't see the point in buying extra (expensive) supplies when beautiful, simple Mod Podge works just as good! Here are my 3 transfers below: 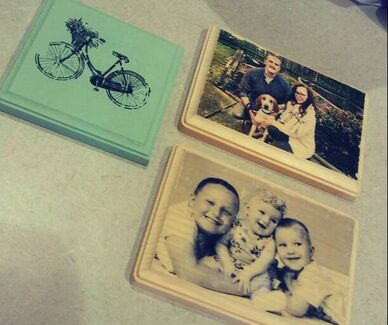  I don't know about you, but this winter weather has got me down in the dumps and tired as all heck! I need something to brighten up these dark days and this is the perfect painting to help me out. Supplies:
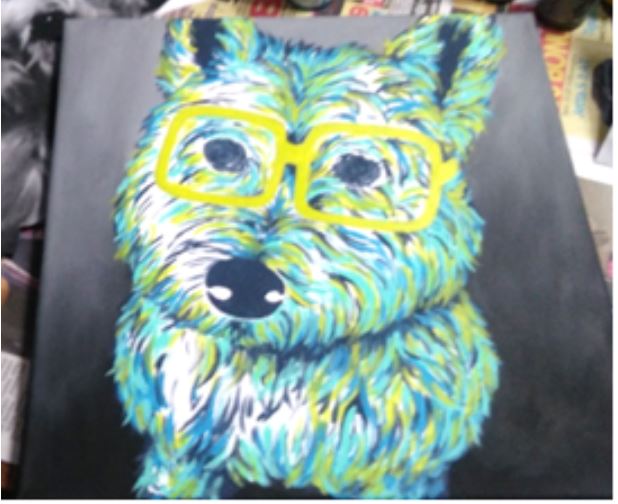
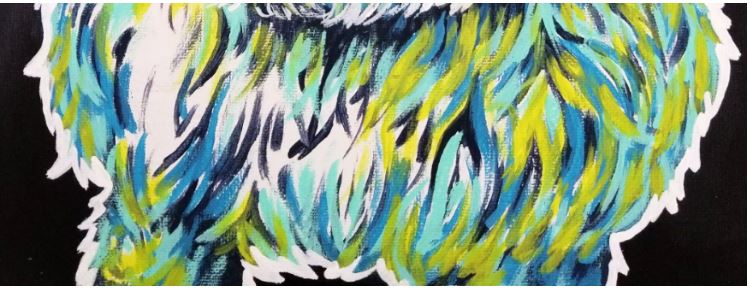
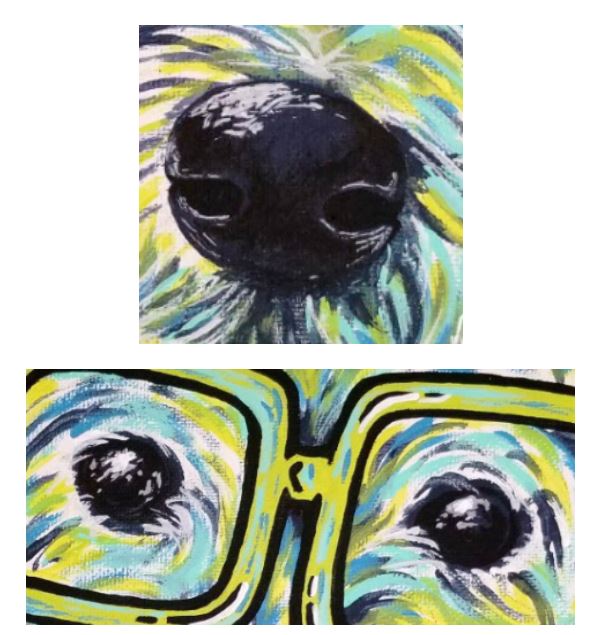
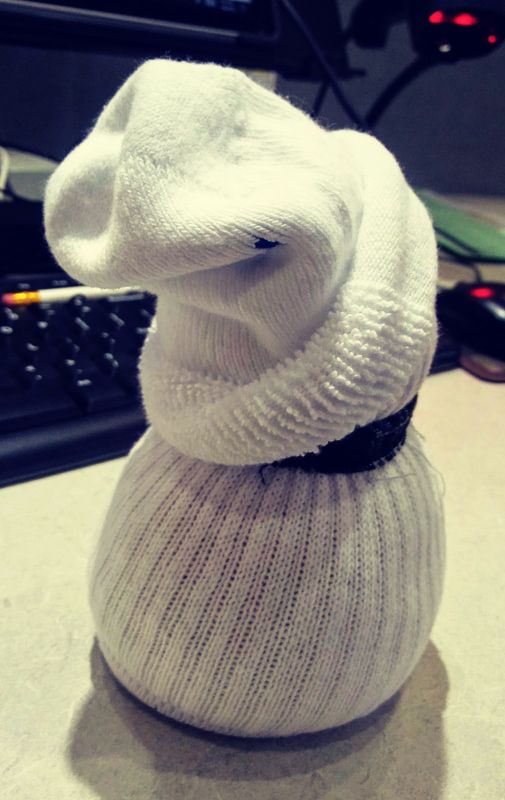
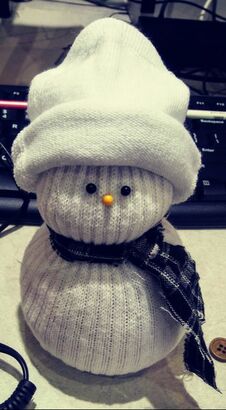
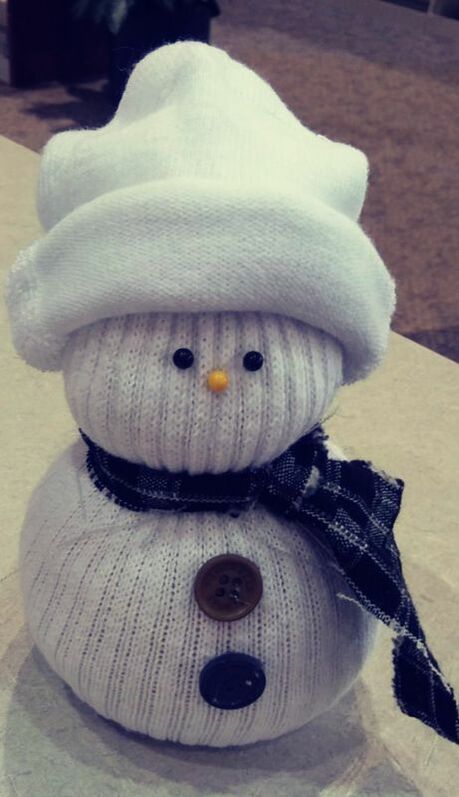
9. Lastly, create a single-color outline around your animal to make it “pop”. This is the prominent emphasis you see in Pop Art and what makes the subject stand out. Usually this is black or white but, feel free to make it whatever color you wish! You have officially created your pop art animal! Enjoy! 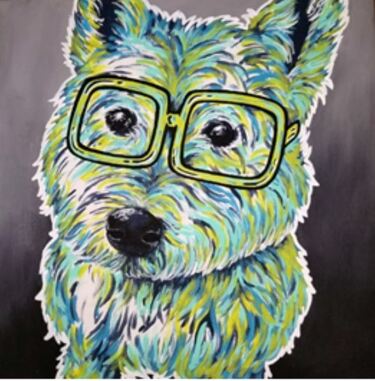 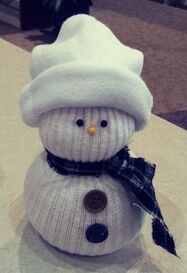 This little guy, or gal, is a super easy craft for young and old alike! Great for a chilly winter day to take up some down time and occupy little ones. Supplies:
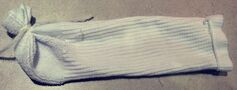
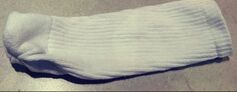
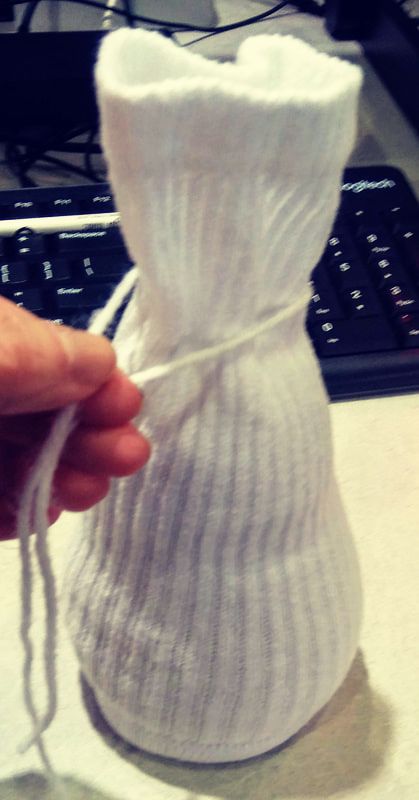
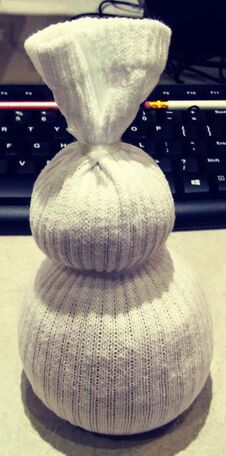
1. Cut your sock in half at the location in the photo 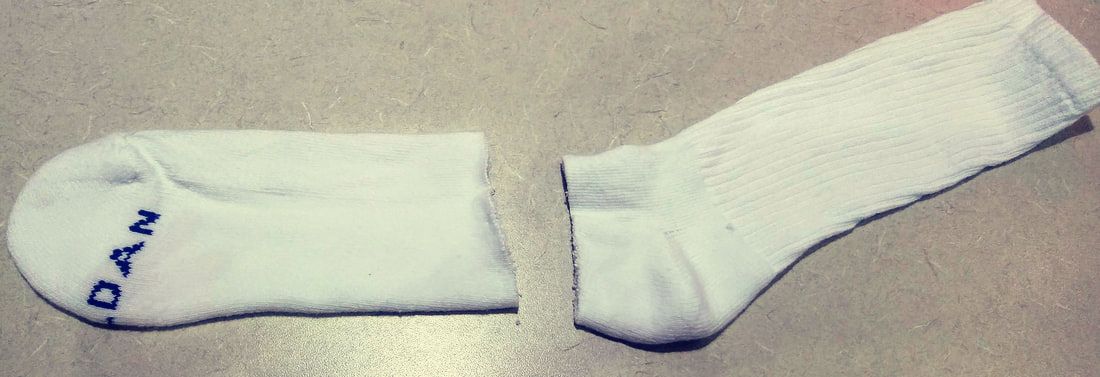 2. Take the top half and turn it inside out 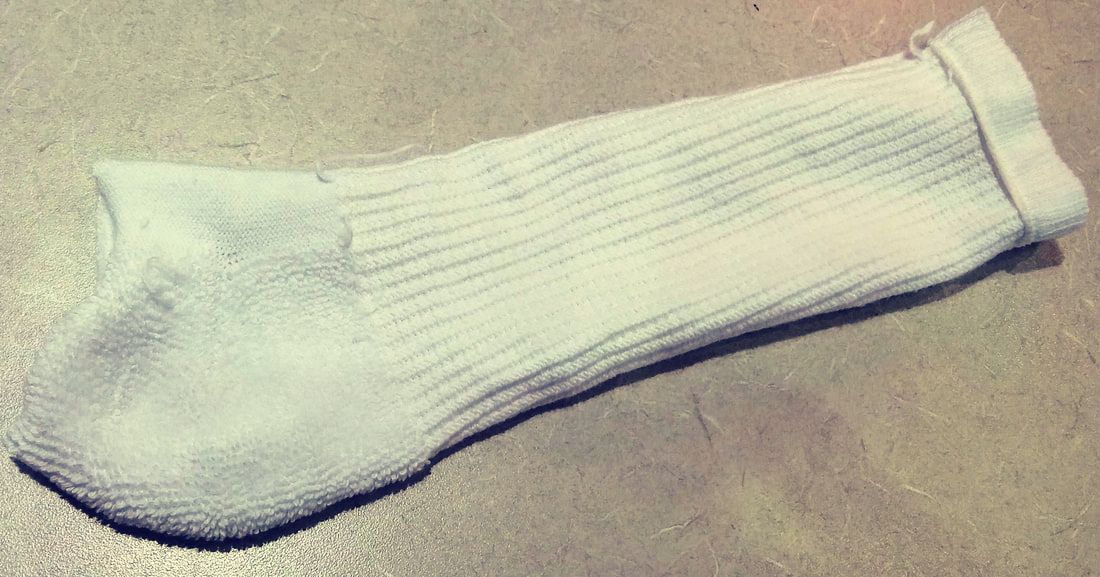 3. Tie off the cut end with string (make sure to tie it tight!) and flip it back right side out
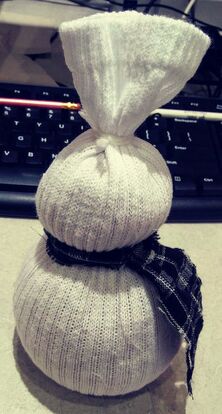
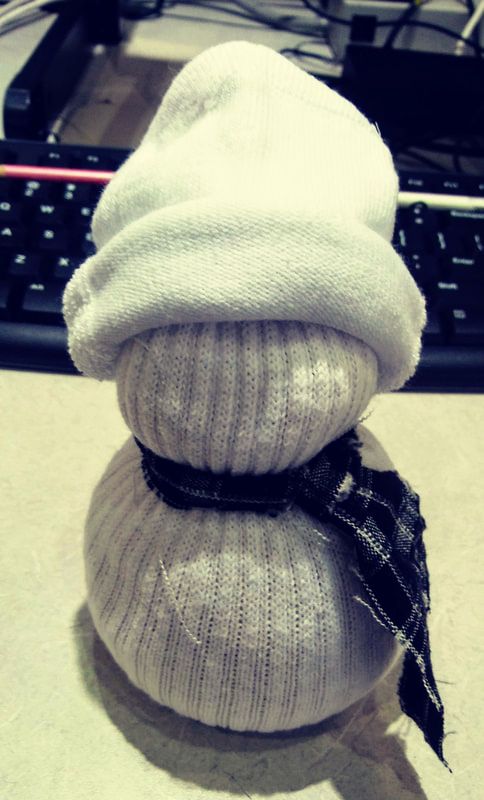
4. Start filling your sock with the rice (a funnel will help make it easier or just take your time with pouring) Fill the sock as much as you’d like – there is no right or wrong way 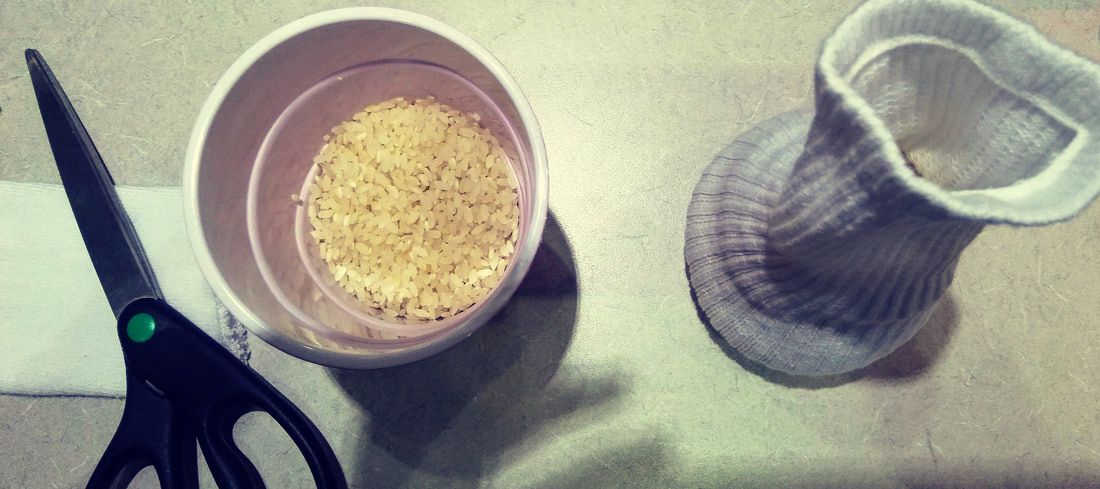
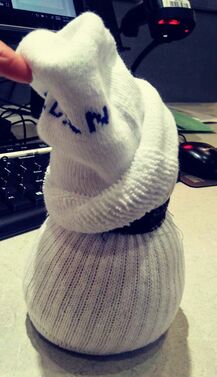
*I wanted to mention here, if you have text on your sock, it may show on the hat. I, luckily, covered mine up by folding the hat over "hipster" style as shown below.
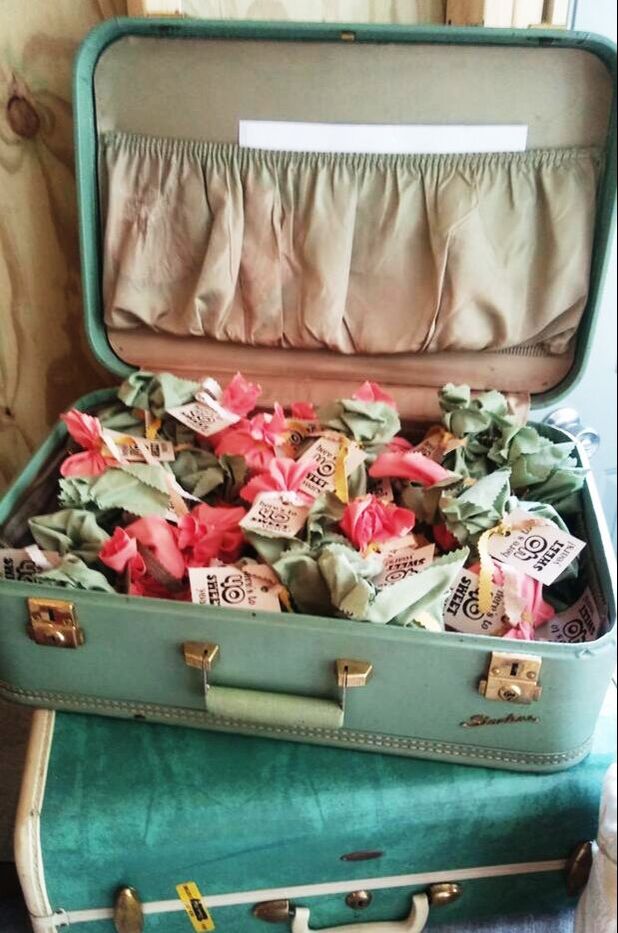
 Do you have a bunch of scrap fabric that you don't know what to do with? This is the perfect craft to use 'em up! Supplies Needed:
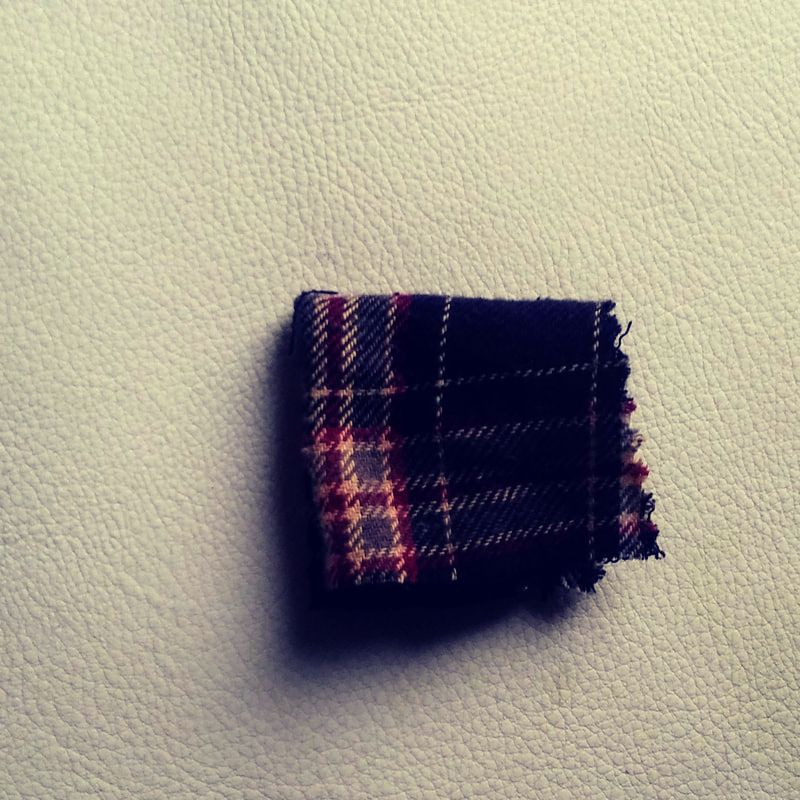
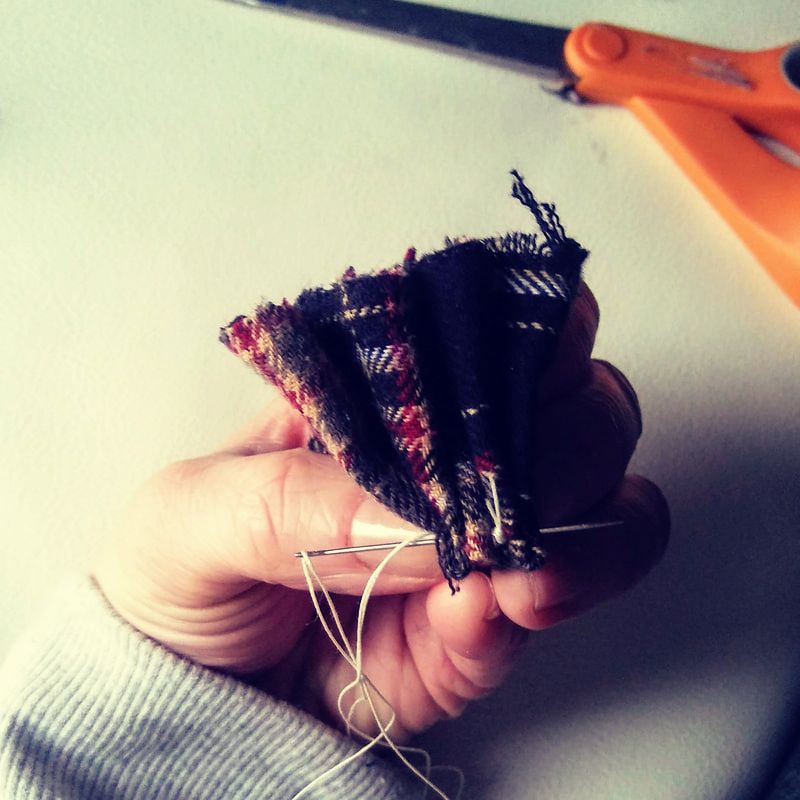
1. Cut 8 3"x3" pieces out of your fabric (or various fabrics) 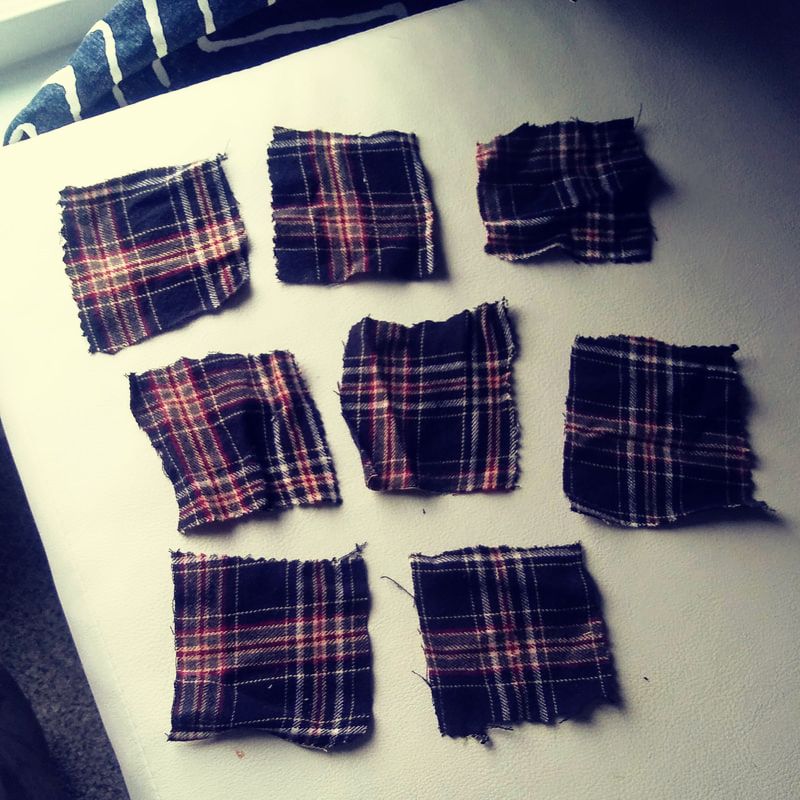 2. Fold each piece in half and then in half again...
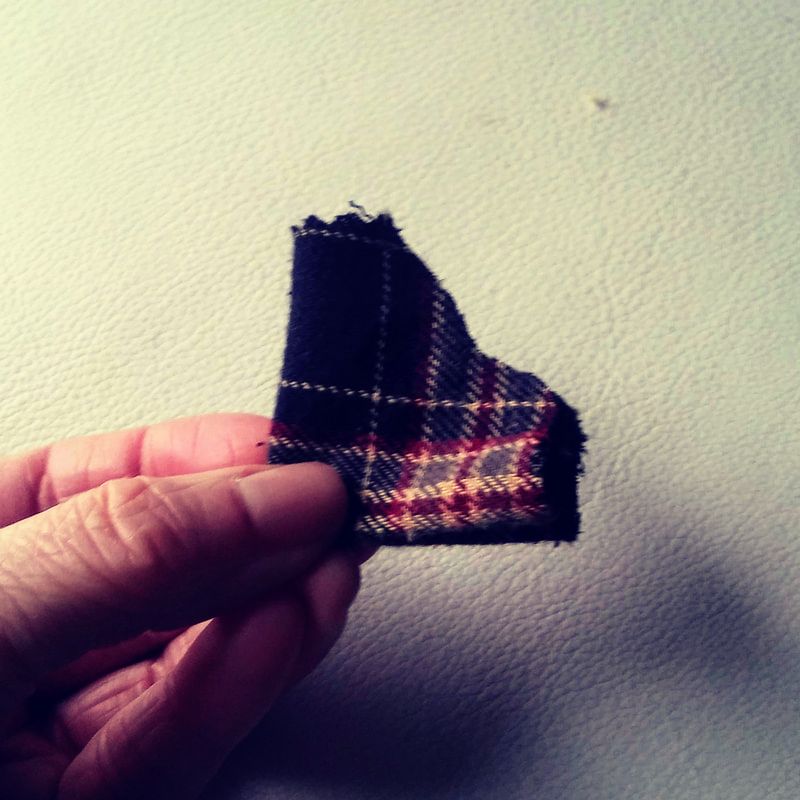
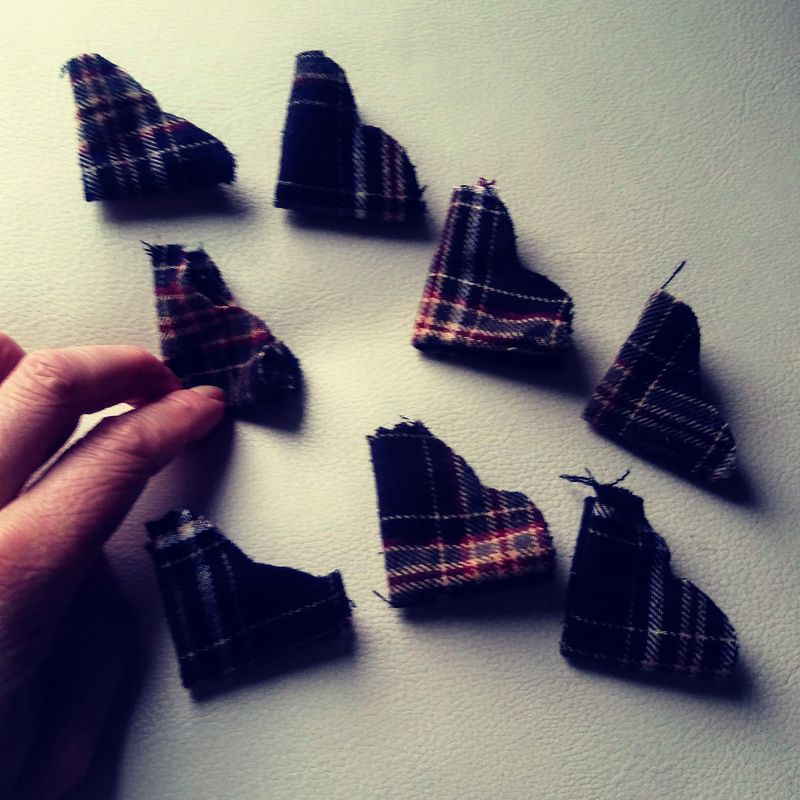
3. While holding the fold of each piece, cut the corner into a rough looking heart shape (I went ahead and did all 8 pieces so they were ready for me and I felt like that really sped the process along!)
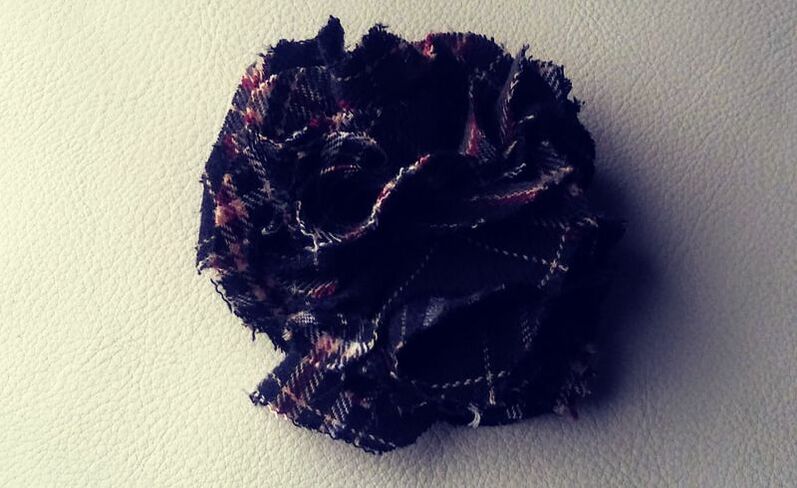
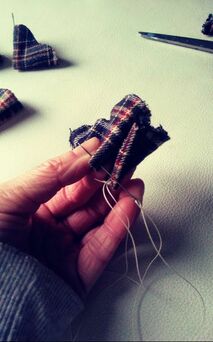
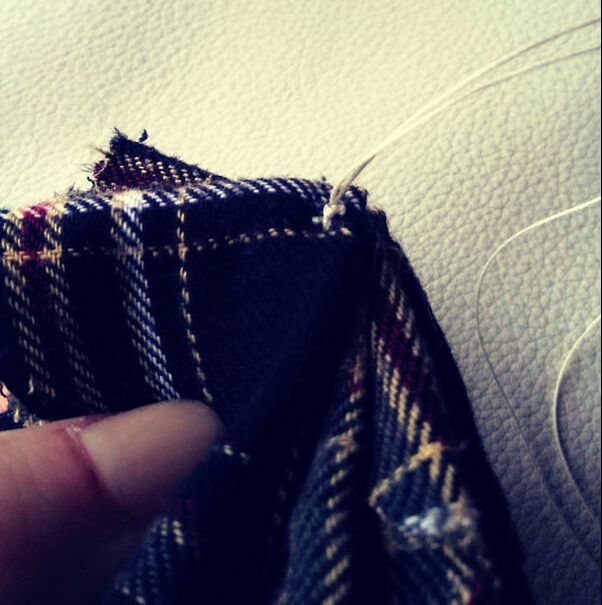
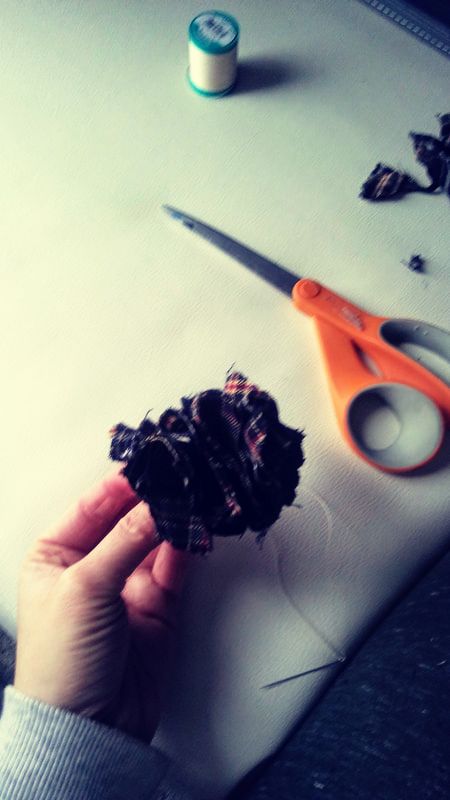
8. As you let go of the corners, you'll see how all of the pieces are now together, but... it needs a little help becoming a flower. Begin "fluffing" up your pieces and spreading them outward. Oooo look at that flower grow! And just like that, your flower is formed and ready for whatever you wish to use it for!
(Side note: the fabric I used are actually pieces of my Papaw's flannel shirts - he passed a couple of years ago. I plan to use my flowers for wedding decorations/bouquets whenever that happens... cough, cough! ...That way he'll be with us on our special day.)
Do you remember that awesome spooky spell book I did back in October? Well, it started a whirlwind for Christmas gifts that I got completely lost in! Ahhh, the wonderful world of altered books! This is the main reason I haven't really posted too much because I was so enveloped in this realm, I didn't have time for anything else. Nothing! If you don't know what I'm talking about, do a general search on Pinterest for "altered books" or "altered book journal" and behold. It is endless. You will get lost in a rabbit hole that you might never get out of! Altered books can be created for any type of person, for any reason. The possibilities are endless and it is so incredibly creative. It is a very messy hobby but the results are beautiful. I also found it stress-relieving. I would go into my art room for hours and come out feeling calm and inspired. Anywho, here is one of the books I created. This one was for my mom who decorates in the vintage/americana type decor. You need to download the file in order to watch it as it is too large for the online restrictions. Enjoy, and Happy Holidays!
Hoy! I haven't posted anything in a month! I can't believe it's winter and I can't believe Christmas is already less than a month away. Time goes by too fast as you get older, I'm not a fan. Let's talk about a quick and easy craft you can do in practically no time at all! (Makes for some awesome gifts too) Supplies:
1. Start by cleaning your glass item. Run it through the dishwasher or hand wash so it's nice and clean for our project. 2. Prep your area with newspaper or a plastic tablecloth and set up all of your necessary materials so you are ready to go!
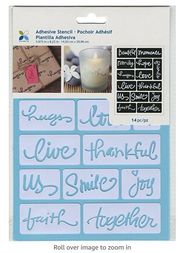
(You can use transfer tape or contact paper on top of your stencil to easily transfer it to your glass item. This will prevent the stencil from getting out of place and will keep the components in the correct spot)
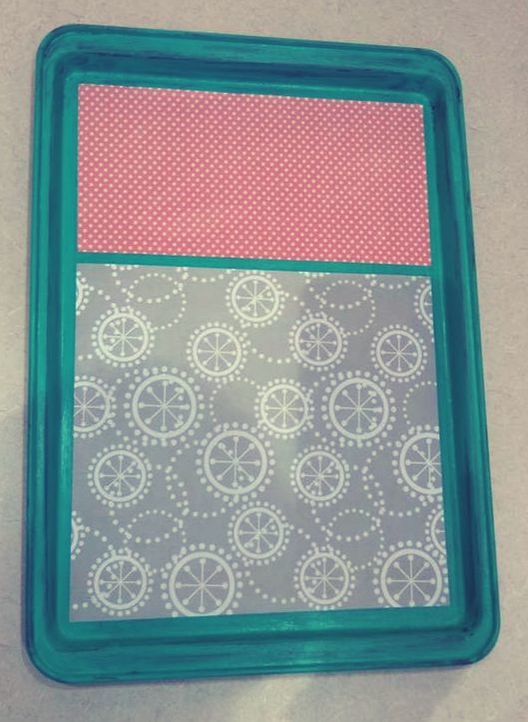
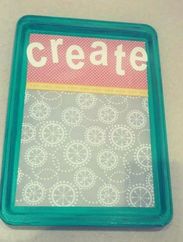
5. Let the cream sit for no more than 20 minutes. 6. While still wearing the rubber gloves, wash your glass under the faucet and gently rub the cream away under the water. 7. Dry off your glass with a paper towel or hand towel, and wa-lah! A beautiful gift! (The small glass on the left is a pile of books just fyi) 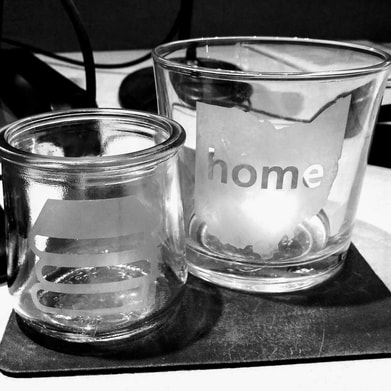 This is a really fun little craft to do with someone of any age. It's a great way to repurpose old icky cookie sheets as well. This would make a great addition to just about any room of your home or a great gift as you can mold it to fit anyone's personal style. Here I go with forgetting to take pictures of every... little... thing yet again, ug! But this one is pretty simple and should be easy to follow regardless. Supplies:
1. If desired, paint your cookie sheet. It seems best to use a spray paint as it will adhere well. I, however, used acrylic paint on an old non-stick cookie sheet. You know what that means right? The paint did not stick great. But, I ended up liking the look and making it "distressed". I also went over the entire paint job with a layer of Mod Podge. If you go this route, and don't use Mod Podge, the paint will scratch right off once dry so make sure you put a layer of some sort over the paint!
|

Rebecca MyersHey there, I'm Becca, or Rebecca, but not Becky, never Becky, unless you're my family from down south! I'm a simply modern librarian by day and an artist by night. My pursuit is for a simple, happy, healthy, and more fulfilling life! I hope I inspire you to get crafty! Archives
March 2022
Categories
All
|
||||||||||||||||||||||||||||||||||||||||||||||||||||||


 RSS Feed